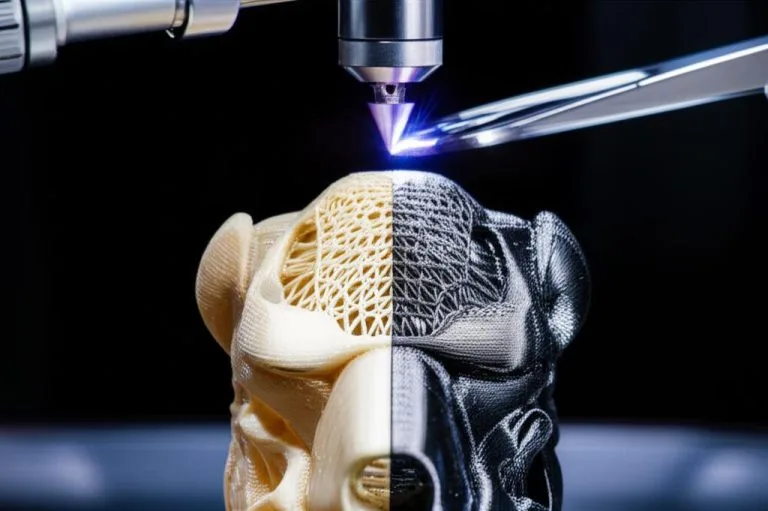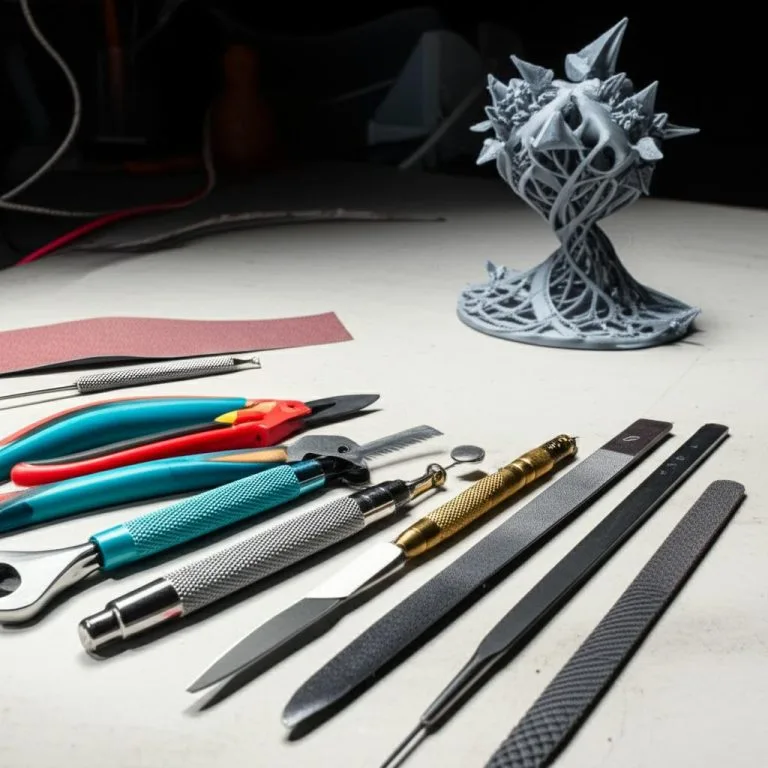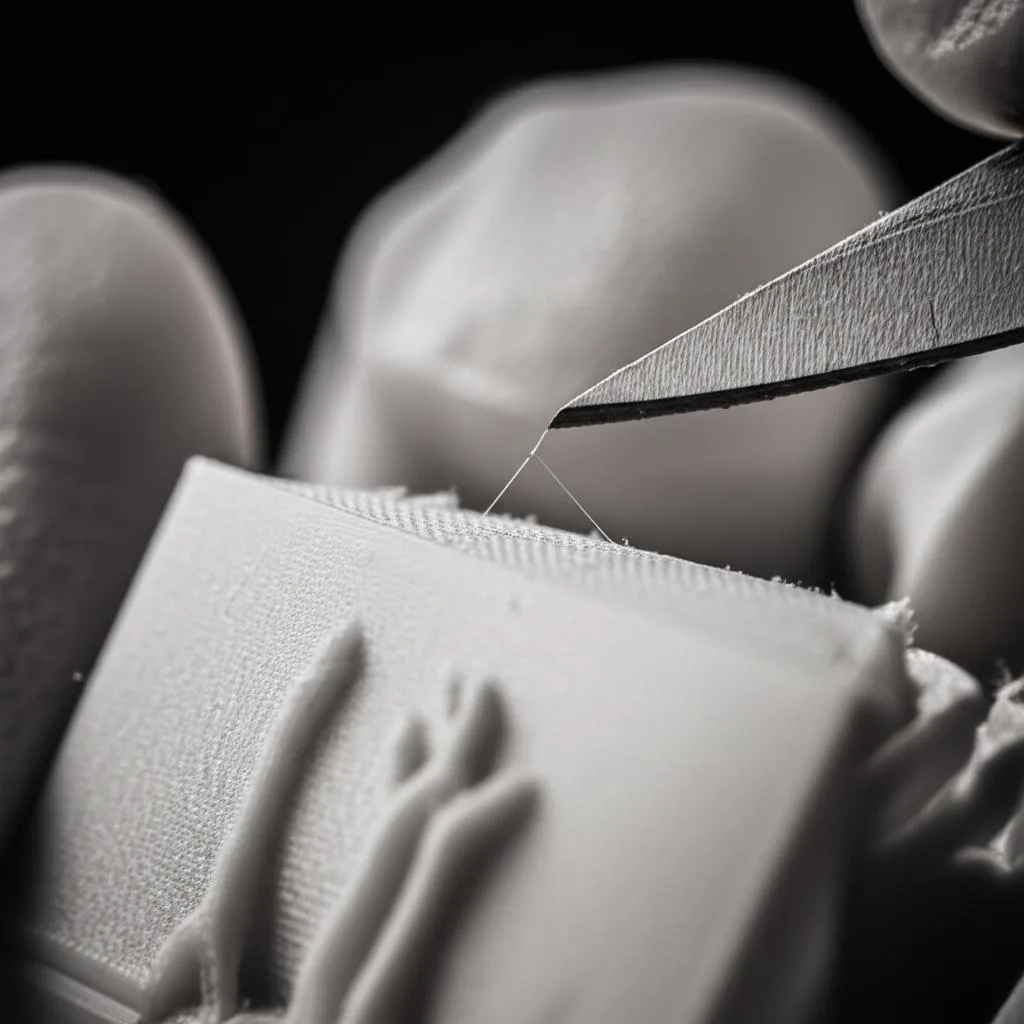
To clean strings off a finished print, snip the thick ones close to the surface with flush cutters, then pass a heat gun over the fine wisps that remain. Prusa suggests setting the heat gun to around 200 °C and aiming at the strings for only one or two seconds at a time; the thin strands shrink back before the wall underneath heats up. Blobs and zits don’t respond to heat: shave them flush with a deburring tool or a sharp hobby knife, then blend the spot with fine sandpaper.
The risk is heat, not the tools. Prusament PLA has a heat deflection temperature of 55 °C and Prusament PETG 68 °C, far below the air coming out of a heat gun, so the only thing protecting the print is keeping each pass short. A lighter also works, but Prusa’s own wording is “be very careful”. This guide covers the cleanup; to stop strings forming in the first place, see the prevention links near the end.
The consumer toolchanger 3D printer: the SnapSwap 4-toolhead system swaps heads in 5 seconds for true multi-color and multi-material printing, with smart calibration and auto filament loading.
- 4 toolheads · 5 s swap
- Up to 500 mm/s · 20,000 mm/s²
- 270 mm cube build volume
- Multi-color & multi-material

Cleanup order in five steps
- Let the print cool completely and remove supports first.
- Cut thick strings and webs between parts with flush cutters, as close to the surface as you can without touching it.
- Heat the fine wisps: heat gun at about 200 °C, one or two seconds per spot, keep it moving.
- Shave blobs and zits with a deburring tool or knife, then clear holes and corners with tweezers or a needle file.
- Blend any marks with fine sandpaper on a block or stick.
Strings, wisps, blobs and zits: what to use on each
| Defect | What it looks like | Remove with | Prevent next time |
|---|---|---|---|
| Fine wisps (“hairs”) | Cobweb-like strands between features | Heat gun or hair dryer; brush off loose bits | Dry the filament; lower nozzle temperature |
| Thick strings | Solid threads bridging a gap | Flush cutters, then heat for the stubs | Retraction and travel settings |
| Strings inside holes | Threads crossing a bore or slot | Tweezers, dental pick, needle file | Retraction; “avoid crossing walls” |
| Zits along the seam | Small bumps in a vertical line | Deburring tool or knife at a shallow angle, then sand | Seam position; pressure advance |
| Blobs at corners or after travel | A larger lump of excess plastic | Knife or deburring tool, needle file, sandpaper | Pressure advance, retraction, flow |
| General lumpy surface | Blobs all over, rough walls | Sanding, or reprint | Check for over-extrusion before cleaning up |
If the whole print looks like the last row, cleanup is the wrong fix. Work through the over-extrusion diagnosis first; reprinting is often faster than trimming dozens of blobs.
Removing strings with a heat gun, hair dryer or lighter
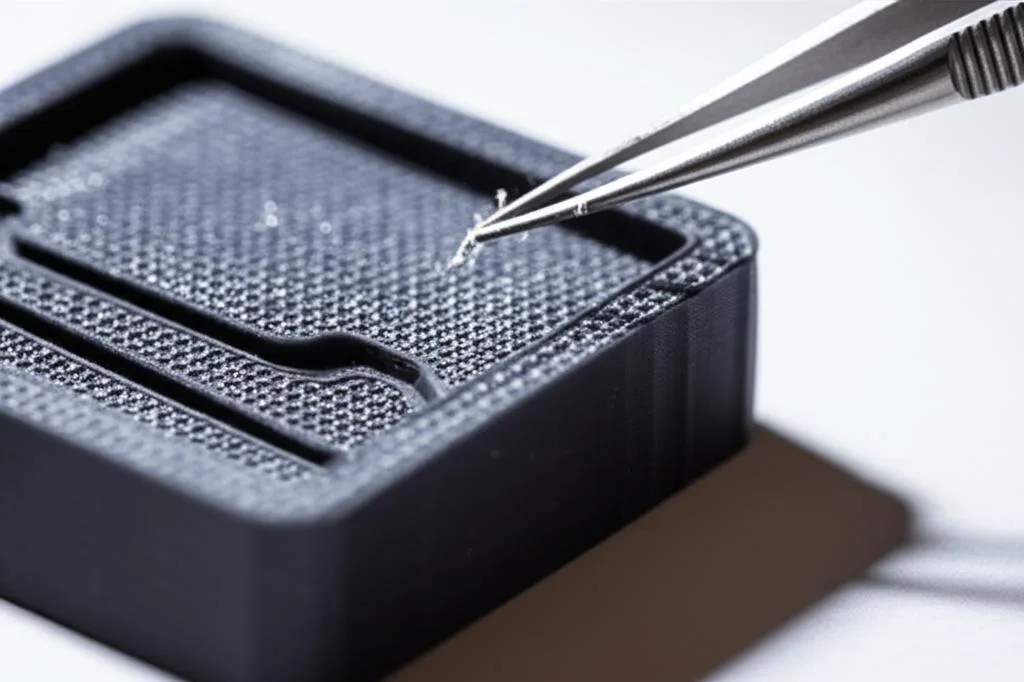
Both Prusa and Bambu Lab list heat as the standard way to clear fine strings. Bambu Lab mentions blowing hot air with a heat gun or a hair dryer, or quickly passing a lighter flame over the strings, and stresses care with both. The difference between the three is how much control you have.
| Heat source | Control | Main risk | Best use |
|---|---|---|---|
| Heat gun | Good if it has a low setting; Prusa suggests about 200 °C | Softened walls, warped thin parts, glossy spots | Most prints, larger areas of wisps |
| Hair dryer | Gentle, lower heat | Low, but it may be too weak for thicker strings | Thin or delicate PLA parts |
| Lighter | Poor; open flame | Scorch marks, soot on light colors, melted detail, fire | One or two stray strings when nothing else is at hand |
- Cut first. Heat shrinks fine strands; a thick string just droops and leaves a bead where it meets the wall.
- Set the heat gun low. Prusa’s figure is around 200 °C. If your heat gun has no setting that low, hold it further from the part and shorten the passes.
- One or two seconds per spot. Prusa warns that leaving the heat on the model any longer may deform it. Sweep past the strings, pause, look, repeat.
- Watch the surface, not the strings. If a wall starts to go glossy, stop: it is already softening. Let the part cool before the next pass.
- Brush away the beads. Shrunken strings often leave tiny balls that come off with a fingernail or a soft brush.
Material matters. PLA is the more heat-sensitive of the two common choices: Prusament PLA’s heat deflection temperature is 55 °C. PETG holds up a little better at 68 °C for Prusament PETG, but that margin is still tiny compared with the hot air, so do more short passes rather than longer ones. Thin features such as fins, text and small pins heat through fastest, so shield them or clean them with a blade.
Cutting and shaving blobs
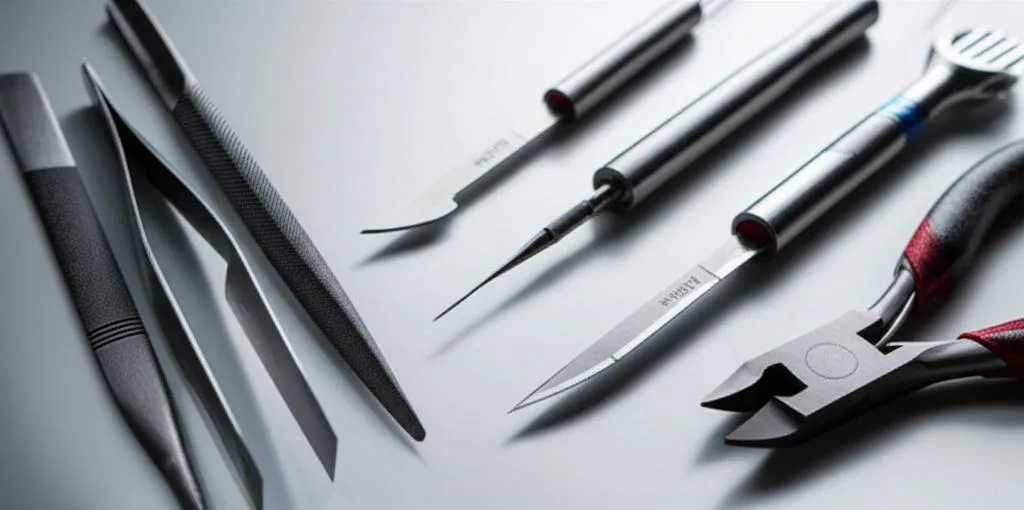
- Take off the bulk. For a blob that stands proud of the surface, cut most of it away with flush cutters, leaving a little material.
- Shave to flush. Hold a sharp hobby knife almost flat to the surface and take thin slices, cutting away from your hand. On edges and along seams, a swivel-blade deburring tool follows the contour and is less likely to dig in.
- File corners. Needle files reach inside corners and slots where a blade can’t lie flat.
- Blend with sandpaper. Use a block or sanding stick so you sand the high spot, not the area around it. Starting around P220 and finishing at P400 is a reasonable starting point for PLA and PETG; go finer if the part stays unpainted. The sanding guide covers grit steps and wet sanding.
- Fill if you cut too deep. A shallow dip under paint can be filled with putty or a filler primer and sanded level.
Strings inside holes and tight corners
Heat rarely reaches inside a bore without softening the walls around it. Pull strings out with fine tweezers or hook them with a dental pick, then run a round needle file through the hole. For round holes, a drill bit matching the designed hole size, turned slowly by hand, can clear strings and slight first-layer squish. A power drill is riskier: friction can soften PLA and smear it rather than cut it.
Common cleanup mistakes
- Holding the heat gun still. Longer than one or two seconds on one spot is where warped walls and shiny patches come from.
- Using heat on thick strings. They sag and fuse to the wall as a bump. Cut them first.
- Using a lighter on light-colored or detailed prints. Soot and scorch marks are harder to fix than the strings were.
- Digging in with the knife tip. Use the flat of the blade at a low angle and take thin slices; a gouge needs filling.
- Sanding blobs with loose paper. Without a block, the paper follows the bump and you sand a dip around it.
- Cleaning up the same defect on every print. If strings or zits come back every time, the fix belongs in the slicer or the filament box.
Next steps: stop strings and blobs at the source
Cleanup treats the symptom. The causes Bambu Lab and Prusa list are few, and each has a dedicated guide:
- Damp filament. Bambu Lab puts it first: moisture turns to vapor in the nozzle and makes the melt flow erratically. Dry the spool and keep it sealed with desiccant while printing.
- Nozzle too hot. Prusa suggests trying a nozzle temperature 5–10 °C lower.
- Retraction and travel. Increase retraction length or speed and reduce travel; Bambu Lab recommends keeping retraction no longer than 2 mm on its printers to avoid clogs. The step-by-step PLA retraction guide and PETG print settings give tuning sequences.
- Corner blobs and seam zits. These are largely about nozzle pressure at speed changes and where each layer starts. See pressure advance and Z-seam placement.
- TPU. Bambu Lab notes that stringing cannot be completely avoided with TPU, especially on models with many travel moves, so plan on some cleanup.
Frequently asked questions
How do you remove stringing from a finished 3D print?
Cut thick strings with flush cutters, then pass a heat gun over the fine wisps. Prusa suggests about 200 °C and no more than one or two seconds per spot, because longer exposure can deform the part. Brush off the small beads the strings leave behind.
Can I use a lighter to remove strings from PLA?
You can, and both Prusa and Bambu Lab mention it, but with a warning to be very careful. An open flame is hard to control and can scorch, blacken or melt the surface. A heat gun on a low setting or a hair dryer is the safer option.
Will a hair dryer remove 3D print strings?
Bambu Lab lists a hair dryer as an alternative to a heat gun. It is gentler, which suits thin PLA parts, but it may not shrink thicker strings or tougher materials. Cut those first.
How do I get rid of blobs and zits on a print?
Shave them flush with a sharp hobby knife held nearly flat or with a deburring tool, then blend the spot with sandpaper on a block. If the same zits appear on every print, adjust the seam position or pressure advance instead of cleaning each part.