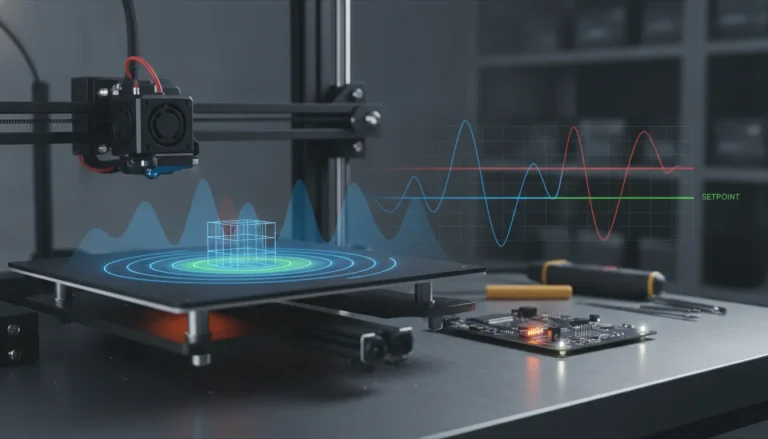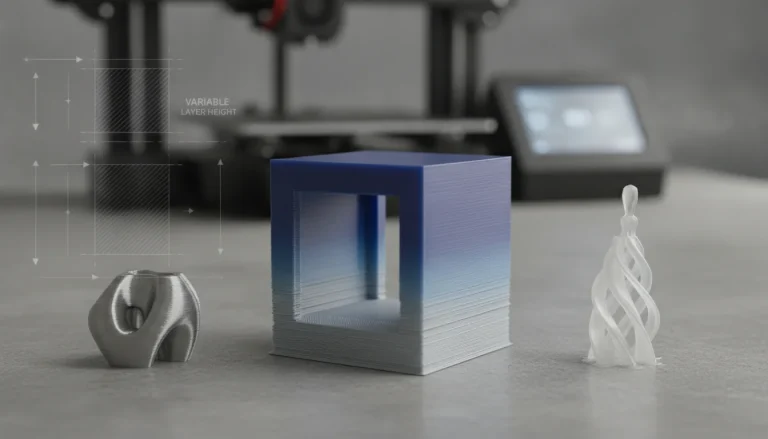
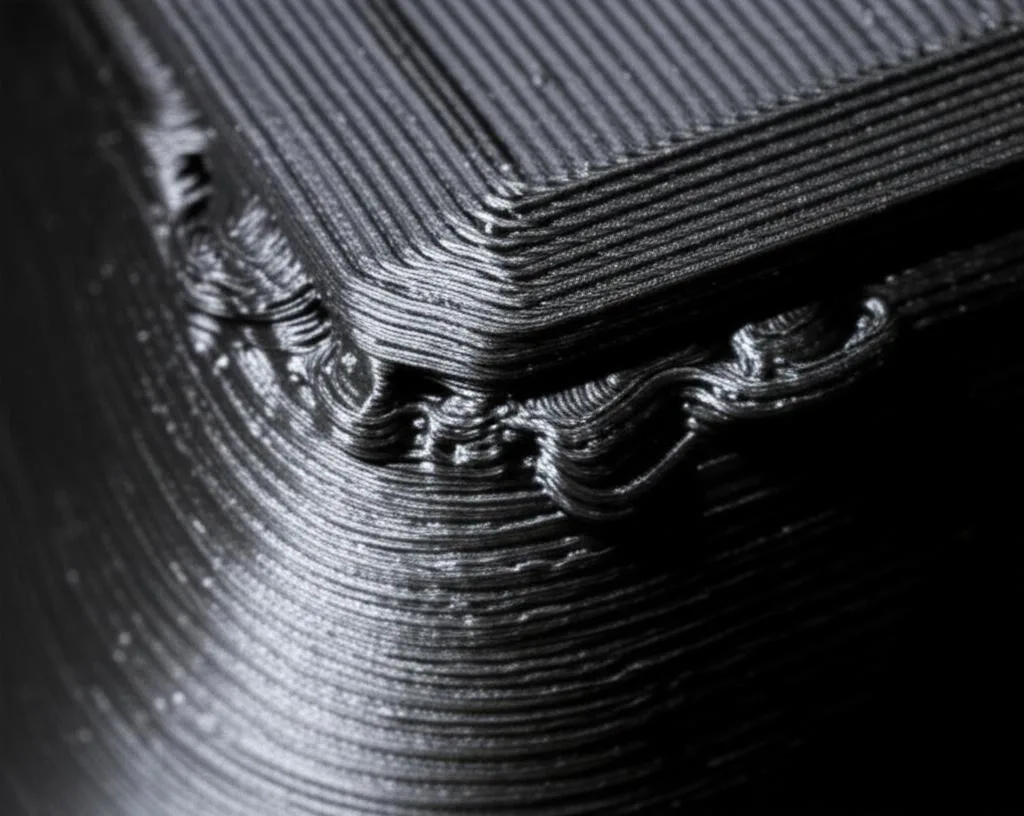
Pressure advance is a firmware feature that pushes a little extra filament into the hotend while the toolhead accelerates and takes it back while it decelerates, so nozzle pressure keeps up with every change in speed. Without it, pressure lags behind the motion: lines start thin and end in a blob, which shows up as bulging corners. Klipper and Prusa call it pressure advance, Marlin calls it linear advance (the K factor), and Bambu Lab calls it flow dynamics. Too low a value leaves corner blobs; too high a value gives rounded, starved corners and gaps.
You find the right value with a test print that raises the setting step by step: a tower in Klipper or OrcaSlicer, a line or corner pattern in Marlin, Bambu Studio and OrcaSlicer. Klipper’s documentation puts typical values between 0.050 and 1.000, with the high end usually only on Bowden extruders. This guide covers the commands for each firmware, the calibration in each slicer and how to read the result. All numbers come from the Klipper, Marlin, Prusa, OrcaSlicer and Bambu Lab documentation linked at the end.
The consumer toolchanger 3D printer: the SnapSwap 4-toolhead system swaps heads in 5 seconds for true multi-color and multi-material printing, with smart calibration and auto filament loading.
- 4 toolheads · 5 s swap
- Up to 500 mm/s · 20,000 mm/s²
- 270 mm cube build volume
- Multi-color & multi-material

Pressure advance calibration in six steps
- Calibrate extruder steps (or rotation distance) and nozzle temperature first.
- Turn off slicer features that also manage pressure: coasting, extra restart length, and in Klipper’s test also dynamic acceleration control and scarf seams.
- Print the test for your setup: Klipper tuning tower, Marlin K-factor pattern, or the pressure advance / flow dynamics test in OrcaSlicer or Bambu Studio.
- Pick the height, line or corner with the cleanest, most even result. When in doubt, pick the lower value.
- Save it where your firmware or slicer expects it, ideally per filament.
- Re-check retraction afterwards; you may need less of it.
Why corners blob without pressure advance
Marlin’s documentation puts it simply: an extruder is not a linear system. Molten plastic has to be compressed before it flows, and the faster you extrude, the more pressure the nozzle needs. When the toolhead speeds up, pressure builds too slowly and the start of the line is under-extruded. When it slows down for a corner, the plastic is still compressed and keeps flowing, so extra material lands at the end of the line. Corners are where lines end, so that is where the bulge appears. On top surfaces the same effect shows as roughness wherever the print direction changes.
Pressure advance fixes this by moving the extruder ahead of the motion: extra filament during acceleration, an equal amount pulled back during deceleration. According to the Klipper docs, it does not change the toolhead’s path or timing, and it does not change the total amount of filament extruded. A print takes the same time with or without it. It also reduces ooze during travel moves, which is why a well-tuned value can let you reduce retraction.
Two things it is not: a fix for too much flow overall (that is over-extrusion, a flow or E-steps problem), and a fix for wavy echoes after corners, which is ringing and ghosting caused by frame vibration.
Pressure advance names and commands by firmware
| Firmware or printer | Name | How to set it | Where it is stored |
|---|---|---|---|
| Klipper | Pressure advance | pressure_advance in the [extruder] section; SET_PRESSURE_ADVANCE at runtime | printer.cfg; default is 0 (off) |
| Marlin | Linear Advance (K factor) | M900 K<value>; M900 K0 disables it | LIN_ADVANCE_K in Configuration_adv.h, or M900 in the slicer’s start G-code |
| Prusa MK3 family | Linear Advance 1.5 | M900 K | PrusaSlicer filament profile, custom G-code |
| Prusa MK4/S, MK3.9/S, XL, MINI/+ (firmware 5.0.0+) | Pressure advance | M572 S<value>; old M900 K values are converted 1:1 | PrusaSlicer filament profile, custom G-code |
| Bambu Lab | Flow dynamics (Factor K) | Calibration tab in Bambu Studio, or automatic on supported printers | Saved on the printer per filament and nozzle |
Klipper’s value is measured in millimeters of filament per mm/s of extrusion speed, and Marlin’s Linear Advance 1.5 uses the same unit. Both Klipper and Prusa’s M572 also average extruder velocity over a short window to smooth the motion; the default is 0.040 s (Klipper’s pressure_advance_smooth_time, Prusa’s W parameter). Leave it at the default unless you have a specific reason to change it.
Marlin needs the feature compiled in: even when you set K from the slicer, #define LIN_ADVANCE has to be enabled in Configuration_adv.h. If your firmware was built without it, you have to rebuild and reflash; our guide to flashing Marlin covers that part.
Before you calibrate
- Extruder steps and temperature. Klipper asks you to tune rotation distance and nozzle temperature first, because both change the result. Marlin asks for precisely calibrated extruder steps/mm.
- Backlash in the extruder. Marlin warns that play in geared extruders or push fittings can make the extruder noisy once pressure control is active.
- Competing slicer features. Marlin lists pressure advance, coast at end and extra restart length after retract as options to disable, along with wipe while retracting and combing. For Klipper’s tower, disable dynamic acceleration control and scarf joint seams.
- Dry, representative filament. Bambu Lab notes that damp filament makes the result unsuitable for fresh filament. Calibrate with the spool you will actually print.
Klipper: pressure advance tuning tower
Klipper’s procedure prints a large hollow square (square_tower.stl from the Klipper docs) and raises pressure advance with every layer.
- Slice the tower at high speed (the docs suggest 100 mm/s), zero infill and a coarse layer height of about 75% of the nozzle diameter. Keep other settings near default: 2 or 3 perimeters, normal retraction.
- Slow the corners down so pressure effects are easier to see:
SET_VELOCITY_LIMIT SQUARE_CORNER_VELOCITY=1 ACCEL=500 - Start the tuning tower. Direct drive:
TUNING_TOWER COMMAND=SET_PRESSURE_ADVANCE PARAMETER=ADVANCE START=0 FACTOR=.005. Long Bowden: the same command withFACTOR=.020. - Print and watch. Lower layers blob at the corners; layers above the ideal value show rounded corners and poor extrusion leading into them. You can cancel once the corners clearly get worse.
- Measure the height of the best-looking corners with calipers. When in doubt, choose the lower height.
- Calculate: pressure_advance = START + measured height × FACTOR. Klipper’s example: 0 + 12.90 × 0.020 = 0.258.
- Save
pressure_advance: <value>in the[extruder]section and issueRESTART, which also restores normal acceleration and cornering speed.
The corner where the slicer changes layers often looks different from the other three. Klipper says to ignore it, judge by the remaining corners, and choose a value that suits all of them. The Z-seam guide explains where that seam goes. If nothing improves even at 1.000, Klipper’s advice is that pressure advance is unlikely to help that printer; go back to it disabled.
Marlin: linear advance K-factor test pattern
Marlin’s documentation links a K-Factor Calibration Pattern generator that writes G-code for your printer. Each line is printed as 20 mm at slow speed, 40 mm at fast speed and 20 mm slow again, and every new line raises K by the step you choose.
- Enable the feature with
#define LIN_ADVANCE. If you plan to set K from the slicer, Marlin recommendsLIN_ADVANCE_K 0so only the start-script value is used. - Choose a range. Marlin suggests K from about 0.1 to about 2.0 for Linear Advance 1.5 when testing a Bowden extruder, which needs a higher K than a direct extruder. Old version 1.0 values (roughly 30 to 130) are a different unit and must be recalibrated.
- Print the pattern and look at the transitions between slow and fast sections. With K too low, the fast section starts thin and the slow section after it starts fat. With K too high, the picture reverses.
- Pick the line with a smooth, barely visible transition.
- Save it: add
M900 K<value>to the end of your slicer’s start G-code, or setLIN_ADVANCE_Kand reflash if you only use one material.
Linear Advance 1.5 respects the extruder jerk limit. If the pressure correction would need faster extruder moves than that limit allows, Marlin lowers the print acceleration for that line. The docs say this is most likely on Bowden printers; the remedies are a less conservative extruder jerk, a lower K, or a shorter Bowden tube.
Prusa printers
On the MK3 family, PrusaSlicer’s filament profiles already contain K values for a 0.4 mm brass nozzle: 0.05 for PLA, 0.08 for PETG, 0.04 for ASA/ABS and 0.08–0.1 for nylon. Prusa offers test files if you want to tune a specific filament. On the MK4/S, MK3.9/S, XL and MINI/+, Prusa recommends keeping the factory M572 values for most uses; if you do change them, edit the M572 S value for your nozzle diameter under Filament Settings → Custom G-code.
Slicer calibration in OrcaSlicer and Bambu Studio
OrcaSlicer generates the test for you, in direct-drive and Bowden versions, from its calibration menu. It offers three methods:
- Tower: slower, but it does not depend on first-layer quality. Mark the height with the best corners and seams and calculate start + step × height. OrcaSlicer’s example: 0 + 0.002 × 8 mm = 0.016.
- Pattern: a row of short segments, each printed at a different value, adapted from Andrew Ellis’ pattern generator. A batch mode can put several tests on one plate.
- Line: the quickest, but its accuracy depends heavily on the first layer, so use bed mesh leveling.
Enter the result in the filament profile with the Pressure advance option enabled. On Marlin or RepRapFirmware printers, Linear Advance must be enabled in the firmware for OrcaSlicer’s M900 to work. For high-speed printers, OrcaSlicer also points to its Adaptive Pressure Advance feature, which adjusts the value for flow rate, acceleration and bridges. OrcaSlicer says it has been tested with Klipper printers and is untested on Marlin and Bambu Lab machines.
Bambu Studio calls the value Factor K and runs the test under Calibration → Flow Dynamics. H2D, X1 and A1 printers can calibrate automatically (the X1 scans printed lines with its lidar; A1 and H2D measure extrusion force with an eddy current sensor), while the P1 series supports only manual calibration. For manual calibration, Bambu recommends the Pattern method with a 0.002 step, because straight lines show extrusion problems less clearly and tend to give a lower, less reliable K. In Bambu’s own example, 0.006 left a bulging, round corner, 0.024 was already under-extruded, and 0.018 was best.
Bambu Lab lists cases where automatic results are unreliable: damp filament, transparent filament on the X1, a plate the lines don’t stick to, a worn or partly clogged nozzle, soft filaments such as TPU, third-party hotends, and 0.2 mm hotends. It also reports about 10% variation between runs, and says the automatic K on A1 and H2D printers is deliberately set higher than a manual pattern result. Recalibrate after switching to a new filament brand or type, replacing or wearing a nozzle, or changing the maximum volumetric speed or print temperature.
Reading the test: too low, too high, just right
| What you see | What it means | What to do |
|---|---|---|
| Bulging, rounded-out corners; blob at line ends | Value too low | Choose a higher value from the test |
| Thin or missing plastic just before or after corners, corners pulled in | Value too high | Choose a lower value |
| Line thin at the start of the fast section, fat at the start of the slow section (Marlin pattern) | K too low | Move to a later line |
| Line fat at the start of the fast section, starved when it slows down | K too high | Move to an earlier line |
| One corner of the tower looks worse than the others | Layer change or seam at that corner | Ignore it and judge the other three |
| Extruder clicks or skips after returning to normal acceleration | High value plus high acceleration exceeds extruder torque (Klipper mentions values over 0.200) | Lower acceleration or the value |
| No clear improvement anywhere up to 1.000 (Klipper) | Pressure advance is unlikely to help this setup | Disable it and look at flow, temperature or mechanics |
Common pressure advance mistakes
- One value for every spool. Klipper notes that filament from different manufacturers, or even different pigments, can need significantly different values, and recommends calibrating each spool. Store the value in the filament profile, not the printer profile.
- Tuning before the basics. Wrong E-steps or temperature shift the result, so you end up calibrating around another error.
- Doubling up. Slicer coasting or extra restart length on top of linear advance fight each other. Marlin tells you to disable them.
- Leaving retraction where it was. Marlin says retraction may drop, in some cases even to 0. Klipper still suggests a small retract (for example 0.75 mm) and wipe on retract to handle ooze from sticky filament, and recommends turning off z-lift on retract. Re-check your retraction settings after tuning.
- Keeping a value after a hardware change. Marlin lists filament type, print temperature, Bowden length, free filament length in the extruder, and nozzle size and geometry as things that change the K factor. Repeat the test after changing any of them. A stringy material like PETG is worth its own test; see the PETG settings guide for the rest of the profile.
- Expecting it to work with very soft filament. Marlin warns that extremely flexible filaments may not work with linear advance at all, and Bambu Lab says TPU calibration often fails.
Frequently asked questions
Does pressure advance make prints slower?
No. Klipper’s documentation states that pressure advance does not change the timing or path of the toolhead, so a print takes the same time with or without it. It also does not change the total amount of filament used; it only moves the extruder ahead of and behind the motion during acceleration and deceleration.
What is a normal pressure advance value?
It depends on the extruder, nozzle and filament. Klipper gives a typical range of 0.050 to 1.000, with the high end mostly on Bowden printers. For direct-drive machines the values are usually small: Prusa’s MK3 PLA default is 0.05, and Bambu Lab’s pattern example landed at 0.018. Always calibrate rather than copy a number.
Do Bowden printers need a higher K factor?
Yes. Marlin states that Bowden extruders need a higher K factor than direct extruders, and Klipper uses a four times larger step for its Bowden tuning tower. A long tube adds compression, so the firmware has to push further ahead of the motion. On Marlin, a very high K can also cause the firmware to reduce acceleration.
Do I still need retraction with pressure advance?
Usually yes, but often less. Marlin notes that retraction may drop, in some cases even to zero, because pressure at the end of a line falls to nearly nothing. Klipper still recommends a small retract and wipe on retract to deal with ooze from sticky filament. Retune retraction after you set pressure advance.