Most FDM supports come off by hand or with flush cutters and pliers, if the slicer left a proper gap. How easily they come off is decided before printing. The key setting is the top contact Z distance: PrusaSlicer’s documentation says 50–75% of the layer height works well, and Bambu Lab recommends about 0.2 mm when the support is printed from the same material as the model. Adding 3–4 interface layers gives a cleaner surface without making supports harder to break away.
For shapes you cannot reach with tools, the realistic “hands-off” option at home is dissolvable support. PVA or BVOH dissolves in water under PLA, and HIPS dissolves in d-limonene under ABS. You need a printer that can switch materials (a single nozzle with a filament changer is enough), and dissolving takes hours, not minutes. Figures below come from Prusa and Bambu Lab documentation, linked at the end.
The consumer toolchanger 3D printer: the SnapSwap 4-toolhead system swaps heads in 5 seconds for true multi-color and multi-material printing, with smart calibration and auto filament loading.
- 4 toolheads · 5 s swap
- Up to 500 mm/s · 20,000 mm/s²
- 270 mm cube build volume
- Multi-color & multi-material

Which removal method to use
- Single-material printer, supports you can reach: break-away supports with tuned gap and interface settings, then cutters and a knife.
- Multi-material printer, visible supported surfaces: a break-away interface material with zero gap, such as Bambu Lab’s Support for PLA or Support for PLA/PETG.
- Internal cavities or supports you cannot reach, PLA model: PVA or BVOH, dissolved in warm water.
- Same situation, PETG model: BVOH. Prusa says PETG practically only works with BVOH, and Bambu Lab says PVA is not compatible with PETG.
- ABS model: HIPS, peeled off by hand or dissolved in d-limonene.
Slicer settings that make supports easier to remove
Every setting trades removal effort against the quality of the surface resting on the support. Change one at a time and print a small test piece with a flat overhang.
| Setting | Easier removal | Better supported surface | What the docs say |
|---|---|---|---|
| Top contact Z distance | Larger gap | Smaller gap | PrusaSlicer: 50–75% of layer height (0.10–0.15 mm at 0.2 mm layers). Bambu Studio: about 0.2 mm with the model material; 0 only with a dedicated support or soluble material. |
| Top interface layers | 3–4 dense layers give a solid face that separates cleanly | More layers, less sag | Prusa suggests 3–4 for bad surfaces; Bambu Lab shows 3 giving a stable, flat platform. |
| Support pattern | Rectilinear | n/a | Prusa: rectilinear is usually easiest to remove; rectilinear grid and honeycomb are sturdier and harder to remove. |
| Pattern spacing | Wider | Narrower | Prusa: increase it for easier removal, but interface layers sag if it gets too wide. |
| XY separation | Larger | Smaller | Prusa: a bigger gap reduces contact area and the chance of supports fusing to walls. |
| Sheath / “Tree Strong” | Off | On for tall, fragile supports | Prusa: a sheath makes supports harder to remove. Bambu Lab: Tree Strong branches are sometimes difficult to remove. |
| Support placement | Build plate only, or painted and enforcer supports | Supports everywhere | Supports that start on the model leave small marks where they grow from. |
| Support style | Organic or tree | Grid/normal for large flat overhangs | Prusa describes organic supports as easily removable, fast to print and unlikely to scar the surface. |
Before touching support settings, try rotating the part. Prusa’s guides put orientation first, and splitting a model with the cut tool and gluing it afterwards often removes supports altogether. Bambu Studio’s default overhang threshold is 30°. For a deeper look at the interface options, see support interface settings for easy detachment. To design parts that need fewer supports in the first place, see designing for breakaway supports.
Removing break-away supports by hand
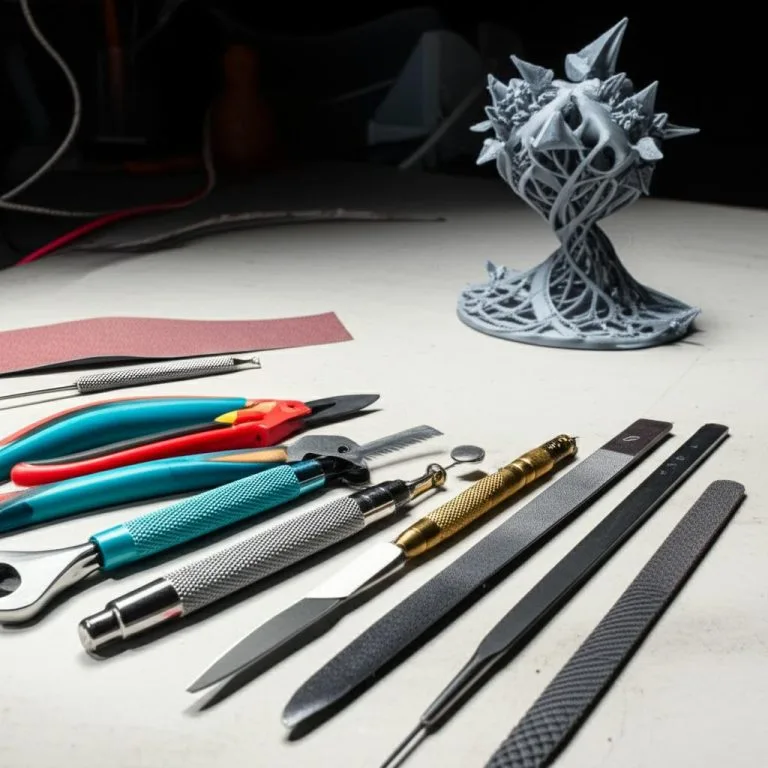
Tools: flush cutters, needle-nose pliers, a scalpel or craft knife, a deburring tool for edges, and safety glasses. Prusa’s guide warns that support pieces can be surprisingly sharp and can fly off in random directions.
- Remove supports soon. Bambu Lab says to remove them within 2 hours for moisture-sensitive materials such as nylon and PA-based support filaments. Damp supports soften and stick. If one has sat too long, dry the part, let it cool, then remove the supports.
- Take off the bulk first. Grip the support body with pliers and bend it away from the part, not toward a thin feature.
- Cut near small features. Snip the support pillars around thin walls or pins instead of levering against them.
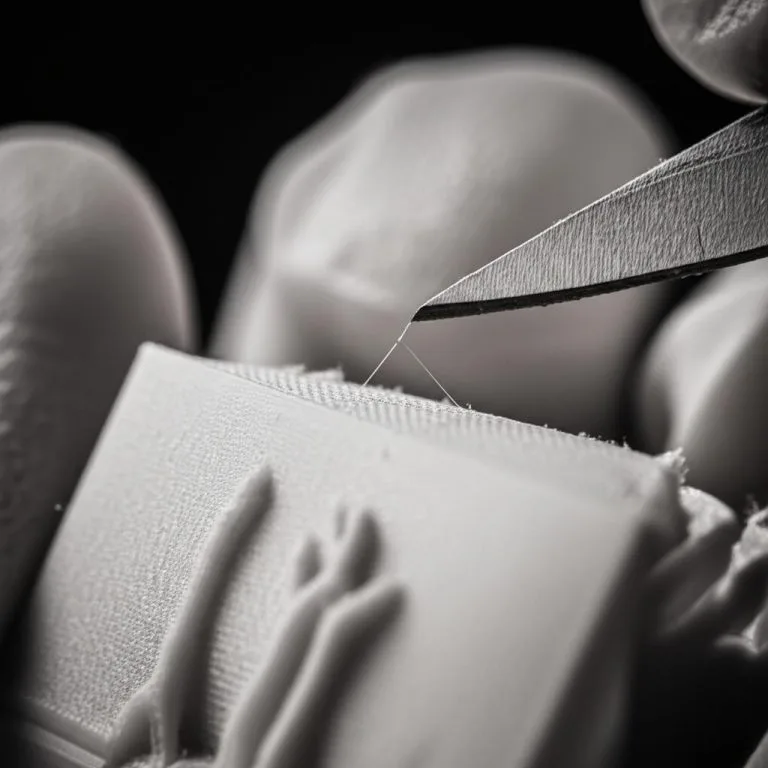
- Lift the interface layer. Slide a knife under a corner of the dense interface and peel it off in one sheet. Always cut away from your hand.
- Clean up the scars. Shave raised nubs flat with the knife or deburring tool, then sand. See the sanding grit progression guide for a smooth finish.
Break-away interface materials
On a printer with a filament changer or several toolheads, you can print only the interface layers in a material that does not bond well to the model. Bambu Lab’s support filaments (Support for PLA, Support for PLA/PETG, Support for PA/PET, and Support for ABS, which is mostly HIPS) let you set a top Z distance of 0 and still peel supports off. The supported surface then comes out much smoother. Bambu Lab recommends using the support filament only for the interface and the model material for the support body, which saves time and filament. Two warnings from Bambu Lab’s guides: match the support filament to the model material, because the wrong pairing (for example Support for PLA under ABS or PC) can clog the extruder or nozzle, and expect longer prints because of filament changes and purging.
Dissolvable supports: PVA, BVOH and HIPS
| Support material | Model materials | Dissolve in | Time and temperature | Watch out for |
|---|---|---|---|---|
| PVA / PVA+ | PLA (not PETG, per Bambu Lab) | Water | A few hours to over ten; warm water with stirring is faster. Prusa’s limit is 45 °C; Bambu Lab’s is 50 °C for PLA models. | Very hygroscopic. Bambu Lab says freshly dried PVA gets damp in about 1–3 hours at around 55% RH. |
| BVOH | PLA and PETG | Water | Several hours; Prusa: about 1 g dissolves in roughly 20 g of water | Prusa calls it the better but more expensive option, stiffer and easier to print than PVA+ |
| HIPS (e.g. Bambu Support for ABS) | ABS | d-limonene, or peel by hand | Not specified; depends on the part | Limonene flash point about 48 °C: keep it away from heated beds and flames. Use FKM gloves, not latex, and ventilate. |
| PVB | Named by Prusa as an alternative | Isopropyl alcohol | Not specified | IPA is flammable; work away from ignition sources |
Printing soluble supports without failures
- Keep it dry the whole time. Bambu Lab asks for below 20% RH in the AMS or dry box during printing, and suggests calcium chloride desiccant because silica gel does not keep PVA dry for long. Prusa warns that damp PVA+ or BVOH causes loading problems and clogs.
- Use the soluble material only at the interface when supports stand on the build plate. That is PrusaSlicer’s SOLUBLE INTERFACE preset. Prusa notes that PVA+ and BVOH stick poorly to PEI sheets but well to PLA and PETG.
- But use PVA for the whole support in Bambu Studio, with normal (grid) supports rather than tree supports, which can collapse. Bambu Lab recommends PVA for both the support base and the interface.
- Set top Z distance to 0 and purge enough. Prusa raises the MMU purge from the default 140 mm³ to at least 200–240 mm³, because leftover PLA mixed into the support will not dissolve.
- Expect slower prints. Prusa’s profiles limit PVA+ and BVOH to 4 mm³/s of volumetric flow, against 15 mm³/s for PLA.
Dual-nozzle, IDEX and toolchanger printers
On a printer with a separate nozzle for each material, such as an IDEX machine, a toolchanger like the Prusa XL or a dual-hotend printer like the Bambu Lab H2D, the soluble filament has its own hotend. You don’t have to purge PLA out of a shared nozzle at every change, but new problems appear:
- The idle nozzle oozes. In PrusaSlicer, leave Ooze prevention on (Print Settings → Multiple extruders). It drops the temperature of inactive tools to the filament’s Idle temperature. Prusa’s XL material-combination guide warns that with it off, every tool stays at print temperature for the whole job, which causes heavy oozing, material degrading in the melt zone and possible clogs. For PVA that sits idle for long stretches, this matters.
- Keep a wipe or prime tower. The tool that has just been picked up loses material to oozing, so it primes on the tower before it touches the part. On the XL this is the “Minimal purge on wipe tower” value (Filament settings → Advanced): Prusa’s default is 15 mm³ for PLA and 35 mm³ for other materials, and it recommends 35 mm³ for each extruder when PLA is combined with another material.
- Assign the tools on purpose. PrusaSlicer has separate settings for the support/raft/skirt extruder and the support interface extruder; 0 means “use the current extruder”. Pick the soluble tool for the interface, or for both, depending on the approach described above.
- Switch off the sheath. Prusa’s XL guide notes that a solid sheath around soluble supports makes them very difficult to remove.
- Watch the temperature pairing. Bambu Lab says not to print PVA on one H2D hotend while the other prints PETG: the 70 °C bed used for PETG can soften PVA and clog the nozzle. PVA, BVOH, PLA and PETG are classed as low-temperature filaments that may soften above a 45 °C chamber, so Bambu Studio will not combine them with high-temperature materials such as ABS or PC in one job.
- Calibrate the nozzle offsets. If the two nozzles are not aligned in X and Y, the soluble interface lands off the model edge. See the dual extrusion calibration guide.
Dissolving step by step
- Break off as much support as you can while it is still dry, as Prusa recommends.
- Put the part in warm water, no hotter than 45 °C (Prusa’s limit), and leave it for a few hours or overnight. Stirring now and then speeds it up.
- Pull away the softened remains, then give the part another 10–20 minutes in warm water and scrub it with a stiff toothbrush.
- Let the part dry fully. Bambu Lab warns that water can get into the infill of FDM parts during soaking.
- Dispose of the solution. Prusa says small hobby quantities of PVA/BVOH solution can go down the drain. Treat limonene waste according to local rules.
What “automated” support removal means for hobbyists
Industrial FDM systems do automate this. Stratasys, for example, sells the SCA 1200HT and SCA 3600 support cleaning tanks, which remove soluble support from ABS, PC and nylon parts using its WaterWorks or EcoWorks solutions.
At home, “automated” comes down to three things. The slicer can generate and place supports for you, including painted supports, enforcers and blockers. A multi-material printer can print a support or soluble interface without any change of hardware. And you can leave a part in warm water and stir it now and then, which Bambu Lab says speeds up PVA. None of these removes the need to design for supports. If a part needs hours of soaking every time, reorienting or splitting it is often the bigger win. Printing in resin instead? That process is different; see resin print support removal.
Common support removal problems
| Problem | Likely cause | Fix |
|---|---|---|
| Supports fused to the part | Top Z distance too small for same-material support | Raise the gap (PrusaSlicer 50–75% of layer height, Bambu about 0.2 mm), increase XY separation |
| Rough, droopy surface above supports | Gap too large, too few interface layers, or interface spacing too wide | 3–4 interface layers, tighter interface spacing, or a dedicated interface material |
| Supports break off in crumbs, not sheets | No dense interface, sparse pattern | Add interface layers; use the rectilinear pattern |
| Thin features snap during removal | Levering against the part | Cut pillars first; use organic or tree supports that touch only where needed |
| PVA support barely dissolves | PLA mixed in from too little purging, or very dense support | Increase purge volume; break off the bulk dry; use warm water and stir |
| Soluble filament clogs or won’t load | Absorbed moisture | Dry per the maker’s guide, print from a sealed box below 20% RH |
| PLA part warped in the water bath | Water too hot | Keep it at or below 45–50 °C |
| Nylon or PA support sticks after a few hours | Moisture absorbed after printing | Remove within 2 hours, or dry the part first |
| Blobs or strings of PVA on the model (dual-nozzle printer) | The idle nozzle oozes while the other one prints | Keep ooze prevention and idle temperatures on, and print a wipe tower |
| Soluble interface sits beside the overhang instead of under it | Nozzle offsets between the two hotends are off | Run the printer’s nozzle offset calibration |
If you are choosing a printer or add-on for soluble supports, MMU, IDEX and Palette systems compares the options.
Frequently asked questions
Can I print soluble supports on a single-nozzle printer?
Yes, if it has a filament changer. Prusa uses PVA+ and BVOH with its MMU3 and MMU2S units, and Bambu Lab printers use the AMS to switch to PVA. What you cannot do is print soluble supports on a single-extruder machine with no way to change filament during the print.
How long does PVA take to dissolve?
Plan on a few hours to overnight. Bambu Lab says from a few hours to more than ten, depending on how much support there is. Warm water and stirring speed it up, but keep the water at or below 45–50 °C for PLA parts so they do not deform. Breaking off the bulk first saves a lot of time.
What is the best top Z distance for easy support removal?
When the support is printed in the model material, PrusaSlicer suggests 50–75% of the layer height and Bambu Studio suggests about 0.2 mm. Set it to 0 only when you use a dedicated support or soluble interface material, otherwise the supports fuse to the part.
Why are my supports so hard to remove?
The usual causes are a gap that is too small, a sturdy pattern (rectilinear grid, honeycomb or a sheath), and supports starting on the model itself. Increase the top Z distance and XY separation, switch to a rectilinear or organic support, and try supports on the build plate only.
Sources
- Prusa Knowledge Base: Support material (PrusaSlicer)
- Prusa Knowledge Base: Water-soluble materials (PVA/BVOH)
- Bambu Lab Wiki: Support settings in Bambu Studio
- Bambu Lab Wiki: Support filament usage guide (PVA, Support for ABS and limonene)
- Bambu Lab Wiki: H2D/H2C multi-material printing guide
- Stratasys Support Center: SCA 3600 and SCA 1200HT