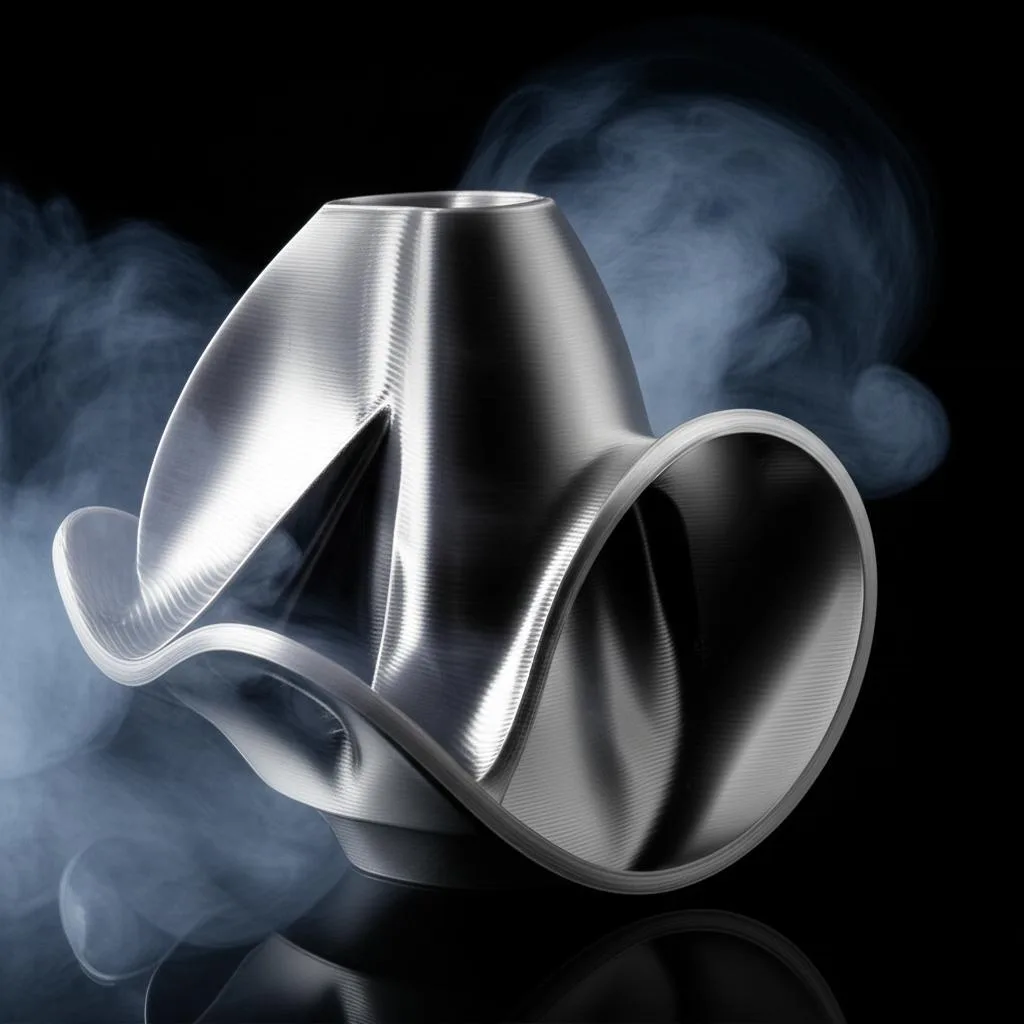
Acetone vapor smoothing works by suspending an ABS or ASA print above liquid acetone in a container that is deliberately not airtight, and letting the vapor soften the outer skin until the layer lines flow together. In the setup Prusa documented and tested – a polypropylene box on a heatbed at roughly 80 °C, about 5 mm of acetone in the bottom, the model on a raised metal plate – 20 minutes was the working figure. Prusament ASA was glossy after 15-20 minutes; most other ABS and ASA filaments Prusa tried needed 20-40 minutes.
Those are starting points for one box, not settings to copy blind: chamber volume, room temperature, wall thickness and filament brand all move the number, so a first run on a new setup is a run you watch. Below: which filaments respond to acetone, what each exposure band costs in detail, the chamber and procedure, and the acetone handling data that carries the real risk – flash point, explosive limits and exposure limits from a manufacturer safety data sheet, the NIOSH Pocket Guide and the UK HSE list.
The consumer toolchanger 3D printer: the SnapSwap 4-toolhead system swaps heads in 5 seconds for true multi-color and multi-material printing, with smart calibration and auto filament loading.
- 4 toolheads · 5 s swap
- Up to 500 mm/s · 20,000 mm/s²
- 270 mm cube build volume
- Multi-color & multi-material

Acetone smoothing in seven steps
- Check the material. Only ABS, ASA and some HIPS respond to acetone.
- Remove supports and trim seams; smoothing rounds defects over rather than removing them.
- Work outdoors or under an extract fan, away from every pilot light and spark source.
- Charge a polypropylene, glass or metal box with acetone-soaked paper, or a shallow pool of acetone.
- Stand the print on a metal plate a few centimeters clear of the liquid; rest the lid on top, never clamp it.
- Watch every few minutes; pull the part as soon as the gloss closes over the layer lines.
- Lift out the plate with the print still on it and leave it untouched for several hours to a day.
Which filaments acetone smooths, and which it wrecks
| Filament | Acetone vapor | What the source says |
|---|---|---|
| ABS | Yes | Prusa calls ABS and ASA with acetone by far the most suitable combination; 20-40 min in its heated box for most brands |
| ASA | Yes, usually fastest | Prusament ASA was glossy in 15-20 min in the same box |
| HIPS | Partly | Prusa smoothed some HIPS with acetone fumes; its normal solvent is d-limonene |
| PLA | No | Hours of acetone vapor left Prusa’s samples slightly softer, not smooth; an acetone bath bleached some colors and cracked the models through solvent crazing |
| PETG | No | Prusa smooths PETG with dichloromethane, a restricted solvent, not acetone |
| PVB | No – use IPA | Prusa smooths PVB with isopropyl alcohol; vapor alone can take hours |
Polycarbonate, nylon and TPU are not acetone materials either. One side note: acetone will not smooth PLA, but Prusa found it bonds PLA parts like superglue.
Exposure time against finish and detail loss
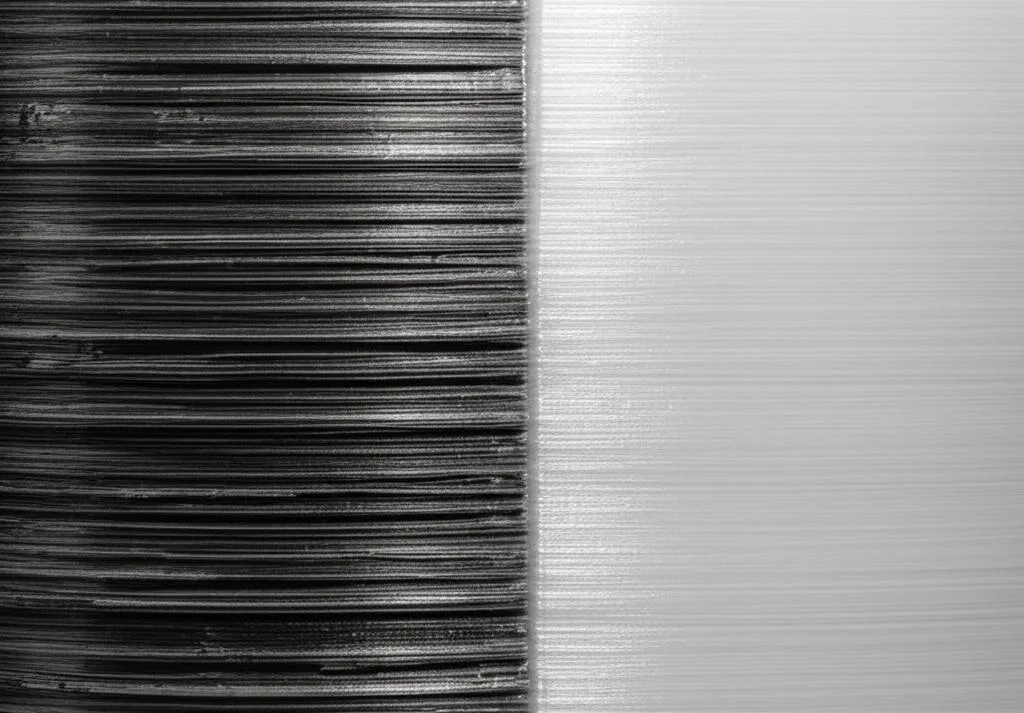
These bands are anchored to Prusa’s heated box (heatbed near 80 °C, roughly 5 mm of acetone, part raised on a plate). A cold chamber runs far slower, so treat every figure as a checkpoint for looking at the part, not a timer to trust.
| Exposure | Typical surface | What you lose |
|---|---|---|
| 5-10 min | Faint sheen, layer lines still clearly readable | Nothing; a useful first look |
| 15-20 min | Gloss closing over the layer lines on easy filaments such as Prusament ASA | Sharp edges start to soften, engraved text starts to fill |
| 20-40 min | Glossy on most of the ABS and ASA brands Prusa tested | Small raised detail rounds off; thin walls can twist |
| Beyond 40-60 min | Two of the ten filaments Prusa tested still showed layers at one hour | Parts deform irreversibly; more time does not rescue a stubborn filament |
Pigment can fake the result: on one grey ASA Prusa found the layers stayed visible while the surface was already mirror-smooth. Geometry matters as much as time – tiny complex models lose detail, large flat parts warp, thin sections twist – and the finer your layers, the less surface has to flow to close them.
The chamber and the procedure
- Container: something acetone does not attack. Prusa uses a transparent polypropylene storage box; glass and metal work too. Never ABS or ASA – the box dissolves with the print.
- A lid that is not sealed. Prusa is explicit: no rubber gasket, no locking clips, just a light plate resting on top with a couple of small holes.
- A raised metal platform, a few centimeters (one to two inches) up, so the part only ever sees vapor. An old spring steel sheet lets you lift it out without touching it.
- PPE: splash goggles, gloves chosen for acetone specifically, and a NIOSH-approved organic vapor respirator if the ventilation is anything less than outdoor air. A dust mask does nothing against solvent vapor.
- Fan and heat are optional, for experienced users only. Any heater sits outside the box, never in the acetone; Prusa warns that faulty electronics inside a solvent-vapor box can spark and ignite the fumes.
- Prepare the part. Supports and brim off, seams trimmed, surface dry.
- Charge the chamber. Cold method: line the bottom and the walls around the model with acetone-soaked paper towel – Prusa calls this the safest option and it suits small models. Heated method: a shallow layer of acetone, around 5 mm, straight into the bottom.
- Platform in, part on it, level and well clear of any liquid. Lid resting on top, not locked.
- Heat only from outside. Prusa’s box stands on a printer heatbed at about 80 °C, in sight the whole time.
- Watch, do not wait. Look through the wall of the box every few minutes and pull the part when the surface closes; a cold chamber may need several times the heated figures.
- Move the plate, not the part. The model stays soft for hours; lift the whole platform into a clean, dry, ventilated box.
- Let it recover for several hours, up to a day, untouched. Prusa notes parts can still smell of acetone days later – that is solvent still leaving the plastic.
Handling acetone: flammability, exposure limits and gloves
The figures below come from the W. M. Barr safety data sheet for Klean-Strip Acetone (100% acetone, 2019 revision) and the NIOSH Pocket Guide entry for acetone.
- Flash point 0 °F, about -18 °C (Tag closed cup), classified Flammable Liquid Category 2, signal word Danger. Acetone gives off ignitable vapor at any room or garage temperature.
- Explosive limits 2.5% to 13.0% in air at 77 °F; NIOSH gives 12.8% as the upper limit. A closed box over a pool of acetone sits inside that range – hence the loose lid.
- Autoignition 869 °F (465 °C), boiling point 133 °F (56 °C), vapor pressure 213 mm Hg at 77 °F.
- The vapor is heavier than air and runs along floors. The SDS rules out small enclosed spaces such as basements and bathrooms, and anywhere near furnaces, pilot lights and stoves.
- Static counts: ground and bond containers, use non-sparking tools, and use explosion-proof electrical, ventilating and lighting equipment.
- If it ignites: carbon dioxide, dry powder or alcohol-resistant foam. Acetone mixes with water completely, so a splash of water is not a fire plan.
- Keep it away from acids, aldehydes, alkalies, amines, ammonia, oxidizers, reducing agents and chlorine compounds.
| Exposure limit | Value for acetone | Set by |
|---|---|---|
| OSHA PEL, 8-hour TWA | 1000 ppm (2400 mg/m3) | US legal limit, via NIOSH Pocket Guide |
| NIOSH REL, TWA | 250 ppm (590 mg/m3) | NIOSH recommendation |
| ACGIH TLV / STEL | 500 ppm / 750 ppm | Listed in the Klean-Strip Acetone SDS |
| UK WEL, 8-hour / 15-minute | 500 ppm (1210 mg/m3) / 1500 ppm (3620 mg/m3) | HSE EH40/2005, fourth edition |
| IDLH | 2500 ppm, which is 10% of the lower explosive limit | NIOSH |
Nobody at home measures ppm, so use the symptom rule the SDS gives instead: strong odor, slight dizziness, headache, nausea or watering eyes means the ventilation is inadequate – stop and get fresh air. The same SDS notes that irritation, mood changes and nausea are reported from roughly 500 ppm upward.
Gloves are where most workshops get it wrong. Ansell’s permeation guide rates nitrile as not recommended for acetone, gives unsupported neoprene and natural rubber about 10 minutes to breakthrough, and only laminate film holds out past 480 minutes. The Klean-Strip SDS lists nitrile, natural rubber and neoprene as materials that “may provide protection” and refers you to the glove supplier; the permeation data is more specific. For brief contact, change the glove the moment it is wet; for sustained contact with liquid acetone, use laminate or butyl.
Store acetone in its original container, closed, cool and ventilated, and dispose of used acetone and soaked paper as hazardous waste, not down a drain. If you print ABS indoors, that room also needs a plan for print fumes – see ventilating and filtering ABS fumes.
DIY box, smoothing station or finishing service
| Setup | What it gives you | What it costs you |
|---|---|---|
| DIY box, no heat | Cheapest route, full control, works today; the method Prusa documents as safest | Every safety control is yours; results vary run to run and across large parts |
| DIY box with external heat and a fan | Faster and more even; the source of the 80 °C, 20-minute figures | Higher fire risk, so experienced users only; never unattended |
| Commercial smoothing station | Even solvent dispersion at low temperature and repeatable cycles; Prusa points to the Polymaker Polysher and Zortrax Apoller | High purchase price; check which solvents and materials it is rated for |
| Outsourced finishing service | No equipment and no solvent in your workshop; consistent results on batches | Per-part cost and shipping time; you lose the fast iteration loop |
Prices move too fast to quote usefully, so judge on control and attention instead. For most hobbyists that means a cold DIY box for small cosmetic parts and sanding for anything dimensional. The printer side comes first either way: a warped part leaves the vapor box as a shiny warped part, so start with printing ABS without warping.
Common mistakes and when to skip acetone

- Sealing the chamber. A clamp-lid jar looks like the right tool and is the one thing Prusa tells you not to use, especially with heat.
- Letting liquid touch the part. Condensation off a lid, or a platform set too low, gives the droplet-marked faces in the photo above.
- Touching it too early. The surface can feel firm and still take a fingerprint. Move the plate, wait hours, then handle.
- Smoothing functional parts. Prusa is direct: the process changes dimensions and sharp edges and the gain is aesthetic. Fits, threads and bearing seats do not survive it.
- Adding time to a filament that will not cooperate. Two of Prusa’s ten test filaments still showed layers at an hour and just deformed with longer exposure.
- Using it where sanding is the answer. For PLA, PETG or a surface you will paint, a grit progression is more controllable – see how to sand 3D prints and the post-processing starter kit.
- Confusing smoothing with joining. For an invisible seam between two ABS or ASA pieces you want solvent welding – same chemical, same fire rules, different technique.
Frequently asked questions
Can I use acetone vapor on PLA or PETG?
No. Prusa exposed PLA samples to acetone vapor for several hours and got slightly softer parts with the layer lines still visible; an acetone bath bleached some colors and eventually cracked the models through solvent crazing. PETG needs dichloromethane, a restricted solvent that is not a home-workshop option. Acetone smoothing is an ABS, ASA and partly HIPS technique.
How long should my first acetone run be?
Shorter than you think, then look. In Prusa’s heated box at about 80 °C, Prusament ASA was done in 15-20 minutes and most ABS and ASA brands in 20-40 minutes, so a first check at 10 minutes tells you which end of that range your filament sits at. A cold chamber runs slower, which is a feature: more chances to stop at the right moment.
Does acetone smoothing make ABS parts stronger?
Not in a way you should design around. Prusa’s test on smoothed Prusament ASA measured more than twice the layer adhesion and slightly better impact toughness, but a slightly lower force at which the material tore in tensile testing. Prusa still advises against smoothing functional parts, because dimensions and sharp edges change. Treat the finish as cosmetic and sealing, not structural.
Is hardware-store acetone the right stuff?
Acetone sold as 100% acetone is what the safety data in this guide describes, and it is the predictable choice. Nail polish removers are blends whose other ingredients are not declared for this use, so their behavior in a vapor chamber cannot be looked up. Read the safety data sheet for whatever you buy, and note that at least one manufacturer advises using the product within a year of purchase.
Sources
- Prusa Research: Improve your 3D prints with chemical smoothing – chamber design, acetone quantity, heatbed temperature, exposure times, PLA and PETG tests, mechanical results
- W. M. Barr: Klean-Strip Acetone safety data sheet, revision 06/2019 – GHS class, flash point, explosive limits, handling, exposure limits, PPE
- NIOSH Pocket Guide to Chemical Hazards: acetone – REL, OSHA PEL, IDLH, explosive limits
- HSE EH40/2005 Workplace exposure limits, fourth edition – UK acetone limits
- Ansell chemical resistance guide, seventh edition – acetone breakthrough times by glove material