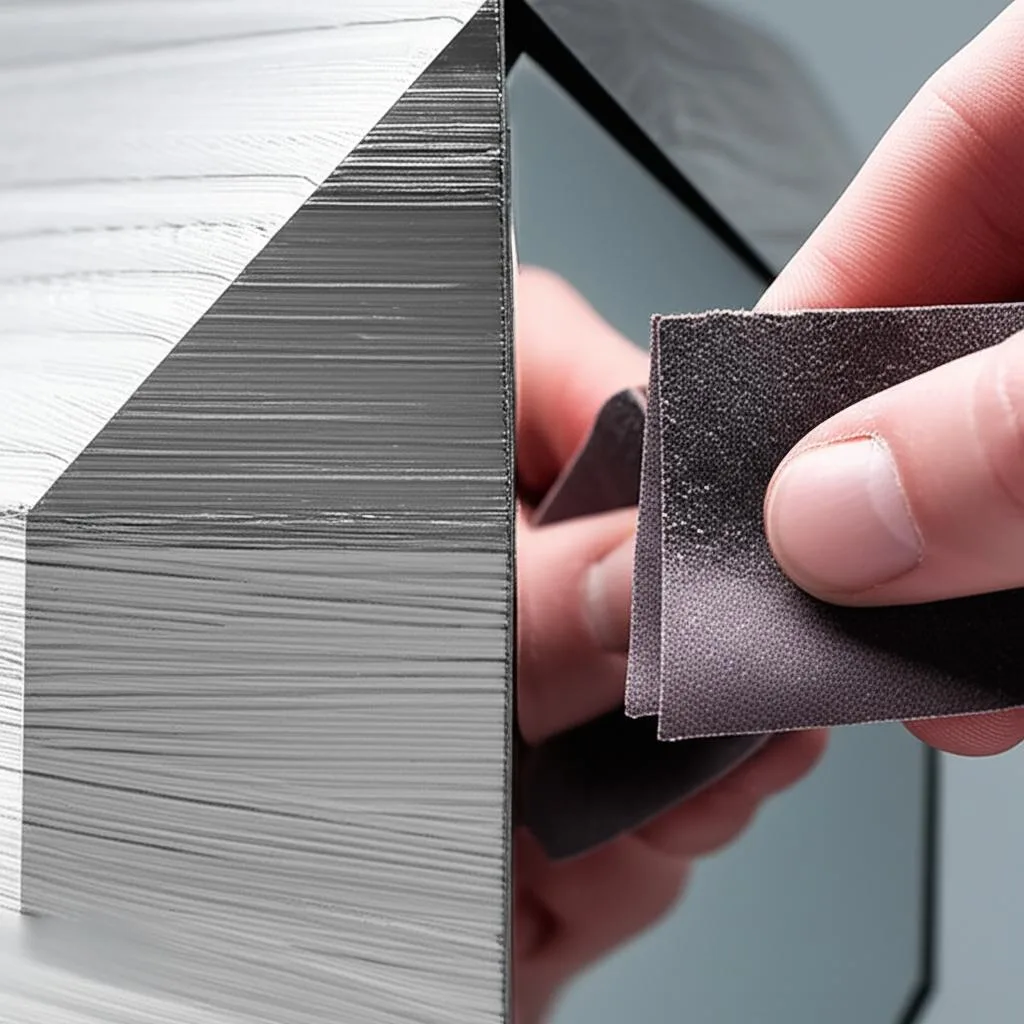
To sand an FDM print smooth, start coarse enough to flatten the layer lines (around P100–P120 for heavy lines or support scars, P220 for a clean print), then step up so that each new grit roughly halves the particle size of the last one: P120, P220, P400, P800, then P1500 or P2000 if you want bare, polished plastic. If the part will be primed and painted, you can usually stop at P400, which is where Prusa finishes its painted props.
Sand PLA wet, or at least slowly: it softens above about 60 °C, and friction gets there faster than you expect, especially with power tools. Check which grading system your paper uses before you buy, because a US “600 grit” sheet is much finer than a European P600. The grit sizes below come from Klingspor’s FEPA/CAMI conversion chart and the rotary tool speeds from Dremel’s published settings. The starting grits are practical guidance, not published figures, so adjust them to your print.
The consumer toolchanger 3D printer: the SnapSwap 4-toolhead system swaps heads in 5 seconds for true multi-color and multi-material printing, with smart calibration and auto filament loading.
- 4 toolheads · 5 s swap
- Up to 500 mm/s · 20,000 mm/s²
- 270 mm cube build volume
- Multi-color & multi-material

Sanding sequence at a glance
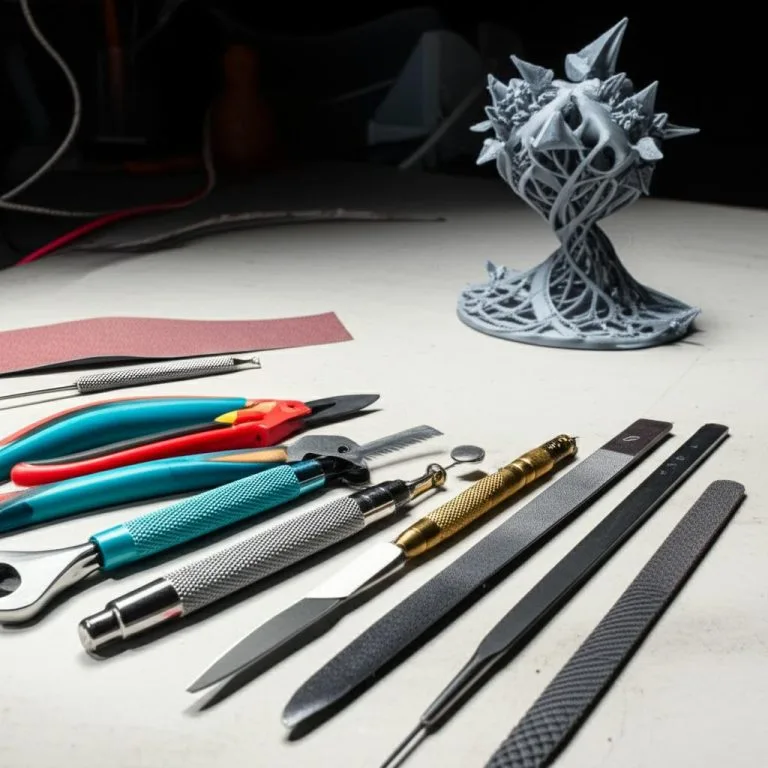
- Remove supports and trim blobs with a knife or deburring tool first. Sandpaper is slow at removing lumps.
- Level the surface dry with P100–P220 on a block until the layer lines are gone and the scratch pattern is even.
- Fill gaps and pits, spray a filler primer, and sand again (repeat until the primer shows no defects).
- Go to P400. Stop here if you are painting.
- For bare plastic, continue wet: P800, P1500, P2000, then polish.
- Rinse or wipe the part between every grit so loose coarse grains don’t scratch the finer stage.
P grades vs CAMI grit: what the numbers mean

Two grading systems are in use. FEPA “P” grades are printed with a P before the number and are the European standard; CAMI grades have no prefix and are common on US paper. Up to about 220 they are nearly the same. Above that they drift apart, and by the fine end a CAMI number means roughly half the P number. If you mix brands, compare the particle size, not the number on the back.
| FEPA grade | Average particle size | Closest CAMI grade | Typical job on a 3D print |
|---|---|---|---|
| P100 | 156 µm | 100 (141 µm) | Heavy layer lines, support scars, sanding body filler |
| P120 | 127 µm | 120 (116 µm) | First pass on rough FDM surfaces |
| P220 | 65 µm | 220 (66 µm) | First pass on clean prints; removing P100–P120 scratches |
| P400 | 35 µm | 320 (36 µm) | Final sanding of primer before paint |
| P800 | 21.8 µm | 400 (23.6 µm) | Start of wet sanding for bare plastic |
| P1200 | 15.3 µm | 600 (16 µm) | Smooth, satin surface |
| P1500 | 12.3 µm | 800 (12.3 µm) | Pre-polish |
| P2000 | 9.5 µm | 1000 (9.5 µm) | Last step before polishing compound |
Particle sizes are from Klingspor’s grit system conversion chart. The “typical job” column is our guidance, not part of the standard. A practical rule that falls out of the chart: a step from P120 to P220, P220 to P400 or P800 to P1500 each roughly halves the particle size. Jumping further (for example P120 straight to P400) leaves scratches the finer paper takes a long time to reach the bottom of.
Choosing the starting grit
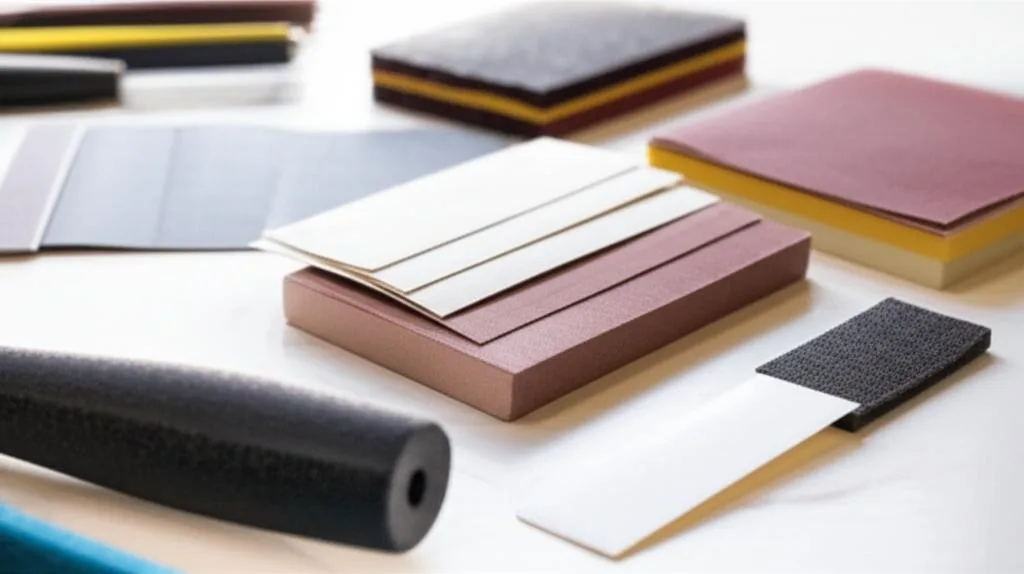
Start with the finest grit that still removes the defect in reasonable time. These are starting points; if nothing changes after steady sanding, drop one grade coarser.
- Big props, clearly visible layer lines, support scars: P100–P120. Prusa uses P100 for the rough sanding of its cosplay prints and between rounds of body filler.
- Fine layers, only faint lines: P220. You avoid cutting deep scratches you would then have to remove.
- Small details, edges, text: skip the coarse grades entirely and work with P400 on a sanding stick, or leave the area alone. Coarse paper rounds off crisp edges quickly.
- Cured resin prints: layer lines are much finer, so start around P400 and work wet. See post-curing and polishing SLA prints. Never sand resin that is not fully cured.
If you print the part yourself, the cheapest sanding is the sanding you avoid. A lower layer height and a well-placed seam reduce how much material you have to remove; the guide to eliminating visible layer lines covers the slicer side. Prusa also recommends at least 20% infill for parts you plan to post-process, because thin walls over sparse infill flex under a sanding block and can break through.
Dry vs wet sanding
| Dry sanding | Wet sanding | |
|---|---|---|
| Best for | Coarse leveling (P100–P400), sanding filler | P400 and finer, polishing prep |
| Paper | Any | Must be labeled wet/dry or waterproof |
| Heat | Builds up quickly on PLA | Water carries heat away |
| Dust | Airborne dust; needs extraction or a mask | Water damps dust into slurry |
| Seeing progress | Easy: scratches show on a dry surface | Wipe the part dry to check |
| Clogging | Paper loads up, especially with PLA and PETG | Rinse the sheet to clear it |
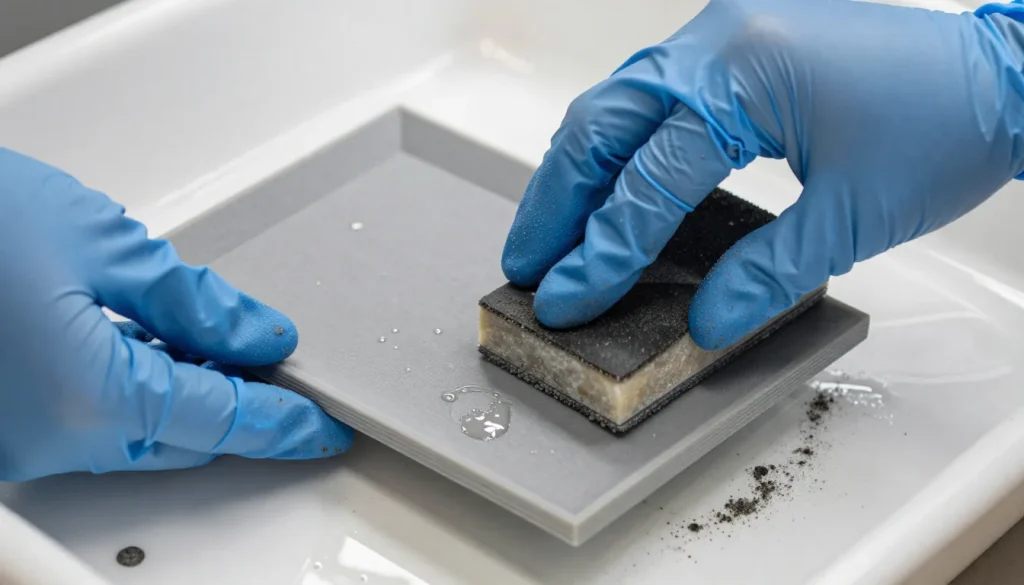
Prusa’s material guide is direct about PLA: sanding is possible, but it recommends wet sanding with water cooling to avoid damaging the part. PETG, according to the same guide, sands well both dry and wet. For wet sanding, keep a bowl of water with a drop of dish soap, dip the paper often, and use a sanding block or a finger wrapped in paper. Let the part dry completely before any filler or primer goes on.
Step-by-step: sanding an FDM print for paint
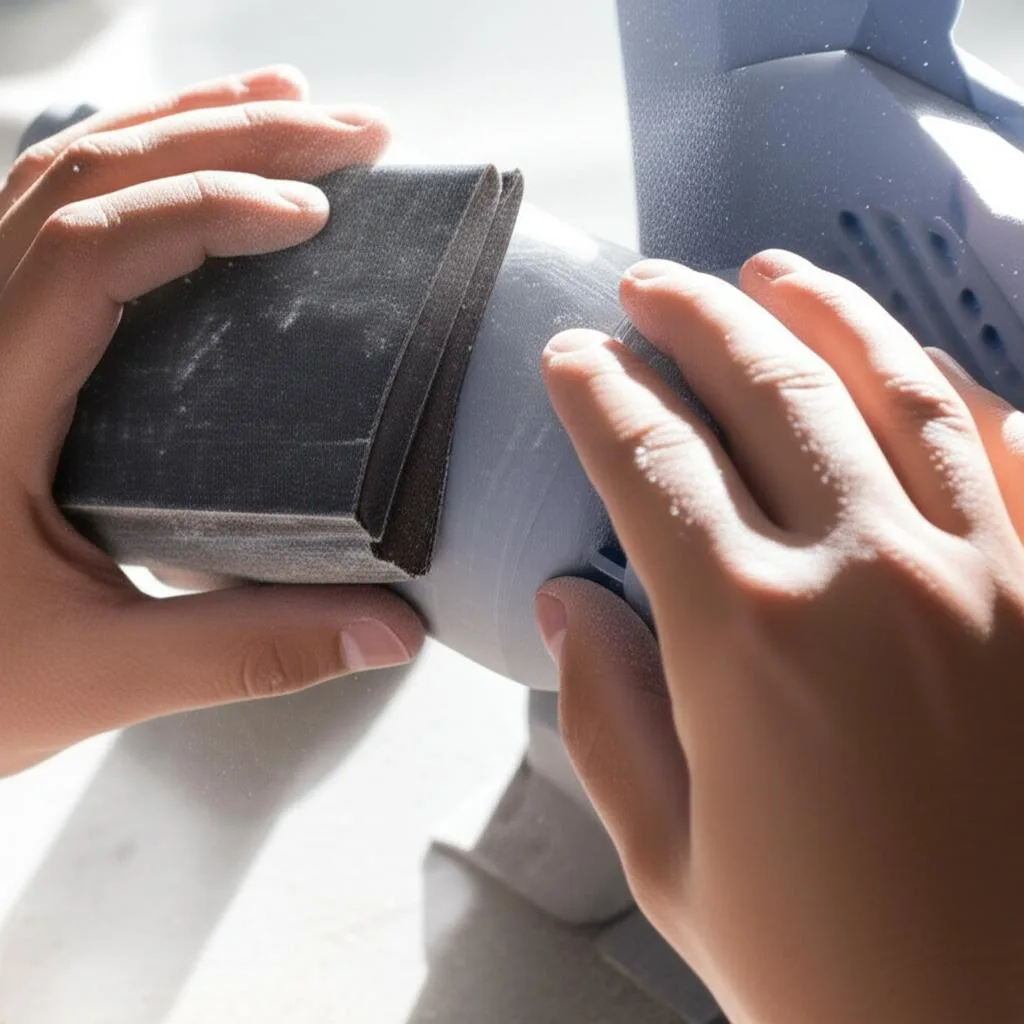
This sequence follows the workflow in Prusa’s step-by-step post-processing article, with the grit gaps filled in from the chart above.
- Dry-fit and glue. Tape the parts together first to see where the seams fall, then glue. Sanding across a joint after gluing blends it far better than sanding parts separately.
- Rough sand with P100–P120 on a block. The goal is a flat, uniformly dull surface. Prusa warns against cutting unnecessarily deep scratches; if you do sand through into the infill, fill it rather than reprinting.
- Fill gaps. Apply a thin layer of automotive body filler or modeling putty over seams and pits, let it dry fully, then sand it back with P100. Prusa repeats this until the gaps disappear.
- Spray filler primer as a guide coat. Prusa sprays from about 20 cm at a shallow angle of around 15°, in long strokes without stopping in one place. The uniform gray shows every dip and bump. Mark defects with a marker, then fill and sand again. Follow the distance and recoat times on your can.
- Step through P220 to P400. Change the sanding direction with each grit so you can see when the previous scratch pattern is gone. Wipe the dust off before changing paper.
- Base coat and final P400. Prusa sprays the base paint, then sands with P400, dry or wet, and repeats the primer and P400 step if the surface still isn’t smooth.
- Inspect under raking light. Hold a lamp low to the surface. Anything that casts a shadow will show through gloss paint.
For bare plastic, skip the paint steps and continue wet from P400 through P800, P1500 and P2000, then polish with a plastic polishing compound. Primer choice matters more on some materials than others; the material-specific primer guide covers PLA, ABS and resin.
Rotary tools and power sanders: speed and heat
Power tools save time on large, simple shapes and ruin fine details quickly. The limiting factor on thermoplastics is heat: PLA starts to soften above about 60 °C according to Prusa, and a spinning abrasive held in one spot reaches that easily. PETG, which Prusa rates for use below 80 °C, tolerates a machine sander better; Prusa chose PETG for a helmet specifically so it could be smoothed with a sander.
Dremel publishes recommended speeds per accessory and material. For plastic:
| Dremel accessory | Recommended speed on plastic |
|---|---|
| Sanding bands (drums) | 10,000–20,000 RPM |
| Sanding discs | 10,000–15,000 RPM |
| Flap wheels | 10,000 RPM |
| Finishing abrasive buffs | 20,000 RPM max |
| Bristle brushes | 15,000 RPM |
On Dremel’s speed chart, 10,000 RPM is dial setting 3 on a 400 Series XPR tool and setting 4 on a 300 Series tool; check the chart for your model. Start at the bottom of the range. Then:
- Keep the tool moving and use light pressure. If the dust turns into strings or the surface goes glossy, the plastic is melting: stop, let it cool, and lower the speed.
- Work in short passes and touch the part between them. If it feels warm, wait.
- Use power tools only for coarse work (support nubs, seams, leveling). Do the fine grits by hand.
- Keep water away from corded tools. Wet sanding is a hand job unless the tool is rated for it.
- Orbital sanders suit large, flat or gently curved panels only. On PLA, move constantly and check temperature often.
Dust and eye protection
Sanding plastic, filler and primer produces fine dust. The UK Health and Safety Executive’s guidance on dusty work applies well to a hobby bench: breathing small amounts regularly adds up and damages the lungs over years, so control the dust at the source first.
- Use water where you can. HSE notes that water damps down dust, but only if there is enough of it for the whole job.
- Vacuum, don’t sweep. Dry sweeping stirs up far more dust than vacuuming or wet wiping.
- Wear a well-fitting mask for dry or power sanding. HSE calls FFP3 the most advisable type for high dust levels; any mask only works with a tight seal to the face, so beards and loose straps defeat it.
- Wear safety glasses with side protection when using rotary tools, which throw particles.
- Wear gloves when sanding resin prints, and spray primers outdoors or in a well-ventilated space, as the can label directs.
Common sanding mistakes
- Buying by the number alone. A CAMI 600 sheet (16 µm) is about the same as P1200, not P600. Mixing the two systems is a common reason a “next grit” does nothing or leaves deeper scratches.
- Skipping grits. Each grade has to remove the previous one’s scratches. Primer and gloss paint make skipped scratches more visible, not less.
- Sanding without a block on flat areas. Fingers press harder in some places, leaving waves you only see after paint.
- Sanding PLA dry and fast. Friction softens the surface, the paper clogs with melted plastic, and the scratches smear instead of cutting clean.
- Going finer than the finish needs. Sanding to P2000 before primer wastes time; a filler primer is designed to cover fine scratches, which is why Prusa stops at P400 on painted parts.
- Sanding when another method is faster. For ABS and ASA, acetone vapor smoothing removes layer lines without paper, at the cost of some sharp detail.
Once the surface is ready, the beginner’s guide to painting 3D prints picks up where this one stops.
Frequently asked questions
What grit sandpaper should I use for PLA prints?
Start with P100–P120 for heavy layer lines or P220 for a clean print, then work up through P400. Stop at P400 if you will prime and paint, or continue wet to P1500–P2000 for bare plastic. Sand PLA wet or slowly, because it softens above about 60 °C.
Is 600 grit the same as P600?
No. Below about 220 the CAMI and FEPA P scales are nearly equal, but at the fine end they diverge. A CAMI 600 sheet has particles of about 16 µm, close to P1200, while P600 is about 25.75 µm. Check for the P prefix on the back of the sheet.
Should I wet sand or dry sand 3D prints?
Dry sand the coarse stages and body filler, where you need to see progress clearly. Switch to wet sanding from around P400 upward, and use it earlier on PLA because water keeps the surface cool and cuts dust. Use paper marked wet/dry or waterproof.
Can I use a Dremel to sand 3D prints?
Yes, for coarse work such as support nubs and seams. Dremel recommends 10,000–20,000 RPM for sanding bands on plastic and 10,000–15,000 RPM for sanding discs; start at the low end and keep the tool moving. Do the fine grits by hand.