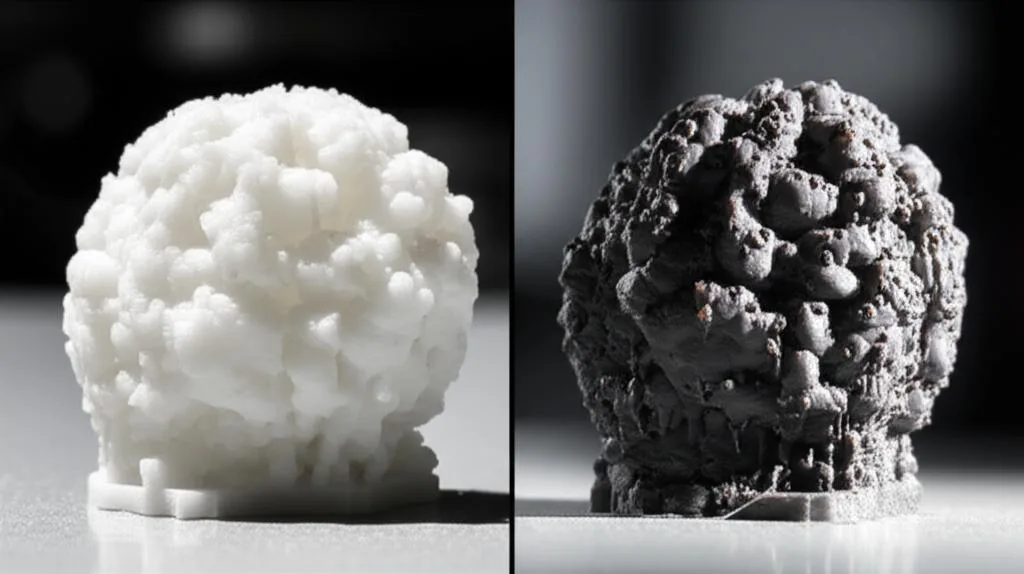
Over-extrusion means the printer lays down more plastic than the toolpath has room for, so the excess shows up as blobs and zits, ridges on top surfaces, walls that are too thick and holes that come out too small. In most cases the fix is a lower flow ratio (extrusion multiplier) in the slicer, but only after you have ruled out three things that produce the same symptoms: wrong extruder steps (E-steps), a filament diameter setting that does not match the spool, and a nozzle that is too hot.
Work from the printer outward: check E-steps first, then the slicer’s filament diameter, then flow, then temperature and the smaller settings. This page is the diagnosis: a symptom-to-cause table and the order to check things in. The full calibration procedures have their own guides, linked below, so they are not repeated here. Figures come from Prusa, Bambu Lab, Klipper and Simplify3D documentation listed at the end; anything that is a starting point rather than a published value is marked as such.
The consumer toolchanger 3D printer: the SnapSwap 4-toolhead system swaps heads in 5 seconds for true multi-color and multi-material printing, with smart calibration and auto filament loading.
- 4 toolheads · 5 s swap
- Up to 500 mm/s · 20,000 mm/s²
- 270 mm cube build volume
- Multi-color & multi-material

Over-extrusion checklist in five steps
- Confirm it really is over-extrusion: the defect is everywhere, not only at corners, seams or the first layer.
- Check extruder calibration: ask for 100 mm of filament and measure what actually goes in.
- Check the filament diameter in the slicer against a caliper reading of the spool.
- Calibrate flow for that filament and lower it until top surfaces are smooth without gaps.
- If blobs remain, look at temperature, pressure advance, retraction and ironing, in that order.
What over-extrusion looks like
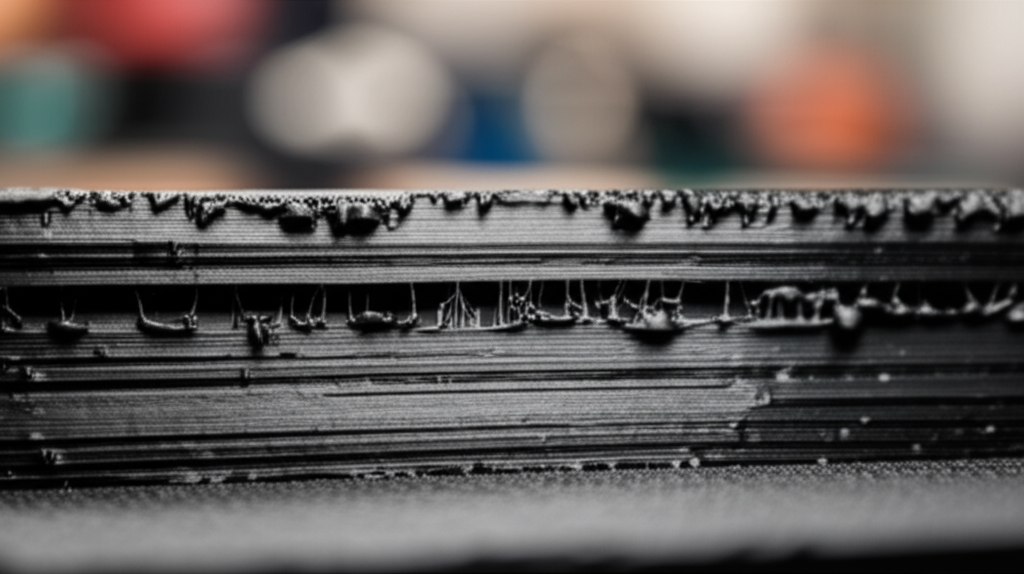
Bambu Lab’s flow rate guide describes too high a flow as “blobs or lines that overlap too much”, and lists excess material forming blobs or zits and layers that look too thick as the signs to look for. Prusa’s extrusion multiplier guide points to the top layer: with too much flow, plastic builds up near the perimeters and leaves an uneven surface. In practice you will usually see several of these at once:
- Top surfaces with raised ridges between lines, or a rough, wavy band along the perimeters.
- Blobs and zits spread over the walls, not only at the seam.
- Parts that measure too large and holes that measure too small, so press-fit parts will not go together.
- The nozzle scraping the print or picking up plastic, which then drops back as dark lumps.
- Sharp details and small text filled in, because each line is wider than the slicer planned.
Three look-alikes are not a flow problem. A bulge only at corners is a pressure problem: see pressure advance. A flared bottom few layers is elephant’s foot. A first layer with ridges and a squashed look, while the rest of the print is fine, usually means the nozzle is too close to the bed; that belongs to the first layer guide, not to flow.
Over-extrusion diagnosis table
| Symptom | Most likely cause | How to check | Fix |
|---|---|---|---|
| Too much plastic on every print, every filament | E-steps or rotation distance set too high | Request 100 mm of filament, measure what went in | Recalibrate extruder steps (E-steps guide) |
| Over-extrusion started with a new spool or brand | Flow ratio too high for this filament, or real diameter above the slicer setting | Caliper the filament in several places; run a flow test | Set the measured diameter, then calibrate flow per filament |
| Ridges on top surfaces, walls slightly too thick | Flow ratio / extrusion multiplier too high | Flow calibration print; inspect the top layer | Lower flow in 1–2% steps (Prusa) until the top is smooth |
| Glossy, saggy walls, oozing, blobs during travel | Nozzle temperature too high for the filament and speed | Temperature tower | Print at the coolest temperature that still bonds well |
| Blobs at corners and line ends, thin line starts | Pressure advance / linear advance too low or off | Pressure advance test | Tune pressure advance, not flow |
| Plastic piled up at the edges of an ironed top | Ironing flow too high | Compare ironed and non-ironed tops | Lower ironing flow; Prusa notes ironing is very sensitive to extruder calibration |
| Wide, smeared lines after a nozzle swap | Printer or slicer profile set for a larger nozzle than the one installed | Check the nozzle marking and the profile | Select the profile that matches the installed nozzle |
| Only the first layer looks over-extruded | Z-offset too low | First layer test pattern | Raise the Z-offset in small steps |
E-steps vs flow: which one to change
E-steps (Marlin) or rotation distance (Klipper) tell the firmware how far the extruder motor has to turn to feed 1 mm of filament. It is a property of the extruder hardware and applies to every filament. Flow ratio, also called extrusion multiplier, is a slicer percentage that scales how much plastic the slicer asks for. It belongs to the filament profile. If the extruder feeds too much because E-steps are wrong, lowering flow hides the problem for one filament and brings it back with the next one.
So the order is fixed: measure the extruder first, and change E-steps only if a 100 mm request feeds noticeably more or less than 100 mm. The measuring procedure and the Marlin and Klipper commands are in our E-steps calibration guide. Klipper’s documentation gives the correction as the previous rotation distance multiplied by the actual extruded distance, divided by the requested distance. Once the extruder is right, tune the slicer side with flow rate calibration. Bambu Lab adds one more rule: do its other calibrations, such as flow dynamics (pressure advance), before flow rate calibration.
Flow ratio: the usual fix
Once hardware is ruled out, a flow ratio that is too high for the filament is the most common cause. Different filaments need different values, and Prusa gives the normal adjustment range as 0.9 to 1.1 (90–110%). Simplify3D notes that PLA often prints with a multiplier near 0.9 while ABS is closer to 1.0, so a single value copied between materials is a common source of trouble.
- Prusa, visual method: print the test cube at 0.20 mm layers, look at the top layer and change the multiplier by 1–2% at a time until it is smooth without gaps.
- Prusa, measured method: a 40 mm spiral-vase cube, walls measured in three places; multiplier = extrusion width divided by the average measured thickness. Prusa warns that cheap calipers are not accurate enough for this.
- Bambu Studio: a coarse test that prints blocks from 80% to 120% of the current value in 5% steps, then a fine test in 1% steps. Pick the smoothest block; overlapping lines mean too much flow, gaps mean too little. On the X1 series Bambu Studio can also run it automatically.
Save the result in the filament profile, not in the printer profile, so the next material starts from its own value.
Filament diameter setting
The slicer converts the volume a line needs into a length of filament using the diameter you enter. Simplify3D recommends checking that value and measuring the filament with calipers. If the real filament is thicker than the setting, every millimeter fed carries more plastic than planned. Because volume scales with the square of the diameter, 1.80 mm filament in a profile set to 1.75 mm delivers about 6% more plastic, (1.80 / 1.75)² ≈ 1.06, which is enough to show on top surfaces.
- Measure the filament in several places along the first meter or two, turning the caliper each time to catch oval sections.
- If the average is close to the nominal 1.75 mm, leave the setting alone and treat flow as the variable.
- If it is consistently off, enter the measured average in the filament profile and then recalibrate flow.
Change either the diameter or the flow to compensate, not both, or you will correct the same error twice.
Temperature, nozzle and other causes
- Nozzle too hot. Hotter plastic runs thinner and oozes more, so blobs appear during travel moves and walls look melted even with correct flow. Print a temperature tower and use the coolest block that still bonds well. Treat a drop of 5 °C at a time as a starting point.
- Wrong nozzle in the profile. If the printer profile is set for a 0.6 mm nozzle while a 0.4 mm one is fitted, the slicer plans wider lines and more plastic per millimeter than the smaller nozzle can lay down cleanly. Always switch profiles when you swap nozzles.
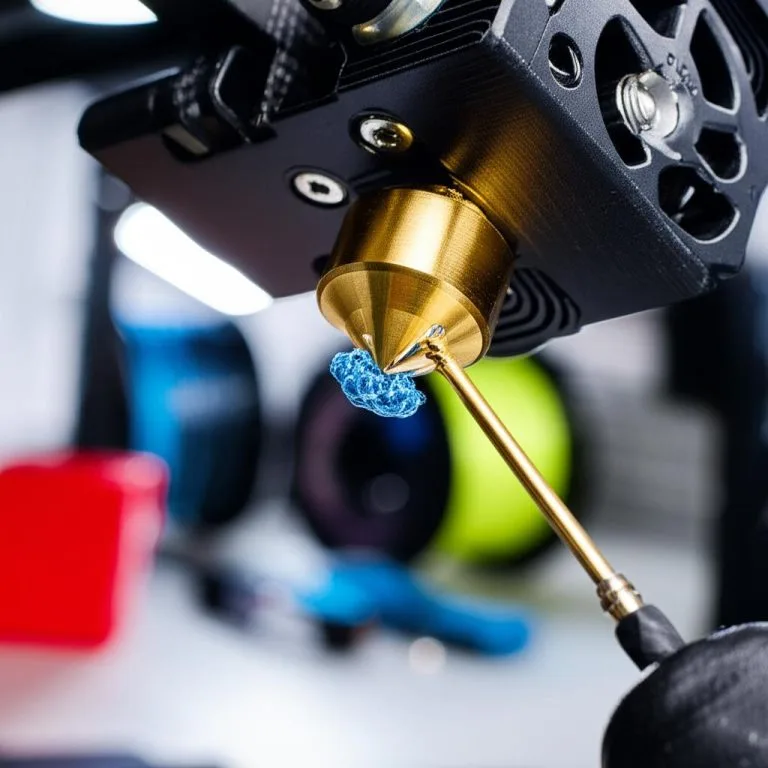
- Worn or dirty nozzle. A worn bore does not change how much filament the extruder feeds, but a damaged or crusted tip drags through the print and leaves lumps. Clean it or replace it.
- Too little retraction. Blobs and strings at travel moves come from oozing, not from too much flow. Tune retraction before you touch flow.
- Ironing flow. Prusa describes ironing as very sensitive to extruder calibration: too little and shiny grooves stay visible, too much and the nozzle drags excess plastic to the edges of the top surface. Fix the main flow first, then adjust ironing flow on its own.
Common mistakes when fixing over-extrusion
- Lowering flow to fix corner blobs. That starves the straight sections. Corner blobs are pressure advance.
- Changing several settings at once. Change one, print a small test, then move on. Otherwise you cannot tell which change helped.
- Tuning flow on damp filament. Moisture makes extrusion bubbly and inconsistent, so the value you find will not hold for a dry spool.
- Skipping E-steps on a modified extruder. After an extruder or drive gear swap, measure the extruder before touching flow.
- Going too far. If gaps appear between top lines, you have crossed into under-extrusion. Step back 1–2%.
Frequently asked questions
How do I know if my print is over-extruded?
Look at the top surface and measure a simple part. Raised ridges between top lines, blobs spread across the walls, walls thicker than planned and holes smaller than designed all point to over-extrusion. If the defect appears only at corners or only on the first layer, the cause is more likely pressure advance or Z-offset.
Should I fix over-extrusion with E-steps or flow rate?
Check E-steps first, because they affect every filament. If a 100 mm extrusion request feeds close to 100 mm, the extruder is fine and the flow ratio in the filament profile is the setting to lower.
What flow rate should I use for PLA?
There is no universal value. Prusa gives 0.9 to 1.1 as the usual range for the extrusion multiplier, and Simplify3D notes PLA often ends up near 0.9. Run a flow test for your spool and save the result in that filament’s profile.
Can a high nozzle temperature cause over-extrusion?
It does not increase the amount the extruder feeds, but plastic that is too hot oozes and sags, which looks like over-extrusion: blobs, stringing and glossy, melted walls. A temperature tower shows the coolest temperature that still gives good layer bonding.