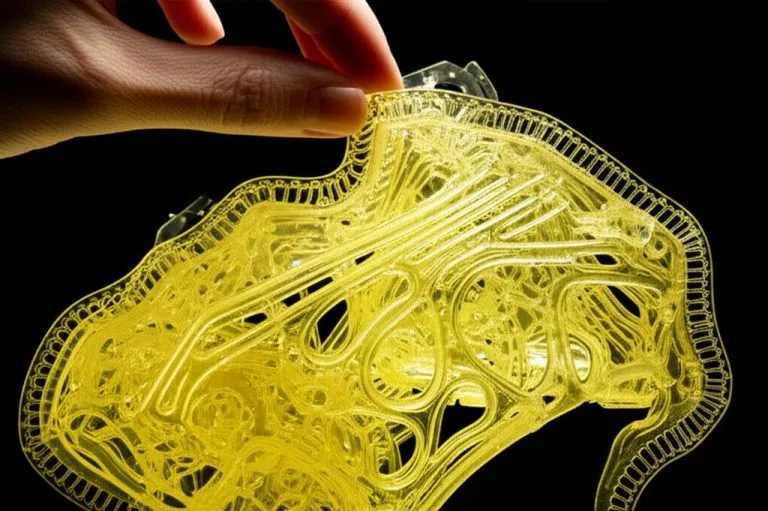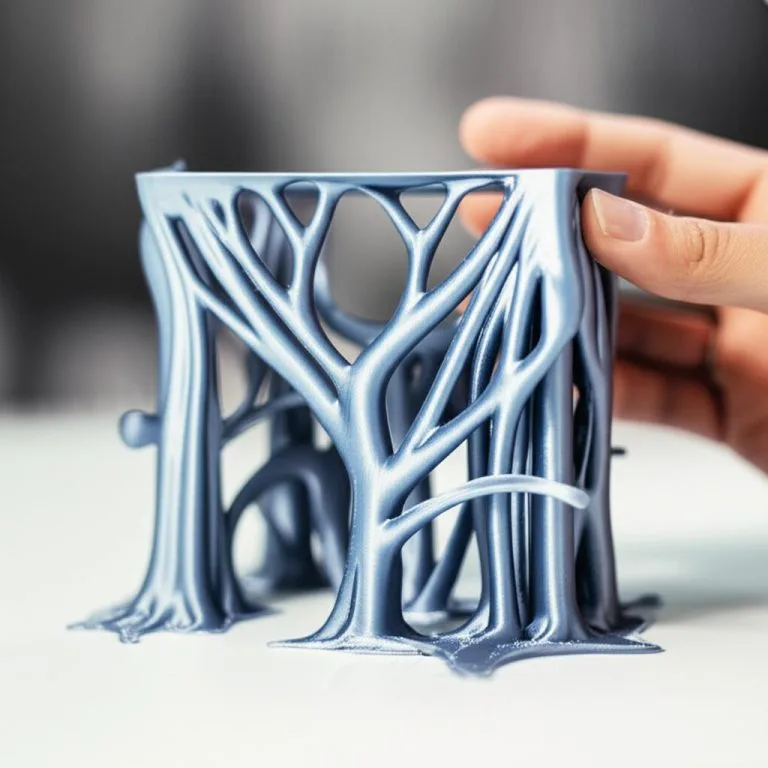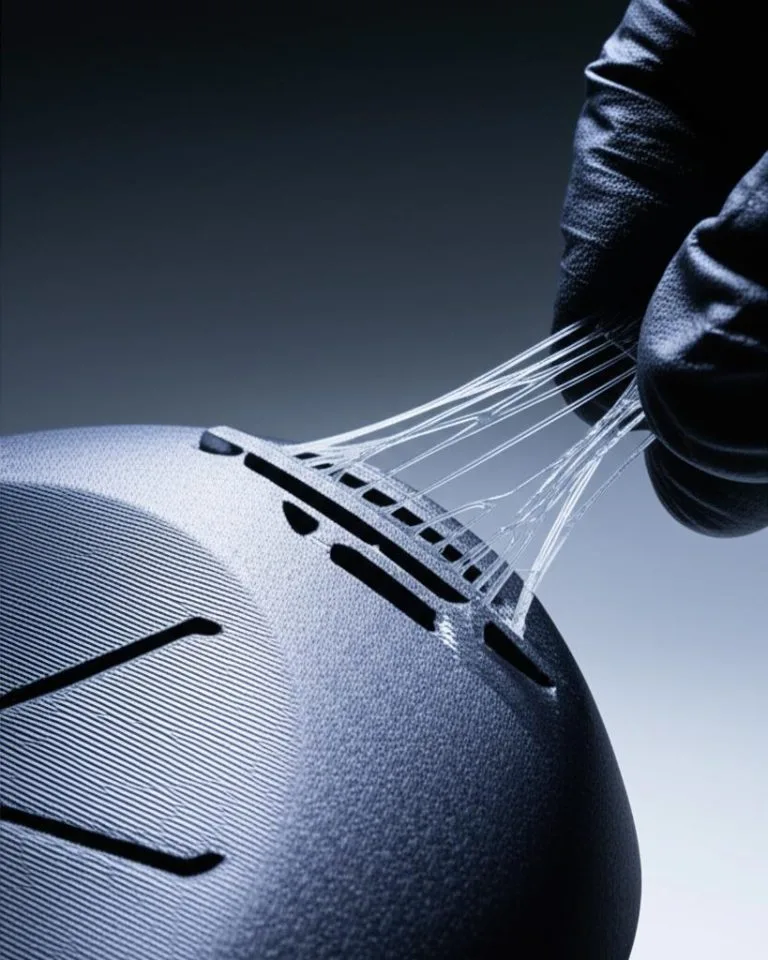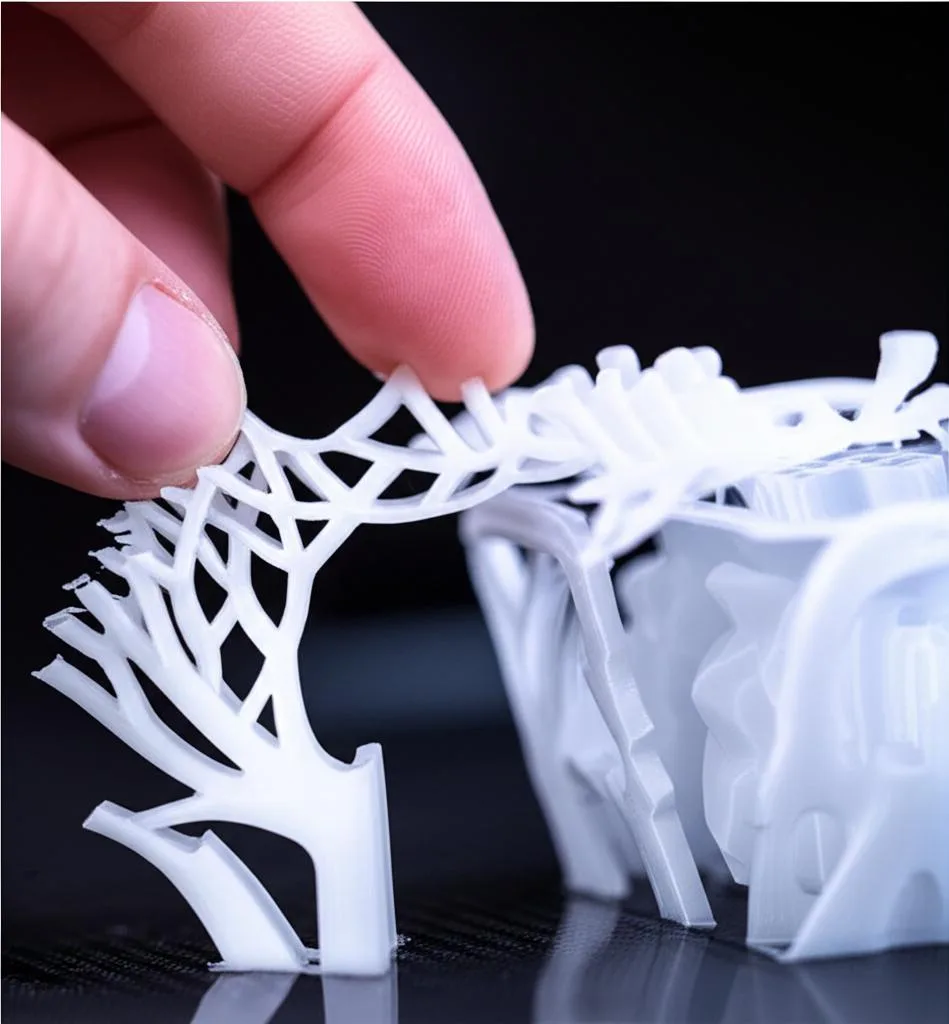
The support interface is the dense layer, or stack of layers, printed on top of the support body, directly under the overhang it holds up. Together with the gap above it (the top Z distance), it decides both how smooth the supported surface comes out and how hard the support is to peel off. When the support is printed in the model’s own filament, start with a top Z distance of about 0.2 mm (Bambu Lab’s advice) or 50–75% of the layer height (Prusa’s), 2–3 dense interface layers with a rectilinear pattern, and the slicer’s default XY gap. Use a zero gap only with a dedicated support or soluble filament.
This guide maps the same handful of settings across PrusaSlicer, Bambu Studio, OrcaSlicer and Cura, gives each slicer’s factory default from its own documentation or configuration file, and explains what each change does to removal and surface quality. Where a value is a starting point rather than a documented figure, we say so.
The consumer toolchanger 3D printer: the SnapSwap 4-toolhead system swaps heads in 5 seconds for true multi-color and multi-material printing, with smart calibration and auto filament loading.
- 4 toolheads · 5 s swap
- Up to 500 mm/s · 20,000 mm/s²
- 270 mm cube build volume
- Multi-color & multi-material

Interface settings in 30 seconds
- Top Z distance: about 0.2 mm, or 50–75% of layer height, for same-material supports. 0 only with a support or soluble interface filament.
- Top interface layers: 2–3. Zero leaves the first model layer sagging into the support lines.
- Interface spacing or density: solid or near-solid for a visible surface; open it up only if removal is the problem.
- Interface pattern: rectilinear for break-away supports; concentric with a dedicated support filament.
- XY distance: leave the default unless supports weld to vertical walls.
- Tune in that order, gap first, one value at a time, reprinting the same small overhang test.
What the interface does, and the trade-off you are tuning
A plain support body is sparse: lines several millimetres apart (PrusaSlicer’s default pattern spacing is 2.5 mm, Cura’s default support density is 15%). The first model layer above it would have to bridge between those lines. The interface closes that grid with denser lines so the overhang has a flat floor to land on. Every setting below trades contact against removal: a smaller gap, more or denser interface layers and a stiffer pattern give a flatter underside but a support that is harder to remove; the opposite gives easy removal and a droopier, rougher underside.
Bambu Lab’s wiki states the limit plainly: with the support in the same filament as the model you have to balance easy removal against surface quality, and parameter changes alone cannot give you both. A dedicated support filament is what breaks the trade-off, because it lets you close the gap to zero and still peel the support away.
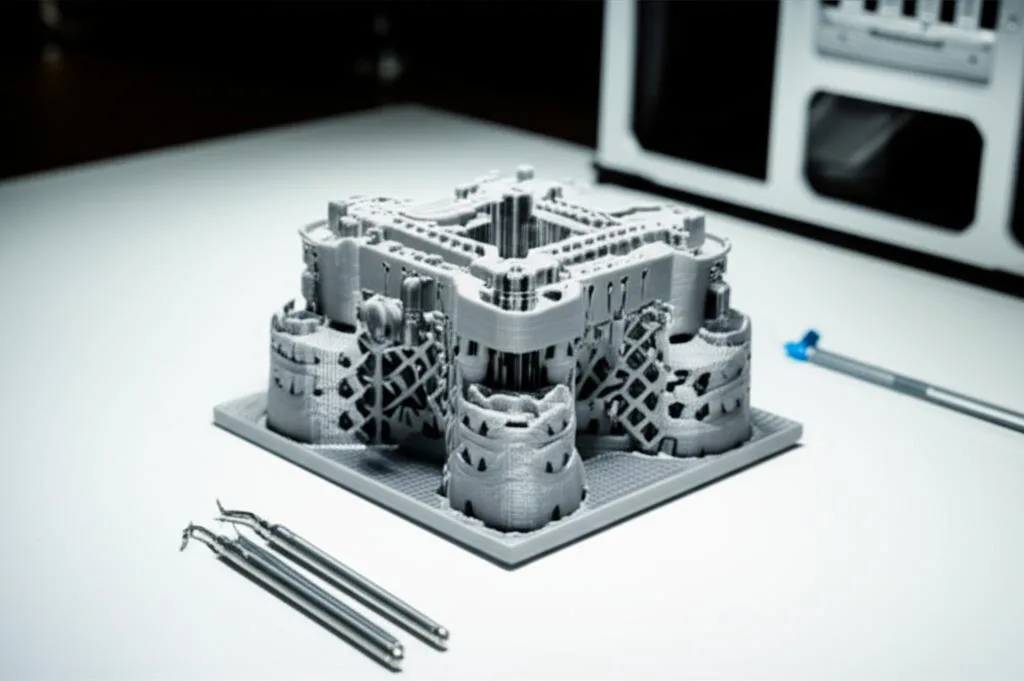
Support interface defaults in each slicer
Values below are the factory defaults in each slicer’s configuration definition; your printer profile may override them, so check what is loaded before you change anything.
| Setting | PrusaSlicer | OrcaSlicer | Cura |
|---|---|---|---|
| Gap above the support | Top contact Z distance 0.2 mm (presets: 0 soluble, 0.1 and 0.2 detachable) | Top Z distance 0.2 mm | Support Top Distance 0.1 mm (from Support Z Distance) |
| Gap where support stands on the model | Bottom contact Z distance: 0 = same as top | Bottom Z distance 0.2 mm | Support Bottom Distance 0.1 mm, rounded up to the next layer height |
| Interface on or off | On whenever top interface layers are above 0 | On whenever top interface layers are above 0 | Enable Support Interface: off by default |
| Interface thickness | Top interface layers 3; bottom -1 = same as top | Top interface layers 3, bottom 0 | Support Roof / Floor Thickness 1 mm |
| Interface density | Interface pattern spacing 0 mm = solid | Top and bottom interface spacing 0.5 mm (0 = solid) | Support Interface Density 100% |
| Interface pattern | Rectilinear (Default = rectilinear, or concentric for soluble) | Default: rectilinear, concentric for soluble; also Concentric, Spiral Inset, Rectilinear Interlaced, Grid | Concentric; also Lines, Grid, Triangles, Zig Zag |
| Horizontal gap | XY separation 50% of external perimeter width | Support/object XY distance 0.35 mm; first-layer gap 0.2 mm | Support X/Y Distance 0.7 mm; minimum 0.2 mm at overhangs |
| Extra finish options | Interface loops (off) | Loop pattern interface (off); support ironing (off, Orca) | Supported Skin Fan Speed (override off) |
Bambu Studio uses the same setting names as OrcaSlicer, but read its values off your printer profile. PrusaSlicer’s drop-down for interface layers labels the options 0 (off), 1 (light), 2 (default) and 3 (heavy), while the configuration default is 3, so a printer profile may load either.
Top Z distance: the setting that decides removal
The top Z distance is the air gap between the last interface layer and the first model layer above it, and it sets how much the two surfaces fuse.
- Same filament for model and support: Bambu Lab recommends about 0.2 mm and warns that 0 makes the support “really hard to remove”. Prusa’s Knowledge Base says 50–75% of the layer height works well, which is 0.10–0.15 mm at 0.2 mm layers.
- Dedicated support or soluble filament on the interface: set 0. Bambu Lab lists its Support for PLA, Support for PLA/PETG and Support for PA/PET as cases where 0 is appropriate; for dissolving supports see removing supports and PVA.
Three details change how the number behaves:
- Bridge settings over the gap. PrusaSlicer’s tooltip notes that a zero gap also stops it using bridge flow and speed for the first object layer. With a gap above zero, that first layer is printed as a bridge, which is part of why it separates.
- Layer height. Cura’s description says the topmost support layer under the model may be a fraction of a regular layer, so a gap smaller than the layer height is possible; the bottom distance, by contrast, is rounded up to the next layer height. OrcaSlicer and Bambu Studio have an “independent support layer height” option (on by default in OrcaSlicer) that exists to let you customise the Z gap; OrcaSlicer notes it is disabled when a prime tower is used.
- Material. No slicer publishes a separate gap per filament. If a sticky material such as PETG fuses at 0.2 mm, raise the gap in small steps (start with 0.05 mm, a starting point rather than a documented value) and check both removal and the underside after each print.
Interface layers, spacing and density
Bambu Lab’s wiki shows the effect of the top interface count clearly: with 0 layers the supported area has too little underneath it and the lines sag; with 3 the slicer builds a stable, flat platform. It adds that the area is only completely free of sagging when the top Z distance is also 0, which in practice means a support filament. OrcaSlicer’s wiki adds that more layers take longer and are harder to peel off, and that with no interface the support is fastest and easiest to remove but leaves the roughest overhangs.
Density is expressed differently in each slicer:
- PrusaSlicer: Interface pattern spacing, 0 = solid (default). Raising it makes removal easier; Prusa warns that too wide a spacing lets the interface sag.
- OrcaSlicer: Top interface spacing, default 0.5 mm. Once the spacing is wide enough that the interface is no longer solid, OrcaSlicer switches the straight-line patterns to the base support pattern so the sparse lines still anchor to each other.
- Cura: Support Interface Density, 100% by default. Higher gives better overhangs but harder removal, per Cura’s own description. Roof areas smaller than the Minimum Support Roof Area (1 mm²) are printed as normal support.
Bottom interface. These are the dense layers where a support stands on the model’s own surface. Bambu Lab notes that with 0 bottom interface layers the first support layer on the model is printed as bare lines, which is bad for everything above it. If supports start on the model, give them bottom interface layers, or avoid the problem with “On build plate only” plus painted enforcers.
Choosing the interface pattern
| Pattern | What the docs say | Use it for |
|---|---|---|
| Rectilinear / Lines | Default for non-soluble interfaces in PrusaSlicer, OrcaSlicer and Bambu Studio; Bambu calls it suitable for most cases | Break-away supports in the model’s own filament |
| Concentric | Default for soluble interfaces; Bambu: stronger on non-planar surfaces and useful with support materials, can be combined with spacing 0; OrcaSlicer: peels off in one piece, no line ends on the surface | Support filament interfaces, curved undersides. Also Cura’s default |
| Rectilinear Interlaced | Lines swing 45° each layer; smoother undersides but may be harder to remove than rectilinear | Large flat overhangs where sag is the problem |
| Grid | Very strong and stable, but more difficult to detach | Large flat surfaces when you accept harder removal |
PrusaSlicer’s “Interface loops” and OrcaSlicer’s “Loop pattern interface” (both off by default) cover the top contact layer with loops. Prusa’s documentation lists this as a way to improve surface quality; expect more contact and harder removal.
XY distance and wall contact
The XY distance keeps supports away from vertical walls. It is not part of the interface, but too small a value makes supports weld to the side of the part. Prusa says a bigger gap reduces contact area and makes supports easier to remove. The defaults are 50% of the external perimeter width in PrusaSlicer, 0.35 mm in OrcaSlicer and 0.7 mm in Cura.
Cura adds a priority rule. Support Distance Priority defaults to “Z overrides X/Y”, so near an overhang the vertical gap is protected and the support is allowed closer horizontally, down to the Minimum Support X/Y Distance of half the nozzle diameter (0.2 mm on a 0.4 mm nozzle). Switching to “X/Y overrides Z” pushes supports away from walls, but Cura’s description warns that this changes the actual Z distance to the overhang.
Two finishing extras. Cura’s Fan Speed Override (off by default) sets the fan for the skin directly above the support, 100% by default, and its description says a high fan speed there can make supports easier to remove. OrcaSlicer’s Ironing Support Interface (off by default; flow 10%, line spacing 0.1 mm) re-passes the interface to smooth it and forces it solid, which also means more contact, so keep a normal Z gap with it.
Support interface problems: symptom, cause, fix
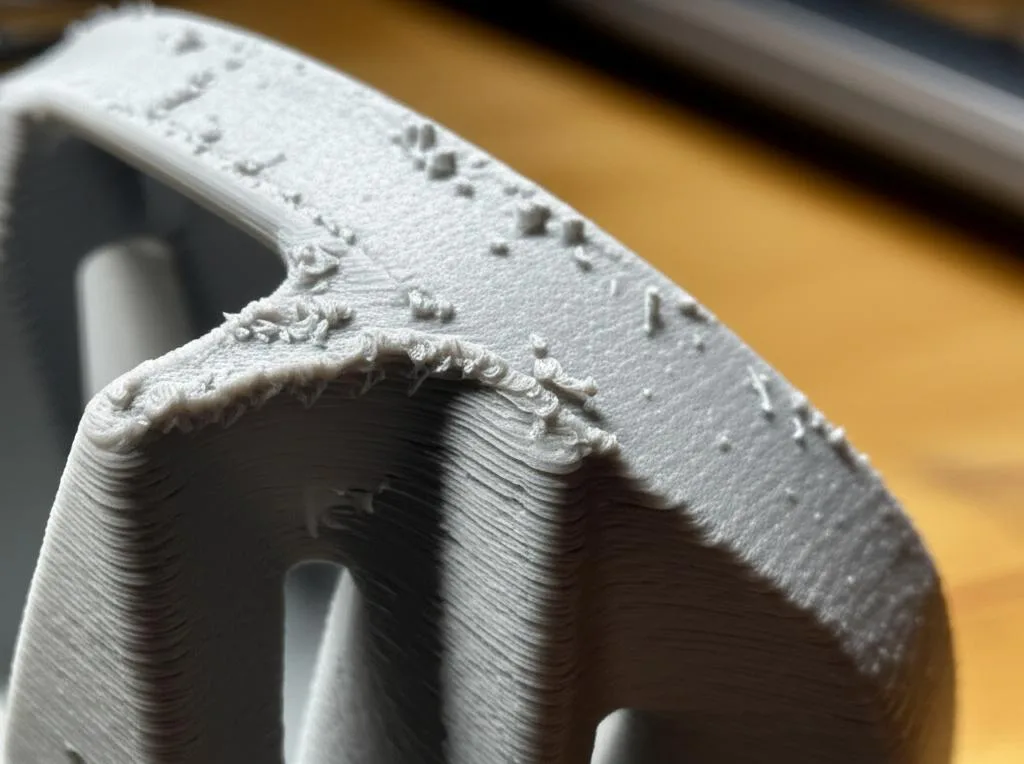
| Symptom | Likely cause | Fix |
|---|---|---|
| Interface welded to the part, tears the surface on removal | Top Z distance too small for a same-material support, or set to 0 | Back to about 0.2 mm (or 50–75% of layer height); 0 only with support filament |
| Underside droops, shows support lines | No or too few interface layers, or spacing too wide | 2–3 top interface layers, solid or tighter spacing |
| Support fused to vertical walls | XY distance too small, or Cura’s Z-overrides-X/Y near overhangs | Raise XY distance; in Cura try X/Y overrides Z and recheck the Z gap |
| Interface breaks into crumbs, not a sheet | Interface too sparse or too thin | Add a layer, reduce spacing, try concentric |
| Marks on a top surface where support stood on the model | No bottom interface; bottom gap too small | Add bottom interface layers, or block supports there with painting |
| Changing the gap seems to do nothing | Printer profile overrides it, or the gap is rounded to layer height | Check the value in the loaded profile; enable independent support layer height in OrcaSlicer/Bambu |
| Support comes off clean the day of the print, sticks the next day | Hygroscopic model or support filament absorbed moisture | Remove within 2 hours; if too late, dry the part, let it cool, then remove |
Common mistakes and where to go next
- Copying a zero gap from a multi-material profile. It is correct with support filament and wrong without it.
- Tuning branches instead of the interface. For organic and tree styles the contact surface is still set by these interface settings; the branch-specific values are covered in tree support settings.
- Using settings to fix a placement problem. If supports sit on a cosmetic face or inside a hole, block them there instead of making every interface weaker. See support blockers and enforcers.
- Expecting settings to replace clean-up. Even a good interface leaves small nubs. The post-processing tool kit and sanding grit progression handle the rest.
Frequently asked questions
What is the best support Z distance for PLA?
With PLA supports under a PLA model, start at about 0.2 mm, as Bambu Lab recommends, or 50–75% of your layer height, as Prusa suggests. Go smaller only if the underside is too rough, and in small steps. Use 0 only when the interface is printed in a dedicated support or soluble filament.
How many support interface layers should I use?
Two to three top layers is the normal range. Bambu Lab shows 0 layers letting lines sag and 3 layers giving a stable, flat platform. More layers improve the surface a little further but cost time and make the support harder to peel.
Should the support interface be 100% dense?
For a visible underside, yes or close to it: Cura’s default is 100% and PrusaSlicer’s default spacing of 0 is solid. OrcaSlicer defaults to 0.5 mm spacing instead. Lower the density only if removal is still too hard after setting the right Z gap.
Why is my support interface impossible to remove?
Usually the top Z distance is 0 or very small while the support is printed in the model’s own filament. Other causes are a small XY distance, a stiff pattern such as grid, and moisture in nylon or PVA supports left on the part too long. Raise the gap first, then look at the rest.