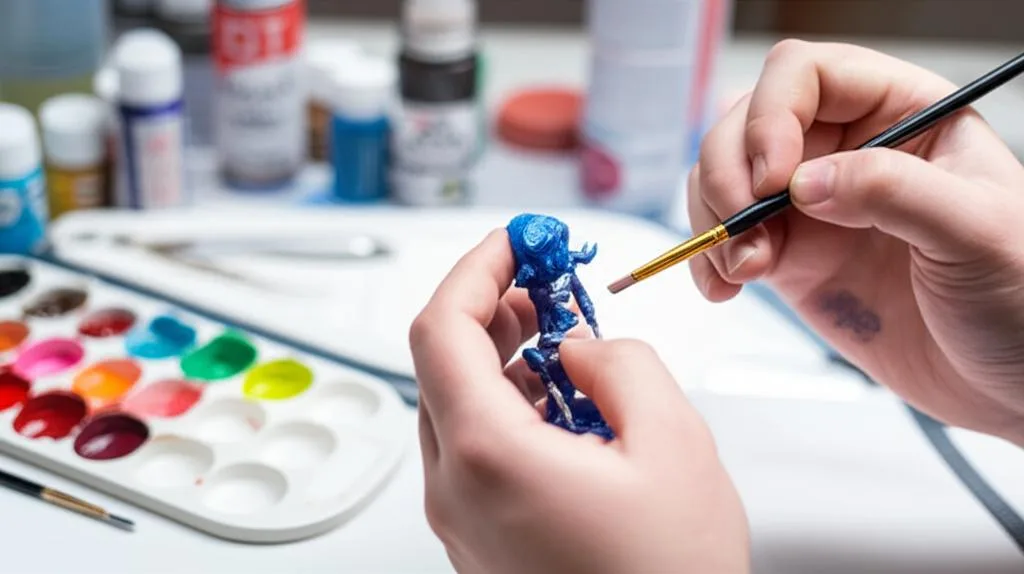
Painting a 3D print means putting thin, even layers of paint over a sanded and primed surface: prime, base coat, wash for depth, drybrush and highlights for edges, then seal with matte, satin or gloss varnish. The two rules behind every stage are thin coats and a clean surface underneath. Formlabs puts an undercoat at 2 to 3 thin layers and lets the model rest for at least a week before handling, and Vallejo’s varnish guide uses several thin coats sprayed from 15 to 20 cm.
This guide covers the choice between brush, airbrush and spray can, the base, wash, drybrush and highlight sequence, texture and weathering, and sealing. Numbers come from Formlabs, Vallejo, Raise3D and Games Workshop documentation, linked at the end. Priming and filling have their own guide, so here primer gets one paragraph.
The consumer toolchanger 3D printer: the SnapSwap 4-toolhead system swaps heads in 5 seconds for true multi-color and multi-material printing, with smart calibration and auto filament loading.
- 4 toolheads · 5 s swap
- Up to 500 mm/s · 20,000 mm/s²
- 270 mm cube build volume
- Multi-color & multi-material

Painting a 3D print in eight steps
- Sand and clean the print, removing dust with a soft brush or a wipe of IPA.
- Prime with a spray primer made for plastic, in light coats.
- Base coat in two or three thin layers, letting each dry.
- Wash the recesses with a thinned, dark paint or a ready-made shade.
- Drybrush the raised areas with a lighter color.
- Add layer and edge highlights on the sharpest edges.
- Paint small details, masking where you need a crisp line.
- Let the paint harden, then seal with varnish in thin coats.
Prep and primer
Paint hides no flaws, Formlabs warns, so the surface decides the result. Sand the print through the grits in the grit progression guide, and for resin prints wash and cure them first (washing and curing). Then prime. Formlabs recommends a spray primer and a plastic-compatible primer and paint from the same brand. Light coats reveal sanding flaws and give paint something to grip. Which primer to use, how to fill layer lines and how to fix runs and orange peel is covered in primer and filler for 3D prints.
Brush, airbrush or spray can
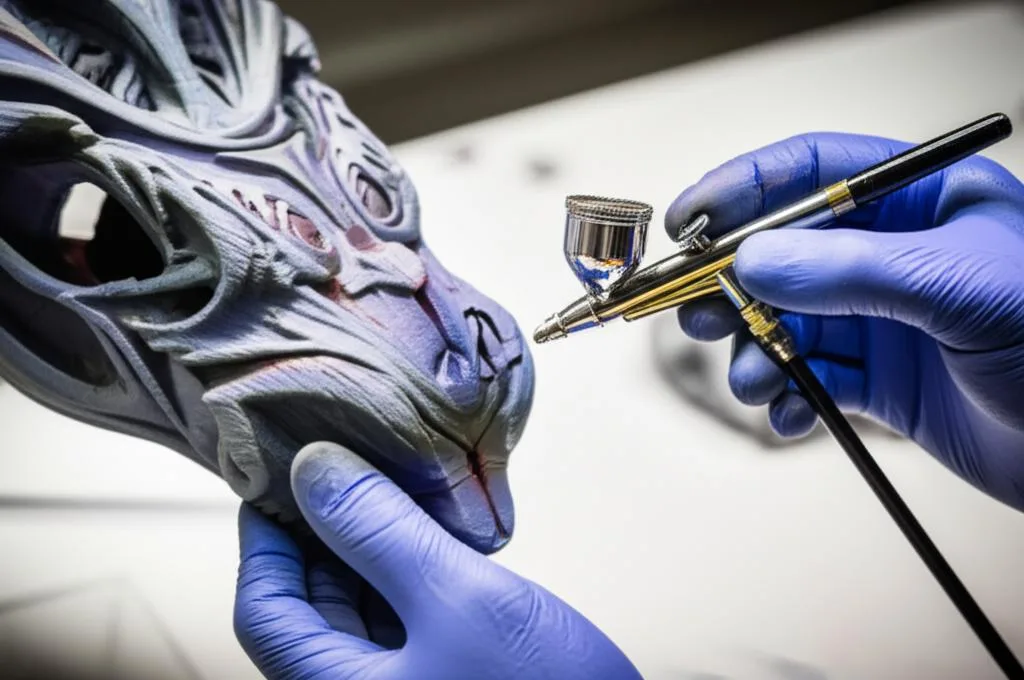
All three work on a primed print. The choice depends on part size, detail and how much equipment you want. Acrylics are the usual starting point because they are water-based, fast drying and easy to clean up (Raise3D). Enamel and lacquer give a hard, high-gloss finish but need solvents and ventilation.
| Method | Best for | Paint and thinning | Technique data |
|---|---|---|---|
| Brush | Small parts, details, washes, drybrushing | Vallejo Model Color: thin with water or Vallejo Thinner; matte finish; fix mistakes with water or alcohol while wet; waterproof and permanent when dry | Thin acrylics slightly and start with the lightest color (Raise3D) |
| Airbrush | Even base coats, gradients, varnish | Vallejo Model Color: dilute about 50 % with Airbrush Thinner; Model Air and Premium Color are formulated for airbrushing, and some Model Color shades are not suitable | Vallejo sprays varnish at 12 to 15 psi, 15 to 20 cm from the model (0.2 needle) |
| Spray can | Large parts, fast base coats | Use cans labelled for plastic (Raise3D) | Raise3D: 10 to 12 in (25 to 30 cm), 5 to 10 minutes between base coats. Formlabs: about 6 in. Follow your can |
Distances differ between sources because the products differ. When a can or paint bottle gives a figure, use that. Formlabs also warns against hardware-store and fine-art paints for models, because they clump and build thick, rough layers, and, per Formlabs, Tamiya advises spray painting in one session. Whichever method you use, save your good brush for thin paint: Games Workshop’s painting team notes a standard brush loses its fine point when used on thick paint.
Base coat, wash, drybrush and highlights
This is the multi-stage sequence behind most realistic paint jobs on prints and props. Games Workshop’s Citadel range names the roles: Base paints have more pigment and give solid coverage, Layer paints have less pigment and sit on top to brighten or highlight, Shade paints flow into recesses and leave little pigment on raised areas, and Dry paints have less medium for drybrushing. Any acrylic range can do the same job with thinning.
| Stage | Goal | Tool | Paint | Typical mistake |
|---|---|---|---|---|
| Base coat | Solid color | Brush, airbrush or can | 2 to 3 thin layers (Formlabs); rest 20 to 30 minutes after reaching opacity | One thick coat that fills detail |
| Wash or shade | Depth in recesses | Soft brush | Thinned dark paint or a ready-made wash | Pooling on flat areas, tide marks |
| Drybrush | Highlights on raised texture | Stiff brush | Lighter shade of the base, almost no paint on the brush | Too much paint, or sweeping a wet brush |
| Edge highlight | Crisp edges | Fine brush | Lighter, less thinned layer | Highlighting every edge equally |
| Details | Eyes, panels, small parts | Fine brush, tape | Thin paint | Overpainting the base |
Wash
A wash is thin, transparent paint that flows into recesses. Vallejo’s wash tutorial says to dilute with Airbrush Thinner or use it directly, and that water also works, but water will not remove the effect once it is dry. Allow 24 hours for a wash to dry fully on base colors before correcting it with a flat clean brush moistened with thinner. Use thin coats and avoid accumulation around raised or recessed details; a second layer can go on once the first has dried. Raise3D’s rule is “less is more”.
Drybrush
Load a stiff brush, wipe most of the paint off on a paper towel, then drag the brush lightly across raised areas. Citadel says Dry paints have less medium for this reason. Drybrush a lighter shade than the base, and for a second pass go lighter than the first.
Layer and edge highlights
Games Workshop’s painting team suggests starting with the sharpest edges and working around the model. Hold the model under a light to see where light falls naturally, apply a brighter color over the top three quarters of the existing highlight, then add a dot of the brightest color wherever two edges meet. A tiny point is enough.
Glazes and details
Vallejo’s Glaze Medium dilutes color and delays drying, which suits shading, blending and glazes. For crisp lines use painter’s tape and press the edges down firmly (Raise3D); Formlabs says not to leave general-purpose masking tape on for more than a few days.
Texture, metallic and weathering effects
Texture can come from the print itself, from textured spray paint, or from specialist paint. Citadel’s Technical paints are made for effects such as corrosion and churned earth, and Vallejo’s Chipping Medium, applied between two coats of Model Color, makes the top coat crack. Metallic finishes are a separate path: real metal coatings need plating (see electroplating 3D prints), while metallic paints suit most models. Test chipping and crackle effects on a scrap piece first.
Sealing with varnish
Varnish protects paint and sets the sheen. Matte hides flaws and glare, satin is in between and gloss looks vibrant but shows every defect. Vallejo makes matt, satin and gloss varnishes, and its guide stresses several thin layers rather than one thick one, because a thick coat can leave unwanted accumulations of varnish and unpredictable results when drying. It also says its water-based gloss is not a polished-glass shine, which is why anyone wanting a mirror finish should look at polishing resin prints or a 2K clear coat instead. Vallejo says that once varnished, its colors resist oils, enamels and solvent-based washes.
- Wait before sealing. Raise3D says to let paint dry overnight or per the maker’s instructions, and Formlabs rests a painted model for at least a week to harden.
- Thin coats. Formlabs applies 1 to 2 thin clear layers. Raise3D allows about 10 to 15 minutes between clear coats.
- Mix a varnish only as the maker says. Vallejo’s varnish guide dilutes 3 parts varnish to 1 part thinner or distilled water for airbrushing.
- Do not assume UV protection. A decorative varnish is not a UV barrier. For parts that live outdoors, see UV protection for outdoor prints.
Common mistakes
- Painting straight onto raw plastic. Skipping primer lets paint wick into layer lines and hides nothing.
- Thick coats. They bury fine detail and take longer to cure. Build color in thin layers.
- Rushing the wash. Vallejo says to give washes 24 hours on base colors before correcting them.
- Mixing paint systems. Solvent paints over water-based ones, or the reverse, can lift the layer below. Check compatibility on a scrap.
- Handling too early. Formlabs waits at least a week for paint to harden fully.
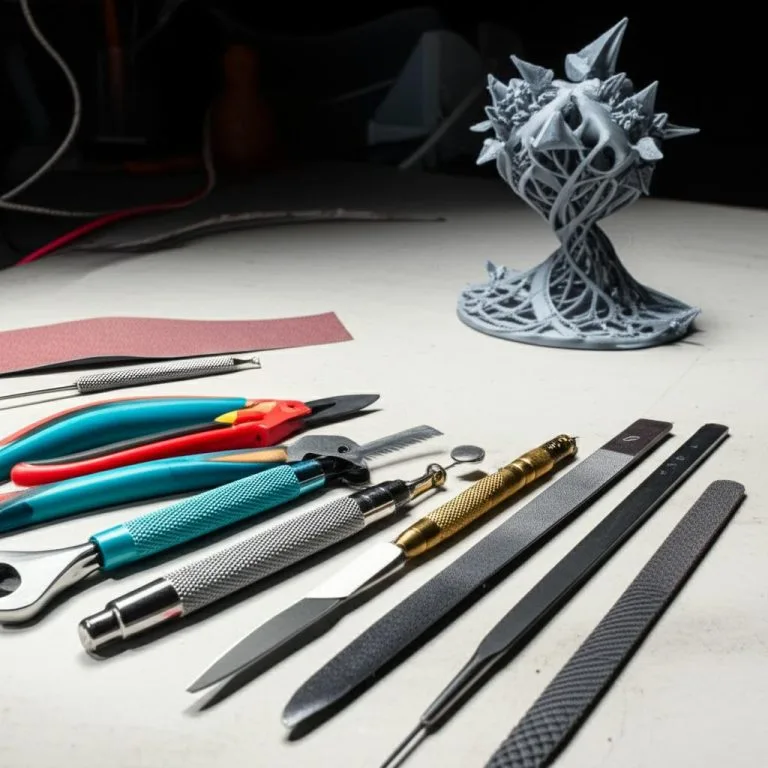
The right tools make each stage easier; the post-processing tools guide lists brushes, sanding blocks and safety gear for a starter kit.
Frequently asked questions
Do I need primer before painting a 3D print?
Yes for most prints. Primer gives paint something to grip and shows sanding flaws before you commit to color. Formlabs recommends a spray primer and a paint from the same brand, both labelled for plastic.
Can I use regular acrylic craft paint on a 3D print?
Water-based acrylic is the usual starting point for brush painting and suits PLA, according to Raise3D. Formlabs warns that hardware-store and fine-art paints tend to clump and build thick layers, so hobby paints made for models are the safer choice.
Is an airbrush worth it for painting 3D prints?
It gives even base coats, gradients and thin varnish layers, but needs a compressor, thinning and cleaning. Brush painting with a spray-can primer covers most small projects. Vallejo notes that Model Air and Premium Color are formulated for airbrushing, while some Model Color shades are not suited to it.
How long should I wait before sealing painted prints?
Raise3D says let the paint dry overnight or as the maker says, and Formlabs rests the model for at least a week so the paint hardens. Longer is safer, especially in cool or humid rooms.