Plastic doesn’t conduct electricity, so electroplating a PLA or ABS print takes three stages. First, smooth and seal the surface and coat it with conductive paint. Then hang the part as the cathode (negative terminal) in an acid copper bath with a copper anode on the positive terminal. Finally, run a low, steady current. Caswell’s 3D-printed parts kit starts at 0.07 A per square inch of surface area and plates copper for 20–60 minutes. For a heavy base layer, Prusa’s team plated at low, stepped voltages for five hours or more.
Most defects come from three causes: poor surface preparation, too much current, or bad electrical contact. The chemicals are the part to take seriously. Copper sulfate can cause serious eye damage and is very toxic to aquatic life, and the battery acid used in acid copper baths causes severe skin burns. This guide gives an overview of the process with manufacturer values, a troubleshooting table, and the safety points from the product safety data sheets (SDS). Your kit’s instructions take priority over any number here.
The consumer toolchanger 3D printer: the SnapSwap 4-toolhead system swaps heads in 5 seconds for true multi-color and multi-material printing, with smart calibration and auto filament loading.
- 4 toolheads · 5 s swap
- Up to 500 mm/s · 20,000 mm/s²
- 270 mm cube build volume
- Multi-color & multi-material

Copper electroplating a 3D print: the short version
- Sand the print smooth, seal it, and degrease it. From here on, handle it only with gloves.
- Apply conductive paint in thin, even coats and let it dry completely.
- Attach copper wire at several points, then hang the part in the bath without touching the anode.
- Connect the part to negative (−) and the copper anode to positive (+).
- Set the current from the surface area, starting at the low end of your kit’s range.
- Check the part often. Good copper is salmon pink. Dark, rough copper means too much current.
- Rinse, polish, and seal the finished part. Collect used solution as hazardous waste.
What you need
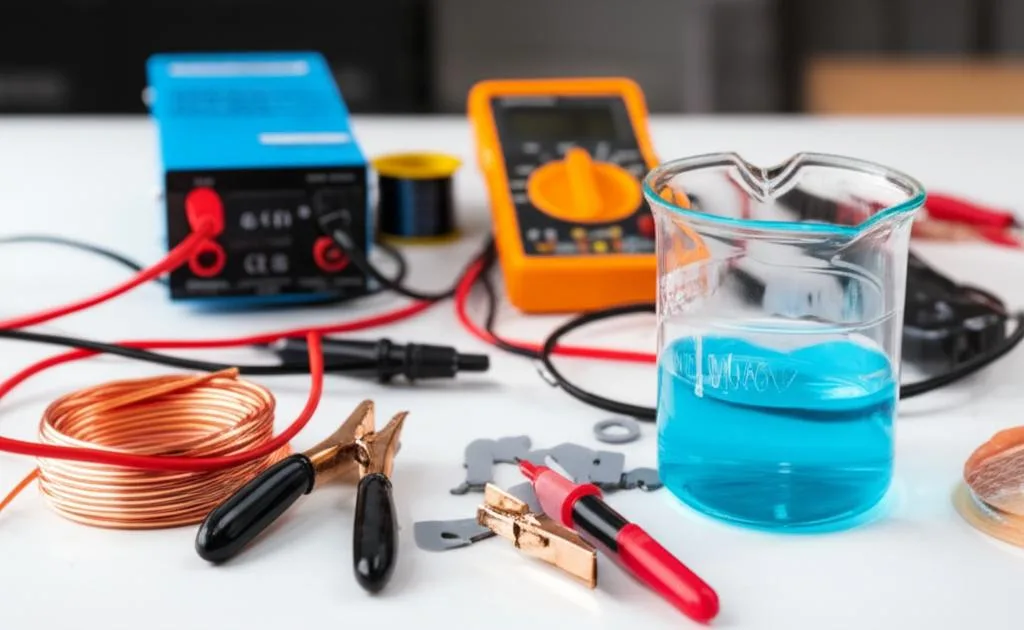
- DC power supply with adjustable current. You set the current from surface area, so a bench supply that shows amps makes the process repeatable. A fixed-voltage adapter gives you almost no control.
- Acid copper electrolyte. A kit or ready-mixed solution is the safer route for a first project, because the maker has already balanced the acid, copper and brighteners. Caswell’s kit also includes a brightener that is used up during plating and has to be topped up.
- Copper anodes, wrapped in anode bags or fabric. Both Caswell and Prusa bag them to catch particles that come off the anode.
- Plastic or glass tank. The copper sulfate SDS warns that the chemical corrodes aluminum, steel and iron.
- Conductive paint: graphite (Caswell’s 3D kit) or copper-based. Caswell’s copper conductive paint air dries in one hour and needs a tinning dip before acid copper plating.
- Bare copper wire, a multimeter, distilled water and a pump or other way to agitate the bath.
- Safety gear: chemical-resistant gloves, goggles, and a ventilated workspace (details below).
Step 1: prepare and seal the print
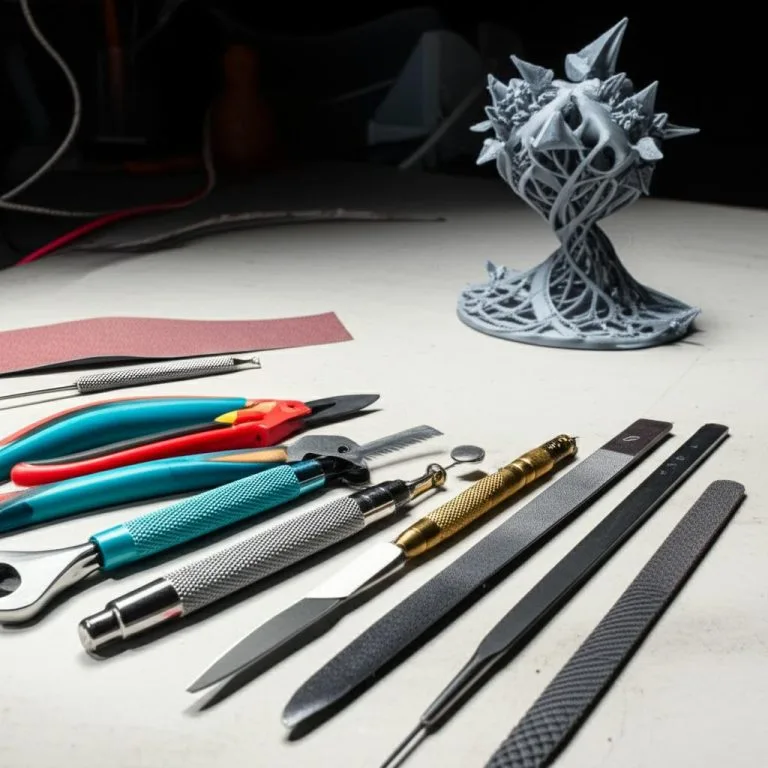
Plating copies the surface underneath it. Prusa’s electroplating article warns that every scratch, visible layer line or speck of dust will show on the plated part. They wet-sanded with 800 to 2000 grit and polished before painting, and found that smooth resin prints are easier to plate well than FDM prints.
- Remove layer lines by sanding, filling and priming. Our sanding grit progression guide and filling and priming techniques cover this stage. On ABS, acetone vapor smoothing is another option.
- Make the part non-porous. Caswell’s plating manual lists sealing with lacquer as the first step for non-conductive items. FDM prints have gaps between extrusions that can trap liquid and air.
- Degrease, then stop touching the part with bare hands. Caswell’s water-break test is a quick check: water beads up on an oily surface but spreads out as a sheet on a clean one.
Step 2: apply the conductive paint
Copper only deposits where current can flow, so any gap in the paint stays bare. The quality of the paint layer also sets the quality of the finish:
- Thin, even coats. Prusa’s team found that undiluted copper paint gave a rough surface or failed to stick. They thinned their copper paint with acetone so it would spray smoothly through an airbrush. Brushed graphite paint left brush strokes that showed through the copper.
- Check coverage. Caswell’s 3D kit says to check for full coverage, add a second coat if needed, and lightly sand any glossy areas once dry.
- Test conductivity with a multimeter between distant points before the part goes into the bath. An open circuit on the bench will be an unplated patch in the tank.
- Follow the paint’s own route. Caswell’s copper conductive paint needs a tinning dip before acid copper, while its 3D kit’s graphite paint goes straight into the copper bath.
Know the limits of the paint. Prusa describes the paint layer as closer to a separation layer than a chemical bond, so the copper shell is held on by the paint and the part’s shape. That’s why painted-and-plated parts are decorative finishes, not structural metal.
Step 3: set up the bath and current
- Make up the solution exactly as the kit says, wearing gloves and goggles. If a step involves diluting acid, the battery acid SDS is clear: always add the acid to water while stirring, never water to acid.
- Wire the part at several points. Caswell notes that full coverage sometimes needs multiple hanging wires. Prusa wrapped parts in a loose copper wire cage.
- Calculate the surface area and multiply by the current density. Caswell’s manual gives 0.07–0.2 A per square inch, and its 3D kit uses 0.07 A. For example, a part with 10 square inches of surface starts at 0.7 A. Prusa’s article quotes 1–7 A/dm² for the copper electrolyte it used. Each bath has its own range.
- Start low and build slowly. Prusa’s team plated their copper base layer at 0.5 V for an hour, 0.7 V for another hour, then 1–1.2 V for four hours. They stress that these values were specific to their setup and took testing to find.
- Keep things moving. Agitate the bath and turn the part from time to time. Prusa also moved the wire cage so it didn’t get plated onto the part.
- Take the part out to check it. Caswell says removing it frequently doesn’t harm later layers. For an even finish over rough surfaces, it recommends sanding between plating sessions instead of building all the copper at once.
Caswell’s plating time guide for its bath is 0.00025–0.0005 in after 15 minutes and 0.0005–0.001 in after 30 minutes. After plating, rinse the part well. Prusa traced dark corrosion spots on finished parts to poor rinsing. Then buff, and seal the copper with a clear lacquer or wax if copper is the final layer.
Troubleshooting blistering, uneven coating and poor adhesion
| Symptom | Likely cause | Fix |
|---|---|---|
| No copper at all | No current: broken connection, reversed polarity, non-conductive paint | Check wiring and polarity (part on −), and test the paint with a multimeter. Caswell’s first check is all the electrics |
| Bare patches or copper missing in recesses | Gaps in the paint, too few contact points, anode shadowing | Repaint thin spots, add hanging wires, reposition or add anodes, agitate the bath |
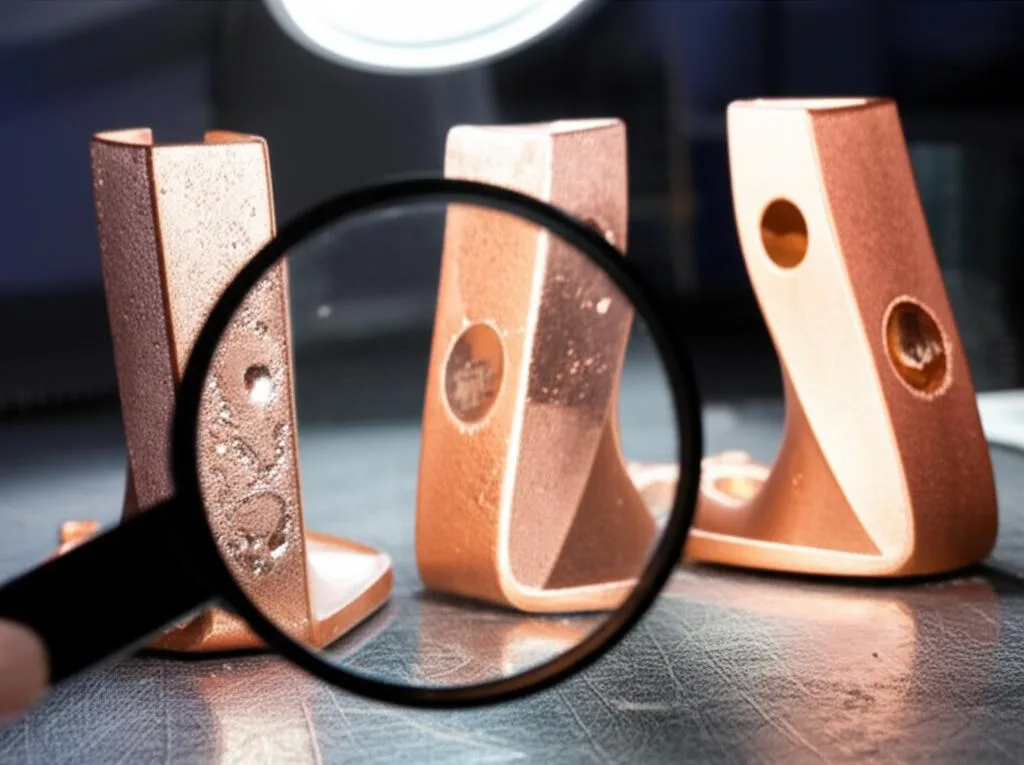
| Dark brown, rough or powdery copper that wipes off | Current too high (Caswell: loosely bonded nodules) | Reduce current. Sand off the loose layer and plate again at a lower setting |
| Nodules or coral-like growths on edges | Plated too long or too fast, or poor agitation | Lower the current, agitate, and sand between sessions (Caswell) |
| Thicker copper on edges and corners than on flat areas | Current concentrates on edges and points | Lower the current density, rotate the part, place anodes on more than one side |
| Blisters or bubbles under the copper | Contamination under the paint, unsealed porous print, too much current | Seal the print, degrease and pass the water-break test, and lower the current (Caswell lists amperage and surface prep among causes of peeling and blistering) |
| Copper peeling off in sheets, white spots | Conductive paint lifting from the plastic (Prusa saw white spots from paint peeling during plating) | Thinner, fully dried paint on a clean, lightly sanded surface. Don’t handle with bare hands |
| Pitting or orange-peel texture | Impurities in the solution (Caswell) | Plate a scrap piece for a while, filter the solution, and follow the kit’s cleanup procedure |
| Dark spots appearing days later | Electrolyte left on the part (Prusa) | Rinse thoroughly after plating, then lacquer or wax |
Change one thing at a time and note the current, time and result. Prusa’s team repeatedly got rough, matte copper with settings that looked correct. The problem turned out to be the paint layer, not the bath.
Chemical safety: what the SDS says
Read the SDS for every product you use, because formulations differ. As examples, here is what two common ingredients carry.
- Copper sulfate pentahydrate (Chem One SDS, 2021): signal word “Danger”. H302 harmful if swallowed, H319 serious eye irritation (also classed as serious eye damage category 1), and H410 very toxic to aquatic life with long-lasting effects. The SDS asks for safety glasses with side shields or goggles plus a face shield when the material is made into a solution, and impervious gloves. It says never to pour product down drains.
- Battery acid (diluted sulfuric acid) (Interstate Batteries SDS): skin corrosion category 1A, “Causes severe skin burns and eye damage”. Always add acid to water while stirring, and don’t discharge un-neutralized acid to the sewer. The SDS also warns that contact with metals may release flammable hydrogen gas. It lists elbow-length gloves and a synthetic apron.
- Conductive paints carry their own warnings. Caswell’s copper conductive paint has a California Prop 65 cancer and birth defects notice, and solvent-based paints and thinners need ventilation.
Practical rules that follow from these:
- Wear goggles, not just glasses, whenever you pour or mix. Use nitrile or other chemical-resistant gloves, and cover your arms.
- Work in a ventilated space away from food, children and pets. Prusa’s minimum kit also includes a half-mask respirator with chemical filters and a lab coat.
- Keep the power supply and mains wiring away from the bath and splashes, and switch off before handling the part or wires. A GFCI/RCD-protected outlet adds a layer of protection.
- Label and cap solutions, and store them in plastic or glass away from metal.
- Treat used solution, rinse water and contaminated towels as hazardous waste. Prusa’s advice is to seal them in a container and dispose of them as dangerous chemical waste, never in the sink or household trash. Check your local rules.
When plating isn’t the right finish
- You only want the look of metal. A metallic paint system is simpler and avoids the chemicals. Start with a clean primer coat, since the same surface flaws show through.
- The part carries load or heat. The copper sits on a paint layer, so treat it as a surface finish, not a structural upgrade.
- You can’t dispose of the waste properly. If there’s no hazardous waste collection near you, a professional plating service is the responsible choice.
Frequently asked questions
Can you electroplate PLA?
Yes. Once the surface is sealed and coated with conductive paint, PLA can be copper plated the same way as ABS, and Caswell’s 3D-printed parts kit lists PLA, ABS, PVA and nylon. The plastic itself doesn’t take the metal; the conductive paint does, so surface preparation matters more than the filament.
How long does it take to copper plate a 3D print?
Caswell’s 3D kit plates copper for 20–60 minutes, and its bath deposits roughly 0.0005–0.001 in in 30 minutes. Prusa’s team plated thicker base layers at low voltage for five hours or more. The time depends on the bath, the current and how thick you want the copper.
Why is my copper plating dark and rough?
The most common cause is too much current. Caswell describes over-driven copper as a dark brown plate with loosely bonded nodules that wipe off. Lower the current, agitate the bath, and check that the conductive paint underneath is smooth.
Is electroplating at home dangerous?
It can be done safely, but the chemicals are hazardous. Copper sulfate can seriously damage eyes and is very toxic to aquatic life, and battery acid causes severe skin burns. Wear goggles and chemical-resistant gloves, work with ventilation, and dispose of the solution as hazardous waste.
Sources
- Prusa Research blog: Electroplating 3D prints, the symphony of plastic and metal (2024)
- Caswell: Bright acid copper plating instructions (PDF)
- Caswell: 3D printed parts plating kit
- Chem One: Copper sulfate pentahydrate safety data sheet (2021, PDF)
- Interstate Batteries: Battery electrolyte / battery acid safety data sheet (PDF)