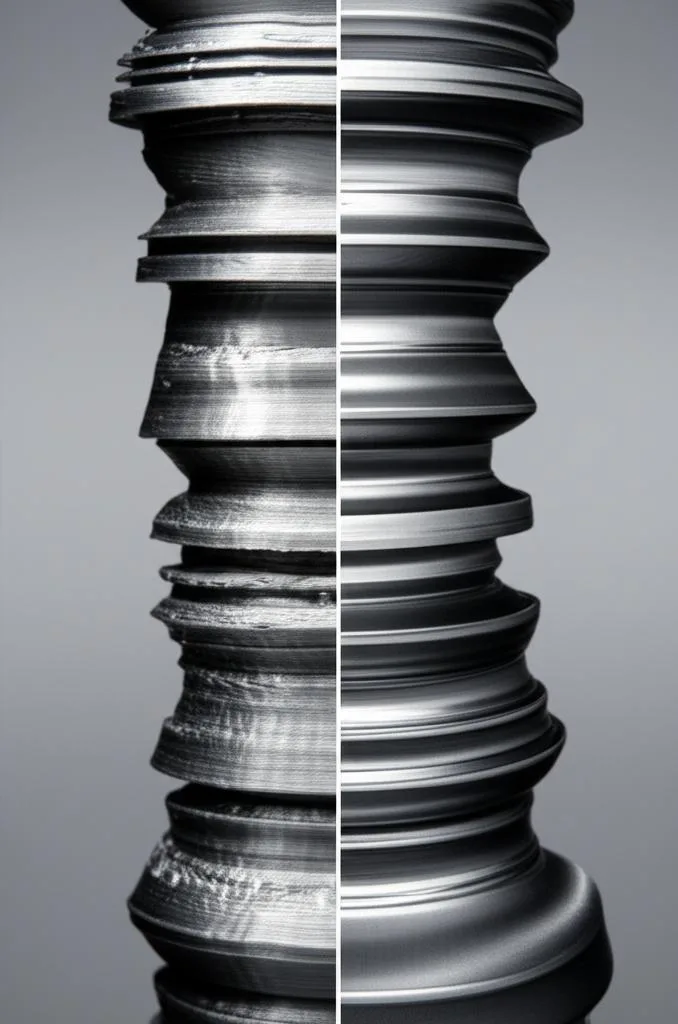
Elephant’s foot is a bulge or flared lip around the bottom layers of an FDM print: the first layer is pressed onto a hot bed, stays soft, and spreads wider than the layers above it. The usual fix order is to correct the nozzle height (Z-offset) first, then lower the bed temperature in small steps, then use your slicer’s elephant foot compensation, which Prusa suggests starting at about 0.2 mm for a 0.4 mm nozzle.
This guide covers how to confirm that the flare really is elephant’s foot, what causes it, and the exact setting names in PrusaSlicer, Bambu Studio, OrcaSlicer and Cura. It also shows a measure-then-compensate procedure for parts that must fit, and a design change that removes the problem in the model itself. Numbers come from the Prusa, Bambu Lab, OrcaSlicer and Cura documentation listed at the end; anything that is our own starting point is labelled as one.
The consumer toolchanger 3D printer: the SnapSwap 4-toolhead system swaps heads in 5 seconds for true multi-color and multi-material printing, with smart calibration and auto filament loading.
- 4 toolheads · 5 s swap
- Up to 500 mm/s · 20,000 mm/s²
- 270 mm cube build volume
- Multi-color & multi-material

Fix elephant’s foot in five steps
- Check the first layer: lines squashed completely flat with ridges between them mean the nozzle is too close. Raise the Z-offset a little and reprint a one-layer test.
- Lower the bed temperature in 5 °C steps, staying inside your filament maker’s range, until adhesion is only just good enough.
- Check that the first layer is not over-extruding (flow, line width, E-steps) before you blame the geometry.
- Turn on elephant foot compensation in the slicer, or measure your own value with a test cube (procedure below).
- For parts that must fit exactly, add a small chamfer to the bottom edge of the model.
How to confirm it is elephant’s foot
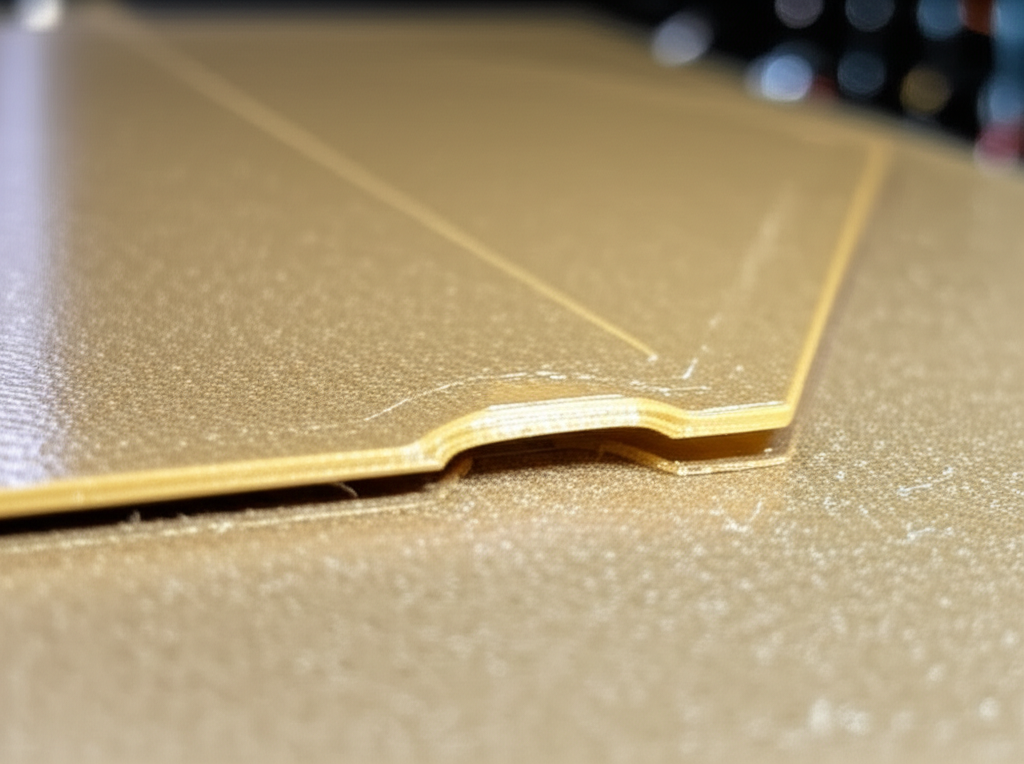
Look at the print from the side: the first layer or first few layers form a lip that sticks out past the wall above. Run a fingernail or a caliper along the join. If the wall above is straight and the lip only appears at the bottom, that is elephant’s foot. If the whole print is wider than the model, the problem is over-extrusion or shrinkage compensation, not the first layer; see the over-extrusion diagnosis.
Bambu Lab’s wiki notes that a slight flare can be ignored on most appearance parts, and that it matters on tolerance-critical parts such as assemblies, snap fits, rails and shaft holes, where the flared base directly affects fit. Larger models and wider bases usually show it more.
What causes elephant’s foot
Bambu Lab describes two forces acting together: heat from the bed keeps the first layer soft, and the weight of the layers above keeps pressing down on a base that has not fully set. The settings below make either force stronger.
| Cause | What you see | Fix |
|---|---|---|
| Nozzle too close to the bed (Z-offset too low) | First layer squashed flat, ridges between lines, edges that curl; Prusa notes you may even see through the filament in extreme cases | Raise Z-offset in small steps and judge by the line, not the number. See first layer calibration |
| Bed too hot | Bottom few layers look slumped; flare is worse on larger bases | Lower the bed temperature in 5 °C steps (starting point), keep adhesion in check |
| First layer over-extruded | Glossy, bulging first-layer perimeter even when the nozzle height looks right | Check flow, line width and E-steps; see flow rate calibration |
| Bed not level | Flare on one side of the part only | Re-level or re-run mesh leveling; see bed leveling |
OrcaSlicer’s documentation lists the same causes: the weight of material above, thermal expansion, a bed that is too hot and inaccurate bed leveling.
Fix the cause before you compensate
Z-offset
Prusa describes the ideal first layer as flattened but not squished: an even surface with no gaps and no ridges between lines. Too low, and the lines are squished completely flat, ridges form between them and the square’s edges can curl up. Prusa also warns that a nozzle set too low can clog the hotend and damage the steel sheet. The Z-offset value is specific to each printer, so Prusa tells you to judge by eye rather than by the number. If you use a probe, the offset belongs to the probe; see BLTouch and CR Touch setup.
Bed temperature
Start from the bed temperature on the filament maker’s data sheet and lower it in 5 °C steps, printing a small test each time. The lowest temperature that still holds the part gives the least flare. Materials such as PETG and ABS usually need a hotter bed than PLA, so the first layer stays soft for longer; expect more flare with them and less room to lower the temperature. If lowering the bed starts to lift corners, stop and read why prints do not stick instead of trading one defect for another.
First-layer extrusion
Over-extrusion on the first layer pushes surplus plastic outward. Check the main flow ratio and extruder calibration first, because a global error shows on every layer, not only the first. Some slicers also offer a separate first-layer line width or flow; reduce those in small steps (for example a few percent) if the foot remains. These are starting points; no slicer documentation gives a universal value.
Brim and raft
A brim does not cause the flare itself, but compensation changes how it attaches (see the next section). The brim and raft settings are covered in brim vs raft vs skirt.
Slicer elephant foot compensation by program
Compensation shrinks the outline of the first layer so that, after the squish, it lands on the dimension the model asks for. It treats the symptom, so use it after the Z-offset and bed temperature are right. If you compensate a badly set printer, the next filament or build plate will bring the flare back.
| Slicer | Where to find it | Value guidance |
|---|---|---|
| PrusaSlicer | Print Settings → Advanced → Elephant foot compensation (visible in Advanced or Expert mode) | About 0.2 mm usually works with the default 0.4 mm nozzle; 0 turns it off; official Prusa profiles have it enabled; thin first-layer lines are protected from over-shrinking |
| Bambu Studio | Process → Quality → Precision → Elephant foot compensation | The default is fine for general models; measure your own for tight tolerances (procedure below). Bambu’s example result is 0.10 mm |
| OrcaSlicer | Elephant foot compensation plus a layer count (Advanced mode) | Full value on layer 1, tapering linearly over the chosen number of layers. Wiki example: 0.25 mm over 5 layers gives 0.25, 0.20, 0.15, 0.10 and 0.05 mm |
| Cura | Initial Layer Horizontal Expansion | Enter a negative value; Cura’s own description says a negative value compensates for the first-layer squish. It documents no recommended number, so start small (for example −0.1 mm, our starting point) and adjust after measuring |
Side effects are similar everywhere. The part looks slightly smaller on the first layer in the preview. Prusa says the brim may not touch the part when the setting is on, and that a brim that fails to connect usually means the value is too high. Orca offers a “Brim use EFC outline” option for large compensation values so the brim still attaches.
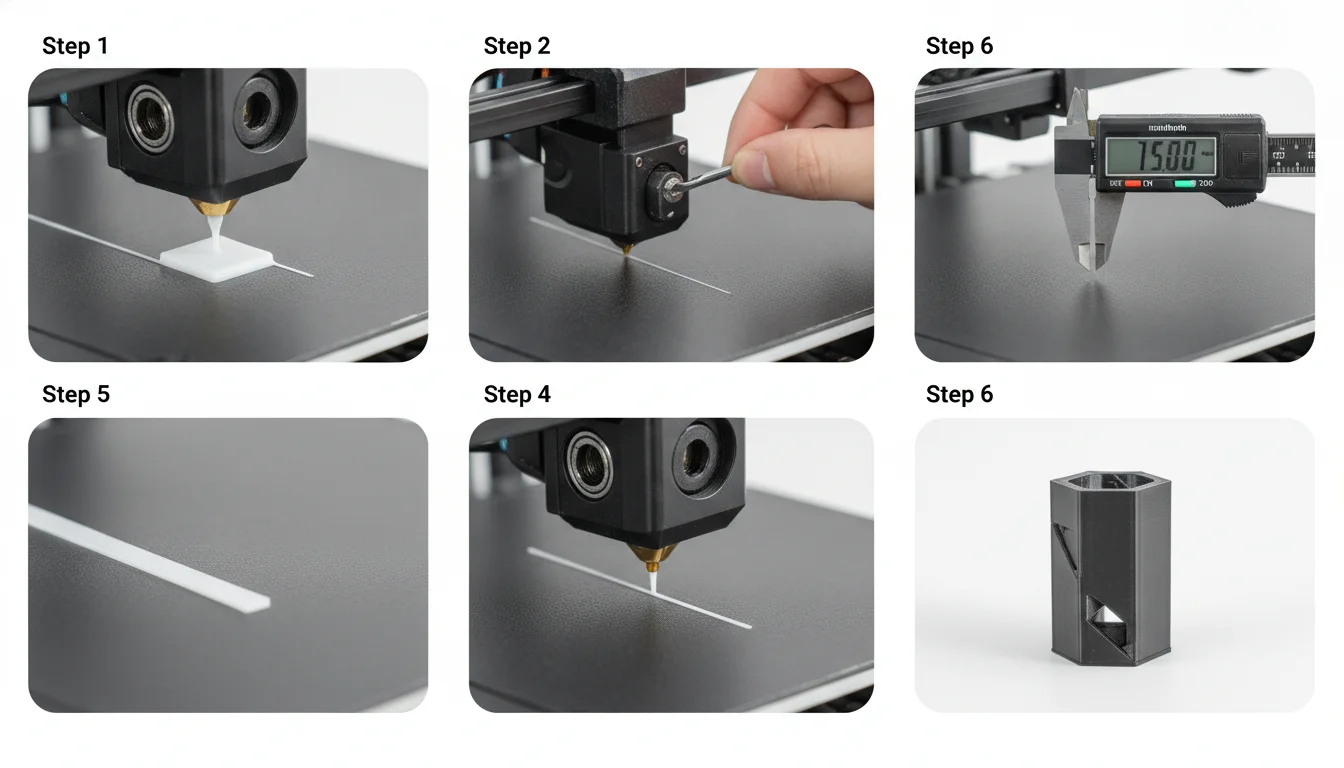
Measure your own compensation value
For assemblies, snap fits and shaft holes, guessing the number wastes prints. This method is adapted from Bambu Lab’s wiki procedure and works in any slicer:
- Level the bed and run your usual calibrations. Clean the build plate.
- Slice a test cube (25 × 25 × 10 mm in Bambu’s example) with elephant foot compensation set to 0 and no brim.
- Let the bed cool to room temperature before removing the part, because forcing it off while hot can deform it.
- Measure the X and Y size at the top of the cube, away from the foot, with a caliper that reads to 0.01 mm. Measure the bottom at the middle of each side and avoid the corners. Touch the flared edge lightly: pressing hard squeezes the first layer and reads too small.
- Subtract top from bottom on each axis. Bambu’s example: 25.07 − 24.98 = 0.09 and 25.11 − 25.00 = 0.11, so the value is (0.09 + 0.11) / 2 = 0.10 mm.
- Enter the value in the slicer and reprint the cube to check.
Bambu points out that the value differs between build plates, so measure again after changing the plate. It is sensible to do the same when you change filament material, because the bed temperature changes too.
Design fix: chamfer the bottom edge
If you control the model, add a small 45° chamfer around the base. The flared first layer then fills the chamfer instead of sticking out past the wall. Make the chamfer about as large as the flare you measured; 0.2–0.4 mm is a sensible place to start at 0.2 mm layers, but that is our starting point, not a published figure. A chamfer also stops the sharp bottom edge from catching on a mating part. Do not combine a large chamfer with a large slicer compensation, or the base will end up undersized.
Common mistakes
- Using compensation to hide a Z-offset that is too low. The first layer is still squashed, can still clog the hotend, and the value stops working when you change plate or filament.
- Setting a very large value. Parts end up undersized at the base, and the brim stops touching the part.
- Measuring a warm part. Take caliper readings at room temperature, not straight off the bed.
- Changing several settings at once. Change one setting, print a small cube or one-layer test, then move on.
- Treating a bulge higher up as elephant’s foot. A flare that starts several layers up is a different problem, often temperature or over-extrusion.
When it is not elephant’s foot
If the first layer is ridged or has gaps in the middle of the part rather than a lip at the edge, you are looking at a general first-layer problem: read first layer calibration. If the part lifts or does not stick, go to bed adhesion.
Frequently asked questions
Does elephant foot compensation fix the cause or hide it?
It hides it. The slicer shrinks the first-layer outline to offset the squish, but the nozzle can still be too close or the bed too hot. Fix those first and use compensation as the last, small correction.
What elephant foot compensation value should I use?
Prusa says about 0.2 mm usually works with a 0.4 mm nozzle in PrusaSlicer. Bambu’s example measurement came out at 0.10 mm, and the value differs between build plates. Measure your own with a test cube if the fit matters.
Is elephant’s foot caused by a bed that is too hot?
It can be one of the causes. Bambu Lab and OrcaSlicer both list bed heat as a factor, together with the weight of the layers above. Lower the bed temperature in 5 °C steps and stop as soon as adhesion starts to suffer.
Do I need to fix elephant’s foot on every print?
No. Bambu Lab says a slight flare can be ignored on most appearance parts. It matters on parts that must fit another part, such as snap fits, rails or shaft holes.