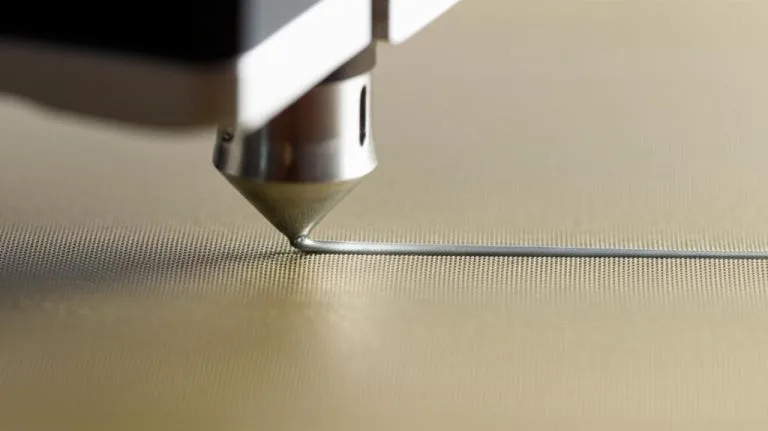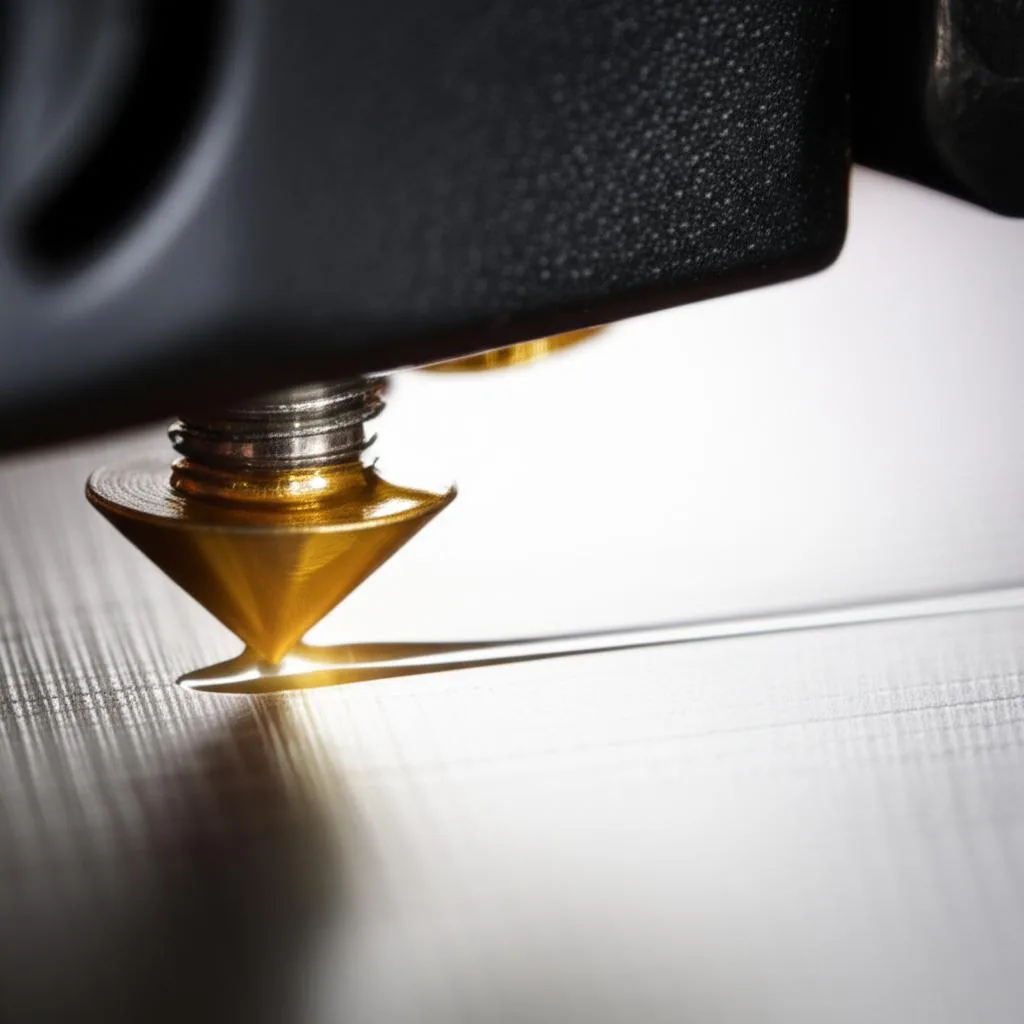
First layer calibration is the process of setting the gap between the nozzle tip and the print surface (the Z-offset) so the first layer is pressed, or “squished”, just enough to bond to the bed and to the neighbouring lines. Too high and you get round lines with gaps between them; too low and you get ridges, a rough or see-through surface and edges that curl up. The target, in Prusa’s words, is an even surface with no gaps between lines and no ridges.
In practice you level the bed first, print a single-layer test pattern, adjust the Z-offset in small steps while it prints, and save the value. Only then do the slicer settings for the first layer matter: height (0.20 mm in Prusa’s and OrcaSlicer’s defaults), speed (30 mm/s in OrcaSlicer’s and Cura’s base settings), cooling and temperature. This guide covers reading the result, the commands for Marlin, Klipper and Prusa printers, and those settings. Values come from the Prusa, Klipper, Marlin, OrcaSlicer and UltiMaker Cura documentation linked at the end; anything else is marked as a starting point.
The consumer toolchanger 3D printer: the SnapSwap 4-toolhead system swaps heads in 5 seconds for true multi-color and multi-material printing, with smart calibration and auto filament loading.
- 4 toolheads · 5 s swap
- Up to 500 mm/s · 20,000 mm/s²
- 270 mm cube build volume
- Multi-color & multi-material

First layer calibration in six steps
- Clean the print surface and make sure the bed is level or meshed.
- Heat the bed and nozzle to the temperatures you normally print at.
- Print a single-layer test: your printer’s calibration pattern or a thin square in each corner and the centre.
- Watch the lines go down and adjust the Z-offset live, in small steps.
- Stop when the surface is even: no gaps, no ridges, lines just touching.
- Save the value to the printer, then fine-tune first layer speed, width and temperature in the slicer.
Before you touch the Z-offset
The Z-offset sets one height for the whole bed. It cannot fix a bed that is higher on one side than the other, so a first layer that is perfect in one corner and gappy in another is a leveling problem, not an offset problem. Sort that out first with our guide to bed leveling, which covers the paper method, assisted leveling and mesh leveling. On printers with a probe, the probe’s own X/Y/Z offsets have to be right too; that setup lives in the BLTouch and CR Touch guide.
Two more checks save a lot of confusion. Prusa starts its first layer calibration with a clean print surface, because grease makes a good height look bad. And the nozzle tip should be free of old plastic, which otherwise drags through the fresh lines.
How to set the Z-offset
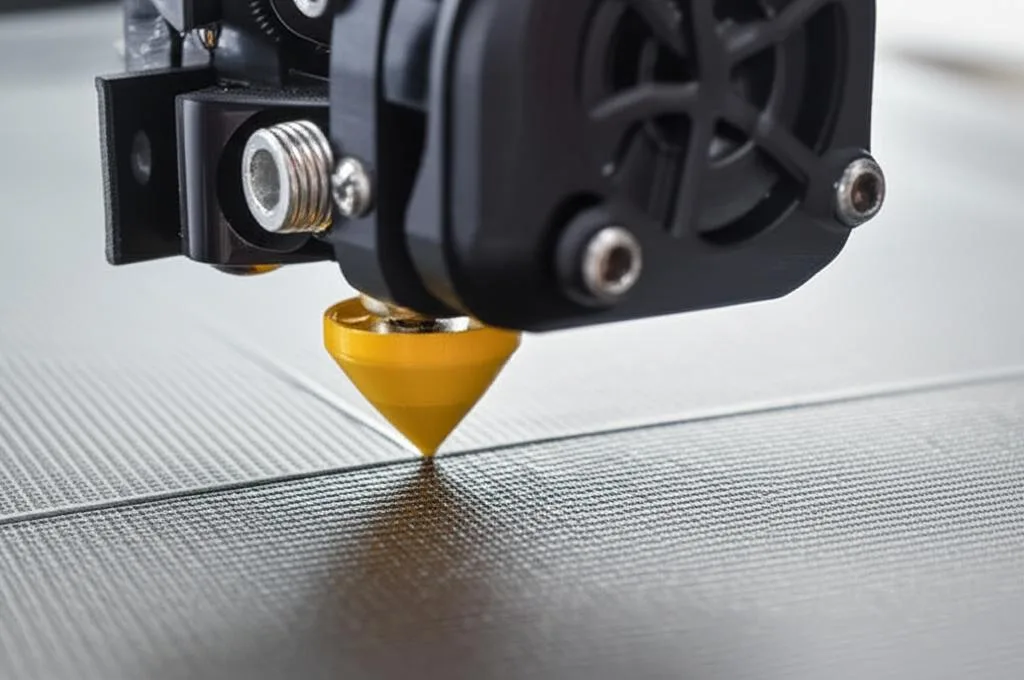
Whatever the firmware, the convention is the same: a more negative Z-offset moves the nozzle closer to the bed and adds squish; a less negative (or positive) value moves it away. Prusa’s first layer calibration on i3 printers prints a zig-zag with a square at the end. You turn the knob counter-clockwise to bring the nozzle closer, which moves the value further from zero; Prusa gives a common range of -0.400 to -1.500 on the smooth sheet. That range belongs to Prusa’s probe and geometry, so do not copy it to another printer.
Adjust while the test prints, because you see the effect within a few lines. There is no official step size for manual printers; as a starting point, move in steps of about 0.02–0.05 mm and wait for a few new lines before judging. For scale, Prusa notes that a single layer is about 0.2 mm, so a 0.1 mm change is half a layer and clearly visible.
| Firmware or printer | Adjust during the print | Make it permanent |
|---|---|---|
| Marlin | M290 Z<value> (babystepping), usually via the LCD. M290 Z0.25 moves the nozzle up 0.25 mm. | With BABYSTEP_ZPROBE_OFFSET enabled, babystepping also changes the probe Z offset; save with M500 |
| Klipper | SET_GCODE_OFFSET Z_ADJUST=<value> MOVE=1; offsets add up (Z=-0.2 then Z_ADJUST=0.3 gives 0.1 mm) | Z_OFFSET_APPLY_PROBE (with a probe) or Z_OFFSET_APPLY_ENDSTOP, then SAVE_CONFIG |
| Prusa i3 (MK3 family) | Live Adjust Z during First Layer Calibration or a print | Set from the calibration menu, following Prusa’s guide for your model |
Klipper’s docs describe SET_GCODE_OFFSET as babystepping: without MOVE=1 the offset only takes effect on the next absolute move. If you forget the apply-and-save step, the value is gone after a restart and the next print starts at the old height.
Reading the first layer: too high, too low, uneven
Look at the test from above in good light, then run a fingernail across it once it has cooled. A good first layer on a smooth sheet is flat and opaque, the lines are fused, and you can only just make out where one ends and the next begins. Textured sheets hide some of this: Prusa’s guide says that on a textured sheet a round line with gaps means too high, and filament curling up at the edges means too low.
| What you see | Likely cause | Fix |
|---|---|---|
| Round, separate lines with gaps between them; the square peels off easily | Nozzle too high | Move the Z-offset closer to the bed (more negative) |
| Ridges between lines, edges curling up | Nozzle too low | Move the Z-offset away from the bed |
| Very thin, see-through layer, nozzle scraping or ploughing plastic | Nozzle much too low | Raise it in bigger steps, then fine-tune |
| Good in one area, gaps or ridges in another | Bed not level, or mesh leveling not active | Relevel or re-mesh first; the offset cannot fix a tilt |
| Gaps even at a height that looks right; thin, wispy or broken lines | Under-extrusion: partial clog, wrong filament diameter, E-steps or flow | Check the nozzle, then calibrate E-steps and flow (links below) |
| Lines look right but the part lifts later in the print | Adhesion or warping, not height | See the guide to prints not sticking to the bed |
| Bottom edge of the part flares outward | Elephant’s foot | Slightly less squish, then slicer compensation |
Flow and height are easy to confuse because both change line width. Rule of thumb: if the defect is the same everywhere and changes when you move the nozzle, it is height; if it stays after the height is right, it is extrusion. The extrusion side is covered in the guides to E-steps calibration and flow rate. A flared bottom edge has its own elephant’s foot guide.
First layer slicer settings: height, width, speed, cooling, temperature
Once the Z-offset is right, a few first-layer-only settings in the slicer make the result more forgiving. The table shows the built-in defaults of OrcaSlicer and Cura where they are documented; your printer profile may override them, so check what your profile actually uses.
| Setting | Documented defaults | What it does | Starting point if the first layer struggles |
|---|---|---|---|
| First layer height | Prusa profiles: always 0.20 mm. OrcaSlicer: 0.2 mm. Cura base definition: 0.3 mm | A thicker first layer makes adhesion easier and tolerates small height errors | Keep 0.2 mm for a 0.4 mm nozzle; recalibrate the Z-offset if you change it |
| First layer line width | Cura: 100% of the normal line width. OrcaSlicer: set in mm or % of nozzle diameter | Both slicers note that a wider first layer can improve bed adhesion | Try a modestly wider first layer (our estimate: around 110–125% of the nozzle) before touching flow |
| First layer speed | OrcaSlicer: 30 mm/s (60 mm/s for first-layer solid infill). Cura: 30 mm/s, derived as half the print speed | Cura’s description: a lower value improves adhesion to the build plate | Prusa suggests about 75% of normal speed for the first three layers when troubleshooting |
| Part cooling fan | OrcaSlicer: fans off for the first 1 layer. Cura: 0% at the start, ramping to normal speed by layer 2 | Keeps the first layer warm while it bonds | Leave the fan off on layer 1; add a layer or two for materials that curl |
| Bed temperature | From the filament profile; Cura uses the same value for the first layer by default | Warmer bed, better grip for most materials | Prusa: raise the bed 5–10 °C if the material adheres poorly |
| Nozzle temperature | Cura: same as the print temperature by default | Hotter plastic flows into the surface more easily | Our estimate: 5 °C above your normal temperature for layer 1; a temperature tower finds the base value |
| First layer flow ratio | OrcaSlicer: 1.0 (does not affect brim and skirt) | Scales extrusion on layer 1 only | Leave at 1.0; fix height first, then global flow |
Prusa adds one warning worth repeating: changing the first layer height will most likely require recalibrating the first layer. The Z-offset and the first layer height work together, so change one at a time.
First layer test patterns
- Printer calibration routine. Prusa i3 printers have a built-in First Layer Calibration (zig-zag plus square). If your printer has one, use it: it runs at the right height and speed for that machine.
- Single-layer squares. A 20–30 mm square, one layer high, in each corner and the centre (sizes are a convenience, not a standard). It shows height and leveling at once: if all five look the same, the offset is the only variable left.
- A large single-layer patch. Useful on big beds to check that the mesh is applied across the whole area.
- The skirt. Every print’s skirt is a free first layer check. If the skirt goes down badly, stop and adjust before the part starts.
Common first layer mistakes
- Using the Z-offset to fix a tilted bed. You end up squashing one side to get the other to stick. Level or mesh first.
- Adjusting without saving. Live babystepping in Klipper or Marlin is lost unless you apply and save it (
SAVE_CONFIG,M500). - Raising flow to hide a high nozzle. More plastic fills the gaps on layer 1 but over-extrudes the rest of the print. Fix the height, then calibrate flow on its own.
- Judging a textured sheet like a smooth one. Textured surfaces never look glassy. Prusa uses separate criteria for them: round lines with gaps are too high, curling edges are too low.
- Not recalibrating after hardware changes. Prusa lists a nozzle change, extruder upgrades, changes to any axis and moving the printer as reasons to run the calibration again.
- Blaming the first layer for adhesion failures. If the first layer looks right but corners lift an hour later, the problem is surface prep, bed temperature or warping. Work through prints not sticking to the bed instead.
Frequently asked questions
What should a good first layer look like?
Flat, even and opaque, with the lines fused so you can only just see the boundaries between them. Prusa describes the target as an even surface with no gaps between lines and no ridges. On a textured sheet it looks less glossy, but the lines should still be flattened rather than round.
Should the Z-offset be negative or positive?
It depends on where your printer’s zero is. On probe-based printers the offset is usually negative, because the probe triggers while the nozzle is still above the bed; Prusa’s i3 values typically sit between -0.400 and -1.500. What matters is the direction: more negative brings the nozzle closer to the bed, less negative moves it away.
Do I need to recalibrate the first layer for every filament?
Not usually. The Z-offset is mostly about the printer, not the filament. Recheck it after a nozzle change, hardware changes, moving the printer, a new print sheet or a new first layer height. If a new material behaves differently, first adjust temperature and speed for layer 1 in its filament profile.
What first layer speed should I use?
OrcaSlicer’s and Cura’s base settings both use 30 mm/s for the first layer, and Cura’s documentation says a lower value improves adhesion. If you have trouble, Prusa suggests slowing to about 75% of normal speed for the first three layers.
Sources
- Prusa Knowledge Base: First Layer Calibration (i3)
- Prusa Knowledge Base: First layer issues and Layers and perimeters
- Klipper documentation: G-Codes (SET_GCODE_OFFSET, Z_OFFSET_APPLY_PROBE)
- Marlin documentation: M290 Babystep
- OrcaSlicer setting definitions (PrintConfig.cpp) and UltiMaker Cura base printer definition (fdmprinter.def.json)