Flow rate calibration sets the slicer multiplier that scales how much plastic every extrusion move pushes out: flow ratio in OrcaSlicer and Bambu Studio, extrusion multiplier in PrusaSlicer, Flow in Cura. A value of 1.0 (100%) extrudes exactly what the slicer calculated; lower means less plastic, higher means more. Prusa puts typical adjusted values between 0.9 and 1.1. Too high leaves ridges and material piling up at the edges of top surfaces; too low leaves gaps between lines.
There are two ways to find the value. Either print a single-wall object and compare the measured wall with the line width the slicer asked for, or print a set of top-surface test blocks at different flow values and pick the smoothest. Do it per filament, and only after the extruder’s E-steps are correct. This guide covers both methods in PrusaSlicer, OrcaSlicer and Bambu Studio, with the ranges and formulas from their documentation, linked at the end.
The consumer toolchanger 3D printer: the SnapSwap 4-toolhead system swaps heads in 5 seconds for true multi-color and multi-material printing, with smart calibration and auto filament loading.
- 4 toolheads · 5 s swap
- Up to 500 mm/s · 20,000 mm/s²
- 270 mm cube build volume
- Multi-color & multi-material

Flow calibration in six steps
- Confirm extruder E-steps (or Klipper rotation_distance) and the nozzle temperature for this filament.
- Load the exact spool you want to calibrate and start from its current flow value.
- Print the test: a single-wall (vase mode) cube to measure, or the slicer’s flow test blocks.
- Measure the wall and divide the target width by it, or pick the block with the smoothest top surface.
- Enter the new value in the filament profile, not the printer profile.
- Print once more to confirm, then adjust in 1–2% steps if needed.
Before you calibrate flow
- E-steps first. Flow multiplies whatever length the extruder actually feeds, so a wrong steps/mm value gets baked into every filament profile. Run the E-steps calibration once for the hardware.
- Temperature settled. A nozzle that is too cold under-extrudes regardless of flow. If you have not picked a temperature for this material, print a temperature tower first.
- Clean nozzle and a good first layer. A partial clog looks like low flow, and a squashed or gappy first layer is a Z-offset issue, not a flow one; see the first layer guide.
- Bambu Lab order. Bambu’s wiki treats flow rate calibration as something to do after other calibrations such as Flow Dynamics (its name for pressure advance), and says that with Bambu printers and Bambu filament many defects come from other causes. Pressure advance itself is covered in our pressure advance guide.
Method 1: measure a single-wall cube
This is Prusa’s “precise” method and works in any slicer. The idea is simple: with one perimeter and no infill, the wall should be exactly as thick as the extrusion width the slicer used. If it is thicker, you are over-extruding; if it is thinner, under-extruding.
- Slice a cube in spiral vase mode (a single continuous wall with no top layers). Note the perimeter extrusion width the slicer actually uses. Prusa’s formula uses 0.45 mm, the width of its default 0.4 mm nozzle profile, so check your own profile rather than assuming the width equals the nozzle diameter.
- Print it with the filament you are calibrating and the current flow value.
- Measure the wall with calipers at three points in the middle of each wall, away from the corners, and average the readings.
- Calculate: new multiplier = extrusion width ÷ average measured thickness × current multiplier. Example: 0.45 ÷ 0.47 × 1.00 = 0.957.
- Enter it and reprint to confirm the wall now measures close to the target.
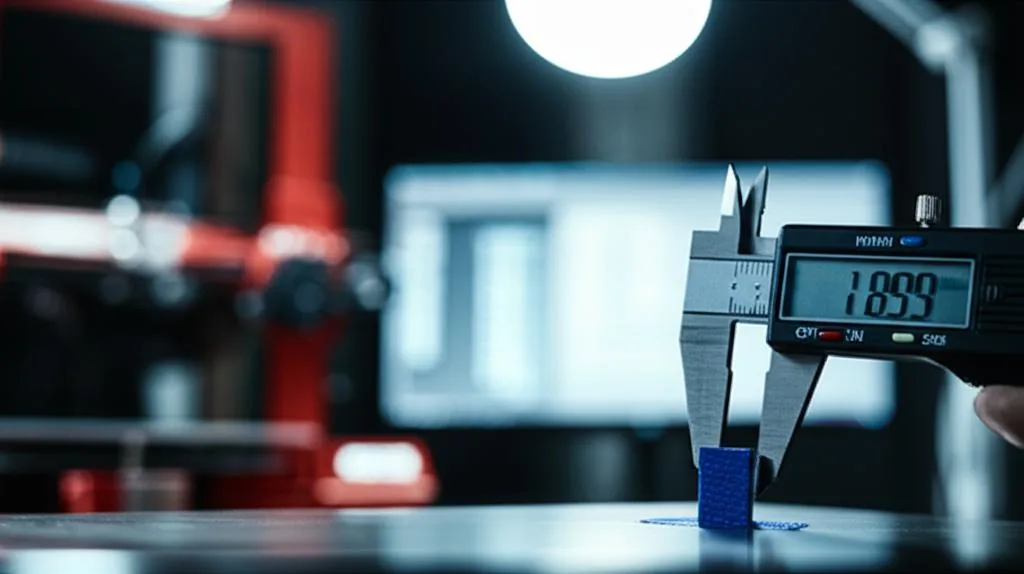
Prusa notes the procedure assumes a 0.4 mm nozzle profile with 0.1–0.2 mm layers; with other nozzles or layer heights, adjust the reference width. Calipers press into a thin plastic wall easily, so use light, even pressure on every reading.
Visual method without calipers
Prusa’s second method needs no tools: print a test cube at 0.20 mm layer height and look at the top layer. It should be smooth and shiny without scarring. Lower the multiplier if material builds up near the edges, raise it if you can see gaps between the lines, and change it in 1–2% steps between prints.
Method 2: OrcaSlicer flow ratio test
OrcaSlicer prints a plate of blocks, each with a different flow ratio, and you choose by the top surface. Its wiki describes the “YOLO” methods as the current ones and the two-pass method as legacy.
| OrcaSlicer test | Range | Step | How to calculate |
|---|---|---|---|
| YOLO (Recommended) | −0.05 to +0.05, eleven blocks | 0.01 | Old flow ratio ± the block’s modifier |
| YOLO (Perfectionist) | −0.04 to +0.035 | 0.005 | Old flow ratio ± the block’s modifier |
| 2-pass, Pass 1 (legacy) | Nine blocks | Percentage modifiers | Old × (100 + modifier) ÷ 100; Orca’s example: 0.98 × 10⁵ ÷ 100 = 1.029 |
| 2-pass, Pass 2 (legacy) | Ten blocks, −9 to 0 | 1 | Same formula as Pass 1 |
For the YOLO tests, OrcaSlicer’s criteria are the smoothest top surface, no visible gaps between the pattern arcs, and little or no visible line between the inner spiral and the outer arcs. Save the result in the filament profile after each adjustment. On Bambu Lab printers, the Orca wiki warns not to select the printer’s “Flow calibration” option when sending the test.
Bambu Studio flow rate calibration
In Bambu Studio the test lives under Calibration → Flow Rate. Bambu’s wiki lists two modes:
- Auto-calibration: only the X1 series, which measures the pattern with its Micro Lidar. Bambu warns that transparent or semi-transparent, sparkly and highly reflective filaments may give poor results, and that results can vary between runs.
- Manual, coarse: blocks from 80% to 120% of the preset’s flow ratio in 5% steps. Use it when you don’t know roughly where the value should be.
- Manual, fine: blocks from 91% to 100% of a value you enter, in 1% steps. Use it when you are already within about 10%.
“Complete calibration” runs the coarse plate first and then offers the fine one. Pick the block whose lines are smooth throughout: the highest blocks show overlapping lines, the lowest show gaps. In Bambu’s own example the +5 block was best and Studio returned a flow ratio of 0.9975. Save the result as a new filament preset, or overwrite the original by keeping its name. Bambu also points out that the fine plate starts printing as soon as you click Calibrate, so have a clean plate in the printer first.
Where the flow setting lives in each slicer
| Software | Setting name | Where | Notes |
|---|---|---|---|
| PrusaSlicer | Extrusion multiplier | Filament Settings | Default 1; Prusa: total flow = firmware M221 × extrusion multiplier |
| OrcaSlicer | Flow ratio | Filament profile | Calibration menu generates the test plates |
| Bambu Studio | Flow ratio | Filament preset | Calibration → Flow Rate; auto mode on X1 series only |
| Cura | Flow | Material section of print settings | A percentage of the flow Cura calculates |
| Marlin firmware | M221 S<percent> | G-code or printer menu | Applies to all E moves; not a substitute for a per-filament slicer value |
E-steps vs flow: which one to adjust
If every filament is off by the same amount, or a marked 100 mm extrusion test does not give 100 mm, the problem is in the firmware: fix E-steps. If the extrusion test is accurate and one spool, brand or material looks thin or bulgy, change flow in that filament’s profile. E-steps is set once per extruder; flow is set per filament and usually lands close to 1.0. A value far outside Prusa’s typical 0.9–1.1 range is a hint that something else is wrong.
Common flow calibration mistakes
- Measuring against the wrong target. The wall should match the slicer’s extrusion width, which is often wider than the nozzle (0.45 mm on Prusa’s 0.4 mm profiles). Dividing by 0.40 instead pushes flow too low.
- One value for every spool. Bambu notes that filaments differ in viscosity and need different flow rates. Keep flow in each filament profile.
- Using flow to fix something else. Corner blobs are a pressure advance problem, strings are retraction, and sudden under-extrusion on an old setup is often a clog or a worn nozzle. For a full symptom list, see over-extrusion.
- Judging the top surface in flat light. Gaps and ridges on the test blocks are much easier to compare under a light held low and to the side.
- Big jumps. Once you are close, Prusa suggests 1–2% steps and Bambu’s fine test uses 1%. Chasing half-percent differences by eye is rarely productive; OrcaSlicer’s Perfectionist test exists if you want them.
Frequently asked questions
Should I calibrate flow rate or E-steps first?
E-steps first. E-steps makes sure the extruder feeds the length of filament it is asked for, and flow then fine-tunes the amount for each filament. If you calibrate flow on top of a wrong E-steps value, the error ends up hidden in every filament profile and shows up again when you change material.
What is a normal flow rate or extrusion multiplier?
Close to 1.0 (100%). Prusa’s Knowledge Base gives 0.9 to 1.1 as the typical range for adjusted values, and Bambu’s example calibration landed at 0.9975. A result well outside that range usually points to a wrong target width, wrong E-steps, a clog or a temperature problem rather than the filament.
Do I need to recalibrate flow for every new spool?
Calibrate each new filament type and brand, and repeat it when a spool of a filament you already profiled behaves differently. The value belongs in the filament profile, so switching spools means switching profiles. A quick fine test is enough when you are already close.
Does the Bambu Lab auto flow calibration replace manual calibration?
Not always. Bambu’s wiki says auto flow rate calibration runs only on the X1 series and can give poor results with transparent, sparkly or highly reflective filaments, and results can vary between runs. For those filaments, or on other models, use the manual coarse and fine tests in Bambu Studio.