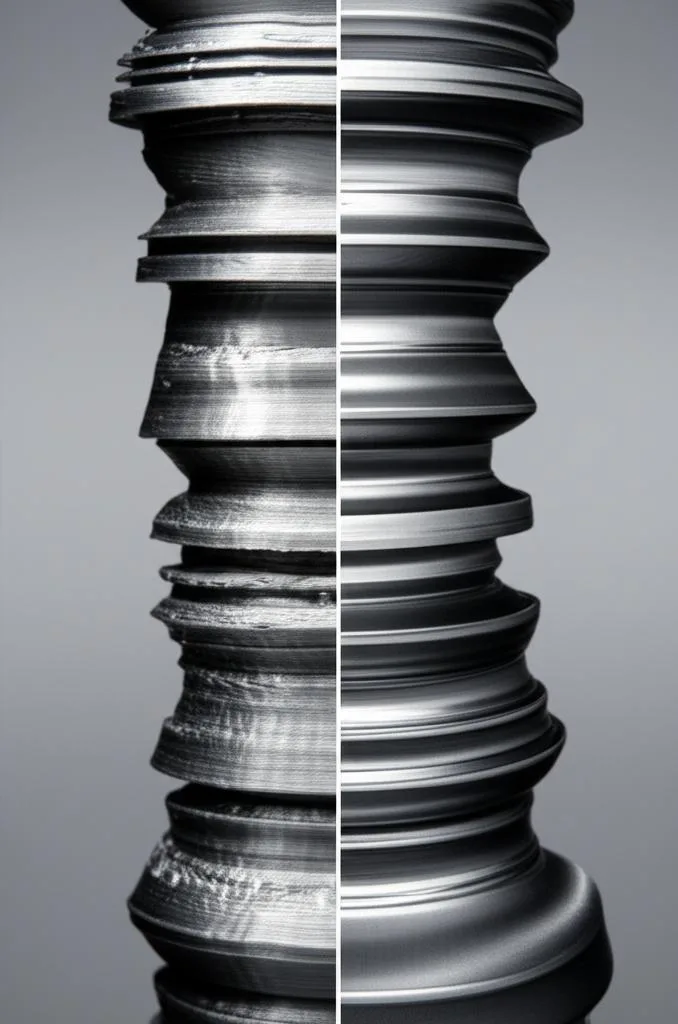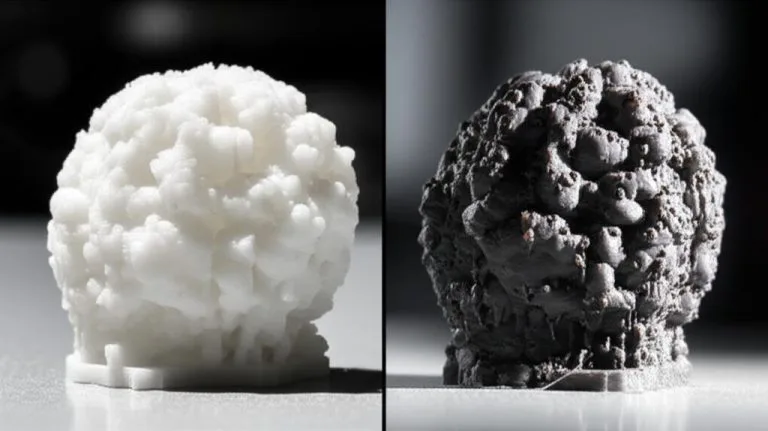
A layer shift is a sudden sideways step in a print: from one layer on, everything is offset along X or Y. Prusa’s troubleshooting guide names the two most common causes as wrong belt tension and a motor pulley that isn’t secure. The fastest test takes a minute: power off, hold the motor shaft still with pliers and push the carriage by hand. If the belt shows any slack or the axis moves, the belt is too loose or the pulley is slipping.
Correct tension depends on the printer. Prusa says a belt should sound like a low bass string when plucked and pinch together with a little resistance. Voron documents about 110 Hz on a 150 mm span. Bambu Lab X1 and P1 printers set tension with a spring tensioner. Below you’ll find how to read the shift, tension targets by printer, a tensioning procedure for typical Cartesian machines, and the non-belt causes to rule out: motor current, overheating stepper drivers and too much acceleration.
The consumer toolchanger 3D printer: the SnapSwap 4-toolhead system swaps heads in 5 seconds for true multi-color and multi-material printing, with smart calibration and auto filament loading.
- 4 toolheads · 5 s swap
- Up to 500 mm/s · 20,000 mm/s²
- 270 mm cube build volume
- Multi-color & multi-material

Belt check in 60 seconds
- Note the direction of the shift: left-right, front-back or diagonal.
- Power off. Hold that axis’s motor shaft with pliers on its flat and push the carriage or bed. There should be no slack and no movement.
- Pluck the belt: a low bass note is right; a floppy, dull sound is too loose.
- Check both grub screws on the motor pulley, and look for filament wrapped around pulleys.
- Tension in small steps, move the axis through its full travel, and print a test.
Reading a layer shift: is it the belts?
Start by working out which axis moved. On a Cartesian printer a left-right step points to X and a front-back step to Y. On CoreXY machines, Prusa notes that an inconsistent X or Y movement usually relates to belt tension, while an inconsistent diagonal movement points to the motor, or its pulley, that drives that diagonal.
| What you see | Likely cause | Check or fix |
|---|---|---|
| Repeated “staircase” steps in the same direction | Loose or misaligned motor pulley | Tighten both grub screws, one on the shaft flat; align the pulley so the belt runs straight |
| Shift along one axis, belt feels slack | Belt too loose, skipping teeth | Tension the belt, then re-check with the pliers test |
| Circles printed as ovals, other dimensional errors | Loose belt on a CoreXY system | Re-tension; on Bambu Lab X1/P1 use the spring tensioner procedure |
| Single shift at the height where the part curled up | Nozzle hit a warped edge or an overhang | Fix warping or adhesion; better cooling for overhangs |
| Shift right after a speed increase | Moves too fast for the motors, or too much friction on rods | Lower speed; clean and lubricate rods |
| Shifts on large prints in stealth or silent mode | Stealth mode, which Prusa describes as suited to small, simple objects | Switch to normal mode for bigger or complex prints |
| Shifts on fast moves or sharp direction changes, belts pass the pliers test | Acceleration or jerk too high for the motors | Lower acceleration (M204) and jerk or junction deviation (M205), also in the slicer profile |
| Grinding or clunking as the axis skips, motors only lukewarm | Motor current too low for the load | Raise current in small steps (M906, Klipper config or Vref) within the motor’s rating |
| Shifts appear after a long run time or in a warm enclosure; drivers or motors very hot | Driver overheating and switching off (Klipper: ot=1 OvertempError) | Improve driver and motor cooling, check the electronics fan, reduce current |
| Shift whenever the head reaches the same area | Possible obstruction: cable bundle, zip tie, filament debris | Move the axis by hand and find what catches |
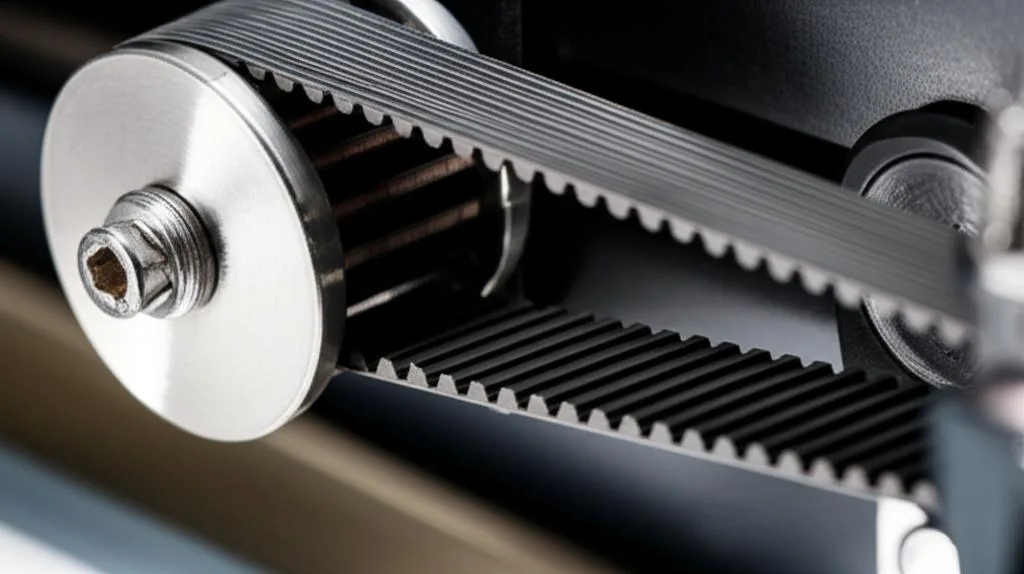
Why a loose belt causes a shift: the motor turns the pulley the right number of steps, but a slack belt can jump a tooth under a hard acceleration, and every tooth it skips moves all following layers by one tooth pitch. A slipping pulley does the same thing more gradually. In both cases the motor “thinks” the head is where it should be, so the error is never corrected.
Belt tension targets by printer
There is no single tension value for every printer, because belt width, span length and frame design differ. Use your manufacturer’s method where one exists:
| Printer | How to check | Target |
|---|---|---|
| Original Prusa MK3/S/+ | LCD → Support → Belt Status (updated by the Selftest or Calibration → Belt test) | About 250 on X and 275 on Y, ±15. Close to 240 or lower: loosen. Close to 290 or higher: tighten. |
| Other Prusa MK-series | Prusa belt tuner app, or pluck and pinch test | Low bass note; the two belt sides pinch together with a little resistance |
| Voron CoreXY (A/B belts) | Pluck the 150 mm span between the front idler and XY joint centres, read the frequency with a spectrum app | About 110 Hz (roughly 2 lb of tension per Voron), both belts equal |
| Bambu Lab X1 and P1 | Spring-loaded tensioner | Set by the spring; follow the procedure below, then recalibrate |
| Other Cartesian printers | Manufacturer’s manual | No published universal figure: no slack in the pliers test, firm but not rigid |
Prusa’s Belt Status number isn’t a physical force: it is inversely proportional to motor load, so a lower number means a tighter belt. That also shows why overtightening is not a fix. More tension means more load on the motor, idlers and bearings, not more accuracy.
On CoreXY printers the two belts affect each other. Voron’s guide says tightening one also tightens the other, so adjust them back and forth until they match, move the gantry a few centimetres and back, then measure again. Frequency apps pick up fans and other background noise, so measure with the room as quiet as possible.
How to tension belts on a typical Cartesian printer
Most bed-slingers and many open-frame printers have an idler on a sliding bracket or a thumbwheel tensioner at one end of each belt. The exact screws differ by model, so keep your manual to hand.
- Power off so the motors can’t move while your fingers are near the belts.
- Find the tensioner for the axis that shifted: usually at the end of the X gantry opposite the motor, and at the front or rear of the frame for Y.
- Loosen the locking screws slightly if the bracket has them. Don’t remove them.
- Adjust in small steps. A turn or two at a time on a screw tensioner, then re-check. Prusa’s own procedure checks belt tension after every turn or two.
- Test. Pluck for a low note, pinch for slight resistance, and repeat the pliers test on the motor shaft.
- Lock the tensioner and check tension again, since tightening the lock screws can shift it.
- Move the axis through its full travel by hand. It should feel smooth, with no tight spots or grinding.
- Print a test part tall enough to show a shift, and compare with the failed print.
For more detail on measuring tension, see our belt tension calibration guide. If your belts tend to loosen between prints, the early warning signs of loose belts help you catch it before a print fails.
Bambu Lab X1 and P1: spring tensioner procedure
Bambu Lab’s procedure: power off, loosen the four screws of the belt tensioner without removing them, move the toolhead back and forth several times, move it to the rear, then tighten the four screws. The spring sets the tension. Bambu also asks you to move the Y axis back and forth before tightening so both belts even out, and warns that over-torquing the screws can cause damage and won’t improve the result. Belt tensioning changes the toolhead’s resonance, so run the printer calibration afterwards.
Check motor pulleys and grub screws
Prusa calls a loose or misaligned pulley “usually the main cause of staircase layer shifts”. A belt can be perfectly tensioned and still shift if the pulley turns on the shaft. Check:
- Both grub screws are tight, and one of them presses on the flat of the motor shaft.
- The pulley is aligned with the idler at the other end, so the belt runs straight and doesn’t wander across the pulley as it turns.
- The motor is tight in its mount and the pulley spins freely without rubbing.
- No filament debris is wound around the belt or pulley. Prusa mentions the Y-axis pulley as the usual spot.
When to replace a belt
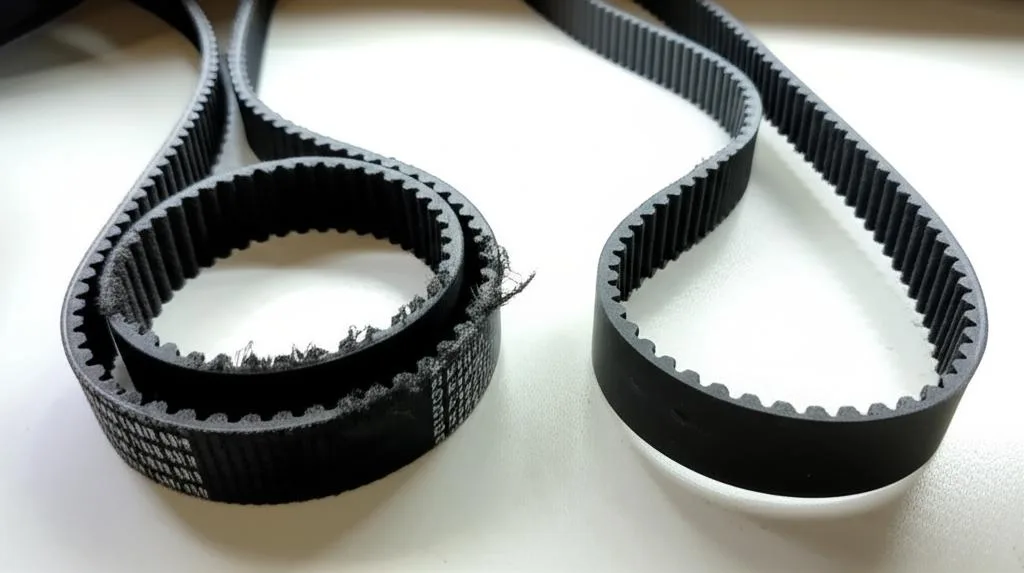
Tension can’t fix a damaged belt. Replace it when you see:
- frayed edges, often a sign that the belt has been rubbing against a pulley flange;
- cracked, worn or missing teeth;
- a belt that keeps losing tension soon after you adjust it, once you’ve ruled out a slipping belt clamp. Prusa notes the plastic parts holding the belts can loosen over time.
Buy the same tooth profile and width as the original, as listed in your printer’s spare parts or manual. Fix the cause of fraying (usually alignment) before fitting the new belt, or it will wear the same way.
Motor current, driver overheating and acceleration
If the belts pass the pliers test and the pulleys are tight, check whether the motors have enough torque for what the printer asks of them. A stepper loses steps when the load is higher than the torque it can deliver. Load rises with acceleration and friction; torque depends on the current the driver sends to the motor. The Klipper documentation sums up the trade-off: more current means more torque and better positional accuracy, but also more heat in the motor and the driver. A driver that gets too hot switches itself off, and a motor that gets too hot loses torque and accuracy.
Setting motor current
How you set current depends on the driver and how it is wired:
- Firmware-controlled Trinamic drivers (UART or SPI). In Marlin,
M906sets current per axis in milliamps (for exampleM906 X<mA> Y<mA>) andM500saves it. In Klipper, current is set in the driver’s config section, and the docs advise against configuring ahold_current, because changing current when the motor stops can itself move the axis slightly. - Standalone drivers with a potentiometer. Current follows the reference voltage (Vref) you set on the driver’s trimmer. For the TMC2209, the Trinamic datasheet gives IRMS = 325 mV ÷ (RSENSE + 20 mΩ) × 1/√2 × VREF ÷ 2.5 V. At 2.5 V you get the full current set by the sense resistors, and the value of those resistors depends on the driver module, so take it from the module’s documentation. Other driver chips use different formulas; use the datasheet for your chip, not a formula written for another one.
To adjust a potentiometer: with the printer powered but idle, measure Vref between the trimmer (or the Vref test point) and ground with a multimeter. Turn the trimmer in small steps with an insulated screwdriver, measuring after each step. Stay at or below your motor’s rated current and your driver’s rating; the TMC2209 datasheet gives 1.4 A RMS per coil as its design guideline for continuous use. Klipper’s rule of thumb for the result: prefer higher current as long as the motor doesn’t get too hot and the driver reports no warnings. A motor that feels warm is fine; one that is painful to touch is too hot.
Overheating drivers
Trinamic drivers protect themselves. The TMC2209 raises an overtemperature pre-warning at 120 °C (143 °C on some trim settings) and switches the motor outputs off at 143–157 °C, depending on how the chip is trimmed. It stays off until it cools down. Mid-print, that shows up as a layer shift or a sudden large offset, typically after the printer has been running for a while. Heat rises with the square of motor current, so, as the datasheet notes, a small current reduction saves a lot of heat.
- Klipper reports
TMC reports error: ... ot=1(OvertempError!). The documented fixes are lower motor current, better cooling on the driver, and better cooling on the motor. - Marlin reports the pre-warning with
M911on TMC drivers connected by UART or SPI, if the firmware is built withMONITOR_DRIVER_STATUS. - Check the electronics fan. A stopped or clogged fan, or a mainboard inside a hot enclosure, pushes drivers toward their limit. Our guide to driver overheating covers cooling in more detail.
Acceleration, jerk and speed
The harder the printer accelerates, the more torque each move needs. If shifts happen on fast direction changes, or started after you raised speeds, reduce the motion limits before touching current:
- Acceleration. In Marlin,
M204sets printing (P) and travel (T) acceleration in mm/s². Many slicers send their own acceleration values during the print, so check the slicer profile too. As a test, a clearly lower value (around a quarter less is a reasonable starting point) tells you quickly whether acceleration is the cause; raise it again in steps once the shifts stop. - Jerk or junction deviation.
M205sets X/Y max jerk (classic jerk) orJjunction deviation, depending on how the firmware is built. Both control how abruptly the head changes direction at corners. - Speed. Bambu Lab lists excessive speed combined with rod friction as a cause, for example switching a running print to Ludicrous mode. Our guide to speed and acceleration covers how to find a sensible limit.
- Quiet driver modes. Klipper notes that stealthChop can give lower motor torque or more motor heat on some printers, and Prusa recommends normal mode over stealth mode for large or complex prints.
Layer shifts that aren’t caused by belts
- Nozzle collisions. A warped corner or curled overhang can catch the nozzle and knock the axis out of position. Bambu Lab also mentions sticky filaments such as PETG building up on the nozzle; it suggests drying the filament or enabling a prime tower. Solve the warping first: see our guide to warping with PETG and ABS.
- Friction on rods and rails. Prusa recommends cleaning smooth rods and lubricating bearings with its own lubricant or a lithium-based general-purpose grease. On Bambu Lab X1 and P1 printers, cleaning the carbon rods reduces the risk of shifts.
- Too much speed. Bambu gives the example of switching a running print to Ludicrous mode. On Bambu printers you can also enable auto-recovery from step loss, which repositions the axes to where they were before the lost steps and continues the print.
- Silent modes. Prusa recommends normal mode rather than stealth mode for large or complex prints; crash detection is also unavailable in stealth mode.
- Cables and obstructions. A badly routed cable bundle, a damaged cable chain or a loose zip tie can block the toolhead.
- Electronics. Overheating or misconfigured stepper drivers lose steps even with perfect belts (see the motor current section above). Our guide to stepper driver problems covers the symptoms.
Common belt tensioning mistakes
- Cranking the belt as tight as possible. It adds load without adding accuracy, and on Bambu printers overtightening the tensioner screws can damage parts.
- Tensioning a belt when the pulley is the problem. Always check grub screws first. It takes a minute.
- Adjusting one CoreXY belt in isolation. Voron’s guide has you equalise both belts, and Prusa warns not to lose CoreXY alignment while adjusting.
- Skipping recalibration. New tension changes resonance. Re-run input shaping or vibration compensation, or ringing may get worse.
- Trusting one noisy app reading. Pluck several times, silence fans and other noise, and look for a consistent peak.
Frequently asked questions
How tight should a 3D printer belt be?
Firm, with no slack, but not rigid. Prusa describes a belt that sounds like a low bass string and can be pinched together with a little resistance. Where a manufacturer publishes a number, use it: for example about 250 (X) and 275 (Y) on Prusa MK3 Belt Status, or about 110 Hz over a 150 mm span on Voron A/B belts.
Can a loose belt cause a shift on only one axis?
Yes. On a Cartesian printer each belt drives one axis, so a loose X belt shifts layers left-right and a loose Y belt shifts them front-back. On CoreXY printers both motors work together, and a diagonal shift points to the motor or pulley driving that diagonal.
Can belts that are too tight cause layer shifts?
Excess tension increases the load on the motors and bearings. Prusa’s Belt Status value drops as motor load rises, and Prusa tells MK3 owners to loosen belts that read close to 240 or lower. Tighter is not better; aim for the manufacturer’s range.
Do I need to recalibrate after tensioning belts?
If your printer uses input shaping or vibration compensation, yes. Tension changes the resonant frequency of the motion system. Bambu Lab asks for a calibration after tensioning on X1 and P1 printers, and Klipper users should re-measure their shaper frequencies.
Sources
- Prusa Knowledge Base: Layer shifting
- Prusa Knowledge Base: Adjusting belt tension (MK4/S, MK3.9/S, MK3.5/S, MK3/S/+)
- Voron Documentation: Secondary printer tuning (belt tension)
- Bambu Lab Wiki: X1/P1 series belt tensioning procedure
- Bambu Lab Wiki: Layer shift causes and solutions
- Klipper documentation: TMC drivers (motor current, overtemperature errors)
- Analog Devices (Trinamic): TMC2209 datasheet, rev. 1.09