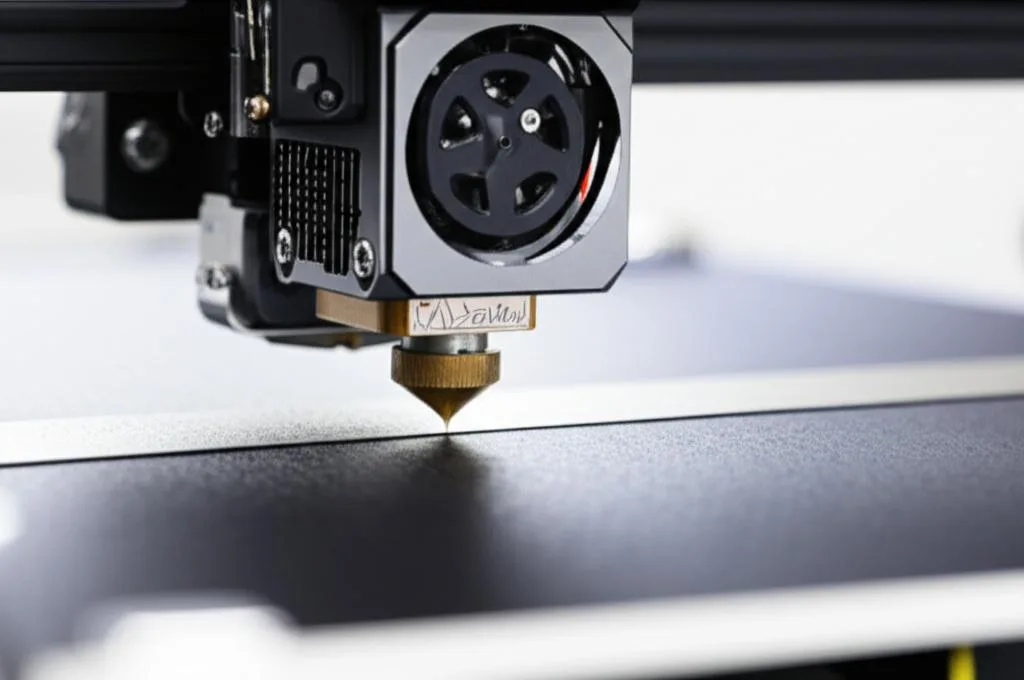
To level a 3D printer bed, home the printer, slide a sheet of paper under the nozzle above each bed screw and turn the knob until the paper drags slightly. Go round all the corners again until none of them needs a real correction, then check the middle. Creality puts the gap at 0.08–0.1 mm, about the thickness of A4 paper. If the printer has a probe or mesh leveling, run it after the corners are done so it only has to correct small dips. Then set the Z-offset.
This guide covers all three stages: manual leveling with paper, assisted leveling where the printer tells you which knob to turn and by how much, and mesh leveling in Marlin, Klipper and on Prusa printers. It ends with a table for a first layer that is still uneven. Probe installation, Z-offset tuning and adhesion have their own guides, linked below. Commands and values come from Klipper, Marlin, Creality and Prusa documentation, listed at the end.
The consumer toolchanger 3D printer: the SnapSwap 4-toolhead system swaps heads in 5 seconds for true multi-color and multi-material printing, with smart calibration and auto filament loading.
- 4 toolheads · 5 s swap
- Up to 500 mm/s · 20,000 mm/s²
- 270 mm cube build volume
- Multi-color & multi-material

Bed leveling in 60 seconds
- Check for loose wheels, a wobbling bed and plastic stuck to the nozzle tip.
- Home all axes, then disable the steppers so you can move the head by hand.
- At each corner screw, adjust the knob until a sheet of paper drags slightly under the nozzle.
- Repeat the round until no corner needs more than a small correction. Check the center last.
- If you have a probe or mesh leveling, create and save a mesh and make sure it loads at print start.
- Print a first-layer test and fine-tune the Z-offset while it prints.
Which bed leveling method your printer uses
“Leveling” covers two different jobs. Tramming makes the bed parallel to the nozzle’s path by turning screws. Mesh compensation measures the bed surface and moves Z during the print to follow whatever unevenness is left. Most printers need both, in that order.
| Method | How it works | What you do | Where you find it |
|---|---|---|---|
| Manual (paper test) | You feel the nozzle gap at each corner | Turn the bed knobs | Any printer with adjustable bed screws |
| Assisted tramming | A probe measures near each screw and calculates the correction | Turn each knob by the amount shown | Klipper SCREWS_TILT_CALCULATE, Marlin G35 |
| Manual mesh | You do the paper test at every point of a grid, and the firmware stores the heights | Adjust Z at each point, then save | Marlin Mesh Bed Leveling, for printers without a probe |
| Automatic mesh | A probe measures a grid and the firmware compensates during printing | Start it, save it, load it | Marlin bilinear or UBL, Klipper bed_mesh, Prusa, Creality printers with CR Touch |
| Matrix (3-point or linear) | Measures a tilt and tilts the whole print to match | Start it | Marlin; it assumes the bed is perfectly flat |
Checks before you level the bed
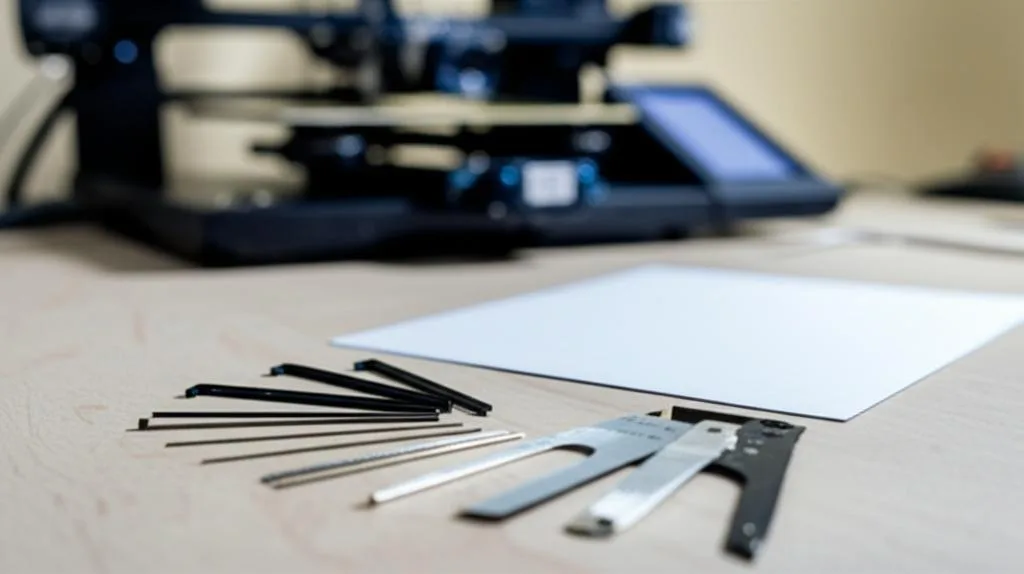
Klipper’s bed mesh documentation is blunt about it: a mesh cannot compensate for mechanical and electrical problems. Screw adjustments can’t either. Check these first:
- Wheels and play. Anycubic’s Kobra 2 leveling guide starts with the V-wheels, not the bed. Parts can work loose in transport. It checks the Z, X and Y wheels for slipping or wobble and adjusts the eccentric spacers in small steps until each axis moves smoothly with no obvious looseness.
- A clean nozzle tip. A blob of plastic on the tip makes every paper test wrong by the size of the blob.
- A clean sheet, seated flat with nothing trapped under it. See how to clean a build plate.
- Temperature, chosen once. Klipper’s paper-test instructions say to test with the nozzle and bed at room temperature, because heating moves the nozzle by about 0.1 mm and molten plastic spoils the feel. For probes, Klipper recommends always measuring cold or always at a stable printing temperature. Whichever you choose, do it the same way every time.
Manual bed leveling with the paper method
Klipper puts ordinary printer paper at about 0.1 mm and says the exact thickness isn’t crucial. What matters is feeling the same drag at every point. A 0.1 mm feeler gauge gives a more repeatable feel if you have one.
- Home all axes. On a printer with a Z endstop, Z0 is the reference you level to. On a printer with a probe, first set the nozzle height in the center. Creality’s Ender-3 S1 manual does this through Prepare → Z-offset until the gap is about 0.08–0.1 mm.
- Disable the steppers (Creality: Prepare → Disable stepper) and move the nozzle by hand until it sits directly above the first corner screw, not somewhere between the screws.
- Adjust the knob until the paper drags a little when you push it back and forth. It should still move without tearing. Note which way raises the bed on your printer.
- Do the other corners in order, going round the bed.
- Repeat the round. Klipper’s
BED_SCREWS_ADJUSTtool uses a practical rule: if a screw needed more than about 1/8 of a turn, it counts as adjusted and the round is repeated. Stop when a full round needs no significant adjustment. - Check the center. If the center feels very different from the corners, the bed isn’t flat. More screw turning won’t fix that; a mesh will.
Assisted leveling: the printer tells you which knob to turn
If your printer has a probe and firmware support, assisted tramming replaces guessing by feel with measured corrections.
- Klipper,
SCREWS_TILT_CALCULATE. The probe measures near each screw and reports a turn for each one relative to screw 1, written as a clock face.01:20 CWmeans one full turn plus 20 minutes clockwise, and 15 minutes is a quarter turn. Setscrew_threadin the config so directions match your screws. Repeat until every adjustment is below 6 minutes, which the Klipper docs call a normally good result.MAX_DEVIATIONmakes the command stop with an error if the bed is out by more than a set amount. - Marlin,
G35Tramming Assistant. Available when the firmware is built withASSISTED_TRAMMING. You give it the screw type: for exampleG35 S40for M4 screws that tighten clockwise, orS30/S50for M3/M5. - Creality auxiliary leveling. The Ender-3 S1 manual says CR Touch leveling fails when the platform tilts by more than 2 mm. Its fallback is the paper method: set the center with the Z-offset, disable the steppers and adjust the four corner knobs to the same 0.08–0.1 mm gap.
Mesh bed leveling in Marlin, Klipper and Prusa
A mesh is a grid of measured heights. With compensation on, Marlin describes the nozzle following the bed’s contours, with Z interpolated between the points. More points follow the surface more closely but take longer to measure. Marlin offers it with a probe (bilinear, UBL) and without one: Mesh Bed Leveling has you do the paper test at every grid point with G29 S1 and G29 S2, then save with M500.
| Task | Marlin | Klipper |
|---|---|---|
| Create a mesh | G28, then G29 | BED_MESH_CALIBRATE (default grid 3×3 on a rectangular bed) |
| Save it | M500 (EEPROM) | BED_MESH_PROFILE SAVE=name, then SAVE_CONFIG |
| Use it at print start | G28 turns leveling off by default, so follow it with M420 S1 | BED_MESH_PROFILE LOAD=name; recent versions no longer load a default profile at startup |
| Fade out the correction | M420 Z10 fades to zero by 10 mm; Z0 disables fade | fade_start (default 1 mm) and fade_end (default 0, fade off) |
| Check the result | G26 prints a single-layer pattern over the mesh | Print a full-bed first-layer test |
Klipper’s adaptive meshing probes only the area under the current print. Every G-code file then gets a different mesh, so don’t save and reuse those. On Prusa printers, mesh bed leveling runs before each print. The MK3 family uses a 3×3 grid by default with a 7×7 option, and the MK4/S, MK3.9/S and XL measure only the area of the print. For wiring a BLTouch, probe offsets and the full mesh workflow, see the BLTouch and CR Touch setup guide.
A mesh doesn’t replace tramming. A strongly tilted bed can make probing fail outright, as Creality notes, and heavy compensation moves Z constantly during the first layers. Marlin’s matrix-based modes are worse for uneven beds: they assume a flat bed and tilt the whole print.
Z-offset: the last step after leveling
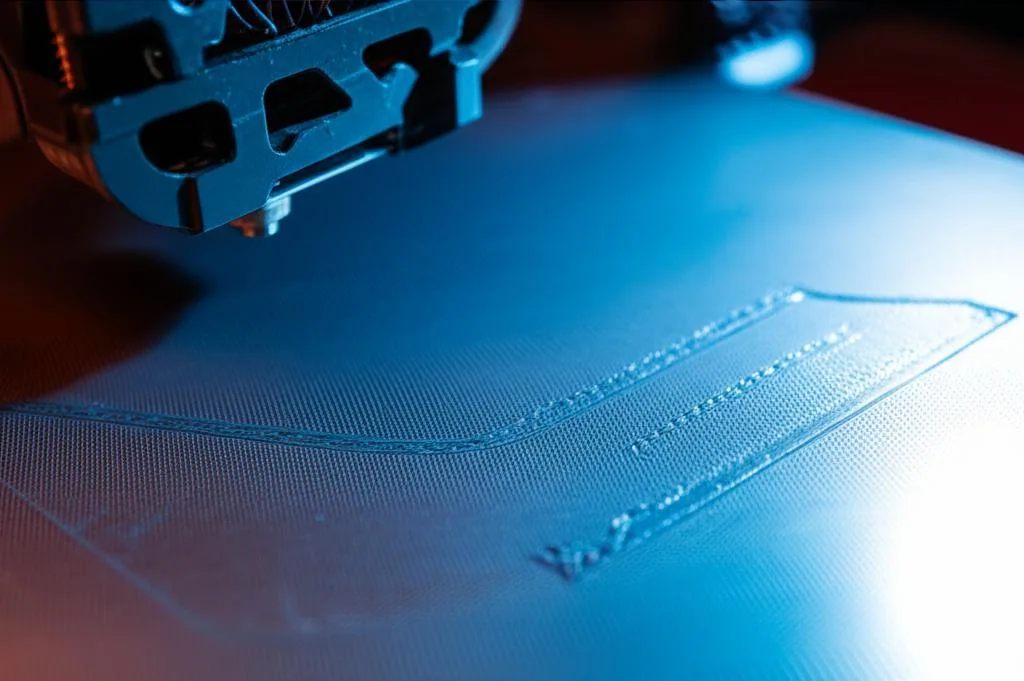
Leveling makes the gap even, and the Z-offset sets how big it is. Prusa’s first-layer calibration asks you to judge the printed lines by eye, not by a number. Lines should be flattened but not squashed. Gaps between them mean the nozzle is too high. Ridges, fully flat lines or curling edges mean it is too low. Prusa lists a common Live Adjust Z range of -0.400 to -1.500 on its i3 printers but says the value depends on each machine’s sensor position, so don’t copy numbers between printers. For the full procedure, see how to dial in your Z-offset.
First layer still uneven after leveling
| What you see | Likely cause | Fix |
|---|---|---|
| One corner always has gaps or always ploughs | That corner isn’t trammed | Redo the corners, ideally with SCREWS_TILT_CALCULATE or G35 |
| Corners fine, center too thin or too thick | Bed is domed or dished | Use a mesh; screws only move the corners |
| Mesh worked once, then the first layer is off again | Mesh not loaded after homing | Add M420 S1 after G28 (Marlin) or load the profile in your start macro (Klipper) |
| Top surfaces of tall prints follow the shape of the bed | Compensation continues all the way up | Set a fade height so the correction stops above the first few millimeters |
| Mesh changes every time you probe | Probe not repeatable | Run PROBE_ACCURACY (Klipper) or M48 (Marlin); Klipper calls a spread above 0.025 mm unsuitable for bed leveling |
| Fine when cold, uneven during the print | Measured at a different temperature | Probe and print at a consistent temperature |
| Leveling won’t hold from one day to the next | Loose wheels, gantry or bed mounts | Adjust the eccentric nuts and check the frame screws before leveling again |
| Even first layer, but prints still lift | Not a leveling problem | Work through prints not sticking to the bed |
If the first layer is even but the bottom edge of the print bulges outward, you are probably seeing elephant’s foot. That is mostly a Z-offset and bed temperature issue; see fixing elephant’s foot.
Common bed leveling mistakes
- Stopping after one round. Turning one knob changes the others. Keep going until a full round needs no real adjustment.
- Using a mesh to hide a tilted bed. Tram first, then mesh. On the Ender-3 S1, a tilt over 2 mm makes the probe routine fail.
- Leveling a printer with play in it. Loose wheels or a wobbling bed make every measurement different. Fix the mechanics first.
- Mixing temperatures. Paper test cold one day, hot the next, and the results won’t agree.
- Forgetting to save or load the mesh. In Marlin,
G28switches leveling off unless the firmware is set to restore it. - Skipping the recheck after hardware work. Prusa requires a new first-layer calibration after every nozzle change (see how to change a nozzle). Moving the printer or swapping the build sheet is also a good reason to check the first layer again.
Frequently asked questions
How often should I level my 3D printer bed?
There is no fixed interval in the firmware documentation. Recheck when the first layer changes, after moving the printer, after a nozzle or build sheet change, and after work on the bed or wheels. Printers that probe a mesh before each print handle small changes themselves, but the corners still need tramming if the bed gets knocked.
Should I level the bed hot or cold?
Klipper recommends the paper test at room temperature, because heating shifts the nozzle by about 0.1 mm and molten plastic spoils the paper feel. For probe measurements it recommends choosing one condition, cold or at a stable printing temperature, and always using it. Consistency matters more than the choice itself.
Do I still need to level manually with auto bed leveling?
Usually yes, at least roughly. A probe mesh compensates for small unevenness, but it cannot fix mechanical problems, and a badly tilted bed can make probing fail. Creality’s Ender-3 S1 manual gives 2 mm of tilt as the limit.
What thickness of paper should I use for bed leveling?
Ordinary printer paper is about 0.1 mm, and Creality gives 0.08–0.1 mm for A4 paper. Klipper notes the exact thickness isn’t crucial, because you set the final gap with the Z-offset afterwards. Use the same sheet for every point.
Sources
- Klipper documentation: Manual leveling (BED_SCREWS_ADJUST, SCREWS_TILT_CALCULATE)
- Klipper documentation: Bed mesh
- Marlin documentation: G29 Bed Leveling (Manual) and leveling notes
- Creality Ender-3 S1 user manual V1.1: auto leveling and auxiliary leveling
- Prusa Knowledge Base: First Layer Calibration (i3)