When a 3D print won’t stick to the bed, the cause is usually one of four things: a greasy build surface, the nozzle set too high or too low, the wrong bed temperature for the filament, or cooling and drafts pulling the first layer off. Start with the cheapest fix: wipe the cold plate with 90% or stronger isopropyl alcohol, re-check the first layer height, and set the bed to the filament’s recommended temperature. Prusa’s guides give 60 °C for PLA, 85 °C (first layer) for PETG and 100 °C for ABS.
If that isn’t enough, slow the first layers down, add a brim, and use a glue stick where the material calls for it. Glue stick is the right call for PETG on smooth PEI, where the bond can be strong enough to damage the sheet. The table below matches what your failed first layer looks like to the likely cause. All values come from Prusa and Bambu Lab documentation, linked at the end.
The consumer toolchanger 3D printer: the SnapSwap 4-toolhead system swaps heads in 5 seconds for true multi-color and multi-material printing, with smart calibration and auto filament loading.
- 4 toolheads · 5 s swap
- Up to 500 mm/s · 20,000 mm/s²
- 270 mm cube build volume
- Multi-color & multi-material

Bed adhesion fixes in order
- Clean the cold build plate with 90%+ IPA and an unscented paper towel. Don’t touch it afterwards.
- Check the sheet sits flat, with no debris or old filament underneath.
- Watch the first layer and adjust nozzle height (Z-offset or Live Adjust Z) until lines are slightly flattened and fuse together.
- Set the bed temperature from the filament’s guide; for a stubborn new material try 5–10 °C more.
- Print the first layers slower and with less part cooling.
- Add a brim. Use a glue stick for PETG, ABS, ASA and flexible filaments.
Diagnose it from the first layer
| What you see | Likely cause | Fix |
|---|---|---|
| Nothing comes out for the first layer or two, or lines are thin and see-through | Nozzle too close; it blocks its own opening | Raise the nozzle (Z-offset / Live Adjust Z) |
| Round strands that sit on the surface and drag or peel off | Nozzle too high | Lower the nozzle in small steps while the first layer prints |
| Sticks in some areas, fails in others | Uneven surface, sheet not seated, debris under the sheet | Reseat the sheet, clean underneath, check the mesh or bed levelling |
| Used to stick, now fails more and more | Grease from fingers, residue IPA doesn’t remove, worn PEI | IPA, then a dish soap wash; on smooth PEI only, an occasional acetone wipe |
| Corners lift after a few layers | Warping from shrinkage: bed too cool, drafts, too much cooling | Correct bed temperature, brim, enclosure or draft shield, fewer fan layers |
| Gappy, weak lines | Under-extrusion or a partial clog | Clean the nozzle, check flow and filament path |
| PETG bonds so hard it damages the smooth PEI sheet | No separating layer on smooth PEI | Glue stick on smooth PEI, or a textured or satin sheet |
| Fails in the same spot on every print, even after cleaning | Worn or damaged coating in that area | Use the other side of a double-sided sheet, or replace the sheet |
| First layer suddenly too high or too low after swapping sheets | Sheets differ slightly in thickness | Set the nozzle height separately for each sheet, or store a sheet profile |
| Nylon or polypropylene won’t stick at all | Standard PEI grips these materials poorly | A dedicated PA or PP sheet, or the surface the filament maker recommends |
Clean the build plate the right way
Prusa calls a clean surface vital for adhesion, and grease from fingerprints often causes prints to let go. Its cleaning routine for smooth, satin and textured PEI sheets:
- Everyday: 90% or stronger isopropyl alcohol (denatured alcohol also works), sprayed on a cold sheet and wiped with an unscented paper towel. Weaker solutions may contain unsuitable additives.
- Avoid cosmetic products. IPA sold for skin or nails can contain moisturisers and oils that ruin adhesion.
- When adhesion slowly fades: a few drops of dish soap and warm water, not hot. Don’t submerge the sheet, and dry it well. This removes oils that IPA leaves behind. Don’t do it often.
- Smooth PEI that has lost its grip: Prusa says PEI can lose adhesion after a couple of hundred hours and can be refreshed with acetone, around once a month at most. Never use acetone on textured or satin sheets, and not right before printing PETG.
You don’t have to clean before every print if you don’t touch the surface with your hands or dirty tools. If you remove prints by hand, clean each time. Other surfaces such as glass or PP sheets have their own rules; our comparison of flexible PEI and glass build plates covers the differences.
Set the nozzle height for the first layer
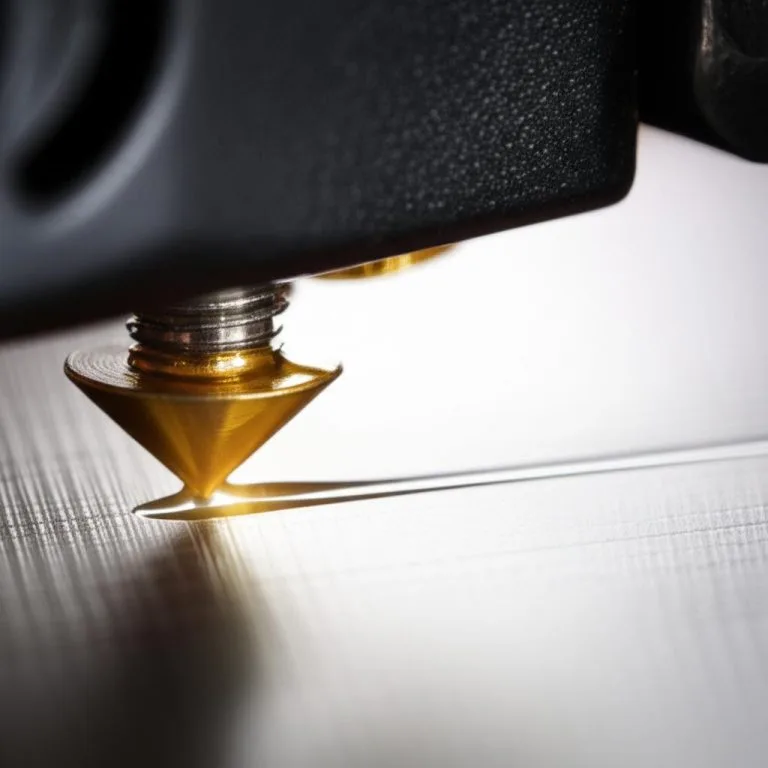
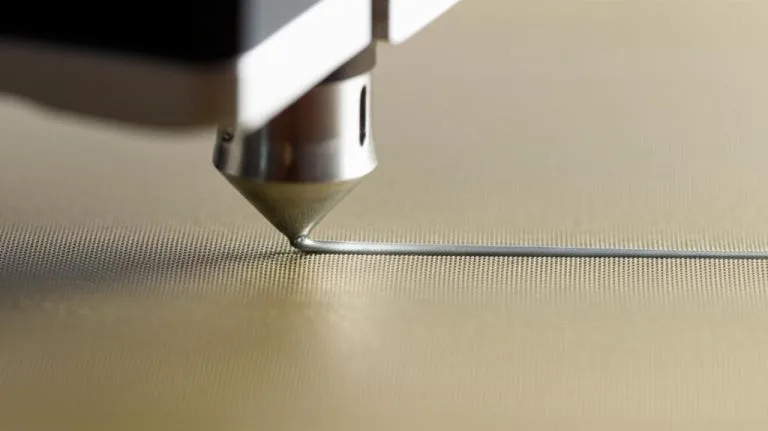
Nozzle height decides how hard the first layer is pressed into the surface. Too high, and round strands sit on top with little contact. Too close, and the nozzle blocks its own opening, so almost nothing comes out. Prusa’s advice is to recognise the “too close” case when the printer doesn’t extrude for the first layer or two.
Tune height on a live first layer: most firmware has a Z-offset or Live Adjust Z setting that you can change while printing. Aim for lines that are slightly flattened and merge with their neighbours, with no gaps or ridges. Our step-by-step guide to dialling in your Z-offset covers the process.
One warning from Prusa: don’t make up for poor adhesion by squashing the first layer lower and lower. Too low a value can damage the sheet and cause vibration. If a correct height still doesn’t stick, the problem is elsewhere.
Bed temperature and surface by filament
| Filament | Bed temperature | Nozzle (first layer / rest) | Surface and adhesion aid |
|---|---|---|---|
| PLA | 60 °C | 215 °C / 210 °C | Smooth or satin PEI; Prusa says glue isn’t needed. On a Bambu Lab Cool Plate, apply a thin coat of glue stick. |
| PETG | 85 °C first layer, 90 °C after (Prusa); Bambu Lab suggests raising to 80 °C on its Engineering Plate | 230 °C / 240 °C | Textured or satin sheet recommended. On smooth PEI, always use glue stick. |
| ABS | 100 °C; 80–110 °C depending on part size (bigger part, hotter bed) | 255 °C | Smooth or powder-coated PEI with glue stick; enclosure required |
Temperatures are from Prusa’s material guides unless noted; the Bambu Lab values come from its printing problems page. Your filament brand’s label may list a different range, and that takes priority. If a new material doesn’t stick at the listed temperature, Prusa suggests raising the bed by 5–10 °C.
First layer speed, cooling, glue and brim
- Slow the first layers. Prusa suggests turning print speed down to about 75% for the first three layers, then back to normal. Most slicers also have a separate first layer speed.
- Delay part cooling. Bambu Lab’s fix for PLA lifting off a Cool Plate is to raise “No cooling for the first” layers from 1 to 3. For PETG it goes from 3 to 5, with part cooling no higher than 70% at Standard speed and the auxiliary fan off.
- Brim before glue. Prusa recommends trying a brim, which enlarges the first layer’s footprint, before adding adhesion products. See brim versus raft for when a raft makes more sense.
- Glue stick where it’s needed. A basic PVA glue stick works; there is no need for a special 3D printing glue. Prusa uses it for flexible filaments, PETG and other PET-based materials, ABS and ASA, both for grip and as a separating layer. It wipes off with dish soap and water. Never use superglue on a sheet.
Corners lifting: warping and drafts
If the first layer sticks but corners peel up later, the print is shrinking as it cools and pulling itself off the bed. This is a warping problem more than an adhesion problem. ABS is the classic case: Prusa lists significant warping, calls for a bed of at least 100 °C and a printer inside an enclosure. Without an enclosure, PrusaSlicer’s draft shield (under Skirt and brim) keeps the model slightly warmer. Prusa also warns that printing inside an enclosure can deform the fan shroud and other plastic printer parts. Our guide to ABS enclosures and settings goes into detail.
For any material, keep the printer away from open windows, fans and air-conditioning vents, and use a brim on parts with sharp corners or small contact areas. PETG warps much less: Prusa describes it as having very little thermal expansion.
Magnetic PEI sheets: fitting, removal and wear
Most current printers use a removable spring-steel sheet held on the heated bed by magnets. On Original Prusa printers, for example, magnets glued to the underside of the heatbed hold a double-sided sheet in place. The sheet makes removing prints easy, but it adds failure points of its own: dirt under the sheet, a different nozzle height for each sheet, and a coating that wears out.
- Keep the bed under the sheet clean. Prusa’s instruction is to check that the heatbed is clean and free of filament debris before the sheet goes on. A strand trapped underneath lifts the sheet in one spot, and the first layer fails only there.
- Set nozzle height per sheet. On printers without a load cell, Prusa says each sheet needs its own Live-Z value because sheets differ slightly in thickness. Its firmware can store one value per sheet as a steel sheet profile. Switching from a smooth to a textured sheet without re-checking the first layer is a quick way to lose adhesion.
- Remove prints once the sheet has cooled. Prusa recommends waiting until the sheet is at room temperature, then bending it to pop the print off. If a part still won’t release, heat the bed to the original print temperature for a few minutes and let it cool again.
- Match the sheet to the material. Prusa describes smooth PEI as giving excellent adhesion with most filaments, so much that TPU and PETG can stick too well and damage it. Its textured, powder-coated sheet is aimed at PETG and other high-adhesion filaments, and the satin sheet sits between the two. Nylon and polypropylene adhere poorly to standard PEI, which is why Prusa sells separate PA and PP sheets.
- Aftermarket magnetic bases. Stick-on magnetic mats sold as upgrades have their own maximum temperature. Check the rating before running a hot bed for ABS or PC.
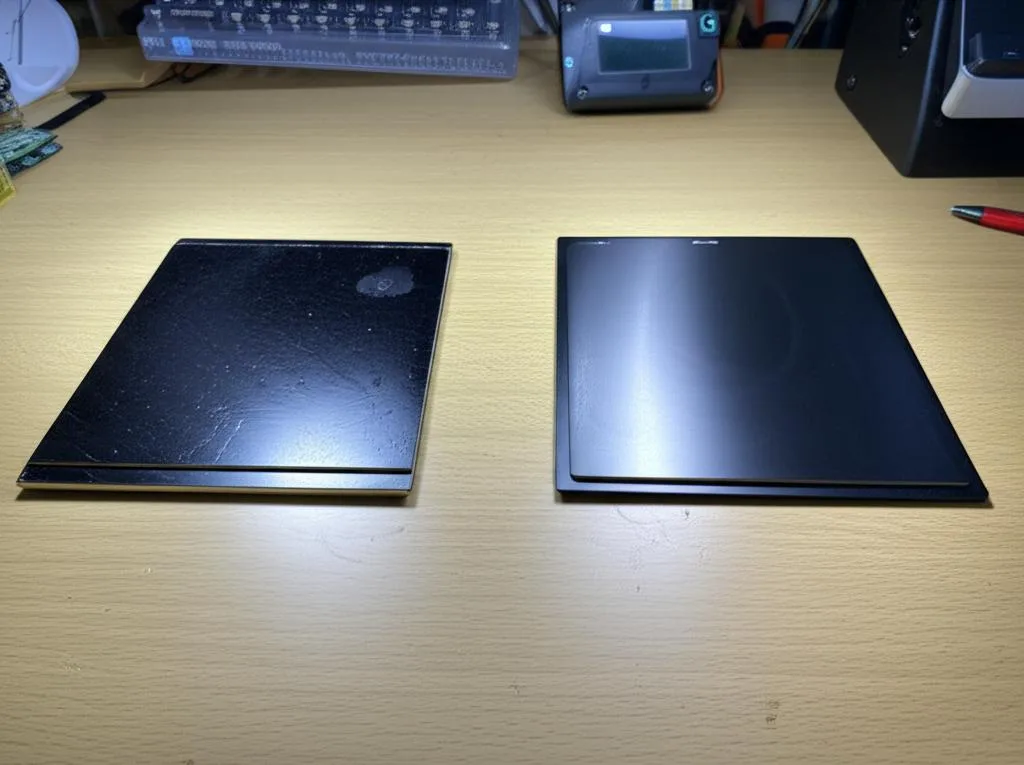
When the coating is worn. Prusa states that sheet coatings diminish over time, and it treats scratches, dents and cracks as cosmetic damage rather than a defect. The usual sign is a print that keeps failing in the same area after you have cleaned the sheet and checked the nozzle height. Try the other side of a double-sided sheet first; if both sides have worn patches in the print area, replace the sheet. Cleaning methods for glass, PP and other surfaces are in our guide on cleaning a build plate.
Common bed adhesion mistakes
- Cleaning with weak or cosmetic alcohol. Prusa warns that lower-percentage solutions may contain unsuitable chemicals and oils. Use 90%+ IPA.
- Touching the plate after cleaning. Grease from your fingers is exactly what the IPA just removed.
- Printing PETG on bare smooth PEI. The bond can pull pieces out of the sheet. Use glue stick or a textured sheet.
- Acetone on textured or satin sheets. Prusa says not to use it on them at all, including hidden acetone in nail polish remover or brake cleaner.
- Squashing the first layer to force adhesion. It damages the sheet and hides the real cause.
- Full fan from layer one. Strong part cooling on the first layers can make PLA and PETG lift; Bambu Lab’s fixes start by delaying the fan.
When prints still won’t stick
- Bent or damaged sheet. Prusa asks you to check the sheet is straight and seated with nothing under it. A sheet that won’t lie flat needs replacing.
- Uneven bed. If mesh levelling doesn’t compensate, Prusa’s temporary fix is a piece of paper under the low area of the sheet; the permanent one is the firmware’s bed level correction.
- Clogged or dirty nozzle. Weak, broken first layer lines often mean a partial clog. A cold pull cleans the nozzle without taking it apart.
- Something catching the print. A nozzle dragging over a curled edge or blob can knock a well-stuck part loose. Watch the first minutes of the print.
Frequently asked questions
Why is my PLA not sticking to the bed all of a sudden?
The most common reason is a contaminated plate, often fingerprints from removing the last print. Clean the cold sheet with 90% or stronger isopropyl alcohol, and if that doesn’t help, wash it with a little dish soap and warm water. Then check that the nozzle height hasn’t changed and the bed is at 60 °C, Prusa’s recommendation for PLA.
Should I use glue stick on a PEI sheet?
For PLA on smooth or satin PEI, Prusa says it isn’t needed. For PETG, ABS, ASA and flexible filaments, a thin layer of PVA glue stick is recommended, partly as a separating layer so the print doesn’t bond too strongly and damage smooth PEI. It washes off with dish soap and water.
What bed temperature should I use for PETG?
Prusa’s PETG guide recommends 85 °C for the first layer and 90 °C for the rest, on a textured or satin sheet. Bambu Lab suggests raising the bed to 80 °C if PETG doesn’t stick to its Engineering Plate. Check your filament’s label, since blends vary.
How often should I clean the build plate?
Only when needed: if you don’t touch the surface with your hands or dirty tools, Prusa says you don’t have to clean it before every print. Wipe with IPA whenever you’ve handled it, and wash with dish soap only occasionally when adhesion slowly declines.