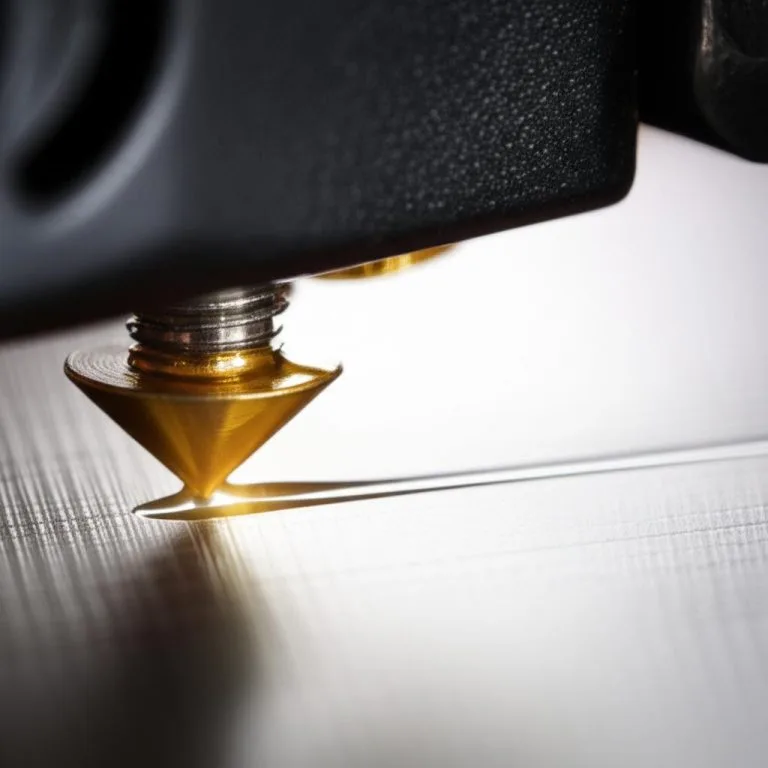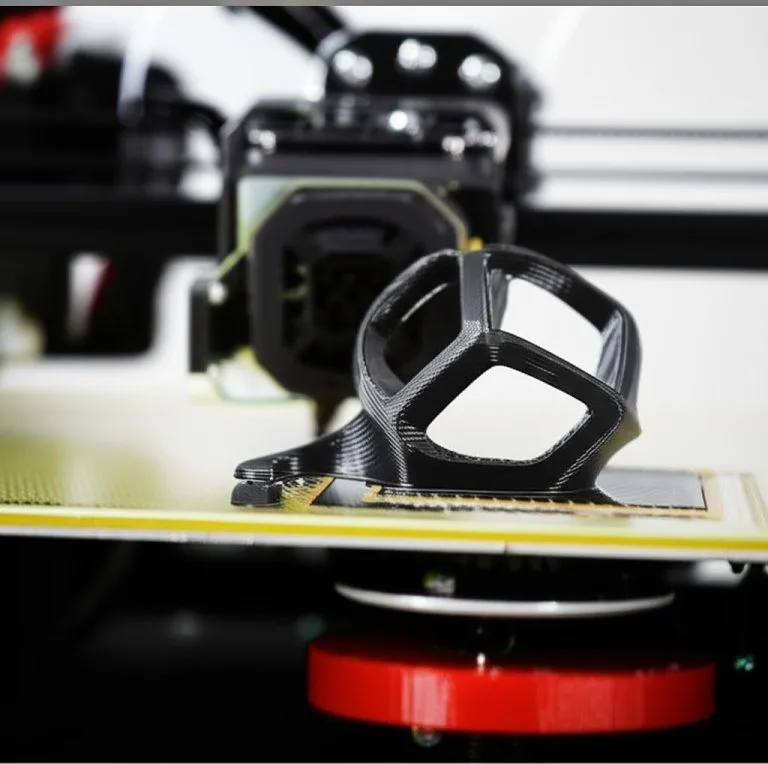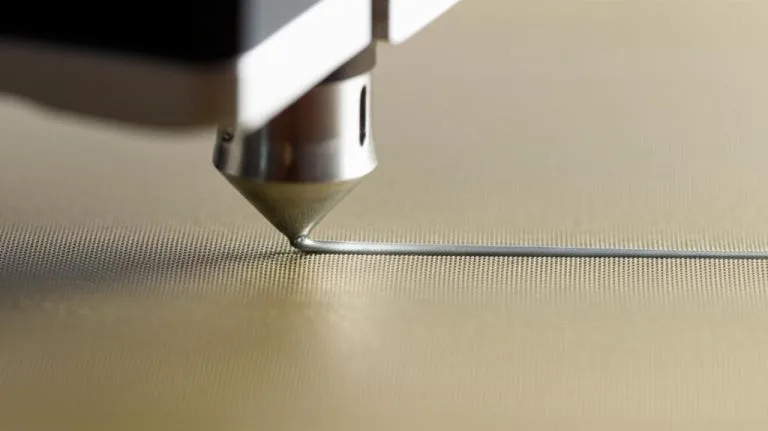
A brim is a single-layer flat area printed around the base of a model and attached to it, so the part has a bigger footprint and its corners are less likely to curl up. A raft is a thick, multi-layer grid with a solid roof printed under the model, which then sits on the raft instead of the bed. For most prints the choice is simple: use a brim when corners lift or the footprint is small, and keep the raft for the rare cases where the bottom surface does not matter and nothing else sticks.
A skirt, the third option in every slicer, never touches the part: it is an outline that primes the nozzle and shows you the first layer before the model starts. Mouse ears (brim ears) are small local brims only at sharp corners. This guide compares all four, then gives the settings that matter: brim width and brim-object gap, ear angle, raft layers and the raft air gap. Values come from the UltiMaker Cura, OrcaSlicer and Prusa documentation linked at the end; printer profiles often change these defaults, so check yours.
The consumer toolchanger 3D printer: the SnapSwap 4-toolhead system swaps heads in 5 seconds for true multi-color and multi-material printing, with smart calibration and auto filament loading.
- 4 toolheads · 5 s swap
- Up to 500 mm/s · 20,000 mm/s²
- 270 mm cube build volume
- Multi-color & multi-material

Brim, raft or skirt: quick decision
- Part has a wide, flat base and sticks fine? Skirt only, or nothing.
- Tall part on a small base, or many small parts? Brim. Prusa recommends it for exactly these cases.
- Corners lift, but a full brim is hard to clean off? Mouse ears at the corners.
- Tiny contact points, a rough or uneven surface, and the underside can be ugly? Raft.
- Still failing with a brim? Fix the cause (first layer, surface, bed temperature, drafts) before moving up to a raft.
Skirt, brim, mouse ears and raft compared
| Option | What it is | Touches the part? | Use it for | Cost |
|---|---|---|---|---|
| Skirt | One or more loops around the print, a few mm away | No | Priming the nozzle, checking the first layer, every print | Almost none |
| Brim | Single-layer flat area attached to the base | Yes, at the first layer | Corners that curl, tall or narrow parts, small parts | Trimming the edge; less usable bed area |
| Mouse ears | Small round brim patches only at sharp corners | Yes, at the corners | Boxy parts that warp at the corners | Less cleanup than a full brim |
| Raft | Thick grid (base, middle, top layers) under the whole part | The part sits on it, with a small air gap | Tiny contact points, uneven or problem surfaces | More filament and time, rough underside, separation work |
Cura’s own descriptions sum up the difference: a brim “adds a single layer flat area around the base of your model to prevent warping”, while a raft “adds a thick grid with a roof below the model”. Cura’s base printer definition uses a brim as the default adhesion type; printer profiles may change it.
When a brim helps and when a raft is worth it
A brim works by giving the first layer more area to hold on to right where thermal shrinkage pulls hardest, at the edges and corners. The part itself still prints directly on the bed, so its underside keeps the texture of your sheet. Prusa recommends a brim for tall objects with a small base and for printing many small objects at once. For materials that shrink a lot, such as ABS, a brim is usually combined with an enclosure; see the guide to printing ABS without warping.
A raft replaces the bed as the surface the part is printed on. That helps when the part touches the bed only at a few small points, or when the surface is uneven or scratched, because the raft’s thick base layer can take up some of the unevenness and its top layers give the part a flat, fresh surface. OrcaSlicer’s tooltip also suggests raft layers to avoid warping with ABS. The price is a rougher underside, extra material and time, and a separation step. Since the part’s first layer lands on the raft rather than being squished against the bed, a raft also sidesteps elephant’s foot, but slicer compensation fixes that more cheaply.
Brim settings: width, gap and type
| Setting | Documented values | What to do with it |
|---|---|---|
| Brim width | Prusa: use at least 3 mm to increase adhesion. Cura base default: 8 mm. OrcaSlicer “Auto”: calculated from material and geometry, capped at 20 mm | Start at 3–5 mm for PLA-type parts (our starting point), wider for warping-prone materials |
| Brim-object gap (Cura: Brim Distance) | Cura: 0 mm. OrcaSlicer code default: 0 mm, range 0–2 mm | A small gap makes the brim easier to remove; Cura notes it still keeps the thermal benefit. Try 0.1 mm as a starting point |
| Brim type | Outer only, inner only, outer and inner (Prusa, OrcaSlicer); OrcaSlicer adds Auto, Mouse ear and Painted | Outer only for most parts; an inner brim is printed inside holes of the part |
| Brim flow ratio (OrcaSlicer) | Default 1.0 | OrcaSlicer: slightly above 1.0 can help the brim hold the print |
| Minimum length (Cura) | Skirt/Brim Minimum Length: 250 mm | Cura adds lines until this length is reached, which is why small parts get more loops than you set |
Two interactions catch people out. In PrusaSlicer the brim separation gap is applied after elephant foot compensation, and OrcaSlicer has a separate option to make the brim follow the compensated outline. If the brim fuses into the part or leaves a gap you did not expect, check the elephant foot compensation value first. And Cura warns that a larger brim also reduces the effective print area, which matters on small beds or full plates.
Mouse ears in OrcaSlicer
OrcaSlicer builds mouse ears automatically when you set Brim type to Mouse ear. The brim width field then becomes the ear radius. Two advanced settings decide where ears appear:
- Brim ear max angle (default 125°): ears go on corners sharper than this. At 0 no ears are created; near 180° they appear on everything except straight sections.
- Brim ear detection radius (default 1 mm): the model outline is simplified before sharp corners are detected, so tiny wiggles do not get ears. 0 turns this off.
- Brim ears outer only: skips holes and enclosed sections.
If your slicer has no ear option, the Painted brim type in OrcaSlicer, or a few thin discs added to the model at the corners, give a similar result.
Raft settings: layers and air gap
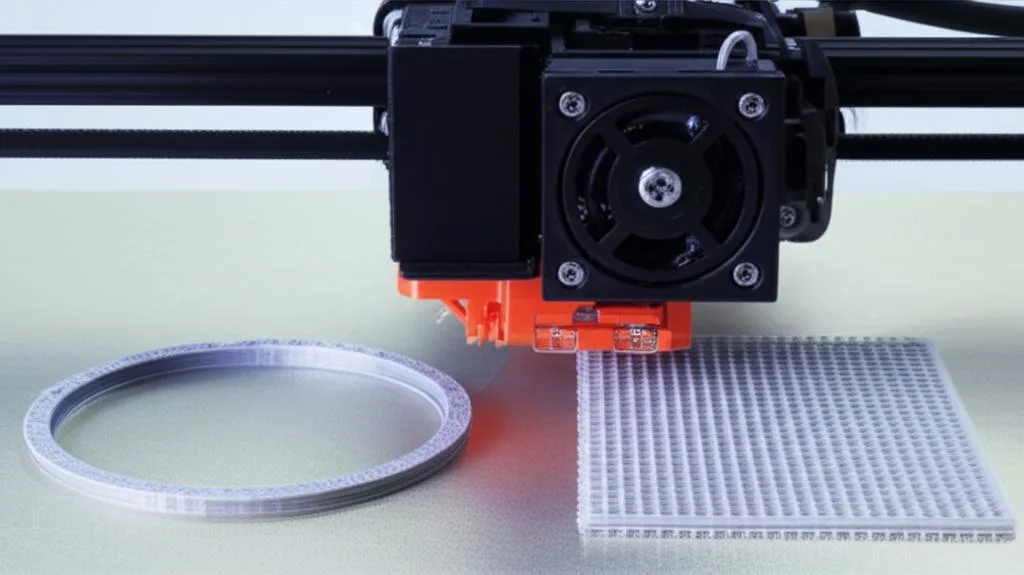
Cura splits a raft into base, middle and top layers; OrcaSlicer and PrusaSlicer set the number of raft layers and the gap between raft and part. The gap is the most important value: too small and the part welds to the raft, too large and the part’s underside sags into the raft’s lines.
| Setting | Cura base default | OrcaSlicer code default | Notes |
|---|---|---|---|
| Gap between raft and part | Raft Air Gap 0.3 mm | Raft contact Z distance 0.1 mm | Larger gap, easier release, rougher underside. Adjust in small steps (our suggestion: 0.05 mm) |
| Compensation for the gap | Initial Layer Z Overlap = half the air gap | – | Cura lowers the layers above the first so they bond despite the gap |
| Top layers | 2 (smoother surface than 1) | – | The layers the part sits on |
| Middle layers | 1 | – | More layers, stiffer raft |
| Base layer | 1.2 × first layer height, line width 2 × nozzle, printed at 15 mm/s | First layer density 90%, first layer expansion 2 mm | Thick, slow lines that stick to the bed |
| Extra area around the part | Raft Extra Margin 15 mm | Raft expansion 1.5 mm | More margin, stronger raft, more material |
| Fan | Raft Fan Speed 0% | – | Cura prints the raft without part cooling by default |
Cura’s description of the air gap explains the trade-off: only the first layer of the model is raised by this amount, to lower the bond between raft and model and make the raft easier to peel off. The same logic as support interfaces applies here; if you already know how support Z distance behaves, the raft gap works the same way. PrusaSlicer ignores the raft contact distance with soluble interfaces, and OrcaSlicer ignores it when the support top Z distance is 0; the part is then printed directly on the raft.
Skirt settings
A skirt costs almost nothing and is worth keeping on most prints. Cura’s base default is 1 line at 3 mm from the part; OrcaSlicer’s code default is 1 loop at 2 mm. Prusa’s profiles use a skirt three layers tall. Watch it go down: it is the quickest check of your first layer calibration before the part starts. PrusaSlicer’s draft shield option turns the skirt into a full-height wall around the part, intended for materials like ABS and ASA that warp in drafts.
Common mistakes with brims and rafts
- Using a raft to cover a bad first layer. A raft needs a good first layer too, and it hides the real problem. Fix the Z-offset and the surface first; the guide to prints not sticking to the bed covers cleaning, bed temperature and adhesives.
- Expecting a brim to stop all warping. A brim holds corners down, but drafts, a cold room and high-shrink materials still win. Corner lifting has its own causes and fixes in why prints warp.
- No brim-object gap on parts that need clean edges. A brim printed flush to the part leaves a ridge when you snap it off. A small gap or mouse ears reduce cleanup.
- A raft air gap that is too small. The part welds to the raft and the underside tears when you separate it. Increase the gap step by step.
- Turning everything on. A wide brim plus a raft plus glue on a sheet that already grips well makes removal harder without adding reliability.
Frequently asked questions
Should I use a brim or a raft?
Use a brim in most cases: it improves adhesion at the edges and leaves the part’s underside printed directly on the bed. Choose a raft only when the part has very small contact points or the surface is uneven, and you can accept a rough underside and the extra material and time.
How wide should a brim be?
Prusa advises at least 3 mm to increase adhesion, and Cura’s base default is 8 mm. Narrow brims are easier to remove; wider ones hold warping-prone parts better. OrcaSlicer’s Auto brim calculates the width for you, capped at 20 mm.
What is the difference between a skirt and a brim?
A skirt is an outline printed a few millimetres away from the part and never touches it; it primes the nozzle and lets you check the first layer. A brim is attached to the part’s first layer and enlarges its footprint to improve adhesion. You remove a brim afterwards; a skirt just lifts off the bed.
Why is my print stuck to the raft?
The gap between raft and part is too small for that material, or the part is printed directly on the raft because the interface is set to soluble or zero distance. Increase Cura’s Raft Air Gap or OrcaSlicer’s Raft contact Z distance in small steps until the part releases cleanly.