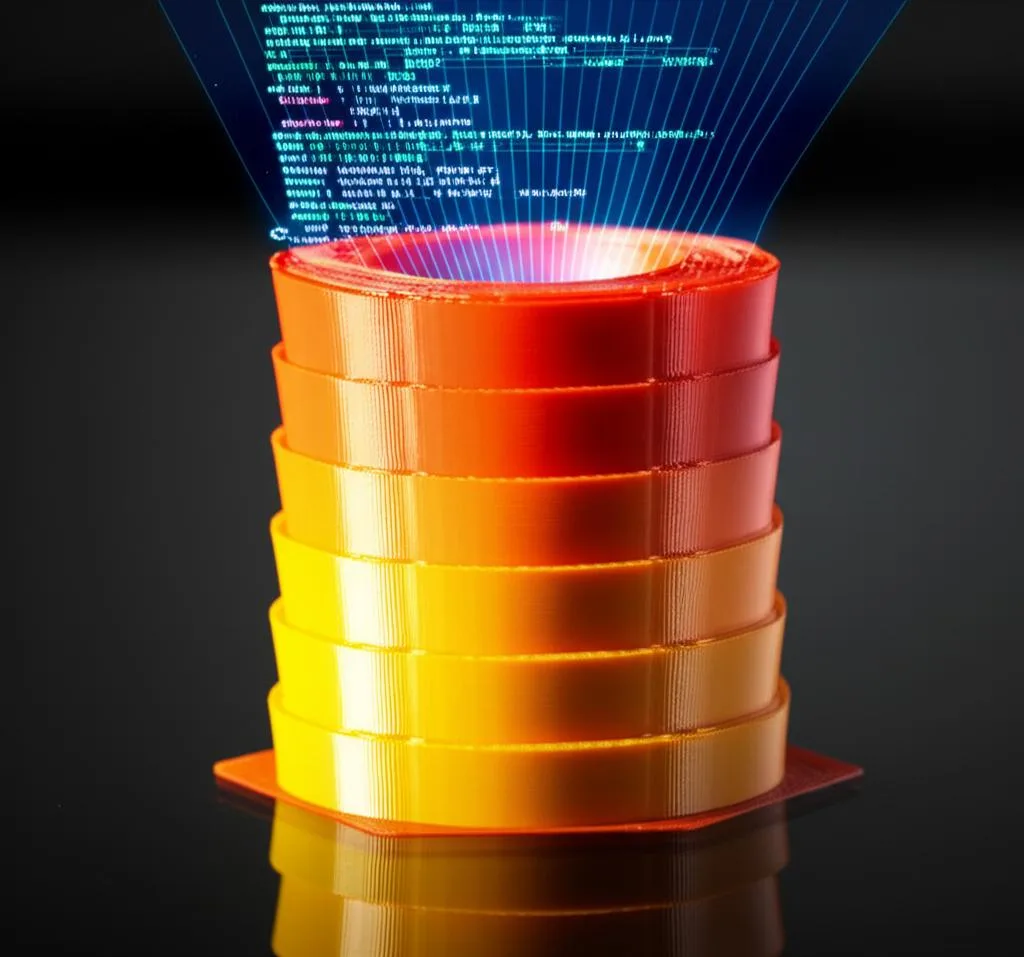
A temperature tower is a single test print made of stacked blocks, each printed at a different nozzle temperature, so you can compare stringing, bridges, overhangs and layer bonding for one spool side by side. Set the tower’s range to cover the manufacturer’s recommended range for that filament, step it in 5 °C blocks, then pick the temperature from the middle of the blocks that look good. For a typical PLA that means testing roughly 230 down to 190 °C; for PETG, around 260 down to 230 °C.
This guide covers where to get the starting range (the filament’s technical data sheet), how to set up the temperature changes in OrcaSlicer, PrusaSlicer and Cura, and how to read the finished tower. The temperature ranges come from Prusa’s material guides and Bambu Lab technical data sheets, linked at the end. The 5 °C step and the ranges in the last column of the table are starting points, not rules.
The consumer toolchanger 3D printer: the SnapSwap 4-toolhead system swaps heads in 5 seconds for true multi-color and multi-material printing, with smart calibration and auto filament loading.
- 4 toolheads · 5 s swap
- Up to 500 mm/s · 20,000 mm/s²
- 270 mm cube build volume
- Multi-color & multi-material

Temperature tower in 60 seconds
- Look up the nozzle temperature range on the spool label or the filament’s data sheet.
- Choose a tower model whose blocks span that range, or generate one in your slicer.
- Use your normal profile for that filament; change nothing except nozzle temperature.
- Add a temperature change at the start of each block, then check it in the slicer preview.
- Print, then judge each block for stringing, bridges, overhangs and how hard the layers are to split.
- Take the middle of the good blocks, or the upper end if you print fast, and save it in the filament profile.
Starting temperature ranges for PLA, PETG, ABS and other filaments
The tower only tells you something useful if its range brackets the right temperature. Start from the manufacturer’s numbers for your exact spool; the table shows how much two published sources can differ for the same material type.
| Filament | Prusa material guide (recommended) | Bambu Lab TDS (nozzle range) | Tower range to start with |
|---|---|---|---|
| PLA | 215 °C first layer, 210 °C after | 190–230 °C (PLA Basic) | 230 → 190 °C |
| PETG | 230 °C first layer, 240 °C after | 230–260 °C (PETG HF) | 260 → 230 °C |
| ABS | 255 °C | 240–270 °C | 270 → 240 °C |
| ASA | 260 °C | 240–270 °C | 270 → 240 °C |
| PC | Not in the guides used here | 260–280 °C | 280 → 260 °C, within your hotend’s limit |
| TPU and other flexibles | 230–245 °C, depending on hardness and brand | Not in the data sheets used here | 245 → 225 °C |
The last column is our starting point based on the ranges beside it, not a published figure. If your spool’s label gives a different range, use the label. Tower models from the Calibration Shapes plugin for Cura use similar spans: 220–180 °C for PLA, 260–230 °C for PETG, 250–210 °C for ABS and 290–250 °C for PC. Two practical limits: check your hotend’s maximum temperature before testing PC (PTFE-lined hotends are the usual constraint; see all-metal vs PTFE-lined hotends), and print a TPU tower at the slower speeds you will actually use for flexible filament.
Before you print the tower
- Dry filament. Moist filament strings and bubbles at every temperature, which hides what the tower is meant to show. Bambu Lab’s PETG guide names stringing and bubbles as moisture symptoms and recommends drying before use.
- A working base profile. Retraction, fan, speed and flow should be at your usual values and stay the same for the whole print. Temperature must be the only thing that changes between blocks.
- The same printer and nozzle you will print on. A result from one hotend does not transfer to another; neither does a result from a 0.4 mm nozzle to a 0.6 mm one.
- Temperature first. OrcaSlicer’s calibration guide puts nozzle temperature first in its recommended order, before max volumetric speed, pressure advance, flow and retraction, because temperature changes how every one of those behaves.
How to set up a temperature tower in your slicer
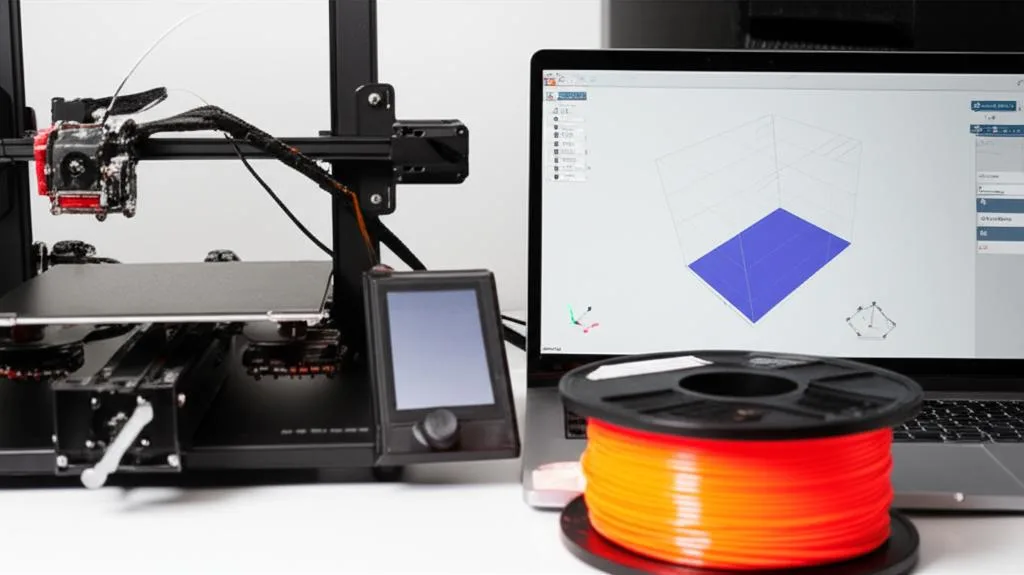
Whatever the slicer, the goal is the same: a temperature command at the first layer of each block. Most tower models, including the Calibration Shapes ones, print hottest at the bottom, so set the filament profile’s nozzle temperature (and first-layer temperature) to the top of your range.
OrcaSlicer: built-in temperature tower
- Select the printer and filament profile you want to calibrate.
- Open the Calibration menu and choose Temperature.
- Enter the start and end temperatures from the table above and confirm. Orca generates the tower and the temperature changes for you.
- Leave auto-scale for nozzle on unless you need to compare with an older tower. The reference model is designed for a 0.4 mm nozzle at 0.2 mm layers; with the option on, Orca scales it to your nozzle and sets the layer height to half the nozzle diameter.
- After printing, start a new project to leave calibration mode, as the OrcaSlicer guide reminds you.
PrusaSlicer: custom G-code at each block
- Load a tower model and slice it with the top temperature set in the filament profile.
- In the preview, move the vertical layer slider to the first layer of the second block.
- Right-click the orange plus icon, choose Add custom G-code and enter the new temperature, for example
M104 S225. Prusa’s guide notes the code is inserted before the selected layer prints. - Repeat for every block, stepping the S value down each time, then export the G-code.
Prusa announced a built-in, parametric Temperature Tower for PrusaSlicer 3.0; as of September 2026 that version is an early preview, so the custom G-code method is the one to use in the stable 2.x releases.
Cura: ChangeAtZ or the Calibration Shapes plugin
- Go to Extensions → Post Processing → Modify G-Code and click Add a script.
- Choose ChangeAtZ. Set Trigger to Height or Layer No., enter where the block starts, set Apply To to “Target Layer + Subsequent Layers”, tick Change Extruder 1 Temp and enter the temperature.
- Add one ChangeAtZ script per block.
Ten ChangeAtZ scripts get tedious. The free Calibration Shapes plugin adds ready tower models under Extensions → Calibration Shapes and a TempFanTower script that sets every block from four fields: Starting Temperature, Temperature Increment, Change Layer and Change Layer Offset. Its defaults (220 °C, −5 °C per block) match its own PLA tower; change them when you use a different model or layer height. Since Cura 4.9 you copy the script into the scripts folder of the configuration folder (Help → Open Configuration Folder) and restart Cura.
Check the preview before you print
Scroll through the sliced preview or search the exported G-code for the temperature commands, and confirm each one sits at the first layer of a block, not a few layers into it. M104 sets a new target and carries on printing without waiting, which is what you want. M109 makes the printer wait for the temperature (with the R parameter, even while cooling), leaving the hot nozzle parked on the part. The trade-off is that the first few layers of each block print while the temperature is still falling, so judge the middle and top of each block, not its bottom edge.
How to read a temperature tower
Look at the tower under a strong side light, then handle it. OrcaSlicer’s guidance sums up the trade-off: lower temperatures usually reduce stringing, higher temperatures usually improve layer adhesion, and overhangs and bridges benefit from good flow but sag when it is too hot.
| What you see in a block | What it means | What to do |
|---|---|---|
| Fine strings or hairs between the pillars or spikes | Too hot, or retraction not tuned | Look at cooler blocks; if strings persist at every block, tune retraction next |
| Drooping bridge, curled or messy overhang | Too hot for this fan setting | Prefer a cooler block |
| Rough, dull walls, gaps between lines, visible under-extrusion | Too cold for the flow rate | Prefer a hotter block |
| Block snaps cleanly along a layer line with little force | Weak layer bonding, too cold | Prefer a hotter block, especially for functional parts |
| Blobs, glossy “wet” look, soft or rounded small features | Too hot | Prefer a cooler block |
| Every block strings or bubbles the same way | Not a temperature problem: wet filament or retraction | Dry the spool and reprint before drawing conclusions |
| No clear difference between blocks | Range too narrow, or the change commands are missing | Check the G-code; widen the range |
Snap test for strength. Blocks can look fine and still be weak. Try to break off the coolest blocks with pliers and compare with the hotter ones: a break that follows a layer line under light force means poor bonding, while a ragged break that needs real force means the layers fused well. For parts that carry load, favour the block that bonds well even if it strings slightly.
Picking the number. OrcaSlicer’s advice is to take the middle of the range that looks good, and to move towards the higher end if you plan to print at high speed or high flow. A hotter nozzle is needed to melt more plastic per second, so a tower printed slowly can point too low for a fast profile.
PETG temperature tower: what is different
PETG strings more than PLA, so stringing tends to dominate the tower and pull your choice down. Prusa’s PETG guide suggests higher retraction and a lower nozzle temperature to moderate stringing, and notes that printing without the fan improves toughness at the cost of detail. That makes PETG a real trade-off: a cooler block may look cleaner but split more easily in the snap test. Keep the fan setting of your PETG profile constant through the tower, dry the spool first, and do the snap test before settling on the coolest clean block. The PETG settings guide covers fan and retraction values once the temperature is set.
For ABS and ASA the tower mostly decides layer strength and surface; warping is a bed, enclosure and draught question more than a nozzle one. Print the tower in the same enclosure conditions you will use for real parts, and see the ABS warping guide for the rest.
Common temperature tower mistakes
- A range that does not match the filament. A PLA tower model reused for PETG tests the wrong temperatures, even if the blocks are relabelled in your head. Match the range to the spool’s data sheet.
- Temperature changes one block off. If the command lands a few layers late, every label is wrong. Always check the preview.
- Changing other settings at the same time. A new retraction or fan value on the same print makes the result impossible to read.
- Judging only by looks. The smoothest, least stringy block is often the coolest one, and the coolest one is often the weakest. Always do the snap test.
- Reusing the result for every spool. Colour and brand change the ideal temperature. Run a new tower for a new brand or a noticeably different colour, and after changing the nozzle or hotend.
When the tower doesn’t solve the problem
- Stringing at every temperature: retraction is the next step. The retraction settings guide covers Cura and PrusaSlicer.
- Parts still split between layers at the best block: cooling, speed and line width also affect bonding. See weak layer adhesion.
- Good tower, bad surface at your usual speed: the tower was probably printed slower than your real parts. Match speeds, or read the print speed calibration guide.
- Blocks look randomly better and worse: the hotend may not be holding temperature. Watch the temperature graph during the print; a swinging reading points to PID tuning or a loose thermistor rather than the filament.
Frequently asked questions
What temperature range should a PLA temperature tower cover?
Cover the range printed on the spool or its data sheet. Bambu Lab lists 190–230 °C for its PLA Basic, and Prusa recommends 215 °C for the first layer and 210 °C after, so a tower from about 230 down to 190 °C in 5 °C steps brackets most standard PLA. Silk, matte and “PLA+” blends have their own ranges, so check their labels.
What is a good PETG temperature tower range?
Start from your spool’s data sheet. Bambu Lab lists 230–260 °C for PETG HF and Prusa recommends 230 °C for the first layer and 240 °C after, so testing from 260 down to 230 °C is a reasonable starting range. Expect stringing on the hotter blocks, and snap-test the cooler ones before choosing.
Should I use M104 or M109 for a temperature tower?
Use M104. It sets the new target and lets the print continue, while M109 makes the printer wait for the temperature, which can leave the nozzle sitting on the part at each block. Because the temperature drops gradually after M104, judge each block by its middle and upper part.
Do I need a new temperature tower for every spool?
Not for every spool of the same product, but do run one for a new brand, a new material type, a noticeably different colour, or after changing the nozzle or hotend. Label the result in the filament profile so you know which spool it came from.
Sources
- OrcaSlicer Wiki: Temp Calibration
- Prusa Knowledge Base: Insert pause or custom G-code at layer
- Prusa Knowledge Base: PETG material guide (and the PLA, ABS, ASA and flexible material guides)
- Bambu Lab: PLA Basic technical data sheet (and the PETG HF, ABS, ASA and PC data sheets)
- Calibration Shapes plugin for Cura (GitHub)