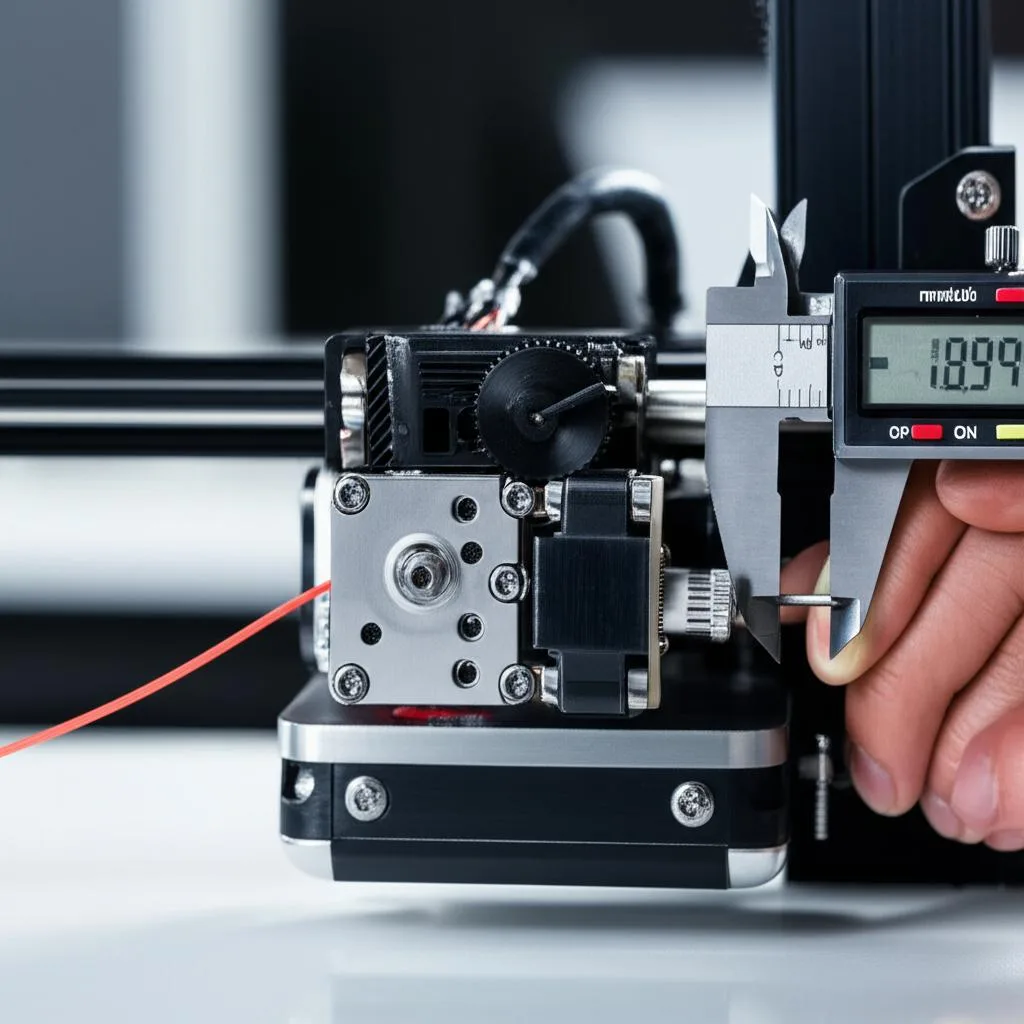
E-steps (extruder steps per millimeter) is the firmware value that tells the extruder motor how many steps to take to push exactly 1 mm of filament. To calibrate it, you mark the filament, command the printer to extrude a fixed length, measure how much actually went in, and scale the value by the difference: new E-steps = current E-steps × requested length ÷ actual length. In Marlin you set the result with M92 E… and store it with M500; in Klipper the same idea is expressed as rotation_distance in printer.cfg.
You only need to do this when the extruder hardware or firmware changes, or when every filament under-extrudes or over-extrudes by the same amount. It corrects the length of filament fed, not how a particular spool behaves; that is the job of slicer flow. This guide covers the Marlin and Klipper procedures, the commands, how to read a bad result and when to leave E-steps alone. Commands and formulas come from the Marlin and Klipper documentation linked at the end.
The consumer toolchanger 3D printer: the SnapSwap 4-toolhead system swaps heads in 5 seconds for true multi-color and multi-material printing, with smart calibration and auto filament loading.
- 4 toolheads · 5 s swap
- Up to 500 mm/s · 20,000 mm/s²
- 270 mm cube build volume
- Multi-color & multi-material

E-steps calibration in seven steps
- Heat the nozzle to your normal printing temperature and make sure filament flows freely.
- Read the current value:
M503orM92in Marlin,rotation_distancein Klipper’s[extruder]section. - Mark the filament a known distance above the extruder intake (120 mm for a 100 mm test, 70 mm for Klipper’s 50 mm test).
- Extrude the requested length slowly.
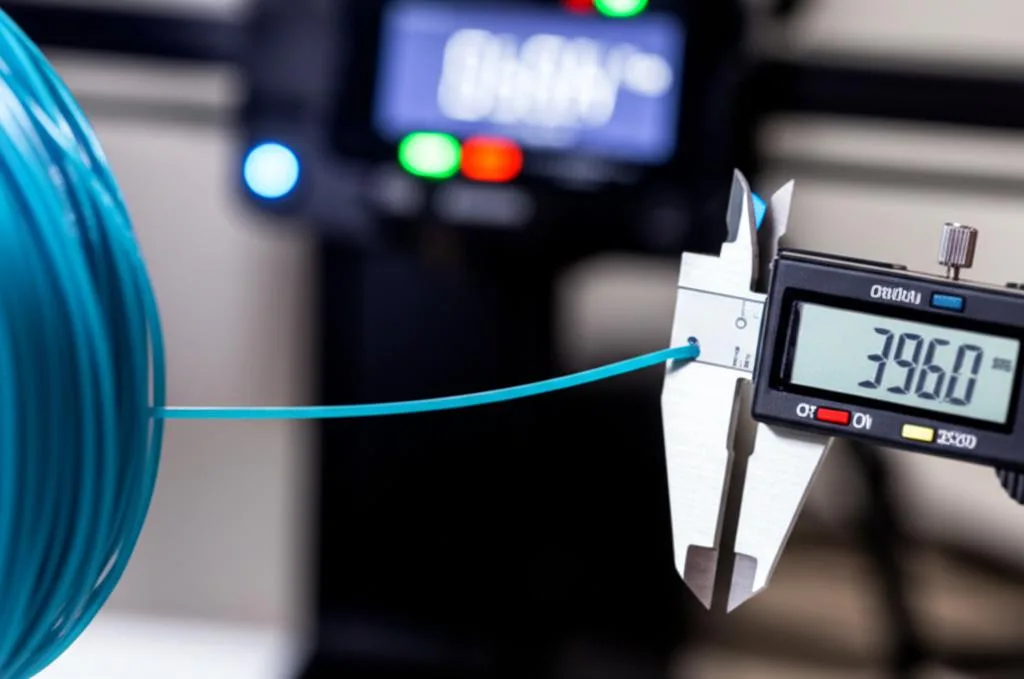
- Measure the mark again with calipers; the difference is the actual length.
- Calculate the new value and save it (
M92+M500, or printer.cfg + restart). - Repeat the test once to confirm.
What sets the E-steps value, and when to recalibrate
The number bundles three pieces of hardware: the motor, the driver’s microstepping and the drive gear (plus any gear reduction). Klipper’s documentation gives the typical figures: 200 full steps per rotation for a 1.8° motor, 400 for a 0.9° motor, and usually 16 microsteps. It also gives the conversion between the two firmware conventions:
rotation_distance = full_steps_per_rotation × microsteps ÷ steps_per_mm
As an illustration of the arithmetic only: a 200-step motor at 16 microsteps with an E-steps value of 93 gives 3200 ÷ 93 ≈ 34.4 mm of filament per motor rotation. Klipper describes an extruder’s rotation_distance exactly that way, as the filament distance for one full motor rotation, and notes you can estimate it from the drive gear: diameter × 3.14. A geared extruder multiplies the steps, which is why its E-steps value is several times higher than a direct-drive gear on the motor shaft. Klipper handles that with a gear_ratio line and warns that some extruders are not what the label says: the BMG, sold as 3:1, actually uses 50:17 gearing.
Recalibrate after you change the extruder, drive gear, motor or gear ratio, after a firmware flash that loaded new defaults, or when under- or over-extrusion shows up with every filament. In Marlin, M502 resets steps-per-unit to DEFAULT_AXIS_STEPS_PER_UNIT from the firmware, so a reset or a fresh build can silently undo your value. A new nozzle size or a new filament does not change E-steps.
Marlin: extrude 100 mm and set M92
You need a way to send G-code: a USB terminal (Pronterface, OctoPrint, Repetier-Host) or a printer screen that accepts commands. Use digital calipers rather than a ruler, and a fine marker.
- Heat the hotend to the temperature you print this filament at. Do not bypass Marlin’s cold extrusion protection with
M302; the safety check exists to prevent damage when the hotend is too cold, and a cold test gives a false reading anyway. - Note the current value. Send
M503(orM92with no parameters) and look for the E figure in theM92line, for exampleE93.00. - Mark the filament 120 mm above a fixed point, usually the top of the extruder intake. The extra 20 mm keeps the mark visible if the extruder feeds more than expected.
- Extrude 100 mm slowly:
M83(relative extrusion),G92 E0, thenG1 E100 F100. F100 is 100 mm per minute, so the move takes about a minute. Don’t touch the filament while it runs. - Measure from the same fixed point to the mark. Actual length = 120 − remaining. If 23 mm remain, 97 mm went in.
- Calculate: new E-steps = current × 100 ÷ actual. With 93 and 97 mm: 93 × 100 ÷ 97 = 95.88.
- Apply and save:
M92 E95.88, thenM500. Check withM503that the new value is active. - Verify with a fresh mark and another 100 mm. If it is still noticeably off, recalculate from the new value.
When M500 does not stick
Marlin’s M500 only works when the firmware was compiled with EEPROM_SETTINGS enabled. Without it, the value you set with M92 disappears at the next power cycle. You have two options: put M92 E… in your slicer’s start G-code, or change the E figure in DEFAULT_AXIS_STEPS_PER_UNIT in Configuration.h and rebuild. Our guide to flashing Marlin covers the build, the upload and backing up EEPROM settings first. On printers with more than one extruder and DISTINCT_E_FACTORS enabled, M92 takes a T parameter to target each extruder; calibrate them one by one.
| Command | What it does |
|---|---|
M503 or M92 | Reports the current steps per unit for all axes |
M83 / G92 E0 | Relative extrusion / reset the extruder position to zero |
G1 E100 F100 | Extrude 100 mm at 100 mm/min |
M92 E<value> | Sets extruder steps/mm (lost on reboot unless saved) |
M500 | Saves settings to EEPROM (needs EEPROM_SETTINGS) |
M501 / M502 | Reload settings from EEPROM / reset to firmware defaults |
Klipper: calibrate rotation_distance
Klipper has no E-steps setting and no EEPROM. The extruder is configured by rotation_distance (plus gear_ratio if it is geared), and Klipper’s own measure-and-trim procedure uses a 50 mm test:
- Prepare: filament loaded, hotend heated to an appropriate temperature, printer ready to extrude.
- Mark the filament about 70 mm from the extruder intake and measure that distance precisely with calipers.
- Extrude:
G91, thenG1 E50 F60. It takes about 50 seconds. Klipper stresses the slow rate: a faster one builds pressure in the extruder and skews the result. - Measure the new distance to the mark. Actual extrude distance = initial − subsequent.
- Calculate: new rotation_distance = previous × actual ÷ requested, rounded to three decimals.
- Save the value under
[extruder]in printer.cfg and restart. If the actual distance was off by more than about 2 mm, Klipper suggests running the test a second time.
Note that the Klipper formula runs the other way round from Marlin’s. Rotation distance is millimeters per rotation, so an extruder that fed too little needs a smaller number, while Marlin’s steps per millimeter needs a larger one. Example: previous 33.500, 48 mm fed out of 50 requested gives 33.500 × 48 ÷ 50 = 32.160. For a quick trial you can use SET_EXTRUDER_ROTATION_DISTANCE, but Klipper’s G-code reference states that changed settings are not retained on a Klipper reset, so the final value belongs in the config file. If you are moving a Marlin machine over, the conversion formula above turns your old E-steps into a starting rotation_distance.
Troubleshooting the extrusion test
| What happens | Likely cause | Fix |
|---|---|---|
| Extruder clicks, skips or grinds during the test | Feed rate too high, hotend too cold, partial clog or too much idler tension | Slow down (F60–F100), check the temperature, clear the nozzle, then retest |
| Two runs give different results | Imprecise mark, ruler instead of calipers, measuring from a different point | Use calipers from one fixed reference point; average two or three runs |
| Result very different after an extruder swap | New drive gear or gear ratio | Expected: recalibrate from the new default; in Klipper check gear_ratio |
| Value gone after power-off (Marlin) | No M500, or firmware without EEPROM_SETTINGS | Save with M500, or set it in start G-code or Configuration.h |
| Value back to default after a firmware update | New build loaded DEFAULT_AXIS_STEPS_PER_UNIT | Re-enter and save it, or change the default in the build |
| Klipper value “went down” although it under-extruded | rotation_distance is mm per rotation, the inverse of steps/mm | Correct behavior; no action needed |
| Test is accurate but prints still look starved | Not an E-steps problem: clog, temperature, speed or flow | Check the nozzle, then calibrate slicer flow |
Clicking that persists at slow speed with a clear nozzle points to the extruder itself; our guide to extruder grinding and clicking goes through tension, gears and motor current. If filament barely moves when hot, fix the clogged nozzle before you calibrate anything.
E-steps vs flow: which one to adjust
Change E-steps only when the measured filament length is wrong, which means the error is the same for every spool and every slicer profile. If the 100 mm test is accurate and one filament still looks thin or bulgy, leave the firmware alone and adjust the slicer’s flow ratio or extrusion multiplier for that filament profile. Always in that order: E-steps first, then flow rate calibration. Using flow to hide a wrong E-steps value works for one spool and breaks the next.
Common E-steps mistakes and next steps
- Extruding too fast. A quick move builds back pressure and reads short, so you end up over-correcting. Stay at the slow feed rates above.
- Calibrating around a clog. A partly blocked nozzle makes a correct value look too low. Clean it first; a cold pull is the quickest check.
- Measuring from different points. Pick one fixed edge on the extruder body and use it for both measurements.
- Forgetting to save. M92 alone and SET_EXTRUDER_ROTATION_DISTANCE both vanish on restart.
- Using E-steps as a per-filament setting. It describes the hardware; per-spool differences belong in slicer flow.
- Stopping here. Once E-steps are right, the usual order is flow, then pressure advance for corner blobs. If you have not settled the nozzle temperature for a material yet, a temperature tower comes before both.
Frequently asked questions
Do I need to recalibrate E-steps when I switch from PLA to PETG?
No. E-steps describes the extruder’s motor, microstepping and drive gear, so it does not change with the material. Heat the nozzle to a normal printing temperature for whatever filament is loaded when you run the test, and handle differences between materials with the slicer’s flow setting in each filament profile.
Why does my new E-steps value come out higher than the old one?
Because the extruder fed less filament than requested. The formula is current × requested ÷ actual, so a short result, for example 97 mm instead of 100 mm, gives a higher number: 93 becomes 95.88. In Klipper the same situation gives a lower rotation_distance, because that value is millimeters per motor rotation.
Can I calibrate E-steps from the printer’s screen without a computer?
Often, yes. Many Marlin screens let you move the extruder by a set length and edit steps/mm under the motion settings, and some accept typed G-code. You still need to save the value, either with the menu’s store or save settings item (the name varies by printer) or with M500. Klipper printers are configured through printer.cfg in the web interface, such as Mainsail or Fluidd.
Does changing the nozzle size mean recalibrating E-steps?
No. A different nozzle changes how much plastic leaves the tip, not how many millimeters of filament the drive gear pushes. After a nozzle change, check slicer flow and pressure advance instead. Recalibrate E-steps only when the extruder motor, drive gear or gearing changes.