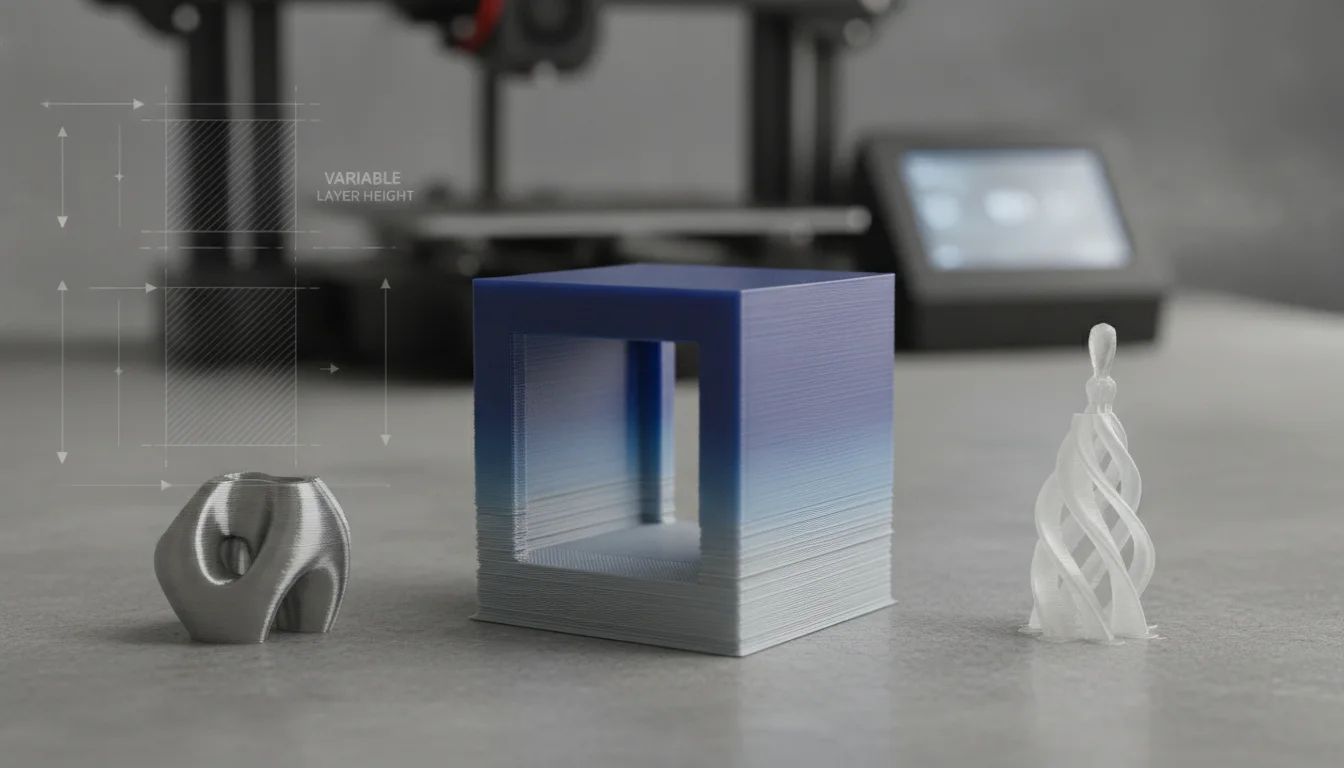
Variable layer height is a slicer feature that changes the layer thickness along the height of one object: thin layers where curves and shallow slopes would show stair-stepping, thicker layers on vertical walls where layer lines hardly show. In PrusaSlicer, Bambu Studio and OrcaSlicer you open the variable layer height tool on a selected object, press Adaptive, then smooth the curve. In Cura you tick Use Adaptive Layers and let three settings decide the range. Either way the slicer stays inside the minimum and maximum layer heights set for your nozzle.
It pays off on domes, figures, vases and anything with a rounded top; on a box with vertical sides it does almost nothing. This guide shows how each slicer does it, which values control the result and what breaks when you turn it on. Everything below comes from the Prusa, UltiMaker, Bambu Lab and OrcaSlicer documentation linked at the end. For choosing the base layer height itself, see our guide to layer height.
The consumer toolchanger 3D printer: the SnapSwap 4-toolhead system swaps heads in 5 seconds for true multi-color and multi-material printing, with smart calibration and auto filament loading.
- 4 toolheads · 5 s swap
- Up to 500 mm/s · 20,000 mm/s²
- 270 mm cube build volume
- Multi-color & multi-material

Variable layer height in five steps
- Set a normal base layer height for your nozzle, for example 0.2 mm on a 0.4 mm nozzle.
- Select the object and open the variable layer height tool (PrusaSlicer, Bambu Studio, OrcaSlicer) or enable Use Adaptive Layers (Cura).
- Press Adaptive, with the slider moved towards Quality/Detail or Speed.
- Press Smooth once or twice so the height does not jump between neighbouring layers.
- Slice, check the layer height view in the preview, and compare the estimated time with a uniform slice.
Why thinner layers only help on slopes
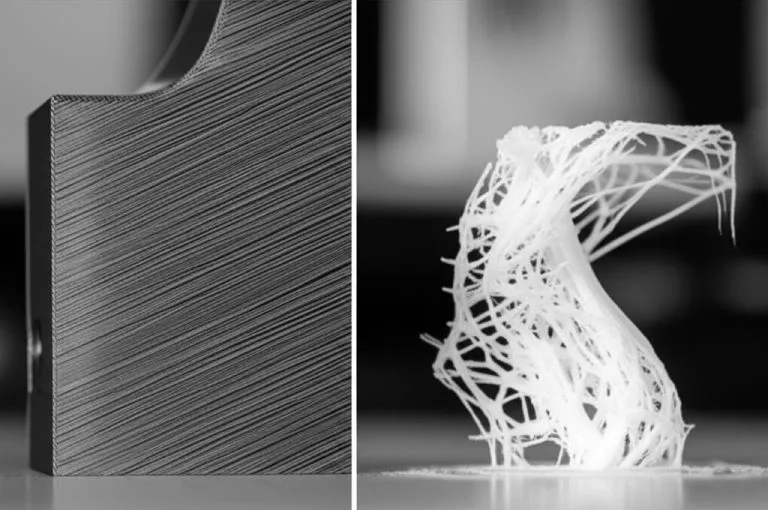
Each layer is a flat slice with vertical edges, so any surface that is not vertical turns into a staircase. Bambu Lab’s documentation explains the geometry: at the same layer height, the steeper the surface, the smoother it looks. The nearly flat top of a dome shows the biggest steps, while a vertical wall shows none. Lowering the layer height everywhere fixes the dome but costs time on the walls, which gain nothing. Variable layer height lowers it only where the slope needs it.
Cura describes its version the same way: adaptive layers look at the slope of the outer wall, print curves with finer layers and vertical, flat areas with thicker ones, which often shortens the print. In an UltiMaker case study on a bottle-shaped part, adaptive layers cut print time by 10% while keeping fine layers on the threaded neck. That figure is one example, not a rule: a model that is mostly curves can end up slower than a uniform slice.
| Model | Worth using variable layer height? | Why |
|---|---|---|
| Dome, sphere, rounded lid | Yes | The shallow top shows the largest steps |
| Figure, bust, organic sculpt | Yes | Many shallow curves on visible surfaces |
| Vase or bottle with a changing profile | Usually | Thin layers at the shoulders, thick on straight sections |
| Tall part with a flat base and a detailed top | Yes, or a height range | Thick layers on the simple section save time |
| Box, bracket with vertical walls | Rarely | Vertical walls look the same at any layer height |
| Flat plate or sign | No | Only the top surface matters; consider ironing instead |
PrusaSlicer: adaptive, smooth and manual painting
Select the model in the 3D view and click the variable layer height tool in the top toolbar. The object gets contour lines, a control panel appears at the bottom right and a layer height graph on the right side.
- Adaptive: calculates the profile from the model’s slopes. The Quality/Speed slider changes the ratio of small to tall layers; press Adaptive again after moving it.
- Smooth: evens out abrupt changes. It has a radius value and you can press it repeatedly for a smoother result. With Keep min ticked, the smallest layer heights (shown in green) stay at their minimum.
- Manual editing: hover over the model (the affected band turns yellow). Left click adds detail, right click removes detail, Shift + left click resets to the base height, Shift + right click smooths, and the mouse wheel changes the size of the edited band.
Prusa’s layer guidance sets the limits the tool works within: keep layers below 80% of the nozzle diameter (about 0.32 mm for a 0.4 mm nozzle), never above the nozzle diameter, and Prusa does not suggest going below 0.10 mm, because 0.07 or 0.05 mm layers add a lot of time for a relatively minor gain. The graph only shows what the adaptive pass chose; check the numbers against those limits before you print.
Height range modifier: fixed layer heights by zone
If you know exactly where the detail is, a height range modifier gives you control without the curve. Right-click the model and choose Height range modifier. In the Height Ranges panel you set the start and end of each interval and its layer height; the global value applies everywhere else. The gear icon on an interval also lets you change infill, perimeters and, in Expert mode, speed, ironing and other settings for that zone only. This suits a part with a plain 40 mm base and a detailed top better than an adaptive pass that guesses.
Bambu Studio and OrcaSlicer
Both are descendants of PrusaSlicer (OrcaSlicer is a fork of Bambu Studio), so the tool works almost the same way. Select an object and enable variable layer height from the toolbar. Drag the triangle on the Detail/Speed (Bambu) or Quality/Speed (Orca) slider and click Adaptive: towards Detail, more of the model gets low layers; towards Speed, more gets tall ones. Smooth applies a Gaussian filter whose radius sets how wide the transitions are, and you can click it several times. Keep min protects the minimum-height (green) sections from smoothing. In OrcaSlicer’s manual mode, left click on the height bar lowers the layer height at that point and right click raises it.
The range comes from the printer profile, not from the tool. Bambu Lab gives 0.08–0.28 mm for a 0.4 mm nozzle and describes it as the range its lab found to print well, so it advises not to change it. In OrcaSlicer the minimum and maximum live in the Machine/Extruder settings.
Two limitations Bambu Lab documents
- Prime tower. With several objects and more than one colour on a plate, the prime tower only works if every object has the same variable layer height profile. The tower must match each object’s layer height, and it cannot add the odd fractions (such as 0.02 mm) needed to follow two different profiles. Our guide to prime tower settings covers the tower itself.
- Organic tree supports are not supported together with variable layer height. Switch to normal supports or see which tree support settings you would give up.
Cura adaptive layers settings
Cura has had adaptive layers since version 3.2. There is no graph to paint: switch the print settings to Custom, search for “adaptive layers”, tick Use Adaptive Layers and Cura calculates the heights when it slices. Three settings shape the result. UltiMaker says the defaults are usually adequate.
| Setting | Default | What it does |
|---|---|---|
| Adaptive Layers Maximum Variation | 0.1 mm | Largest allowed difference from the base layer height. With a 0.2 mm base, layers can range from 0.1 to 0.3 mm. |
| Adaptive Layers Variation Step Size | 0.01 mm | How much one layer may differ from the previous one. Smaller steps give gentler transitions. |
| Adaptive Layers Topography Size | 0.2 mm | Target horizontal distance between the edges of two adjacent layers. Lower values bring the edges closer, so Cura uses thinner layers more often. |
Because the range is base ± maximum variation, check the arithmetic against your nozzle. A 0.3 mm base with the default 0.1 mm variation allows 0.4 mm layers, which is the full width of a 0.4 mm nozzle and above Prusa’s 80% guideline. Lower the maximum variation or the base in that case. Older Cura versions called the topography setting “Adaptive Layers Threshold”; tutorials that use that name mean the same control.
Which slicer tool to use for which job
| Goal | PrusaSlicer | Bambu Studio / OrcaSlicer | Cura |
|---|---|---|---|
| Automatic profile from slopes | Adaptive + Quality/Speed slider | Adaptive + Detail/Speed slider | Use Adaptive Layers |
| Smoother transitions | Smooth (radius), Keep min | Smooth (radius), Keep min | Smaller variation step size |
| More thin layers | Slider towards Quality, or paint detail | Slider towards Detail, or left click | Lower topography size |
| Fixed height in one zone | Height range modifier | Manual editing of the height bar | Not built into adaptive layers |
| Hard limits | Printer profile min/max; below 80% of nozzle | Printer profile (Bambu 0.4 mm: 0.08–0.28 mm) | Base ± maximum variation |
Common variable layer height mistakes
- Expecting it to fix a flat top. A flat horizontal surface is one layer thick whatever the height of the layers under it. Stair-stepping lives on slopes; a flat top needs top layers, ironing or better cooling.
- Skipping Smooth. Adaptive alone can jump between tall and short layers, and the change in layer height can show as a band on the wall. Smooth the curve and check the preview.
- Pushing the extremes. Very thin layers add hours for little gain and very tall ones strain the hotend’s flow. Stay inside the printer profile’s range.
- Using it for strength. The algorithms choose heights by surface slope, not by load. If a part must be strong, pick the layer height and print orientation for the load, then leave the profile uniform.
- Forgetting the plate. Multi-colour prints with a prime tower and several objects need matching profiles in Bambu Studio; organic tree supports are off the table.
- Not comparing times. Slice once uniform and once variable. If the variable version is only slightly smoother but much slower, a lower uniform height on a smaller zone may be the better deal.
Frequently asked questions
Does variable layer height reduce print time?
It can, but it depends on the model. Compared with printing everything at a fine layer height, it saves time on vertical walls; compared with a uniform standard layer height, a curvy model can take longer because the curves get thinner layers. UltiMaker reports a 10% time saving on one example part. Slice both versions and compare.
What is the difference between adaptive and variable layer height?
They are the same idea under different names. Cura calls its automatic version adaptive layers. PrusaSlicer, Bambu Studio and OrcaSlicer call the tool variable layer height, and its Adaptive button produces the automatic profile, which you can then smooth or edit by hand.
What range of layer heights does variable layer height use?
The limits of your printer profile. Bambu Lab uses 0.08–0.28 mm for a 0.4 mm nozzle, and Prusa advises staying below 80% of the nozzle diameter and not going under 0.10 mm. In Cura the range is the base layer height plus or minus the maximum variation, 0.1 mm by default.
Why can’t I use a prime tower with variable layer height?
In Bambu Studio the tower has to follow the layer height of the objects. If two objects on a multi-colour plate have different variable profiles, the tower cannot match both, so the slicer disables it. Give all objects the same profile, or print them separately.
Sources
- Prusa Knowledge Base: Variable layer height function
- Prusa Knowledge Base: Layers and perimeters and Modifiers (height range modifier)
- Bambu Lab Wiki: Variable layer height
- OrcaSlicer Wiki: Variable layer height
- UltiMaker: Print detailed objects faster using adaptive layers and the Cura setting definitions (defaults)