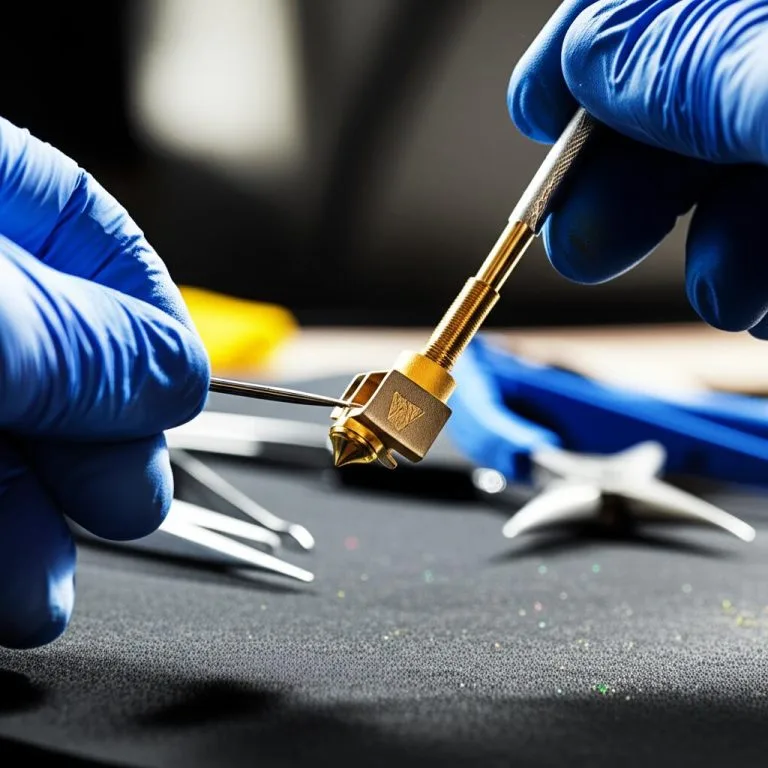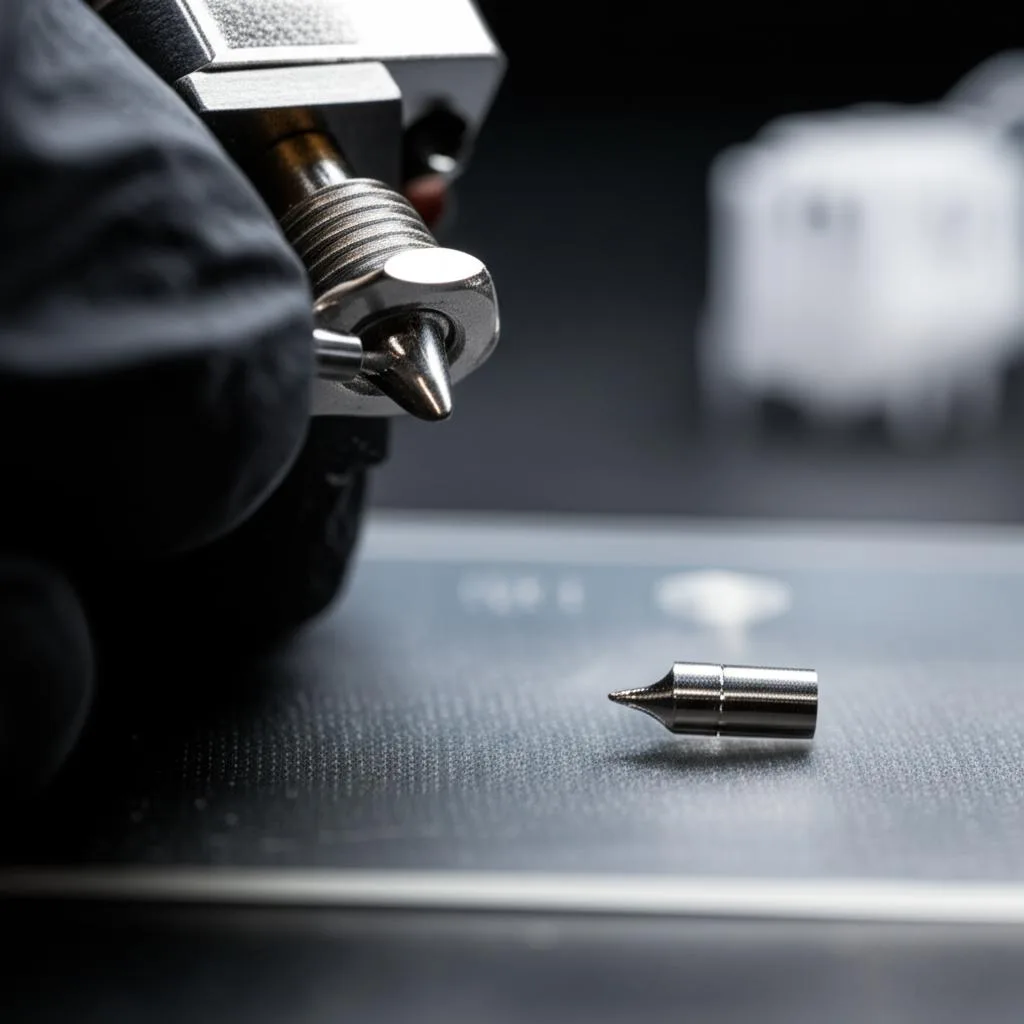
On an E3D V6-style hotend, which includes the Prusa MK3 family, you change the nozzle hot. Heat the hotend (E3D says 285 °C for brass nozzles, Prusa’s menu uses 280 °C), hold the heater block with a spanner and unscrew the old nozzle with a 7 mm spanner. Screw the new one in and tighten it against the heat break while it is still hot: E3D aims for 2 N·m, Prusa’s service team uses 2.5 N·m. Then redo your first-layer calibration.
Bambu Lab X1 and P1 printers work differently: the nozzle is part of a one-piece hotend that you swap cold with the printer switched off. This guide covers both methods, which nozzle material to buy, and what to check if the new nozzle leaks or prints badly. Figures come from E3D, Prusa and Bambu Lab documentation, linked at the end.
The consumer toolchanger 3D printer: the SnapSwap 4-toolhead system swaps heads in 5 seconds for true multi-color and multi-material printing, with smart calibration and auto filament loading.
- 4 toolheads · 5 s swap
- Up to 500 mm/s · 20,000 mm/s²
- 270 mm cube build volume
- Multi-color & multi-material

Nozzle change in 60 seconds (V6-style hotend)
- Unload the filament.
- Heat to 280–285 °C for a brass nozzle (other materials: see the table) and wait about a minute.
- Hold the heater block with a spanner so it cannot twist.
- Unscrew the old nozzle with a 7 mm spanner or socket.
- Screw in the new nozzle and tighten it hot to 2–2.5 N·m, not more.
- Check for a small gap between nozzle and heater block, then recalibrate the first layer.
When a nozzle actually needs replacing
Bambu Lab lists three reasons to swap a hotend: a severe clog, wear from abrasive materials, or wanting a different nozzle size. Prusa adds a useful warning. Unless you print abrasive materials through brass, the stock brass nozzle lasts many hundreds of printing hours, and replacing a fairly new nozzle is not the fix for a clog.
- Replace it if the tip is visibly damaged after a crash, the orifice looks worn or oval after abrasive filament, or you need a different diameter or material.
- Clean it first if extrusion is weak or speckled but the nozzle is not worn. A cold pull clears most partial clogs, and clearing a fully clogged nozzle covers the rest.
Hot tightening temperature and torque by hotend
On a V6-style hotend the nozzle and heat break screw into the heater block from opposite ends and must meet inside it. Tightening hot makes that joint seal: E3D notes that too much force at this stage can shear the nozzle or the heat break. Always stay below the maximum temperature of your nozzle and hotend.
| Hotend / nozzle | Change hot or cold | Temperature | Torque | Source |
|---|---|---|---|---|
| E3D V6, brass nozzle | Hot | 285 °C, wait about 1 minute | 2 N·m | E3D |
| E3D V6, plated copper, hardened steel, Nozzle X or ObXidian | Hot | 20 °C above your printing temperature, wait about 1 minute | 2 N·m | E3D |
| Prusa MK2.5/S, MK3/S/+, MK3.5/S (E3D V6) | Hot | 280 °C (Nozzle Change menu) | 2.5 N·m | Prusa |
| Bambu Lab X1C, P1P, P1S | Cold, whole hotend | Let it cool to 50 °C or lower, then power off | Two screws, tightened evenly, not overtightened | Bambu Lab |
Prusa’s assembly teams use a torque wrench rated for 1–5 N·m. Without one, the rule from both guides is “gently, but firmly”. 2 N·m on a short spanner is far less force than most people expect.
Tools for a nozzle swap
- 7 mm spanner or socket for E3D V6 nozzles (Prusa also supplies pliers that fit).
- 17 mm spanner or an adjustable wrench to hold the heater block (the size Prusa gives for the MK3 family; other hotends may differ).
- 2.5 mm hex key on Prusa MK3 printers, to remove the print fan and shroud.
- H2.0 hex key and needle-nose pliers for a Bambu Lab X1/P1 hotend.
- Heat-resistant gloves and a non-flammable surface for the hot nozzle you take out.
- Optional: a small torque wrench covering 2–2.5 N·m.
Step-by-step: changing a V6-style nozzle hot
This follows Prusa’s procedure for the MK2.5/MK3/MK3.5 family and E3D’s hot-tightening guide. It applies to other printers with a V6-compatible hotend, but menu names will differ. Prusa notes that the Olsson Ruby nozzle needs its maker’s own procedure.
- Unload the filament. Prusa lists a cold pull as an optional first step, which leaves less molten plastic to ooze out.
- Heat up and get access. On MK2.5/MK3 printers, go to Settings → HW Setup → Nozzle Change: the printer homes, raises Z, centres X and heats to 280 °C. On the MK3.5, raise Z manually and set 280 °C. On a generic V6 with a brass nozzle, E3D uses 285 °C. Wait about a minute at temperature.
- Clear the way. On Prusa MK3 printers remove the print fan (two screws) and the fan shroud (one screw).
- Hold the heater block with the 17 mm spanner or an adjustable wrench. Keep clear of the heater and thermistor wires: Prusa warns you can break them or short the heater with the spanner.
- Unscrew the old nozzle anticlockwise with the 7 mm spanner and put it down on a non-flammable surface. It is still at printing temperature.
- Fit the new nozzle while the hotend is still at temperature. Screw it in and tighten gently but firmly, to 2 N·m (E3D) or 2.5 N·m (Prusa).
- Check the gap. Prusa says there must always be a gap of about 0.5 mm between the nozzle and the heater block. The nozzle has to lock against the heat break, not the block, or it will leak.
- Reassemble and recalibrate. Refit the fan and shroud and redo the first-layer calibration, which Prusa says is required after every nozzle change. If the diameter changed, update it in the printer and slicer profiles too. Our Z-offset guide covers the fine-tuning.
Bambu Lab X1 and P1: swapping the complete hotend
Bambu Lab hotends combine heatsink, throat, heater block and nozzle in one unit, so there is no joint to seal and you install them cold. Bambu Lab’s procedure:
- Set the hotend to 50 °C or lower, then power off the printer. Bambu Lab stresses this step to avoid short circuits while toolhead wires are exposed.
- Open the magnetic cover. Unplug the ceramic heater (larger 2-pin plug), the hotend fan (4-pin) and the thermistor (small 2-pin). On the X1/X1C the thermistor plug has a latch: press it before pulling.
- Remove the two screws near the top of the heatsink with the H2.0 hex key and lift the hotend out. If residue holds it in place, Bambu Lab suggests warming it slightly and prying it loose with gloves on.
- Fit the new hotend with the screw holes behind the bracket and tighten the two screws evenly, without overtightening. Reconnect thermistor, fan and heater, and route the cables through the clip.
- If the diameter or material changed, update the nozzle information on the printer’s screen. In recent Bambu Studio versions this field is display-only, so the printer is the only place to change it.
Brass, stainless or hardened steel: which nozzle to fit
| Nozzle material | Abrasion resistant? | Max temperature (manufacturer) | Use it for |
|---|---|---|---|
| Brass (E3D V6) | No | 300 °C | Non-abrasive filaments; stock nozzle on Prusa MK3 printers |
| Plated copper (E3D V6) | No | 500 °C | High-temperature, non-abrasive materials |
| Stainless steel (Bambu Lab: 304) | No | 500 °C (E3D V6 version) | PLA, ABS, ASA, PETG, TPU, PVA (Bambu Lab’s list) |
| Hardened steel (Bambu Lab: HRC 55–60) | Yes | 350 °C (E3D V6 version) | PA-CF, PLA-CF, PETG-CF, glow-in-the-dark and wood-filled filaments |
| Tungsten carbide (Bambu Lab H2/P2S series) | Yes | 350 °C printing | Heavy use of abrasive filaments; Bambu Lab reports much less wear than hardened steel |
| ObXidian (E3D) | Yes | 300 °C | Abrasive filaments at moderate temperatures |
Match the nozzle to your hotend system before you order: an E3D V6 nozzle fits V6-compatible hotends, while Bambu Lab sells separate nozzles or hotends for the X1/P1, A1 and H2/P2S families. For a complete setup for carbon-fibre filaments, see hardware upgrades for carbon fibre printing. After switching material, print a temperature test rather than assuming the old settings carry over.
Problems after a nozzle change
| Symptom | Likely cause | Fix |
|---|---|---|
| Plastic leaking around the nozzle threads or heater block | Nozzle not tightened hot against the heat break, or bottomed out on the heater block | Reheat to the hot-tightening temperature and retighten to 2–2.5 N·m; confirm the ~0.5 mm gap |
| First layer too squashed, or the nozzle scrapes the bed | New nozzle sits at a different height | Redo first-layer calibration or the Z-offset |
| Lines too wide or too thin | Nozzle diameter not updated in printer or slicer | Update the profile, then run a flow rate calibration |
| Heater or thermistor error | Wire damaged by the spanner, or a plug not fully seated | Power off, inspect the wires, reseat the connectors |
| New nozzle clogs straight away | Old residue left in the heat break | Cold pull, or clean the hotend (see cleaning a hotend safely) |
| Nozzle or heat break snapped | Too much torque | Replace the broken part; use a torque wrench next time |
Common nozzle replacement mistakes
- Tightening only cold on a V6-style hotend. Both E3D and Prusa tighten at temperature, and Prusa says a nozzle that is not locked against the heat break while heated will leak.
- Switching off the heater mid-swap. On V6-style hotends the plastic sets and the joint cools while you work. Prusa’s procedure keeps the nozzle at 280 °C until the new one is tight. Only Bambu Lab’s one-piece hotends are designed for a cold, powered-off swap.
- Letting the heater block turn. Always counter-hold it, otherwise you twist the heat break and strain the wires.
- Too much force. 2–2.5 N·m is enough. More risks shearing the nozzle or heat break.
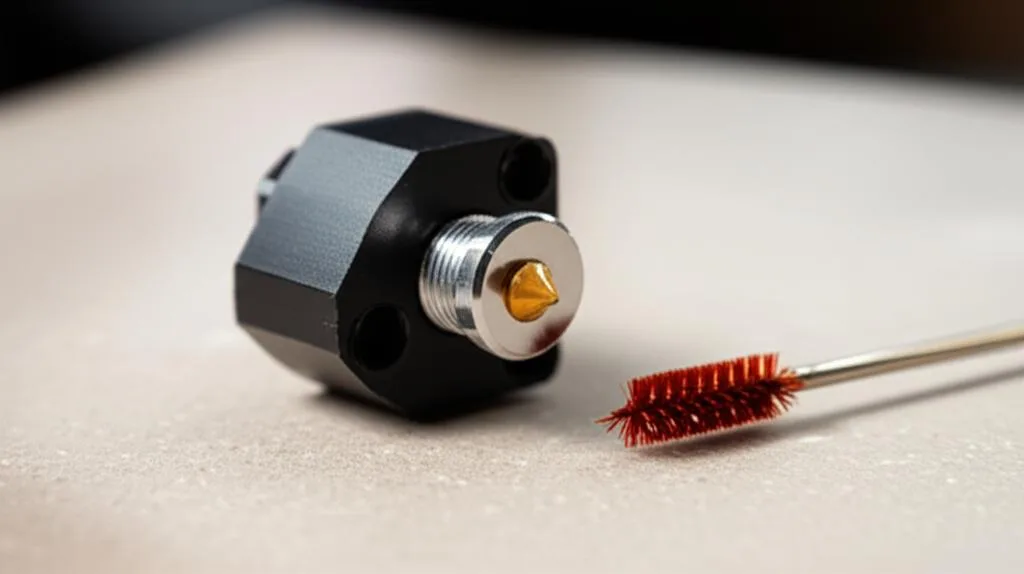
- Cleaning brass the hard way. E3D recommends cold pulls, warm pulls, nylon cleaning filament and a brass brush for brass nozzles, and advises against needles, steel wire brushes and blow torches.
Frequently asked questions
What temperature should I change a 3D printer nozzle at?
For an E3D V6 brass nozzle, E3D says 285 °C; for its other nozzle materials, 20 °C above your printing temperature. Prusa’s MK3-family menu heats to 280 °C. Bambu Lab X1 and P1 hotends are the exception: let them cool to 50 °C or lower and power off.
How tight should a 3D printer nozzle be?
E3D aims for 2 N·m on a hot V6 nozzle and Prusa uses 2.5 N·m. That is a gentle but firm pull on a small spanner. Too much torque can shear the nozzle or heat break.
Do I need to recalibrate after changing the nozzle?
Yes. Prusa says to redo the first-layer calibration after every nozzle change, because the new tip may sit at a slightly different height. If you changed diameter or material, also update the nozzle settings on the printer and in the slicer.
How long does a brass nozzle last?
Prusa says the stock brass nozzle lasts many hundreds of printing hours, as long as you do not print abrasive materials with it. For filaments with hard particles, such as carbon-fibre-filled, glow-in-the-dark or wood-filled types, Bambu Lab recommends hardened steel instead.