A cold pull cleans the inside of a nozzle by letting filament set inside the melt zone and pulling it out in one piece, together with the burnt residue and old colour stuck to the walls. For PLA the short version is: flush the nozzle hot, let it cool to about 85–90 °C, then pull the filament straight up, slowly and steadily. Repeat until the tip comes out clean.
This guide covers the quick nozzle flush you run on every material change, the temperatures for each cleaning filament, the exact sequence for Bowden and direct-drive printers, and how to read the plug you pull out. The numbers come from Prusa, Bambu Lab and 3DVerkstan documentation, linked at the end. Where a value is a starting point rather than a published figure, we say so.
The consumer toolchanger 3D printer: the SnapSwap 4-toolhead system swaps heads in 5 seconds for true multi-color and multi-material printing, with smart calibration and auto filament loading.
- 4 toolheads · 5 s swap
- Up to 500 mm/s · 20,000 mm/s²
- 270 mm cube build volume
- Multi-color & multi-material

Cold pull in 60 seconds
- Unload the filament and switch off autoload or the filament sensor.
- Heat the nozzle to the flush temperature: at least the hottest material it has printed.
- Push PLA by hand until it comes out of the nozzle clean.
- Turn the heater off and keep light pressure on the filament while it cools.
- At 85–90 °C, pull straight up, slowly but firmly.
- Check the tip. Dark specks or old colour mean another round.
When a cold pull helps, and when it won’t
A cold pull is the right tool when filament still passes through the nozzle, but not the way it should:
- Partial clog: thin, curling or inconsistent extrusion, under-extrusion that calibration does not fix.
- Contamination: specks of an old colour or dark bits in a light print.
- After a material change, especially going from a high-temperature filament back to PLA.
- Routine cleaning. Bambu Lab recommends doing it from time to time and when switching between filament types.
It is the wrong tool when nothing comes out at all. If you cannot push filament through the hot nozzle by hand, the cold pull has nothing to grip. Clear the blockage first (see what to do when your nozzle clogs), then use a cold pull to clean what is left. Not sure which case you have? The visual guide to partial and full clogs shows both.
Quick nozzle flush vs full cold pull
A nozzle flush (a hot purge) pushes new filament through a hot nozzle until the previous material and colour are gone. It takes a few minutes and belongs to every material change. It moves loose, molten leftovers, but it cannot peel burnt residue off the nozzle walls. That is the job of the cold pull, which starts with the same flush.
| Routine | Use it when | Temperature | What it removes |
|---|---|---|---|
| Hot flush | Changing material or colour, especially from a hotter filament to a cooler one | The hotter of the old and new filament | Molten leftovers of the previous filament |
| Cold pull | Specks or old colour keep appearing after a flush; partial clog | Flush hot, then pull at 85–90 °C for PLA | Residue stuck to the nozzle walls |
| Unclogging | Nothing comes out, even when pushing by hand | Depends on the method | A full blockage (see the clog guide linked above) |
Prusa’s rule for the flush is simple: when you load a filament with a lower printing temperature, preheat the nozzle to the temperature of the filament you used before, because its remnants are most likely still in the hotend. After ABS or PETG, load PLA at the ABS or PETG temperature so the new filament pushes the old one out. Prusa lists skipping this step as one cause of under-extrusion.
- Heat the nozzle to the hotter of the two filaments’ printing temperatures, within your hotend’s limit. A PTFE-lined hotend has a lower ceiling than an all-metal one; see all-metal vs PTFE-lined hotends.
- Unload the old filament and load the new one.
- Extrude until the strand comes out in the new colour with no specks or streaks. How much that takes depends on the hotend and the colours, so judge by eye rather than by a fixed length.
- Set the nozzle to the new filament’s printing temperature and start the print.
- If specks keep appearing after a clean-looking flush, move on to the cold pull below.
What you need
- Cleaning filament: a light-coloured PLA or PETG, so contamination is easy to see. Cut at least 30 cm.
- Pliers, for gripping the filament during the pull.
- Tools to open the filament path: on most Bowden and Prusa-style extruders you remove the PTFE tube or open the idler so you can push and pull by hand.
- Heat-resistant gloves. The nozzle reaches 250 °C or more during the flush, and you work right next to it.
Cold pull temperatures by filament
Two temperatures matter. The flush temperature melts whatever is left in the nozzle, so it has to match the hottest material the nozzle has printed, not the cleaning filament. The pull temperature is where the cleaning filament is solid enough to hold its shape but still soft enough to come out in one piece.
| Cleaning filament | Flush / push | Pull at | Source |
|---|---|---|---|
| PLA | ~220 °C if the nozzle only saw PLA; 270 °C in Prusa’s procedure | 85–90 °C (Prusa: 85 °C) | Prusa, 3DVerkstan |
| PETG | Hottest material the nozzle has printed | Start around 100–110 °C | Our estimate from Bambu Lab’s rule below, not a published figure |
| ABS | 250–260 °C | 160 °C | 3DVerkstan |
| Nylon or dedicated cleaning filament | Per manufacturer | Per manufacturer | Varies by product |
Choosing the flush temperature. Bambu Lab’s H2D guide sorts it by the hottest filament the nozzle has used: 250 °C after PLA, PETG, TPU or PVA; 290 °C after ABS, ASA, PA, PC or PET; 320 °C after PPS or PPA. Stay within your hotend’s rated maximum.
Tuning the pull temperature. Bambu Lab sets it 20–30 °C above the cleaning filament’s glass transition temperature and adjusts in 5 °C steps:
- Heavy resistance and the filament snaps: go 5 °C warmer.
- It breaks with almost no resistance: go 5 °C cooler.
Bambu Lab also found PLA and PETG work best; other filaments tend to tear and leave residue behind. For its high-flow nozzles it prefers PETG, which stretches more before breaking.
Step-by-step cold pull on a manual printer
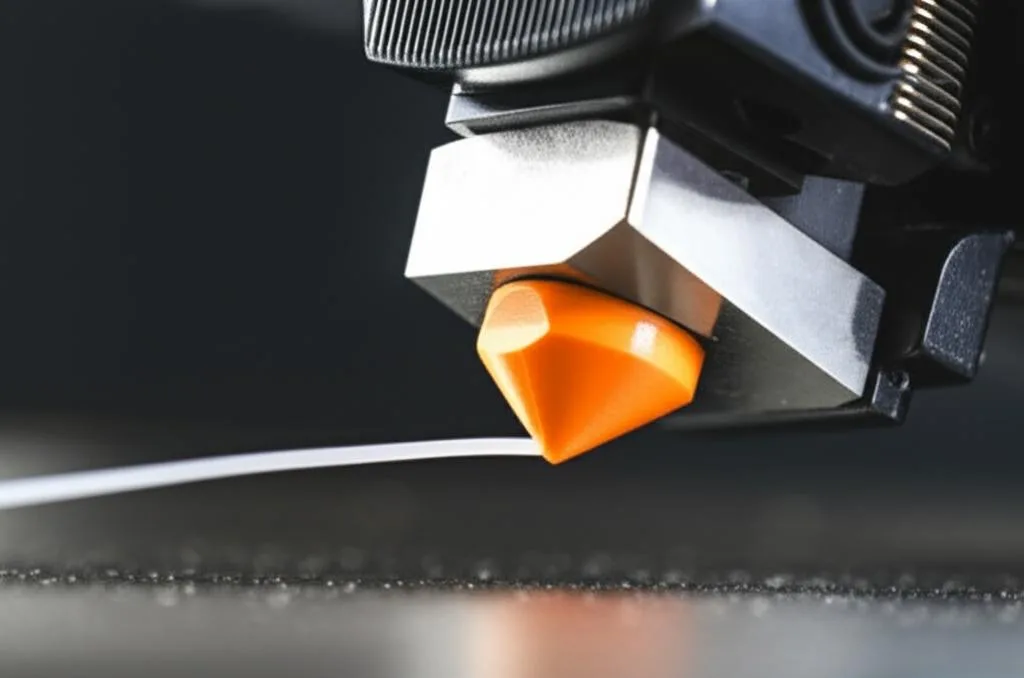
This sequence follows Prusa’s procedure for the MK3/MK3.5 family and works on most printers where you can push filament by hand.
- Prepare the path. Unload the filament and disable filament autoload or the runout sensor. Disable the stepper motors so the extruder gear turns freely. Open the idler or remove the PTFE tube.
- Flush. Heat to the flush temperature and push PLA by hand until it comes out of the nozzle clean, with no old colour.
- Cool under pressure. Switch the heater off. Keep pushing gently as the nozzle cools. Prusa continues until about 170 °C, when the plastic stops flowing. This fills the nozzle tip so the plug takes its full shape.
- Let it cool fully to room temperature. Prusa’s procedure includes this step; it makes the plug solid all the way through.
- Reheat to the pull temperature, 85 °C for PLA.
- Pull. As soon as the nozzle reaches the temperature, grip the filament with pliers and pull straight up, not sideways, slowly but steadily. Hold the extruder with your other hand.
- Inspect and repeat until the tip comes out clean (see the next section).
- Put it back together. Refit the PTFE tube or close the idler, re-enable the sensor and autoload. Prusa’s guide ends with a Z calibration on these printers.
Printers with a guided cold pull
Some newer machines automate most of the process. On the Bambu Lab H2D, for example, you pick the nozzle and cleaning filament in the maintenance menu and load at least 30 cm of filament. The printer then flushes, refills the nozzle, cools to the pull temperature and slowly pulls the filament back to the extruder; you finish by removing it by hand. Flushing at high temperature can produce smoke, so keep the covers closed until it finishes. Check your printer’s wiki before doing it manually: a guided routine uses nozzle-specific values.
How to read the filament tip
| What you see | What it means | Next step |
|---|---|---|
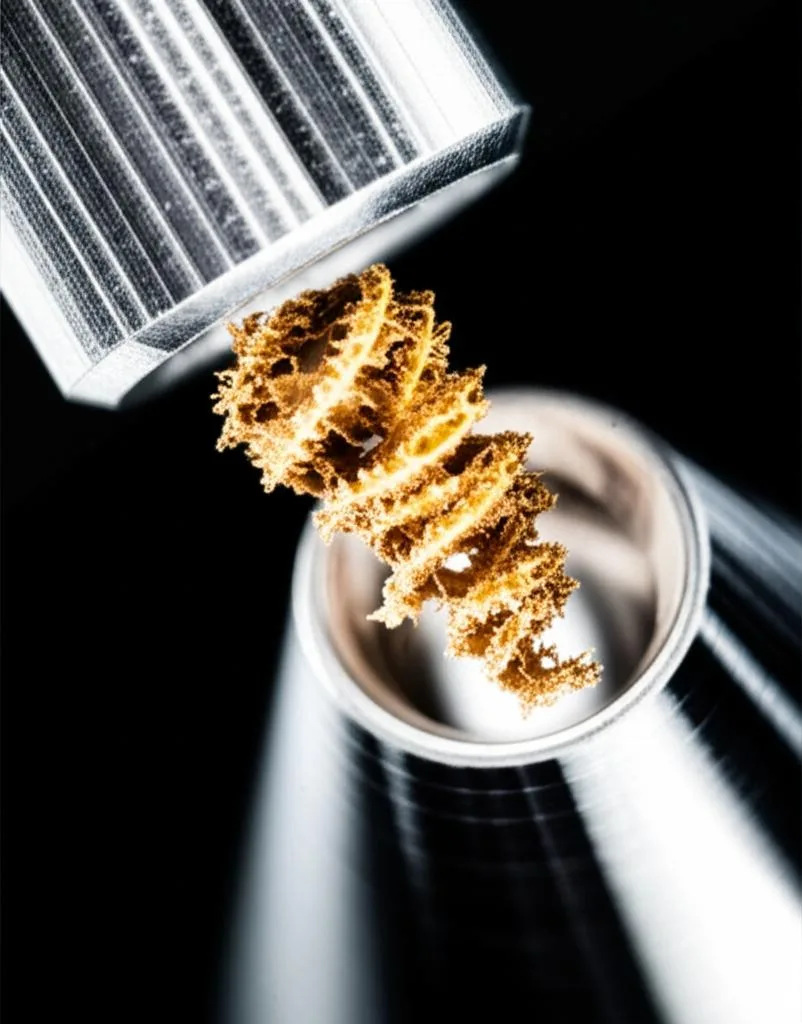
| A clean plug shaped like the inside of the nozzle, same colour as the filament | The nozzle is clean | Done. Reassemble and print a test. |
| A nozzle-shaped plug with dark specks or old colour | It worked and pulled out contamination | Repeat until the plug comes out clean |
| A long, thin stretched strand | Pulled too warm | Lower the pull temperature by 5 °C |
| Filament snapped above the nozzle under heavy resistance | Pulled too cold or too fast | Reheat to the flush temperature to clear the broken piece, then pull 5 °C warmer and slower |
| A short, blunt tip with no nozzle shape | The nozzle was not filled when it cooled | Keep pushing while cooling (step 3) |
Common cold pull mistakes
- Flushing at the cleaning filament’s temperature. After ABS or PETG, residue at PLA temperature stays solid and the cold pull cannot move it.
- Pulling at an angle or with a jerk. Both Prusa and Bambu Lab stress a slow, vertical pull. A sideways yank snaps the filament inside the heat break.
- Using the wrong cleaning filament. TPU stretches and many other materials tear, leaving more residue than they remove.
- Stopping after one clean-looking pull. The first plug often looks fine at a glance. Check it in good light, and do another round after a material change.
- Forgetting the filament sensor. Leaving autoload or the runout sensor disabled causes confusing errors on the next print.
When a cold pull isn’t enough
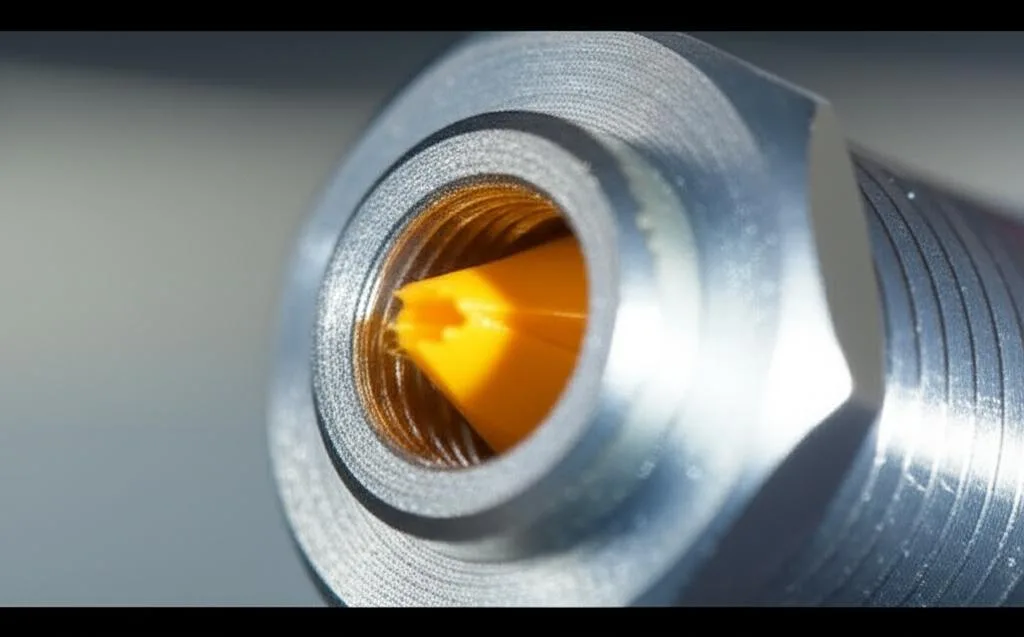
If several rounds still bring out dirty tips, or extrusion stays weak after a clean pull, the problem is probably not residue in the melt zone:
- Worn or damaged nozzle. Abrasive filaments widen the bore, and cleaning will not bring it back. Nozzles are cheap; replacing the nozzle often takes less time than another hour of cold pulls.
- Clog in the heat break, above the nozzle. Common after heat creep with PLA in a warm enclosure; it usually means taking the hotend apart.
- Not a clog at all. A slipping extruder gear, a PTFE tube gap or wet filament give similar symptoms. Rule them out with the partial clog checklist.
Frequently asked questions
How often should I do a cold pull?
When you see symptoms of a partial clog or contamination, and after switching from a high-temperature material back to PLA. Bambu Lab also suggests doing it from time to time as routine maintenance. There is no fixed interval; a printer that runs one material all the time may rarely need it.
Can I use the filament that clogged the nozzle for the cold pull?
You can flush with it, but for the pull itself use PLA or PETG. They hold the nozzle shape and come out in one piece. A light colour also makes it easier to see whether residue is still coming out.
Does a cold pull work on a direct-drive extruder?
Yes. You need to be able to push and pull the filament by hand, so disable the stepper motors and open the idler, or release the filament tension lever. On printers with a guided cold pull in the menu, the extruder does the pull for you.
How many cold pulls before I replace the nozzle?
If the plug keeps coming out dirty after three or four rounds at the right flush temperature, or a clean plug does not fix extrusion, stop and check the nozzle and heat break. At that point a new nozzle is usually the faster fix.