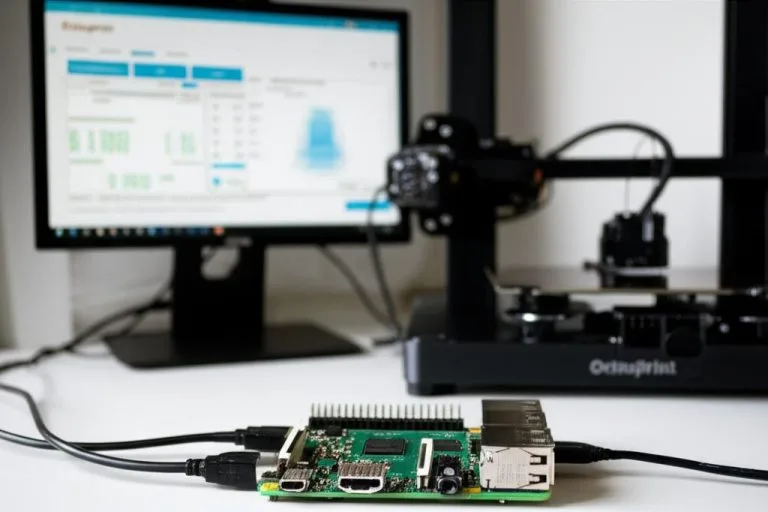
Flashing Marlin means putting a firmware file built for your exact control board onto the printer. How you install it depends on the board. Most 32-bit boards (STM32 or LPC176x chips, such as the BigTreeTech SKR Mini E3 or Creality 4.2.x boards) update from the SD card: copy the .bin file to the card, power on, and the board’s bootloader installs it. Older 8-bit AVR boards take a .hex file uploaded over USB, which only works if a bootloader is present.
Two steps save most of the trouble. Before flashing, send M503 and save the output, because it lists your current steps/mm, PID values and probe offset. After flashing, send M502 then M500. Marlin’s documentation says settings saved in EEPROM can survive a flash and override your new configuration, so it tells you to do this every time. The details below come from the Marlin docs and the BigTreeTech and Creality update instructions, linked at the end.
The consumer toolchanger 3D printer: the SnapSwap 4-toolhead system swaps heads in 5 seconds for true multi-color and multi-material printing, with smart calibration and auto filament loading.
- 4 toolheads · 5 s swap
- Up to 500 mm/s · 20,000 mm/s²
- 270 mm cube build volume
- Multi-color & multi-material

Marlin update in 8 steps
- Find the exact board model, which is printed on the board itself, and download the vendor’s stock firmware as a fallback.
- Connect over USB, send
M503and save the full reply to a text file. - Download Marlin and the matching example configuration for your printer.
- Check
MOTHERBOARD, the thermistor types, the driver types and the bed size inConfiguration.h. - Build in VS Code with the Auto Build Marlin extension.
- Install:
firmware.binon the SD card for 32-bit boards, or Upload over USB for 8-bit boards. - Send
M502andM500, then reboot. - Check temperatures, homing and motor directions, then re-enter or re-calibrate your saved values.
Which flashing method your board uses
An SD card update on a 32-bit board is still done by a bootloader. The bootloader checks the card at power-on and writes the new file to flash. Marlin’s M997 page says the same: on LPC176x, STM32 and STM32F1 boards, the command restarts the board so the bootloader can install a binary already on the card. On 8-bit boards, the bootloader is what makes USB uploads possible.
| Board type | File | How to install | Watch out for |
|---|---|---|---|
| 32-bit STM32 or LPC176x (SKR Mini E3, Creality 4.2.x and similar) | firmware.bin or the vendor’s .bin | Copy to the root of the SD card and power on with the card inserted | BigTreeTech: the file must be named exactly firmware.bin. Creality: format the card with a 4096 allocation unit size. |
| 8-bit AVR with a bootloader (RAMPS and other Mega-based boards) | .hex | Upload over USB from PlatformIO or Arduino IDE | Close Cura, Repetier Host, Pronterface or OctoPrint first, or the upload times out |
| 8-bit AVR without a bootloader | .hex | An ISP programmer or a spare Arduino | Marlin recommends burning a bootloader first, then using normal USB uploads |
| Vendor or pre-built binary, no compiling | .bin or .hex | SD card for BIN files; Cura, Repetier Host or XLoader (Windows) for HEX files | Some TFT touch screens need their own firmware update to work with mainline Marlin |
For a common printer you may not need to compile at all: Marlin publishes pre-built binaries (2.1.3 and later) for its example configurations in the Marlin Builds repository. Compile your own when you change hardware, such as a probe, drivers or the board.
Back up your settings and stock firmware first
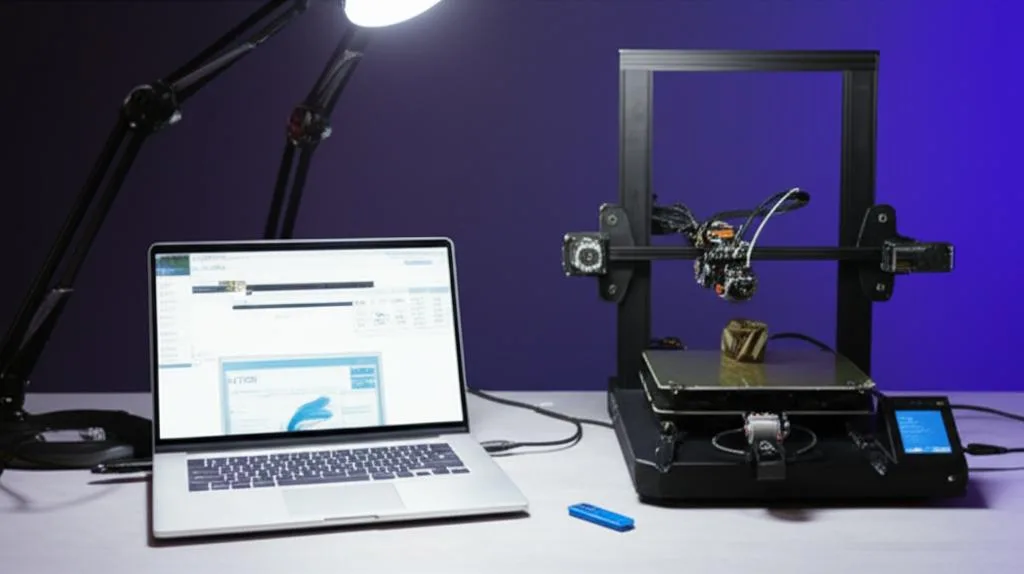
- Save the
M503report. Connect with a serial terminal (Pronterface, OctoPrint’s terminal or similar) and copy the whole reply into a file. Marlin notes thatM503shows the settings currently in memory, which can differ from what is stored in EEPROM. If you changed anything without saving, sendM501first to load the stored values. - Keep the old configuration. If you built the current firmware yourself, keep its
Configuration.handConfiguration_adv.h. On firmware built withCONFIGURATION_EMBEDDING(Marlin 2.0.9.3 and later),M503 Csaves the embedded configuration as a ZIP file on the SD card. - Download the stock firmware from the printer or board vendor. If your build misbehaves, flashing it gets you back to a working printer.
- Write down the board model as printed on the board, not just the printer name. The same printer model has shipped with different boards.
Configuration basics: the settings that matter
Marlin is configured in two files, Configuration.h and Configuration_adv.h. Start from the example configuration that matches your printer (in the MarlinFirmware Configurations repository) rather than from the generic defaults. Settings are C #define lines: remove the leading // to enable an option and add it back to disable one. Marlin 2.1.3 and later also accept a short Config.h containing only your changes. These are the settings worth checking before every build:
| Setting | What it does | What Marlin’s docs say |
|---|---|---|
MOTHERBOARD | Maps pins to your board | The most important setting; a wrong value gives unpredictable results. Use the IDs in boards.h, e.g. BOARD_CREALITY_V422 or BOARD_BTT_SKR_MINI_E3_V3_0. |
SERIAL_PORT, BAUDRATE | Host connection | Port -1 is the USB-emulated port where available. 115200 baud is a good balance for most setups; allowed values go up to 250000. |
TEMP_SENSOR_0, TEMP_SENSOR_BED | Thermistor type | Match your sensor by brand and model; if none fits, use the generic type 1. A wrong type gives wrong temperatures. |
THERMAL_PROTECTION_HOTENDS, _BED | Shuts heaters off if a reading goes wrong | One of the most vital safety features. Leave it enabled. |
X_DRIVER_TYPE etc. | Stepper driver model | Must match the fitted drivers, e.g. A4988 or a TMC type. |
INVERT_X_DIR etc. | Motor direction | Flip it if an axis moves the wrong way. |
X_BED_SIZE, Y_BED_SIZE | Printable area | Set to your bed; travel limits are based on these. |
EEPROM_SETTINGS | Stores tuned values across reboots | Disabled by default but highly recommended. |
STRING_CONFIG_H_AUTHOR | Label in the startup message | Use it to identify your own build, so you can tell whether a flash actually took. |
Moving an old configuration to a new Marlin version. Marlin suggests dropping your old files into the new source, updating CONFIGURATION_H_VERSION and CONFIGURATION_ADV_H_VERSION, and building; the errors name each outdated option. Adding a probe? Our BLTouch and CR Touch setup guide covers the probe-specific settings and Z-offset.
Building the firmware in VS Code
Marlin currently recommends PlatformIO with the Auto Build Marlin extension. Arduino IDE can only build for AVR, Due and Teensy++ 2.0 boards, so 32-bit STM32 and LPC boards need PlatformIO.
- Install Visual Studio Code, open Extensions, search for “Marlin” and install Auto Build Marlin. PlatformIO is installed with it.
- Open the downloaded Marlin project folder, not the
Marlinfolder inside it. - Open the Auto Build Marlin panel. It reads your
MOTHERBOARDsetting and lists the matching build environments; if there are several, pick one. - Click Build. Marlin’s sanity checks flag outdated or conflicting options at this point.
- For USB-flashed boards, click Upload. For SD-flashed boards, take the
.binfile from the environment’s folder under.pio/buildin the project.
Flashing a 32-bit board from the SD card
- Prepare the card. Creality’s instructions say to format the TF card with a 4096 allocation unit size. Use a card with nothing else on it.
- Copy the file to the root of the card, not into a folder. On BigTreeTech SKR Mini E3 V3.0 boards the name must be exactly
firmware.bin, and BTT’s own pre-built files have to be renamed to that. Creality’s stock files keep their long names. - Power off, insert the card into the board’s slot, then power on.
- Wait. BTT’s manual says the update takes about 10 seconds, with the status LED blinking red. Do not switch off during the update.
- Remove the card and delete the
.binfile, as Creality’s instructions say. - Confirm the new version. Send
M115or look at the startup message for yourSTRING_CONFIG_H_AUTHORlabel.
If the printer keeps booting the old version, many Creality 4.2.x owners report that the bootloader ignores a file with the same name as the one it last flashed. Renaming the file (for example firmware2.bin) is a common fix. This comes from user reports, not from Creality’s documentation, and it does not apply to BTT boards, which need the exact name.
Flashing over USB and boards without a bootloader
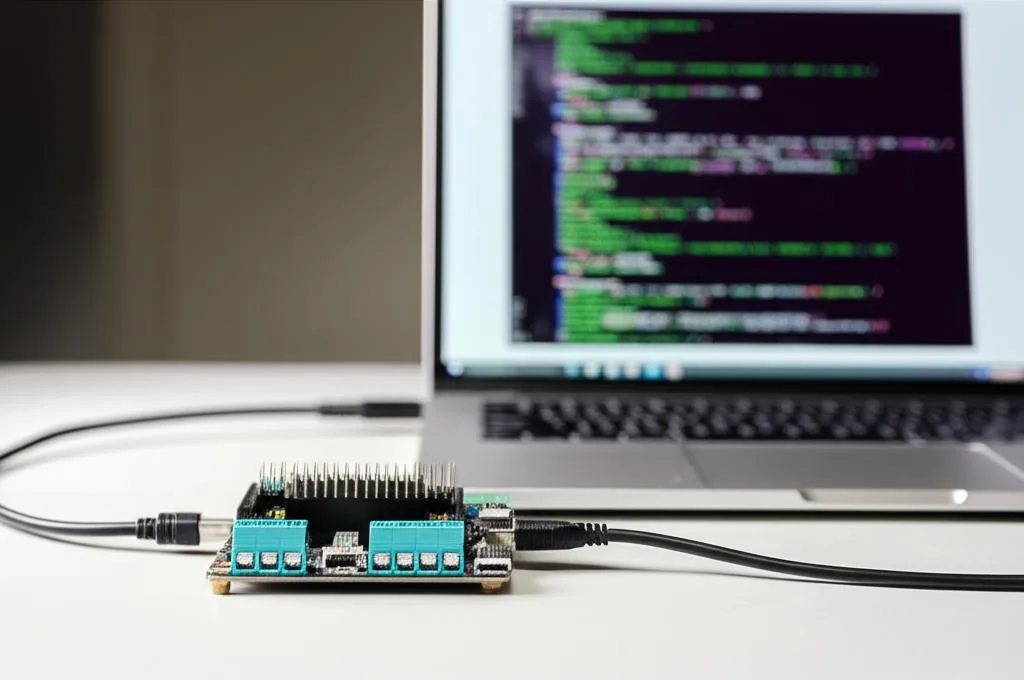
For AVR boards, connect USB, close every program that might hold the serial port, and use Upload. If you only get timeouts even with the port free, the board may have no bootloader. You then need an ISP programmer or a spare Arduino: Arduino IDE’s Burn Bootloader function writes one, and after that normal USB uploads work. If the build is too large for the chip, disable features; Marlin’s SLIM_LCD_MENUS option exists to save space.
After flashing: reset EEPROM and restore settings
- Reset: send
M502(load the defaults from your configuration), thenM500(write them to EEPROM), then reboot. BTT’s firmware notes give the same instruction via the LCD: Configuration, Restore defaults, then Store settings. - Check temperatures at room temperature. Both readings should look like the room, not a MINTEMP or MAXTEMP error.
- Home each axis with a hand near the power switch, and jog the extruder with the hotend hot.
- Restore tuned values from your
M503file only where the hardware is unchanged: steps/mm (M92), PID (M301,M304), probe offset (M851). Save withM500. After a hardware change, re-tune instead: runM303PID autotune for the hotend and bed, and re-check extruder calibration.
Common Marlin flashing failures and fixes
| Symptom | Likely cause | Fix |
|---|---|---|
| Printer boots the old firmware after an SD update | File not found: wrong name, not in the root, card format | Exact firmware.bin on BTT boards, file in the root, card formatted per vendor; on Creality try a new file name |
EEPROM datasize error or CRC mismatch | The stored EEPROM layout doesn’t match the new version | M502, M500, reboot. EEPROM_AUTO_INIT resets it automatically when the layout changes. |
| New configuration values seem ignored | Values saved in EEPROM override the configuration files | M502 then M500 |
| “Heating failed” or “Thermal runaway” soon after upgrading | Untuned PID, wrong sensor type, or a fan blowing on the heater block | Check TEMP_SENSOR_*, run M303. Marlin suggests relaxing WATCH_TEMP_PERIOD to 40–60 s during setup, never disabling protection. |
| MINTEMP or MAXTEMP error | Thermistor shorted, broken, or wrong type selected | Check wiring and the TEMP_SENSOR value |
| Graphical LCD blank or glitchy | LCD timing, or a TFT that needs its own firmware | Marlin’s troubleshooting page lists ST7920_DELAY values to try; check the TFT vendor’s README |
| USB upload times out | Another program holds the port, or no bootloader | Close host software; otherwise burn a bootloader |
| Axis moves the wrong way or grinds at the end | Direction or endstop settings | Flip INVERT_*_DIR; check endstop configuration |
| Strange PlatformIO build errors | Corrupted PlatformIO install | Delete the .pio folder in the project and .platformio in your user folder, then reinstall |
For more error messages from the update itself, see common firmware update errors and how to fix them.
Common mistakes and when to consider Klipper
- Setting the board by printer name. An Ender-3 can have one of several boards. Read the model off the board.
- Skipping
M502/M500. Old EEPROM values then override the new build, and a correct configuration looks broken. - Turning off thermal protection to stop an error. The error is doing its job. Fix the sensor, fan or PID instead.
If you are updating to get input shaping, pressure advance tuning or a web interface, compare this with moving to Klipper. Klipper runs on a separate computer such as a Raspberry Pi and is configured in a text file, so you don’t recompile for every change. Our guide to migrating from Marlin to Klipper walks through that switch.
Frequently asked questions
Will updating Marlin erase my printer settings?
Not necessarily, and that is the problem. Marlin says EEPROM contents are only kept reliably when you flash a near-identical version with the same EEPROM layout; otherwise you may see EEPROM errors or stale values. Save the M503 output before flashing, then run M502 and M500 afterwards and restore the values you still need.
Can I install Marlin without compiling it?
Yes. Marlin publishes pre-built binaries for its example configurations from version 2.1.3, and many vendors provide stock firmware files. A BIN file goes on the SD card; a HEX file can be uploaded with Cura, Repetier Host or XLoader. You only need to compile when your hardware differs from an existing configuration.
Why does my printer ignore firmware.bin on the SD card?
Check that the file is in the root of the card, that the card is formatted the way the vendor specifies, and that the name matches what the bootloader expects. BigTreeTech SKR Mini E3 V3.0 boards require exactly firmware.bin. On Creality 4.2.x boards, users report that renaming the file to something new helps.
Do I need to re-run PID tuning after flashing Marlin?
If the hotend, heater, thermistor and fan are unchanged, restoring your saved M301 and M304 values is usually enough. After any heater or sensor change, or if you get “Heating failed” errors, run M303 autotune for the hotend and the bed and save with M500.
Sources
- Marlin: Installing Marlin (plus the linked PlatformIO, Auto Build Marlin and Arduino pages)
- Marlin: Configuring Marlin
- Marlin: Troubleshooting tips (EEPROM errors, thermal protection, PlatformIO)
- BigTreeTech: SKR Mini E3 repository and firmware notes
- Creality: Ender-3 V2 firmware download and update instructions