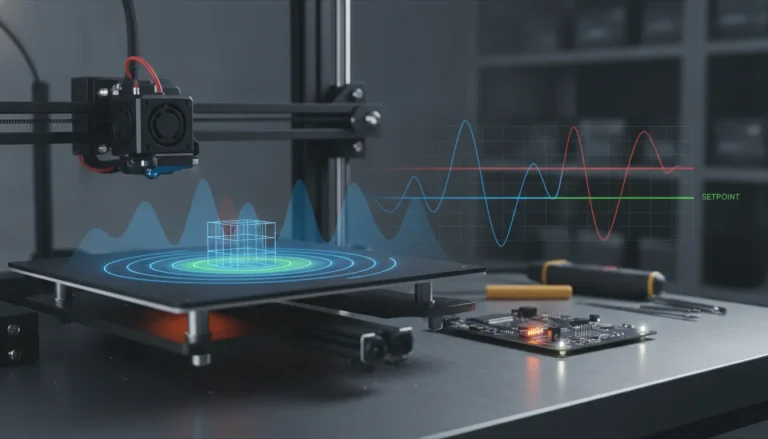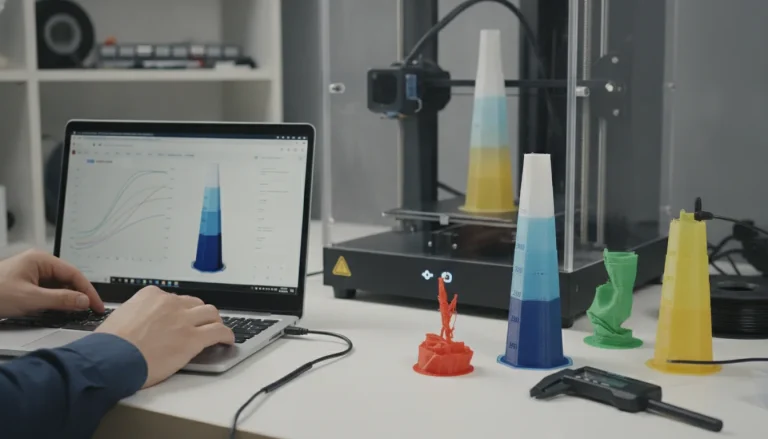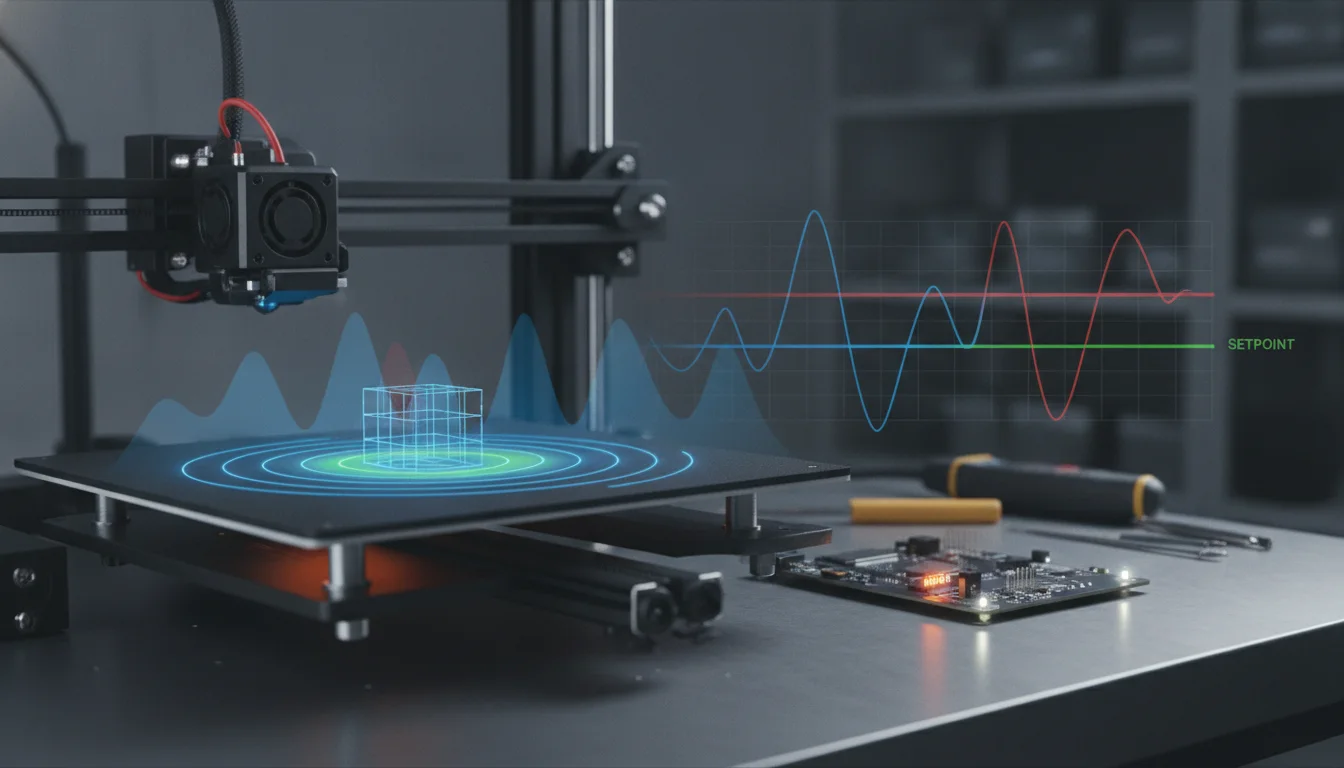
In the intricate world of 3D printing, achieving flawless results often boils down to a few critical factors, with temperature stability reigning supreme. Whether you’re battling inconsistent extrusion, layer adhesion woes, or unsightly print artifacts, the root cause often traces back to fluctuating temperatures in your hotend or heated bed. This is where PID tuning comes into play, a sophisticated control loop mechanism designed to maintain thermal perfection in your 3D printer.
Understanding the essence of PID tuning
A retro-styled turntable and add-on speaker system with concrete and wood enclosure options. Currently running on Kickstarter.
PID stands for Proportional, Integral, and Derivative. These three mathematical terms represent the core components of a feedback loop system that continuously calculates and applies corrections to keep your printer’s temperatures precisely at their setpoints. Think of it as a highly responsive thermostat, but one that not only reacts to current temperature but also considers how fast it’s changing and how long it has been off target.
The three pillars of PID: Proportional, Integral, and Derivative
- Proportional (P): This component responds directly to the current error – the difference between the actual temperature and the desired setpoint. A larger error leads to a larger corrective action. While essential for quick response, relying solely on ‘P’ can lead to oscillations, where the temperature overshoots the target, drops below, and constantly bounces around.
- Integral (I): The integral component addresses the accumulated error over time. It helps eliminate any steady-state offset, ensuring that the temperature eventually settles precisely at the setpoint without a persistent small deviation. Without ‘I’, the system might never quite reach the target temperature, always staying a degree or two off. However, an overly aggressive ‘I’ can introduce sluggishness or even contribute to overshoot.
- Derivative (D): The derivative component is all about anticipation. It considers the rate of change of the error, essentially predicting future errors. By dampening the system’s response when the temperature is rapidly approaching the setpoint, ‘D’ helps to prevent overshoot and reduces oscillations, leading to a much smoother and more stable temperature curve. Too much ‘D’ can make the system overly sensitive to noise, causing erratic heater behavior.
Why PID tuning is indispensable for superior print quality
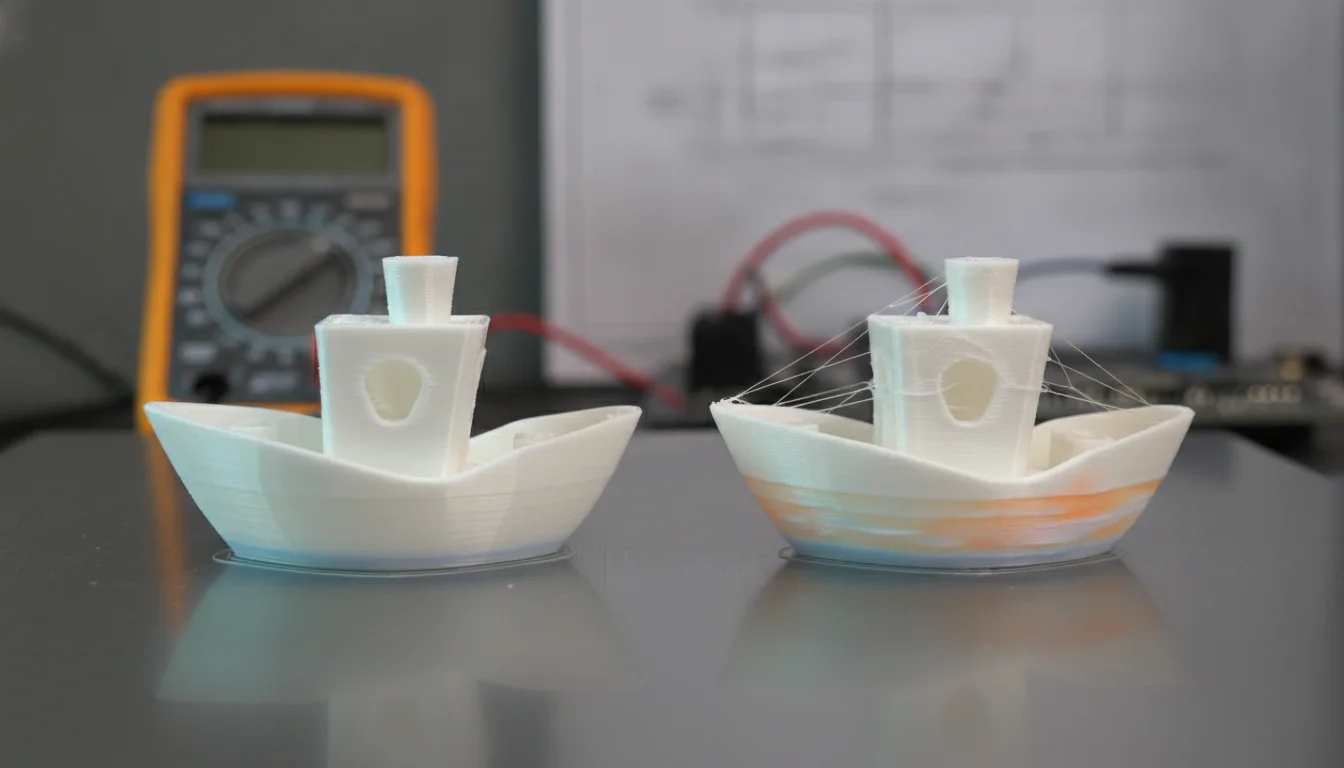
The synergy of P, I, and D creates a robust control system that is paramount for any 3D printer. Properly executed PID tuning directly translates to a host of tangible benefits that elevate your print quality from good to exceptional.
- Hotend stability: A precisely controlled hotend temperature is critical for consistent extrusion. Fluctuations here can lead to varying filament viscosity, resulting in uneven line widths, stringing, blobbing, and even clogs. Optimal PID values ensure your hotend maintains its temperature with minimal deviation, layer after layer.
- Heated bed calibration: Just as important as the hotend, a stable heated bed is fundamental for first-layer adhesion and preventing warping. Heated bed calibration through PID tuning ensures the bed holds its temperature evenly across its surface and throughout the print, which is especially vital for materials like ABS and PETG that are prone to lifting.
- Eliminating temperature swings: One of the most noticeable improvements after proper PID tuning is the drastic reduction in temperature swings. Instead of seeing the temperature bounce several degrees above and below your target, a well-tuned system will display a remarkably flat temperature graph, indicating precise control.
- Consistent extrusion: With stable hotend temperatures, the melt flow rate of your filament becomes highly predictable. This consistency is a cornerstone for achieving accurate dimensions, smooth surfaces, and strong layer adhesion, all contributing significantly to overall print quality.
- Enhanced reliability and safety: Beyond aesthetics, stable temperatures reduce the risk of thermal runaway errors, where the printer’s safety systems shut down due to uncontrolled heating. A well-tuned system is a more reliable and safer system.
When to perform PID tuning
PID tuning isn’t a one-and-done affair for the lifetime of your printer. Several scenarios necessitate re-tuning to ensure optimal performance:
- New printer setup: While some printers come with pre-tuned values, performing your own PID tune is always a good practice to account for manufacturing variations.
- Firmware updates: Major firmware revisions can sometimes reset or alter PID settings.
- Hardware changes: Upgrading components like the hotend (heater cartridge, thermistor, heat block), print head, or even the heated bed can significantly alter the thermal characteristics of your system, requiring a fresh tune.
- Environmental changes: Moving your printer to a significantly colder or warmer environment can also warrant a re-tune, as ambient temperature affects heating and cooling dynamics.
The conceptual process of PID tuning
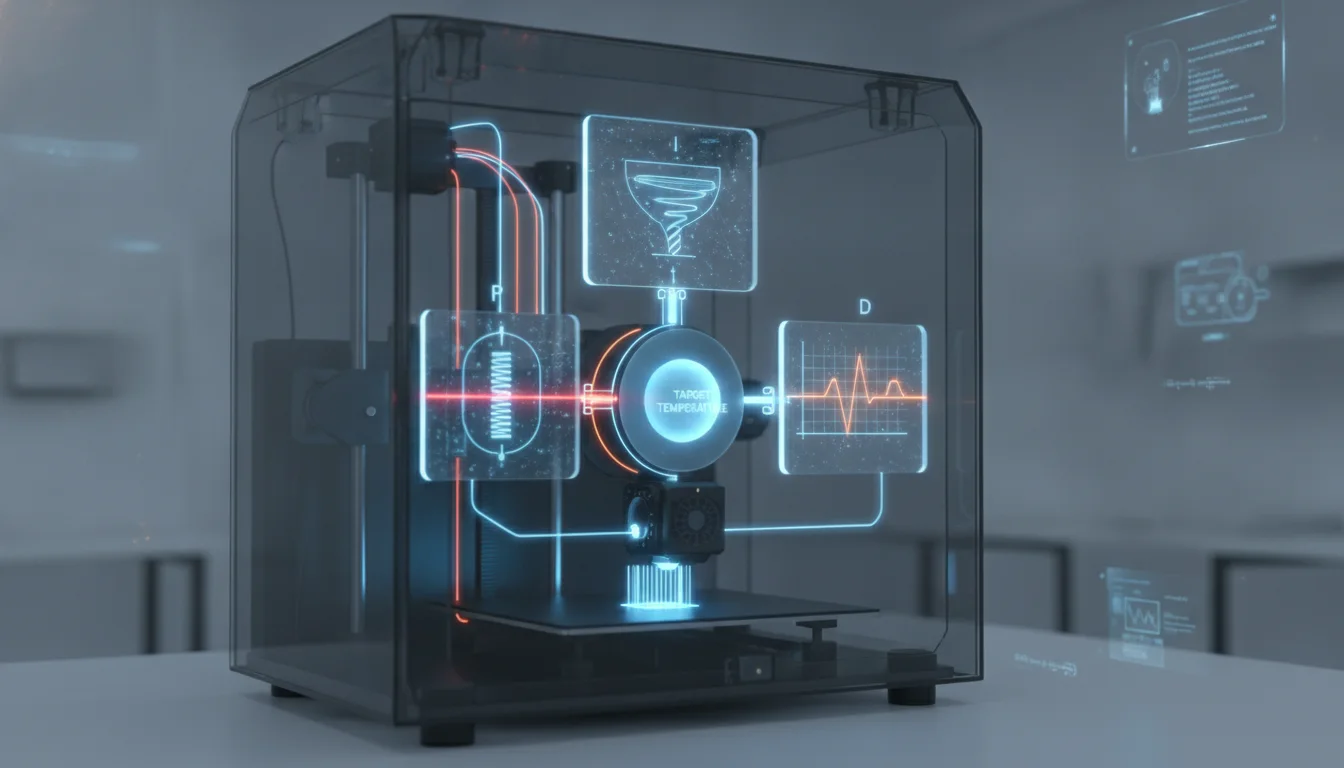
Most modern 3D printer firmware, such as Marlin, includes an auto-tune feature (e.g., the M303 command). This automated process works by heating and cooling the component (hotend or bed) multiple times, observing its thermal response, and then calculating the optimal P, I, and D values. Once these values are determined, they need to be saved to your printer’s EEPROM (electronic erasable programmable read-only memory) so they are used in subsequent prints. While the auto-tune is generally robust, understanding the underlying principles empowers you to troubleshoot or even fine-tune manually if specific printing challenges persist.
The path to thermal perfection
The world’s first desktop full-color 3D & UV printer. Back the Kickstarter campaign with a refundable $50 deposit for VIP pricing.
Investing a small amount of time in PID tuning is one of the most impactful steps you can take to improve your 3D printing experience. It’s a foundational calibration that underpins nearly every aspect of print quality, from the integrity of your first layer to the flawless finish of your final product. By ensuring your hotend and heated bed maintain unwavering temperature stability, you unlock the full potential of your 3D printer, paving the way for consistent, high-quality prints every time.
Frequently asked questions
Can I damage my printer by running a PID auto-tune?
Yes, if you do not have a fan or cooling method running on the part being tuned. During the auto-tune process (such as the M303 command in Marlin), the heater cycles on and off aggressively, which can overheat components like the hotend heatsink or the heater cartridge itself if there is no airflow. Always ensure your hotend fan is spinning and your printer is in a safe, fire-resistant location before starting a PID tune.
Do I need to re-tune PID after changing filament types?
No, you generally do not need to re-tune PID for different filaments. PID tuning controls the heater’s response to the thermistor, and the thermal mass of the hotend or bed does not change when you swap filament. However, if you change the nozzle, heater cartridge, thermistor, or any heat block component, the thermal characteristics of the system do change, and a re-tune is recommended.
How do I save the PID values after running the auto-tune so they stick?
After the auto-tune completes and outputs the new P, I, and D values, you must save them to your printer’s EEPROM. In Marlin firmware, you do this by sending the M500 command via your printer’s serial console (e.g., Pronterface or OctoPrint terminal). If you only set them with M301 (for hotend) or M304 (for bed) without sending M500, the values will be lost when the printer is powered off.