Under-extrusion is one of the most frustrating yet common issues encountered in 3D printing. It manifests as a lack of material being extruded by the printer, leading to a myriad of print quality problems. From unsightly gaps in prints to layers that barely adhere, under-extrusion can turn a promising print into a flimsy, unusable mess. Understanding its visual cues and underlying causes is the first step towards achieving consistently high-quality 3D prints.
What under-extrusion looks like
The consumer toolchanger 3D printer: the SnapSwap 4-toolhead system swaps heads in 5 seconds for true multi-color and multi-material printing, with smart calibration and auto filament loading.
- 4 toolheads · 5 s swap
- Up to 500 mm/s · 20,000 mm/s²
- 270 mm cube build volume
- Multi-color & multi-material

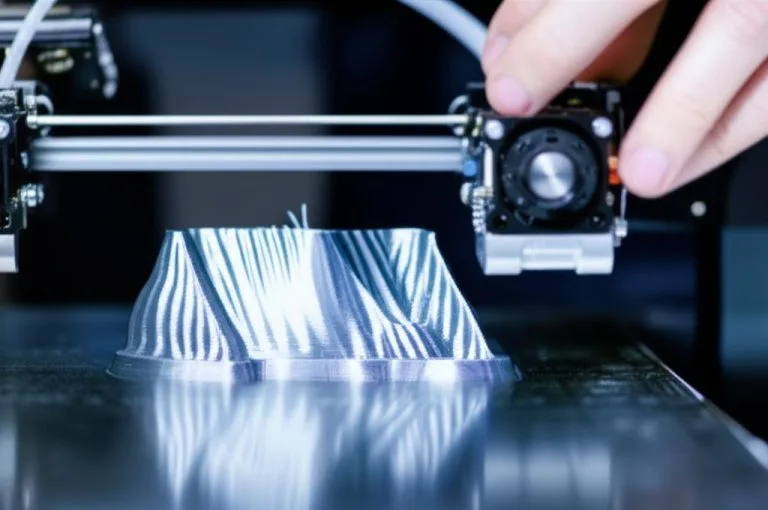
Diagnosing under-extrusion often begins with a keen eye. The visual symptoms are quite distinct and can appear in various forms:
- Gaps in prints: Noticeable gaps between perimeters, infill lines, or within solid surfaces, making prints look incomplete or porous.
- Weak layers: Poor layer adhesion, making prints brittle and easy to break. Layers may appear thin, wispy, or poorly fused.
- Missing sections or holes: Entire sections of a print might be missing, or holes may appear where solid material should be, particularly on top surfaces or thin walls.
- Rough or inconsistent surfaces: Outer walls may feel rough or show uneven texture instead of a smooth finish.
- Thin walls and infill: Walls might be thinner than expected, and infill sparse or incomplete, failing to provide adequate internal support.
Observing these symptoms is a strong indicator of under-extrusion, signalling a need for print troubleshooting.
Common causes of under-extrusion
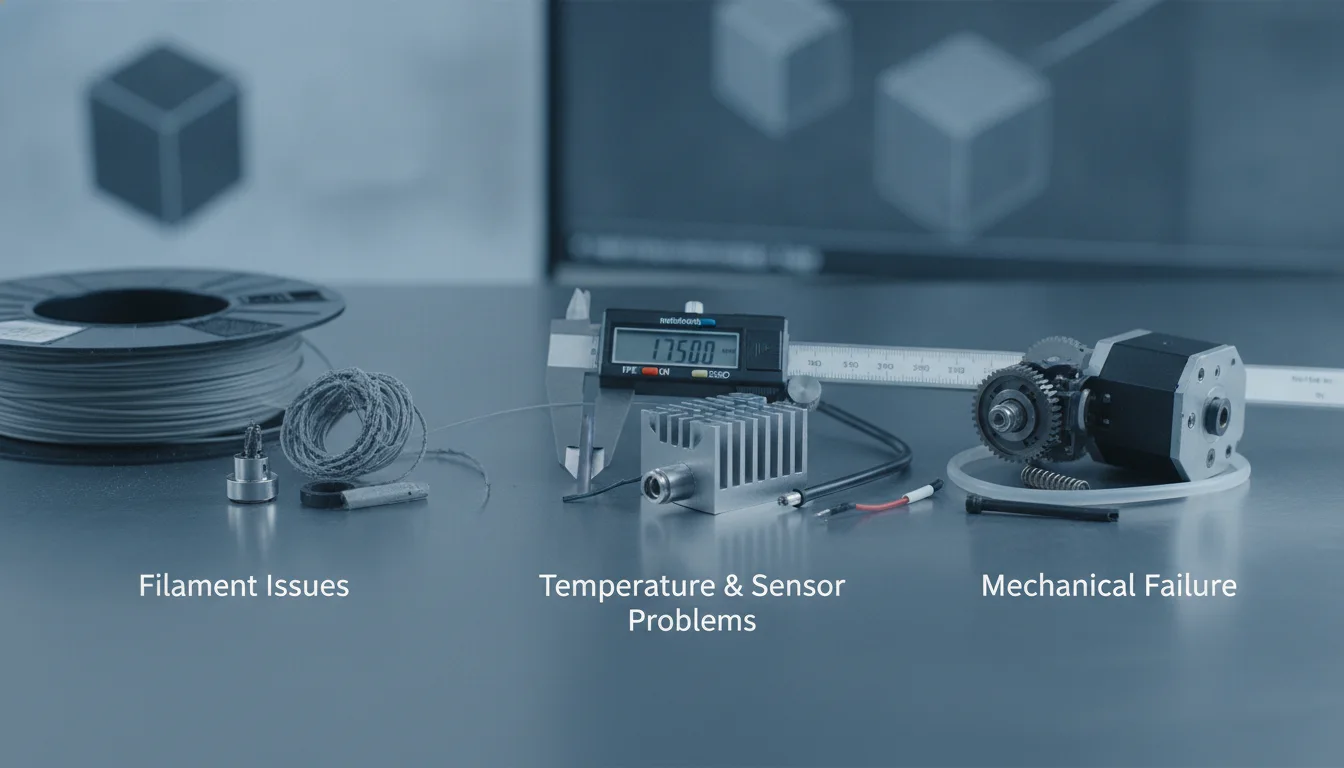
Under-extrusion isn’t a single problem but a symptom of various potential issues within your 3D printer’s setup, calibration, or filament. Pinpointing the exact cause requires a systematic approach.
- Filament starvation: Not enough filament reaching the hotend due to:
- Clogged nozzle: Partial or complete blockages.
- Tangled spool: Resistance from a poorly wound spool.
- Incorrect filament diameter: Using thinner filament than specified.
- Wet filament: Moisture causes steam bubbles and inconsistent extrusion.
Printer settings and calibration
- Incorrect E-steps calibration: Extruder pushes too little filament for commanded distance.
- Low flow rate/extrusion multiplier: Slicer setting below 100% reduces material output.
- Print speed too high: Printer attempts to print faster than hotend can melt filament.
- Nozzle temperature too low: Plastic becomes too viscous, restricting flow.
- Retraction settings: Excessive retraction distance or speed can cause gaps or heat creep.
Hardware and mechanical issues
- Worn or damaged nozzle: Impedes flow, especially with abrasive filaments.
- Faulty extruder motor or driver: Motor skips steps, leading to inconsistent feeding.
- Slipping extruder gears/hobbed bolt: Poor grip on filament due to wear or weak tension.
- Bowden tube issues: Kinks, loose fittings, or excessive friction hindering smooth delivery.
- Heat creep: Filament softens prematurely in the cold end, causing restriction or jam.
Correcting under-extrusion: A troubleshooting guide

Addressing under-extrusion requires a methodical approach, often starting with simpler solutions.
Initial checks and easy fixes
- Check filament path: Ensure the spool is untangled and filament unrolls freely. Look for Bowden tube obstructions.
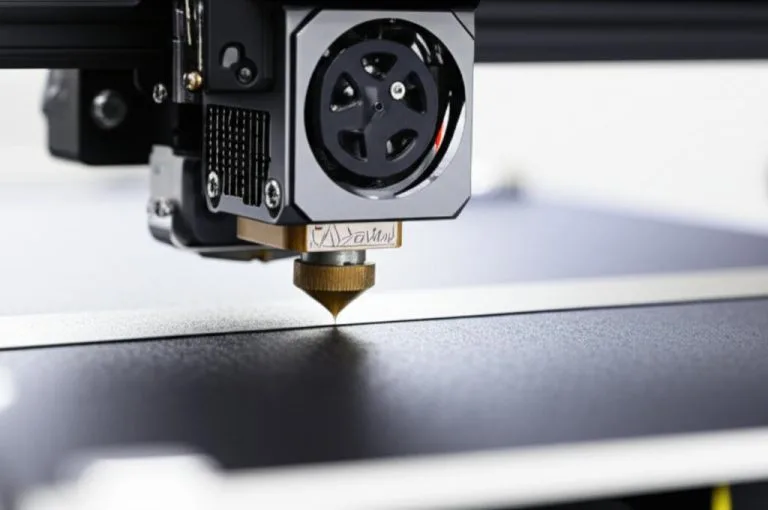
- Inspect the nozzle: Clear clogs with a cold pull or cleaning needle. Consider replacing worn nozzles.
- Dry your filament: Use a dedicated dryer or oven at low temperature if moisture is suspected.
- Increase nozzle temperature: Incrementally raise hotend temperature by 5-10°C to improve flow. Print a temperature tower for optimal settings.
Calibration and settings adjustments
- Calibrate E-steps: Mark filament, command extrusion, measure actual movement, and adjust E-steps in firmware or via G-code.
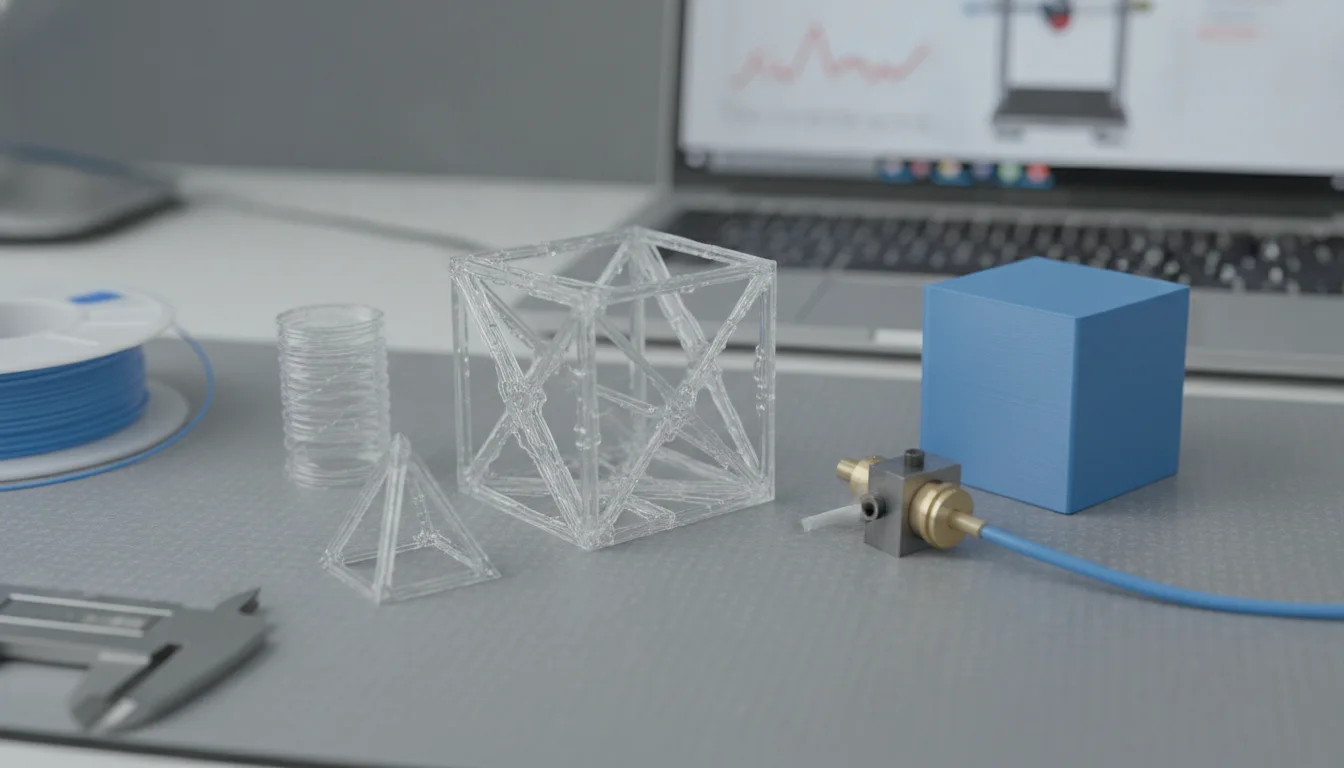
- Adjust flow rate/extrusion multiplier: Print a single-wall cube and adjust slicer flow until wall thickness matches desired line width.
- Optimize print speed: Reduce speed for intricate details or large nozzles, allowing adequate melt time.
- Tune retraction settings: Experiment with distance and speed to prevent gaps without causing clogs or stringing.
Hardware diagnostics and maintenance
- Check extruder tension: Ensure adequate tension without crushing filament.
- Inspect extruder gears: Clean plastic residue, check for wear, ensure proper alignment.
- Verify extruder motor: Listen for clicking/grinding. Inspect wiring or driver settings if issues persist.
- Examine Bowden tube and fittings: Ensure clean cuts, firm seating, and replace worn components.
- Address heat creep: Ensure hotend cooling fan is effective and heatsink is clean.
Preventive measures for consistent print quality
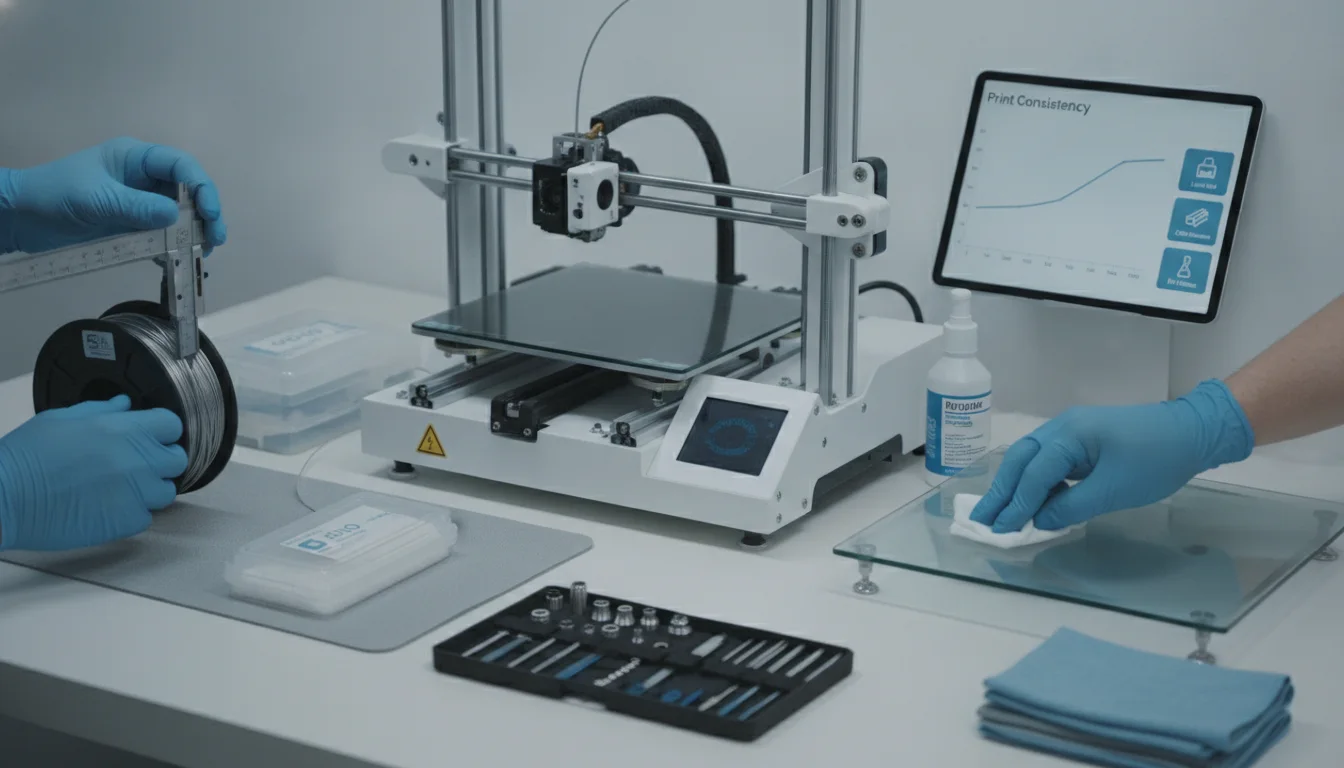
Adopting good practices can help prevent under-extrusion recurrence and ensure consistent print quality improvement.
- Regular maintenance: Periodically clean nozzle, inspect extruder, and check Bowden tube.
- Filament management: Store filament in airtight containers with desiccant. Dry new spools if needed.
- Calibration routines: Make E-steps and flow rate calibration routine, especially with new filament or hardware changes.
- Use quality filament: Invest in reputable brands for consistent diameter and quality.
- Monitor your prints: Pay attention to the first few layers for early detection.
Under-extrusion is a common hurdle in 3D printing, but it’s far from insurmountable. By systematically diagnosing its visual symptoms and methodically addressing the underlying causes, you can overcome this challenge. The key lies in understanding the interplay between filament, printer settings, and hardware. With patience and diligent troubleshooting, you’ll be well on your way to achieving flawless, strong, and visually appealing 3D prints, making print troubleshooting a less daunting task and ensuring robust print quality improvement.
Frequently asked questions
Does a partial clogged nozzle always look the same as a slipping extruder gear?
No. A clogged nozzle typically causes consistent under-extrusion across the entire print, often with a clicking sound from the extruder as it struggles to push filament. A slipping extruder gear usually produces intermittent gaps or skips, and you may see ground-up filament dust on the gear or hear a distinct grinding noise.
Should I calibrate E-steps or flow rate first when fixing under-extrusion?
Always calibrate E-steps first. E-steps tell the extruder how much to rotate for a given length of filament, and if that’s wrong, no flow rate adjustment will be accurate. After E-steps are correct, print a single-wall cube and tune the flow rate until the wall thickness matches your desired line width.
Can printing too fast cause under-extrusion even if the nozzle temperature is correct?
Yes. If your print speed exceeds the hotend’s ability to melt filament fast enough, the extruder will struggle to keep up, producing gaps and thin layers regardless of temperature. Reducing speed, especially for intricate details or large nozzles, gives the filament more time to melt and flow consistently.