A budget first 3D printer is, for almost everyone, an FDM (filament) machine. It melts a 1.75 mm plastic strand and lays it down layer by layer, and at the low end of the market the practical differences are in setup, reliability and materials rather than raw quality. Choose on four things first: automatic bed leveling that also sets the Z-offset or first-layer height for you, a build volume that fits the largest part you actually plan to print, reliable support for PLA and PETG (TPU too if you want flexible parts), and a slicer with a ready-made profile for the printer.
Things that can wait for a second printer: an enclosure (only needed for ABS, ASA and similar), the highest advertised speed, and multi-color systems. As of September 2026, makers’ own stores listed several open-frame beginner machines at roughly $200 to €260 for the base printer. This guide sets out the criteria and uses four current models only as examples, with facts taken from the makers’ spec pages. It’s not a ranking.
The consumer toolchanger 3D printer: the SnapSwap 4-toolhead system swaps heads in 5 seconds for true multi-color and multi-material printing, with smart calibration and auto filament loading.
- 4 toolheads · 5 s swap
- Up to 500 mm/s · 20,000 mm/s²
- 270 mm cube build volume
- Multi-color & multi-material

First 3D printer checklist
- Decide between FDM and resin. For most first printers that means FDM, unless you only print miniatures.
- Measure the largest thing you want to print and add a margin. That sets the minimum build volume.
- List the materials you need. If you only need PLA and PETG, any current open-frame printer will do; ABS and nylon push you toward an enclosure.
- Require automatic mesh leveling, and preferably automatic Z-offset.
- Check that the slicer you want to use has an official profile for the printer.
- Check spare parts: nozzles, build plates and hotend parts sold by the maker.
- Compare the maker-store price, dated and in your region, and add a spool or two of filament.
FDM or resin for a first printer
Resin printers produce finer detail on small parts, but they involve liquid resin, gloves, washing, UV curing and ventilation, and standard resin parts tend to be more brittle than filament prints. For brackets, organizers, enclosures, toys and replacement parts, a filament printer is the simpler start. If miniatures are the main reason you’re buying, read our FDM vs resin comparison before you decide. The rest of this guide covers FDM.
The criteria that matter on a budget printer
| Criterion | Why it matters for a beginner | What to look for |
|---|---|---|
| Bed leveling and Z-offset | Most early failures are first-layer failures | Automatic mesh leveling from a probe or sensor; automatic Z-offset is a bonus |
| Build volume | Sets the largest single part you can print | About 180 mm per side covers small parts; 220–256 mm gives room for bigger ones |
| Extruder type | Affects flexible filament and retraction | Direct drive is easier with TPU; Bowden works well for PLA and PETG |
| Hotend and bed temperatures | Limit which materials you can print | The maker’s list of supported materials, not just the maximum temperatures |
| Frame and enclosure | Warping and fumes with ABS/ASA | Open frame is fine for PLA/PETG; an enclosure only if you need hotter materials |
| Slicer and firmware | How easy it is to get good settings | An official profile in the slicer you’ll use; check how open the ecosystem is |
| Spare parts and support | Nozzles and build plates wear out | Parts sold by the maker, documentation and an active user community |
| Assembly | Time to first print and fewer setup errors | Pre-assembled or semi-assembled with a clear guide |
Bed leveling is the feature that saves the most frustration
A probe that maps the bed means you don’t have to tune four corner screws with a sheet of paper before you understand what a good first layer looks like. Automatic Z-offset goes one step further and sets the nozzle height too. Creality says its Ender-3 V3 SE uses a CR Touch sensor for leveling and a strain sensor for the Z-offset, and Prusa’s MINI+ uses a SuperPINDA probe to build a height map of the bed before every print. You’ll still need to understand the first layer when something goes wrong; our guides to bed leveling and first layer calibration cover that.
Read the material list, not just the maximum temperature
A 300 °C hotend doesn’t mean a printer suits every material. Bambu Lab’s spec page for the A1 mini, for example, lists PLA, PETG, TPU and PVA as ideal and ABS, ASA, PC, PA and fiber-reinforced filaments as not recommended, although its hotend reaches 300 °C. It’s an open-frame printer, and its bed tops out at 80 °C. For a first printer, PLA and PETG cover most useful parts. If you need ABS, plan for an enclosure; our ABS printing guide explains why.
Treat maximum speed as a ceiling
Spec pages list top toolhead speeds such as 250 or 500 mm/s. That’s the fastest the machine can move, not the speed at which a given part prints well. Real print time depends on the model, acceleration, cooling and how much plastic the hotend can melt. Two printers with the same headline figure can finish the same part at very different times. Compare speed last, after the criteria above.
Software and ecosystem
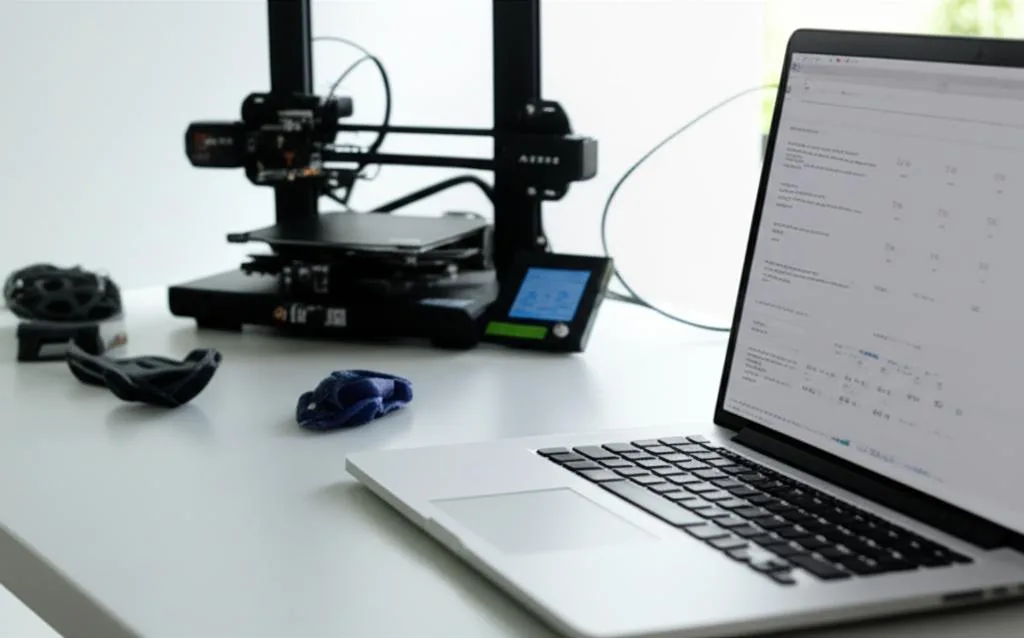
You’ll spend more time in the slicer than at the printer. Most makers ship their own slicer or a profile for the free ones (PrusaSlicer, UltiMaker Cura, OrcaSlicer). Check how open that setup is. Bambu Lab, for instance, says third-party slicers that export standard G-code work with its A1 printers, “but certain advanced features may not be supported”. Prusa describes the MINI+ as open source. Neither approach is wrong. Just decide whether you want a closed, integrated system or one you can modify.
Four beginner printers, by the makers’ own specs
These show how the criteria look on real machines. The figures come from each maker’s spec or support page as of September 2026. It’s a sample, not a shortlist, and we haven’t tested these printers.
| Spec (maker’s page) | Bambu Lab A1 mini | Bambu Lab A1 | Creality Ender-3 V3 SE | Original Prusa MINI+ |
|---|---|---|---|---|
| Build volume | 180 × 180 × 180 mm | 256 × 256 × 256 mm | 220 × 220 × 250 mm | 180 × 180 × 180 mm |
| Max hotend / bed | 300 °C / 80 °C | 300 °C / 100 °C | 260 °C / 100 °C | 280 °C / 100 °C |
| Leveling | Not listed on the tech-spec page | Not listed on the tech-spec page | CR Touch leveling, strain-sensor Z-offset | SuperPINDA mesh bed leveling |
| Extruder | All-metal hotend, hardened steel gears | All-metal hotend, hardened steel gears | “Sprite” direct extruder | Bowden with 3:1 gearing |
| Materials named by the maker | PLA, PETG, TPU, PVA ideal; ABS, ASA, PC, PA, CF/GF not recommended | Same list as the A1 mini | PLA, PETG, TPU (95A) | Wide range, including PLA, PETG, ASA, ABS, PC, flex and nylon |
| Assembly | Not stated on spec page | Not stated on spec page | Pre-assembled and pre-calibrated | Semi-assembled or kit |
Prices change often and differ by region, so check them on the day. When we looked in September 2026, Bambu Lab’s EU store listed the A1 mini at €189 and the A1 at €259 for the printer alone, and Creality’s site listed the Ender-3 V3 SE at $199. Combos with multi-color units cost more.
Hidden costs of a first 3D printer
- Filament: start with one or two spools of PLA; buy other materials when a project needs them.
- Wear parts: nozzles and build plates. Bambu Lab lists optional 0.2, 0.6 and 0.8 mm nozzles for the A1 series, and Prusa says the MINI+ supports a wide range of nozzle diameters. Check that the maker sells them.
- Basic tools: flush cutters, a scraper, calipers and a glue stick.
- Dry storage: a sealed box with desiccant for PETG and TPU.
- Power: small but not zero. Bambu Lab lists a maximum of 150 W for the A1 mini and 350 W at 110 V (1300 W at 220 V) for the A1.
Common first-printer buying mistakes
- Buying on top speed. It’s the least useful number on the box for a beginner.
- Buying the biggest bed “just in case”. A larger printer takes more space and, on a bed-slinger, moves a heavier bed. Size it for real projects.
- Ignoring the material list. If you need ABS or nylon, an open printer with an 80 °C bed is the wrong tool, whatever the hotend temperature.
- Trusting old reviews. Budget models get revised and firmware changes. Check the current spec page and the date of any review.
- Forgetting the software side. You’ll also need models to print or a way to make your own; our list of free 3D modeling software is a good place to start.
Frequently asked questions
How much should I spend on my first 3D printer?
Enough to get automatic bed leveling, a maker-supported slicer profile and available spare parts. In September 2026 that was possible at roughly $200 to €260 for the base printer at makers’ own stores, though prices vary by region and change often. Spending more buys larger volume, enclosures or multi-color systems, which most beginners don’t need yet.
Is a direct drive extruder necessary for a beginner?
Not for PLA and PETG, which print well on Bowden machines such as the Prusa MINI+. Direct drive makes flexible TPU easier, because the soft filament has a short path to the hotend. If phone cases or gaskets are on your list, prefer direct drive and read our guide to preventing TPU jams.
Do I need an enclosure for my first 3D printer?
Not for PLA or PETG. An enclosure matters for materials that warp or give off stronger fumes, such as ABS and ASA, which some makers list as not recommended on their open printers. If you expect to print those later, check whether an enclosure is offered for the model, or plan to build one.
What build volume do I need?
Measure the largest single part you expect to print. About 180 mm per side, as on the Bambu Lab A1 mini and Prusa MINI+, handles most small household and hobby parts. Printers around 220–256 mm per side leave room for helmets, larger enclosures or several parts at once. Bigger parts can often be split and glued.