
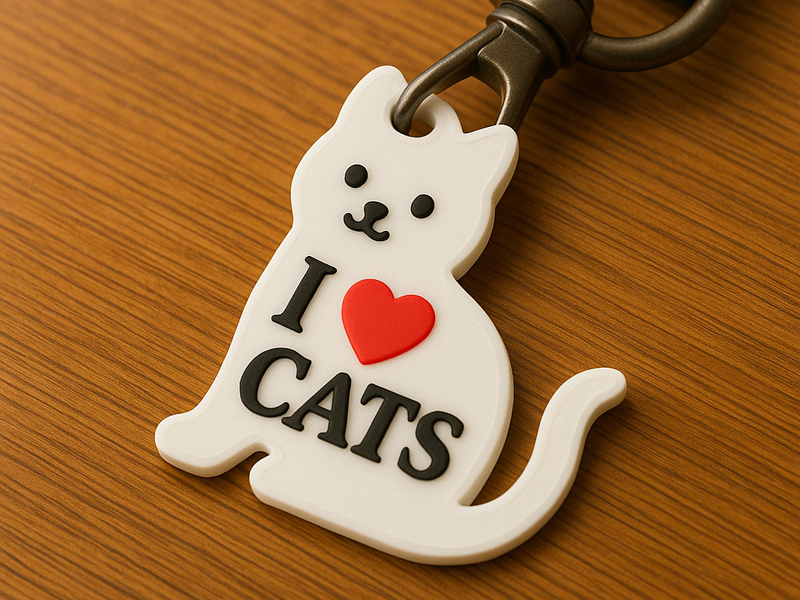
Animal and message keychains: 6 free 3MF models to print
Six free layered keychains: cats, dogs, a pixel cat, a wolf head and two message tags. Each ships as a ready-to-print 3MF with its profile on MakerWorld.
This collection groups six free 3D printable keychains: I Love Cats, I Love Dogs, I Love You, a retro pixel cat, a round wolf head with a wood-grain look, and a hand-lettered “Don’t worry, be happy” tag. Each is a flat, layered design published by 3DX as a free ready-to-print 3MF on MakerWorld, and each uses a 0.4 mm nozzle, 2 walls and 15 % infill according to its MakerWorld profile. Filament use ranges from about 8 g to 16 g per keychain.
Every model is a base with raised details in one or two other colours. With an AMS or another multi-material system the 3MF can go straight to the printer. Without one you can still print them by pausing at a layer and swapping filament; that is covered in the practical section below. None of the designs shows a brand or an event, so no fan-made notice is needed here.
The consumer toolchanger 3D printer: the SnapSwap 4-toolhead system swaps heads in 5 seconds for true multi-color and multi-material printing, with smart calibration and auto filament loading.
- 4 toolheads · 5 s swap
- Up to 500 mm/s · 20,000 mm/s²
- 270 mm cube build volume
- Multi-color & multi-material

- I Love Cats: sitting cat, black lettering, red heart, about 6 × 4 cm
- I Love Dogs: dog silhouette, same colours, about 5 × 4.7 cm
- I Love You: rounded tag, about 4 × 4 cm
- Pixel cat: 8-bit cat in two outline variants, 0.16 mm layers
- Wolf head: beige emblem on a dark brown wood-grain disc, 0.16 mm layers
- Don’t worry, be happy: blue lettering, colour change at layer 17
Settings for all six keychains
The figures below come from each model’s MakerWorld profile and from the model pages on this site. Sizes are given only where the page states them.
| Model | Size | Layer height | Walls / infill | Filament | Colours |
|---|---|---|---|---|---|
| I Love Cats | about 6 × 4 cm | 0.2 mm | 2 / 15 % | about 10 g | White base, black, red |
| I Love Dogs | about 5 × 4.7 cm | 0.2 mm | 2 / 15 % | about 8 g | White base, black, red |
| I Love You | about 4 × 4 cm | 0.2 mm | 2 / 15 % | about 9 g | White base, black, red |
| Pixel cat | not stated | 0.16 mm | 2 / 15 % | about 16 g | White cat, black outline or frame |
| Wolf head | not stated | 0.16 mm | 2 / 15 % | about 9 g | Dark brown, beige |
| Don’t worry, be happy | 55 × 50 × 4 mm | 0.2 mm | 2 / 15 % | about 9 g | Base plus dark blue lettering |
All six use a 0.4 mm nozzle. Together they weigh roughly 61 g of filament, so one spool covers many copies. The pages list no filament type and no print time, so read the time from your own slicer.
I Love Cats keychain
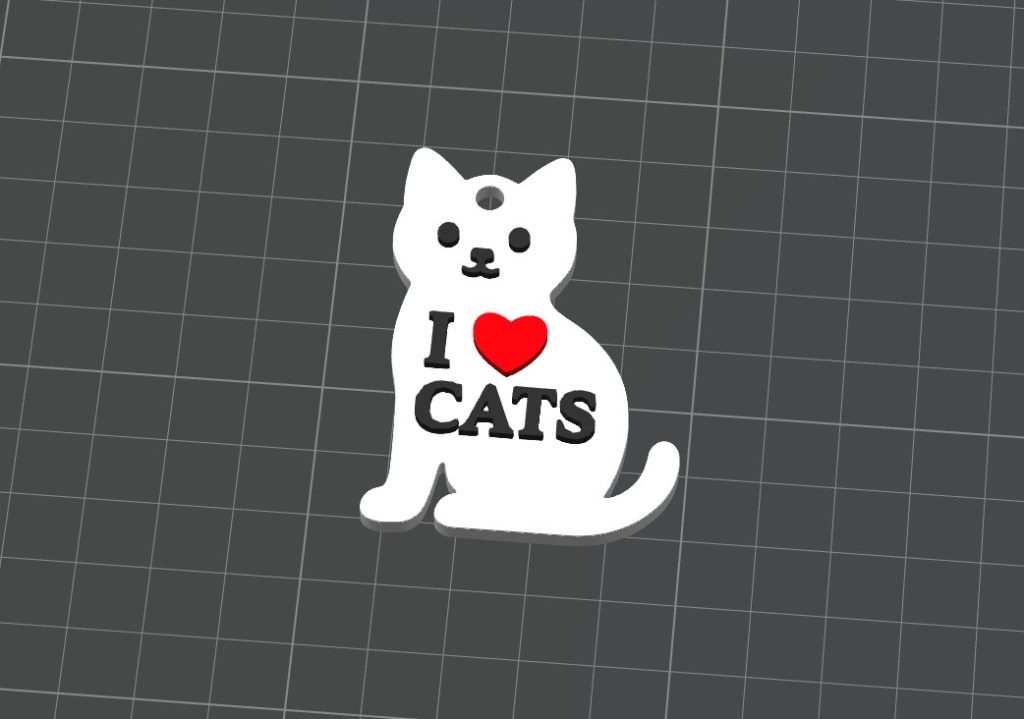
The cat sits upright with a curled tail, and the message is built into its body: a black “I”, a red heart standing in for “love”, then “CATS”. The face is two dots and a small nose, raised like the lettering. The hanging hole sits at the top of the head, so the keychain hangs upright.
Settings: 0.2 mm layers, 0.4 mm nozzle, 2 walls, 15 % infill, about 10 g. Three colours: white body, black details and lettering, red heart.
Download I Love Cats on MakerWorld
I Love Dogs keychain
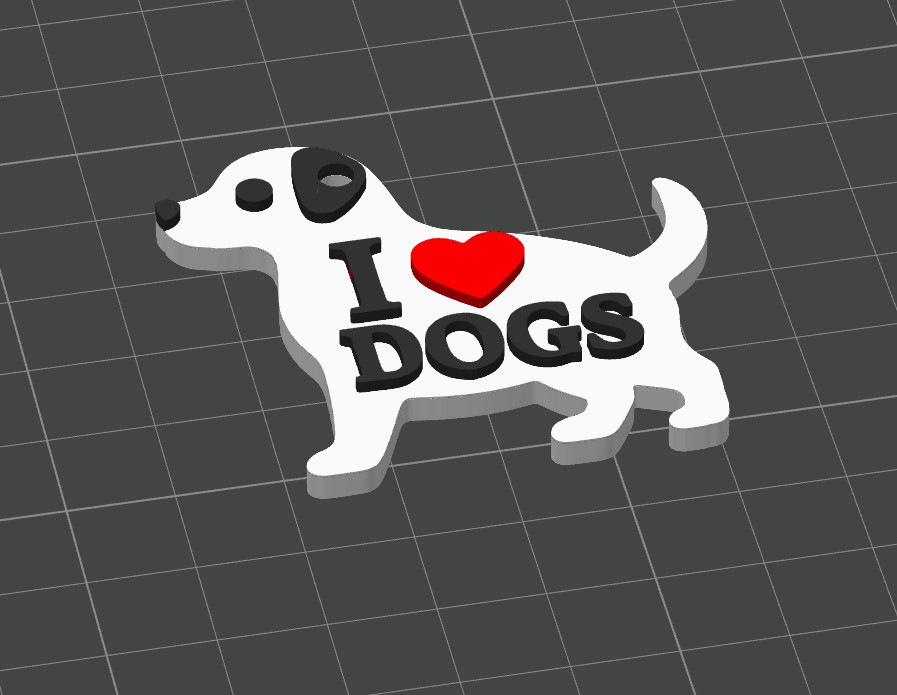
The companion to the cat: a standing dog in profile with a black ear and nose, and the same “I (heart) DOGS” layout across the body. The outline is rounded, so there are no sharp corners to catch in a pocket. The hole is a plain circle at the top of the head.
Settings: 0.2 mm layers, 0.4 mm nozzle, 2 walls, 15 % infill, about 8 g. The colours match the cat: white, black and red.
Download I Love Dogs on MakerWorld
I Love You keychain
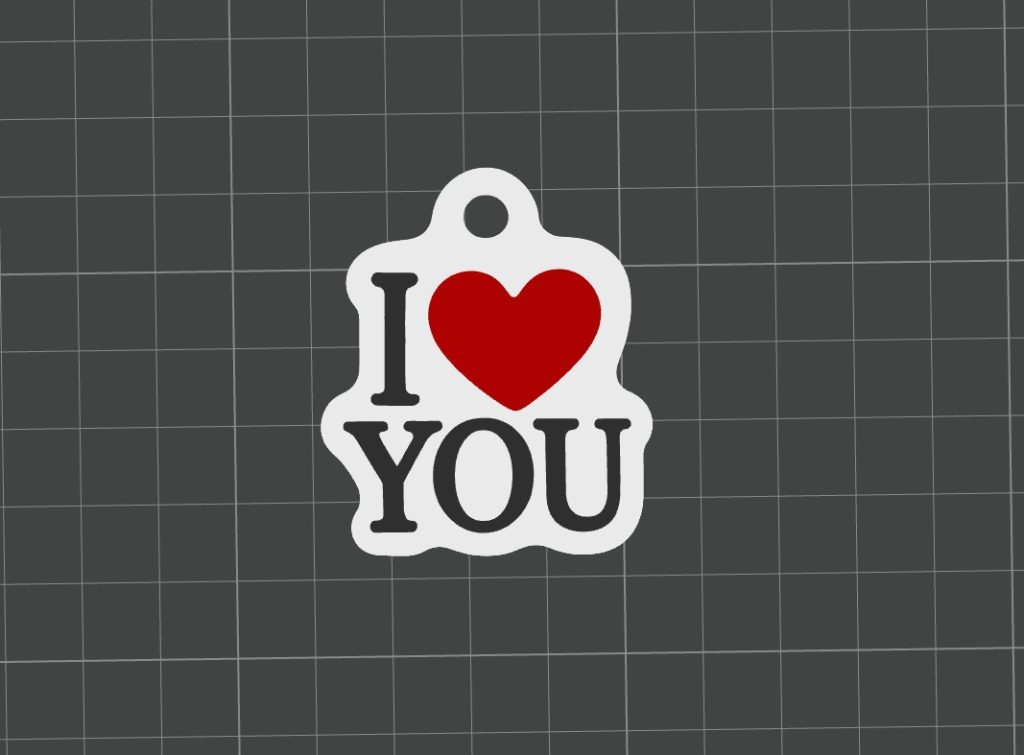
The smallest of the three message tags. A soft outline follows the lettering, a large red heart sits between the black “I” and “YOU”, and the hole is built into the top edge. At roughly 4 × 4 cm it has the smallest footprint of the white-base trio.
Settings: 0.2 mm layers, 0.4 mm nozzle, 2 walls, 15 % infill, about 9 g. Colours: white, black, red.
Download I Love You on MakerWorld
Pixel cat keychain
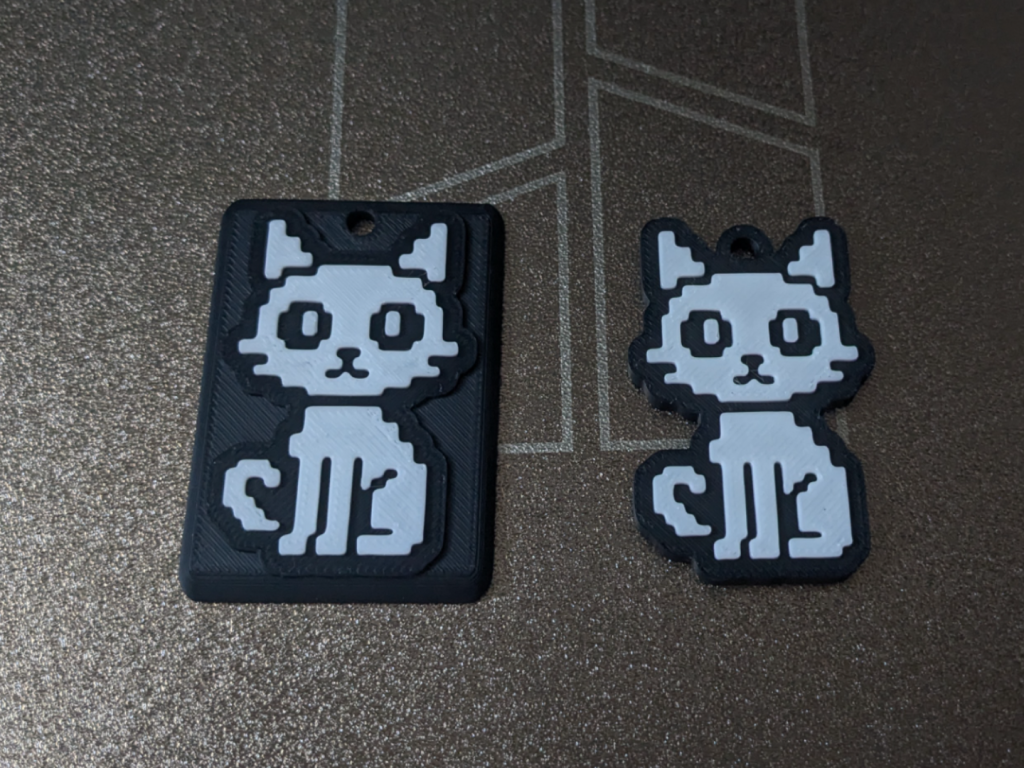
An 8-bit style sitting cat, white with a black outline. The file comes in two variants, shown side by side in the photo: a rectangular tag with a black background and frame, and a version trimmed to the cat’s own outline. Both have a hanging hole at the top.
Settings: 0.16 mm layers, 0.4 mm nozzle, 2 walls, 15 % infill, about 16 g. The page gives one weight and does not say which variant it refers to. The finer layer height means more layers per millimetre of height than the 0.2 mm models.
Download Pixel Cat on MakerWorld
Wolf head keychain
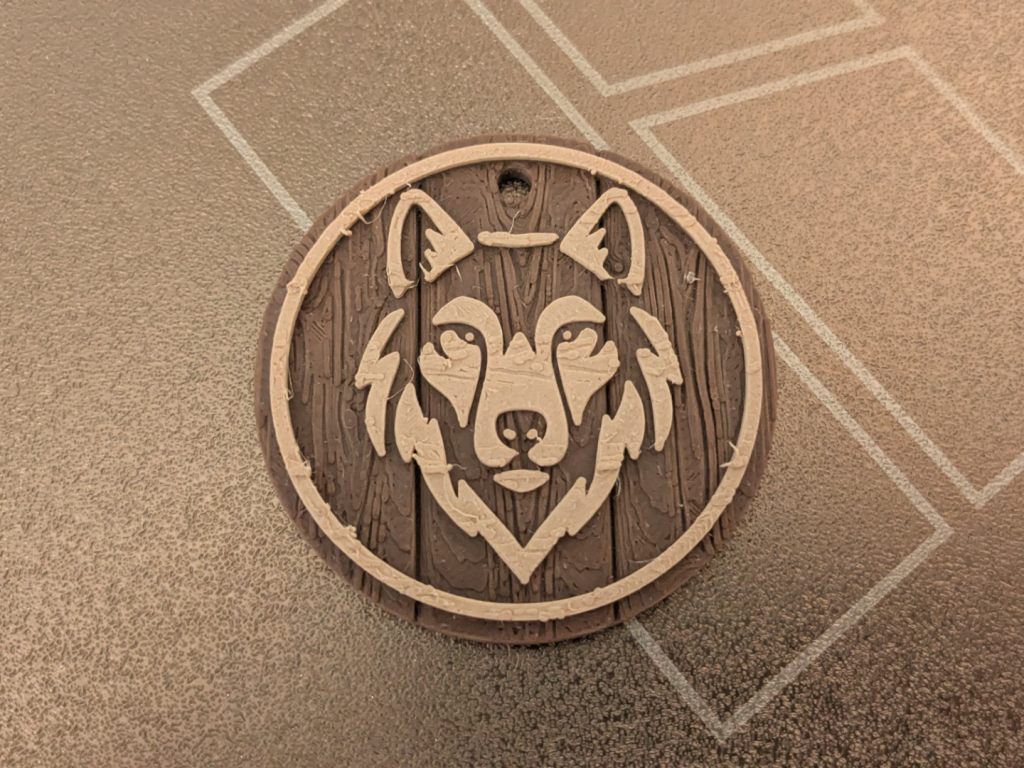
A front-facing wolf head in beige sits inside a ring border on a dark brown disc. The wood grain is part of the model’s surface, visible as raised ridges in the photo, so ordinary brown and beige filament is enough. The model page lists colours only and does not mention wood-fill filament; if you want a real wood-filled material, our wood filament settings guide covers it.
Settings: 0.16 mm layers, 0.4 mm nozzle, 2 walls, 15 % infill, about 9 g. Two colours. The grain and the thin ring are small features, which is a good reason to keep the finer layer height.
Download Wolf Head on MakerWorld
Don’t worry, be happy keychain
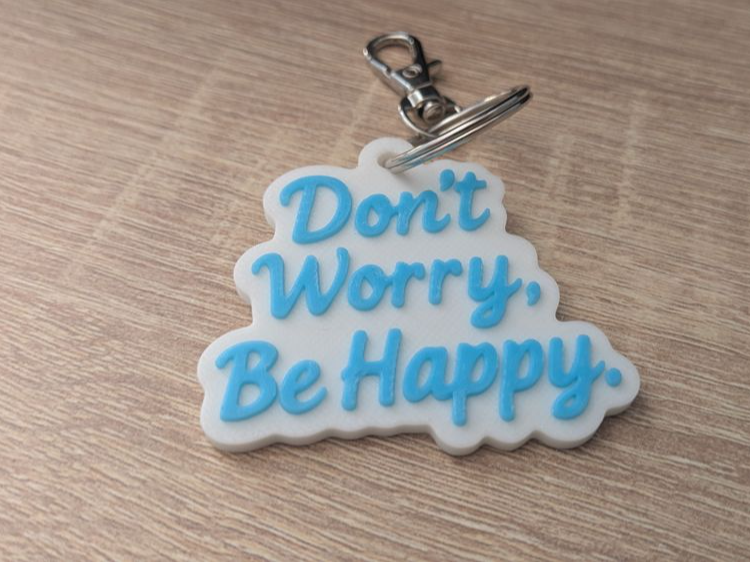
Script lettering on an outline that follows the shape of the text, so there is no rectangle behind it. The model page gives the size as 55 × 50 × 4 mm, with letters raised about 1 mm. It is the only model in this set where the page tells you how to print without an AMS: apply the colour change at layer 17. The page lists dark blue for the text; the print in the photo is a lighter blue, so choose the shade you like.
Settings: 0.2 mm layers, 0.4 mm nozzle, 2 walls, 15 % infill, about 9 g. Layer 17 belongs to the 0.2 mm layer height; if you change the layer height, work out the new layer instead of reusing the number.
Download Don’t Worry, Be Happy on MakerWorld
Printing the colours without an AMS
A colour change pauses the print at the start of a chosen layer, you swap the filament, and every layer from there on prints in the new colour. That suits a flat base with details raised on top, which is how these keychains are built. The limit is that the swap works by layer: details in two different colours that start at the same height cannot be separated this way. The pages for the cat, dog and I Love You tags do not say at which layers the black and red parts begin, so open the 3MF in your slicer and look at the layer preview before you start.
| Slicer | How to add the pause | What the docs say |
|---|---|---|
| PrusaSlicer | Slice, drag the layer slider to the layer, then right-click the orange plus icon and choose Add color change (a left-click adds one with a random preview colour) | Written into the G-code as M600; the printer pauses when it reads it. Use the same filament type for all colours; it does not work with sequential printing |
| Bambu Studio | For printers without an AMS: tick “Multi-Color Printing with External Spool” when preparing the print | The print pauses when a colour change is needed; swap the filament and press Continue. Changes within a layer are possible. Listed for P1P/P1S, A1, A1 mini, P2S and H2S with recent firmware and Studio 2.5.2.65 or newer |
| OrcaSlicer | Insert the pause G-code in the G-code viewer | The wiki describes the Pause G-code setting but gives no step-by-step colour change guide; confirm the pause in the preview |
| Cura | Add the Filament Change post-processing script and enter the layer number from the Preview | The change happens at the start of that layer; the script outputs M600, with Marlin and RepRap variants |
After the swap, push a short length of the new filament through until the colour runs clean, because leftover colour from the old filament shows up first. On an AMS or a toolchanger the printer does the swap itself, but the flushed material can weigh more than a 9 g keychain, so see the purge waste guide. For how the hardware options compare, read multi-colour technologies, and for AMS or MMU setup AMS and MMU calibration.
First layer and keyring hole
These are thin, flat pieces, and the first layer is most of the work. A flat 4 mm tag has little contact area, so a slightly high nozzle shows up as lifted edges or a rough base. If corners curl or the piece slides, start with first layer calibration and then bed adhesion fixes.
Print each keychain flat on its back, as in the preview, so the layers run around the hole rather than across it. As a rule of thumb that is the stronger direction for a hole carrying a split ring; print orientation explains why. The pages do not give a hole diameter, so measure your split ring against the hole in the slicer before printing. For a keychain that lives in a pocket or on a bag, PETG tolerates knocks better than PLA; the PLA vs PETG comparison covers the trade-off. That is a general suggestion, not a result from these models.
Frequently asked questions
Can I print these keychains on a printer without an AMS?
Yes, using a pause or filament change at the layer where the second colour starts. The Don’t Worry, Be Happy page states layer 17. For the others, check the layer preview in the 3MF, because black and red parts that start at the same height need either a multi-material printer or, on supported Bambu printers, the external spool option.
Do I need wood filament for the wolf keychain?
No. The model page lists a dark brown base and beige details, and the wood grain is modelled into the surface. Wood-filled filament is a different material with its own nozzle and temperature needs.
How much filament and time does one keychain take?
The model pages list between about 8 g (I Love Dogs) and 16 g (pixel cat). They give no print time, which depends on your printer, speed and the number of colour changes, so read it from your slicer after slicing.
What split ring fits the hole?
The pages do not state a hole diameter; the Don’t Worry, Be Happy page mentions a steel split ring. Measure the hole in your slicer and pick a ring that passes through it with a little clearance.