Purge waste is the filament a single-nozzle multi-material printer throws away at every filament change: the flush that pushes the old color out of the nozzle, plus the prime tower that steadies the flow before the nozzle returns to the part. The total depends on two things, how many filament changes the print needs and how much is flushed at each one. So the biggest savings come from fewer changes (orientation, layer height, several parts sharing one plate), then from sending the flush into infill, support or a spare object, and only then from trimming flush volumes.
Bambu Lab’s own worked examples show the scale: raising the layer height from 0.2 to 0.28 mm cut a four-color cube from 153 to 111 filament changes and from 83 to 61 g of waste. This guide covers the settings behind each saving in Bambu Studio, OrcaSlicer and PrusaSlicer, what each one costs in appearance or time, and where the prime tower still matters. Setting up and calibrating the MMU or AMS itself is covered in the MMU setup and calibration guide.
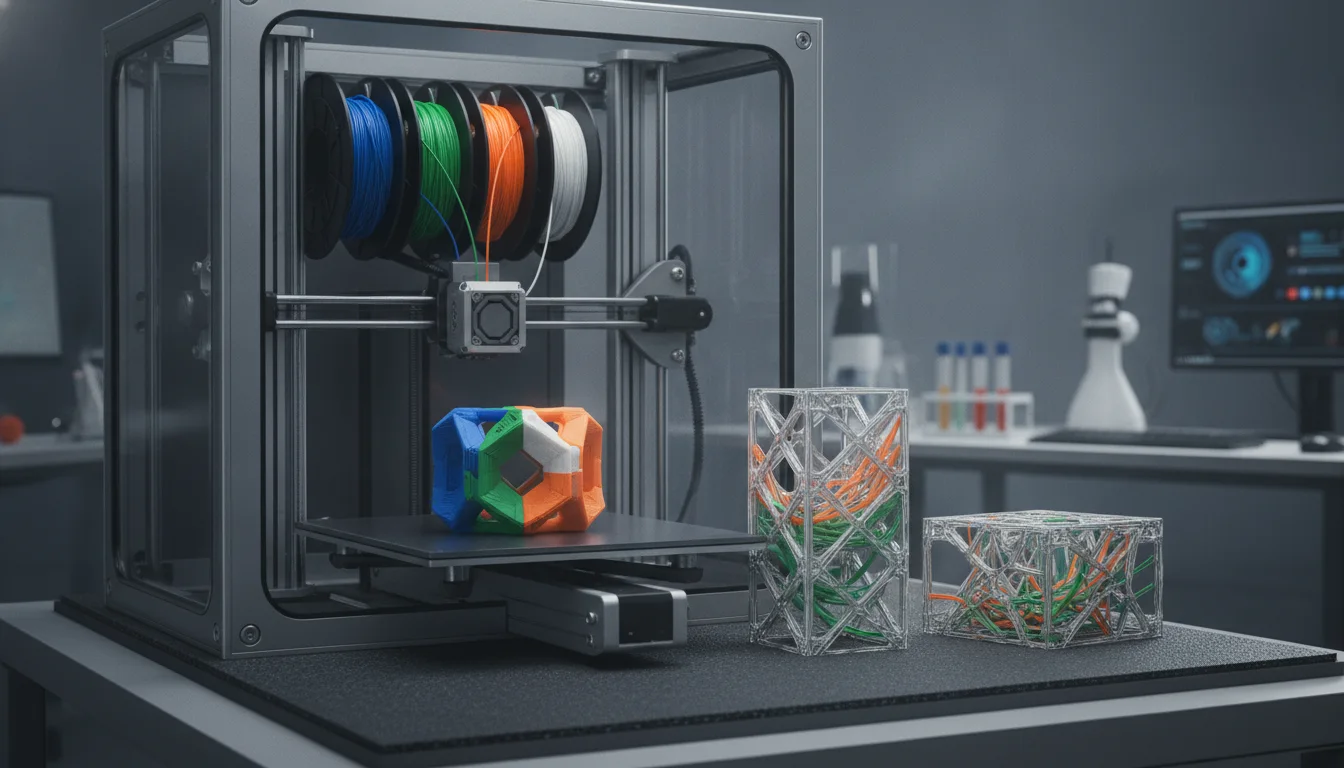
The consumer toolchanger 3D printer: the SnapSwap 4-toolhead system swaps heads in 5 seconds for true multi-color and multi-material printing, with smart calibration and auto filament loading.
- 4 toolheads · 5 s swap
- Up to 500 mm/s · 20,000 mm/s²
- 270 mm cube build volume
- Multi-color & multi-material

Five ways to cut purge waste, biggest first
- Reduce filament changes: orient the part so colors change between layers rather than within them, and use a taller layer height where the detail allows.
- Share the waste: print several copies, or parts with the same colors on the same layers, on one plate.
- Reuse the flush: flush into infill, into support, or into a spare object whose color does not matter.
- Trim flush volumes: test a multiplier of 0.8–0.9, then fine-tune individual color pairs.
- Shrink the prime tower: skip sparse layers and keep color changes low in the print.
Where the waste comes from: flush, wipe and prime
Bambu Lab splits each filament change into three stages. Flushing pushes the old filament left below the cutter out through the nozzle until only the new color comes out; the printer does this at the filament’s maximum volumetric speed, so a 0.2 mm nozzle takes noticeably longer per change than a 0.4 mm one. Wiping cleans the nozzle tip on the wiper. Priming prints a few lines on the prime tower to knock off stray bits and bring the flow back to steady.
These are separate settings. The flushing volume is what goes into the waste chute plus anything flushed into infill, support or objects. The prime volume is what is printed on the tower at each change. Bambu Lab notes that the tower usually uses less filament than the flushes, but it has to be as tall as the highest layer with a filament change, so it can cost clean filament too.
Fewer filament changes: orientation, layer height and plate layout
Waste scales with the number of changes. On a layer with three colors there are usually two changes, because the slicer starts the next layer with the last filament of the previous one. Anything that reduces the number of multi-color layers, or the colors per layer, cuts waste almost one to one. Bambu Lab’s examples, all sliced in Bambu Studio:
| Change | Before | After | Why it worked |
|---|---|---|---|
| Layer height 0.2 → 0.28 mm (four-color cube) | 153 changes, 83 g waste | 111 changes, 61 g | Fewer layers, so fewer changes |
| Part flipped so all color changes are at the bottom | Prime tower 14.76 g | 9.05 g | The tower stops after the last change |
| Tall, thin part laid on its side | — | Almost 80% fewer changes and less waste, 70% less time | Colors now change between layers |
| Nine identical cubes instead of one | Same waste for 1 cube | Same waste for 9 cubes | The copies share every change |
| Two cubes and a three-piece scraper on one plate instead of two | 171 g | 133 g | Same colors on the same layers |
These moves can backfire. Bambu Lab shows a part striped horizontally, with 3 changes and 10 g of waste standing up, whose waste goes up about 22 times when laid down, because every layer then carries four colors. Three traffic cones with differently placed stripes wasted 22 g printed separately and 72 g together. The rule is shared colors on each layer, not shared colors overall. Slice both versions and compare the filament estimate before you commit. If orientation also affects strength, check print orientation for strength; for the detail cost of taller layers, see choosing layer height.
Bambu Studio also lets you set the filament order per layer range in the plate settings. On Auto it starts each layer with the last filament of the previous one and picks the sequence with the smallest total flush, so change it only if you have a reason.
Flush volumes: set the matrix, then trim
Every slicer stores flush volumes as a from/to matrix, because the direction matters. PrusaSlicer builds each value from an unload amount for the old filament plus a load amount for the new one. In Prusa’s black-and-white example, black to white needs 80 + 70 = 150 mm³ and white to black only 20 + 30 = 50 mm³, because a dark color contaminates a light one far more. Prusa adds that soluble supports and filaments with glitter or glossy additives usually need more than standard values.
- Start from the calculated values. Bambu Studio calculates each pair from color and material; in PrusaSlicer you set a base purge volume in the printer settings and a per-filament multiplier, or edit the matrix per project.
- Lower the global multiplier. Bambu Lab says its defaults err on the side of quality and suggests 0.8 or 0.9 (1.00 is the default; 0.90 means 10% less for every pair) as a quick saving, followed by a test print.
- Print a test with your real color pairs. Too little flush shows as discolored layers right after the change.
- Fix individual pairs. Raise only the pairs that show contamination, typically dark to light, and lower the pairs that stay clean. In Bambu Studio the Re-calculate button resets every pair to the automatic values.
Purge into infill, support or a spare object
Instead of dumping the flush, the slicer can print it as part of the plate, so the contaminated filament becomes something you were going to print anyway.
| Option | Where to find it | Best for | Watch out for |
|---|---|---|---|
| Flush into objects’ infill | Bambu Studio / OrcaSlicer: print (process) settings; PrusaSlicer: right-click object, Wipe options, “Wipe into this object’s infill” | Parts with plenty of infill and opaque, fairly dark walls | Mixed colors can show through light or transparent walls, and through parts with few walls |
| Flush into objects’ support | Bambu Studio / OrcaSlicer (on by default in Bambu Studio) | Prints with large support areas | Often not enough support to matter; rarely, weaker support with dissimilar materials |
| Flush into this object | Per object: Bambu Studio Objects tab; PrusaSlicer “Wipe into this object” | Functional parts, parts you will paint, spare parts you need anyway | The object comes out in random transition colors |
The effect can be large. Bambu Lab’s single colored cube normally needs about 70 g of flush; with several “flush into this object” parts beside it, the waste dropped to under a gram. Keep those parts close to the height of the multi-color part, because a taller flush object prints its top with fresh filament. For infill flushing, a denser infill gives the flush more room; see the infill density guide. Adding walls is the usual defense against show-through: Bambu Lab’s example with a single wall showed the infill color faintly even through dark green.
One condition catches people out. OrcaSlicer’s documentation states that flushing into infill and into support “will not take effect, unless the prime tower is enabled”, and Bambu Studio says the same for support. Do not switch the tower off expecting these options to replace it.
Prime tower settings that save filament
- Prime volume is set separately from the flush volume. It controls how deep the tower gets per change; if it is small, Bambu Studio still keeps a minimum tower depth so the tower does not fall over, and prints the lines further apart.
- No sparse layers: PrusaSlicer’s experimental option skips the tower on layers without a tool change. Prusa reports about 3% less print time and 16% less wipe tower filament.
- Height: the tower grows until the last color change, so a design with its colors near the bottom needs a short tower. Bambu Studio cannot build the tower in by-object print sequence.
- Stability over savings: a brim at the base (Bambu Studio) or PrusaSlicer’s stabilization cone costs a little filament but prevents a tall, thin tower from toppling and ruining the print.
- Position: Prusa suggests placing the tower near the objects to shorten travel.
Common mistakes when cutting purge waste
- Cutting the multiplier without a test. The first sign of too little flush is a band of the wrong color on a finished part.
- Using one value for every pair. A flush that is right for dark to light wastes filament on light to dark.
- Flushing into infill behind white, pastel or translucent walls. Use a spare object or accept the tower for those prints.
- Grouping parts that do not share colors on the same layers. The traffic cone example shows waste can triple.
- Blaming the purge for a hardware fault. Color streaks can also come from a partial clog or a bad filament tip. Check the unit first; for true color blends, which an MMU cannot mix, see gradient multi-material printing.
Frequently asked questions
What flush multiplier should I use in Bambu Studio?
The default is 1.00. Bambu Lab says the calculated values lean towards quality and suggests trying 0.8 or 0.9 as a quick saving. Always run a test print with your real color pairs, because too low a value shows up as discolored layers.
Can I turn off the prime tower if I flush into infill?
No. OrcaSlicer documents that flushing into infill or support only works when the prime tower is enabled, and Bambu Studio says the same for support. The tower also stabilizes nozzle pressure after each change.
Why does black to white need more purge than white to black?
A small amount of dark filament left in the nozzle is clearly visible in a light color, while light traces barely show in a dark one. In Prusa’s example, black to white needs 150 mm³ and white to black 50 mm³.
Does printing more parts on one plate reduce waste?
It does when the parts use the same colors on the same layers, because they share each filament change. Bambu Lab’s nine cubes made the same waste as one. Parts whose colors sit at different heights can increase waste instead, so compare the sliced totals first.