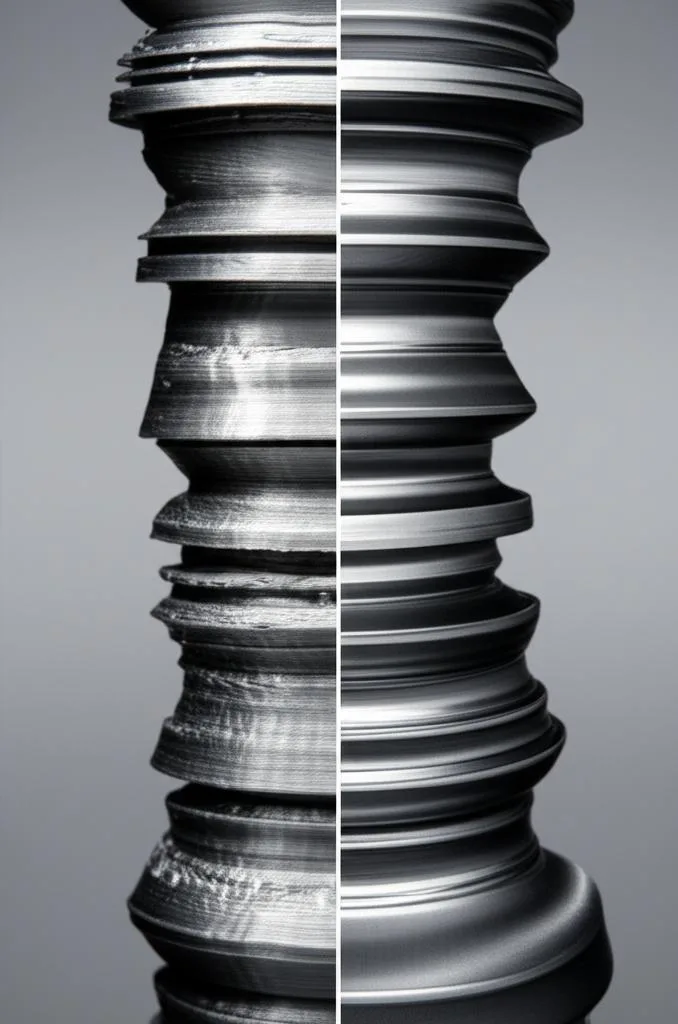
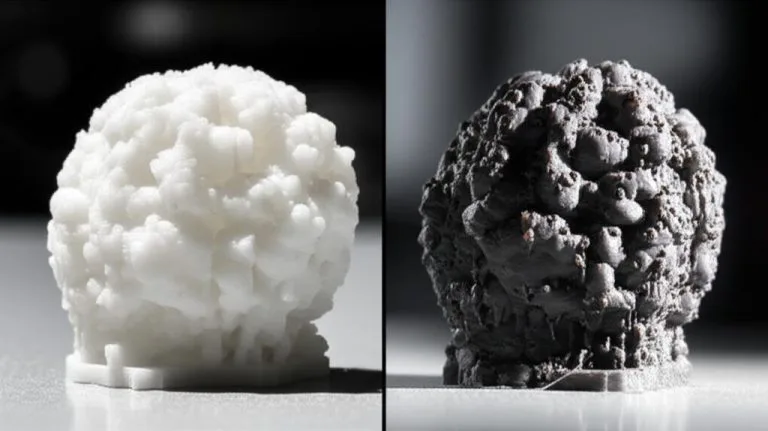
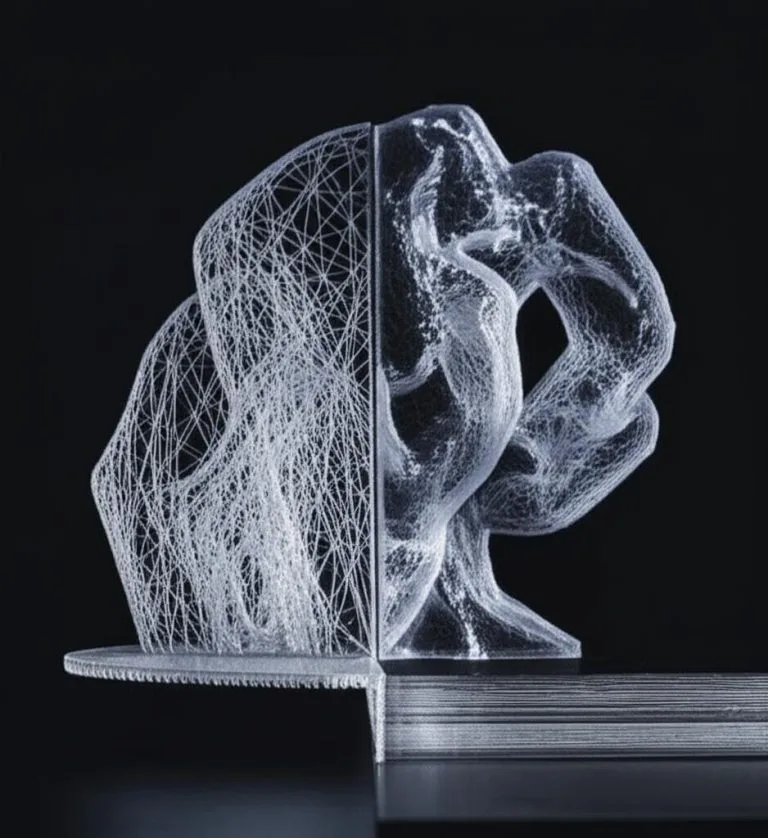
Warping is when the corners or edges of an FDM print curl up off the bed during printing, because the plastic shrinks as it cools and the bottom layers can’t hold the part flat. The outer edges cool faster than the centre, so the pull is strongest at sharp corners and on large, flat parts. The first fixes are simple: wash the build plate with dish soap and water, raise the bed temperature by 5–10 °C, add a brim or brim ears, and keep drafts away from the printer.
If corners still lift after that, the part needs warmer, still air around it (an enclosure), a shape that shrinks less (rounded corners, less infill, a split model), or a material that shrinks less. This guide covers all of these, with a diagnosis table to help you separate warping from a first layer that never stuck. The numbers come from Bambu Lab and Prusa documentation, linked at the end. Where a value is only a starting point, we say so.
The consumer toolchanger 3D printer: the SnapSwap 4-toolhead system swaps heads in 5 seconds for true multi-color and multi-material printing, with smart calibration and auto filament loading.
- 4 toolheads · 5 s swap
- Up to 500 mm/s · 20,000 mm/s²
- 270 mm cube build volume
- Multi-color & multi-material

Stop warping: fixes in order
- Wash the build plate with warm water and dish soap, dry it, and don’t touch the print area afterwards.
- Re-run bed levelling and check the first layer is slightly squished, not laid loosely on top.
- Raise the bed temperature by 5–10 °C, within the filament’s recommended range.
- Add a brim, or brim ears only at the corners that lift.
- Switch the part cooling fan off for the first 3 layers.
- Block drafts: windows, air conditioning, desk fans. Close the doors and lid on an enclosed printer.
- Still lifting? Change the part (fillets, less infill, gyroid) or the material, or print ABS, ASA, PC and nylon in an enclosure.
Why 3D prints warp
Prusa describes the cause as the sudden temperature difference between the molten plastic at the nozzle and the air around the print. Every new layer shrinks as it cools and pulls on the layers below it. Bambu Lab adds the detail that matters for the fix: the outer edges cool faster than the centre, which creates tension that lifts the corners. The bed and the first layer are the anchor. When the shrinking force is bigger than the grip, a corner lets go, and it keeps rising as more layers pile on.
Bambu Lab lists four things that make it worse:
- Size. Large prints warp more; the shrinkage adds up over a longer edge.
- Infill density. More plastic inside means more shrinking material pulling on the walls.
- Material. ABS, ASA, PC, PA (nylon) and PA-CF shrink far more than PLA or PETG.
- Cold or moving air. A cool room or a draft on one side speeds up cooling unevenly.
Bambu Lab also warns that slight warping is easy to miss and easy to misread. A corner that lifts a fraction of a millimetre can leave a horizontal ripple on the side wall, where the nozzle hit the raised layer, or rough top layers. It looks like a flow problem, but the real cause is the part moving.
Warping or bed adhesion? Symptom, cause, fix
Warping and poor adhesion get lumped together, but they fail differently. With warping, the first layer sticks and the corners peel up later. With an adhesion failure, the first layer never grips properly and the whole part slides or pops off.
| What you see | Likely cause | Fix |
|---|---|---|
| Corners curl up after the first few millimetres; the middle stays stuck | Shrinkage stronger than the grip at the corners | Brim or brim ears, bed +5–10 °C, first 3 layers without fan |
| One side lifts more than the others | Draft or cold air on that side | Move the printer or shield it; close the enclosure |
| Large flat part curls along its whole edge | Accumulated shrinkage, dense infill | Gyroid infill at 25% or less, fillets, split the part, enclosure |
| Horizontal ripple on the side wall, rough top layers | Slight lift that went unnoticed | Treat it as warping first, not as a flow problem |
| Whole part shifts or pops off mid-print | Bed adhesion failure, not warping | Clean the plate, re-level, check Z-offset and plate type (see below) |
| Base is flat but the part cracks between layers higher up | Layer splitting | Warmer nozzle, less fan, enclosure: see weak layers |
| Only ABS, ASA, PC or nylon warps, PLA is fine | High-shrinkage material in open air | Enclosure and material-specific settings |
If your problem is the first layer not sticking at all, the bed adhesion guide covers cleaning, nozzle height and surfaces in detail. If the part splits between layers rather than lifting off the bed, go to weak layer adhesion.
Bed temperature, plate and first layer
According to Bambu Lab, cleaning the plate, re-running bed levelling and checking the nozzle is seated correctly solve about 80% of warping and adhesion failures. Do those before touching slicer settings.
- Clean properly. Bambu Lab names skin oil as the most common cause of poor grip and recommends warm water and dish soap, then air-drying. Prusa wipes its sheets with isopropyl alcohol of 90% or more before printing.
- Squish the first layer slightly. Prusa suggests lowering Live Adjust Z a little to improve adhesion on warping parts, without over-squishing.
- Raise the bed temperature. Bambu Lab’s step is +5–10 °C for PLA, aiming for 55–65 °C on its Textured PEI Plate, and +10–15 °C for ABS and ASA. On an open-frame printer it suggests another +10 °C to compensate for the cooler air.
- Match the plate in the slicer. Slice for Bambu Lab’s Cool Plate (35 °C for PLA) and print on the Textured PEI Plate, and the bed runs far too cold. The same logic applies to any printer whose slicer profile sets the temperature per plate.
- No fan at the start. Bambu Lab’s fix for first layers that don’t stick is to disable part cooling for the first 3 layers (“No cooling for first X layers”).
- Glue stick for stubborn materials. Bambu Lab calls a thin, even layer of glue stick an emergency adhesion booster, especially for ABS, ASA, PA and PC. Thick blobs make the first layer uneven. It washes off with water.
Brim, brim ears and draft shield
A brim is a flat ring of extra lines printed around the part on the first layer. It spreads the pulling force over a larger area, so the corners have more to hold on to. Bambu Lab suggests an 8–10 mm brim for PLA corners that lift. Prusa’s minimum for better adhesion is 3 mm.
- Brim ears (mouse ears) are small discs under the corners only, with less cleanup than a full brim. In Bambu Studio, set the brim type to Painted and use the Brim Ears tool on the corners that lift. In any slicer or CAD tool you can do the same by adding a small cylinder a few layers tall at the problem corner, which is Prusa’s suggestion when a brim isn’t enough.
- Draft shield. PrusaSlicer can print the skirt as a wall around the model. Prusa recommends it for PC Blend, ASA and ABS to keep a warmer micro-climate around the part and protect it from drafts. It is not a substitute for an enclosure on large parts.
- Raft. A raft lifts the whole part onto a disposable base. It costs material, time and bottom-surface quality, so use it when a brim fails or the footprint is tiny.
Brim width, gap and raft layers are covered in brim vs raft.
Drafts, room temperature and enclosures
Bambu Lab singles out environmental factors as the ones beginners overlook, and says they can undo every other fix. An open window, an air-conditioning vent or a desk fan cools one side of the print faster than the other. In a room below 20 °C, even PLA and PETG can warp.
- PLA and PETG: usually fine in open air if the room is warm and still. A box or a cover helps in a cold room.
- ABS and ASA: Bambu Lab’s fix is a hotter bed plus a closed enclosure with the chamber at 40 °C or more. It warns that large flat parts in ABS, ASA or PC will almost always warp without one.
- PC and nylon: an enclosed printer, ideally with a heated chamber, per Bambu Lab.
Prusa adds two layout tricks: place the part that tends to warp near the centre of the bed, and print several objects at once so the area stays warmer. It also suggests slowing the print down so each layer has time to settle and bond.
Warping risk by material
Bambu Lab ranks shrinkage-prone filaments from highest to lowest risk: PC, PA-CF, PA, ABS, ASA, PETG, PLA. For large flat prints it recommends PLA, PLA-CF, PETG or PETG-CF.
| Material | Warping risk | What usually stops it | In depth |
|---|---|---|---|
| PLA | Lowest | Clean plate, 55–65 °C on textured PEI, brim, no drafts, room above 20 °C | This guide |
| PETG | Low | Same as PLA; a cover in a cold room | This guide |
| ABS, ASA | High | Enclosure at 40 °C+, hotter bed, glue stick, little or no fan | ABS without warping |
| PA (nylon), PA-CF | Very high | Dry filament, enclosure, suitable surface and glue | printing nylon |
| PC | Highest | Heated or well-insulated enclosure, dry filament, glue | polycarbonate settings |
Wet filament makes things worse too. Bambu Lab’s signs are crackling or popping during printing and rough, bubbly or stringy surfaces. It notes nylon and PC can absorb moisture within hours in a humid room, so don’t leave them on the spool holder overnight.
Design and slicer changes that reduce warping
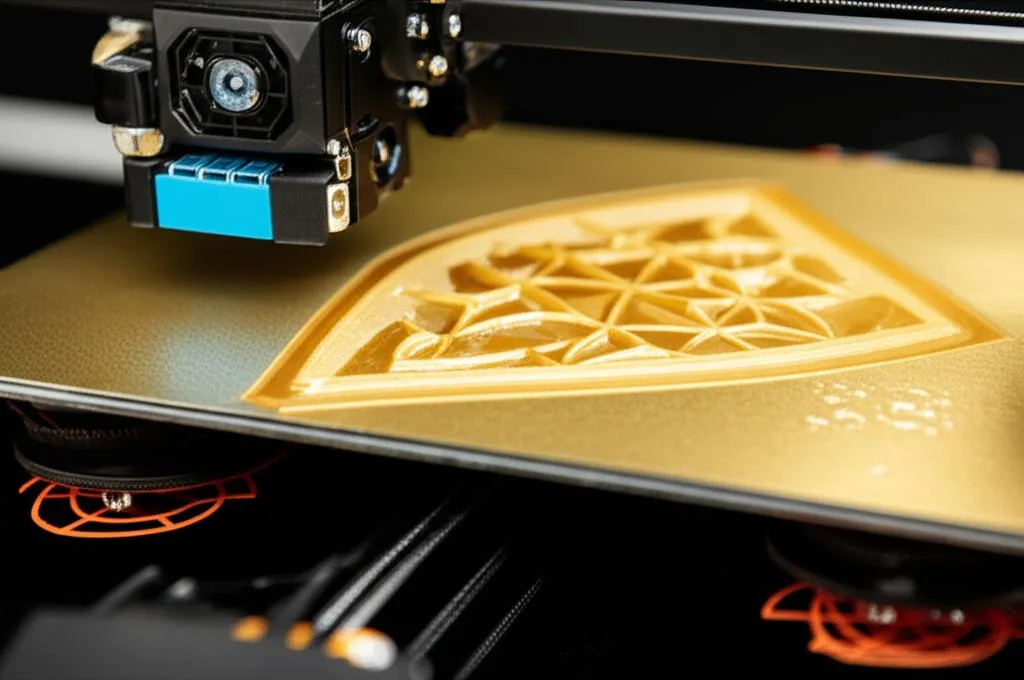
When settings run out, change what you are printing. Large, flat, sharp-cornered parts are the hardest case.
- Round the bottom corners. The University of Melbourne’s NExT Lab notes that sharp corners concentrate the warping forces and that fillets and rounded corners reduce the effect. Sharp 90° corners at the base are where lifting starts.
- Use less, more even infill. For large flat parts, Bambu Lab recommends gyroid infill at 25% or less. Grid and triangle patterns build internal linear tension; gyroid shrinks more evenly in all directions.
- Split big parts. NExT Lab lists splitting large parts into smaller pieces as a prevention method. Shorter edges shrink less in absolute terms.
- Add sacrificial helper discs. Thin discs at the corners, placed so that only the discs lift if anything does, then cut off. This is the CAD version of brim ears.
- Turn down the auxiliary fan. On printers with a side fan, Bambu Lab suggests reducing it by around 20–30% if it cools the outer walls too fast.
Common warping mistakes
- Treating warping as an adhesion problem only. More glue can hold a PLA part, but a large ABS part in open air will still lift or crack. The air around the part matters as much as the bed.
- Relying on a quick wipe. Bambu Lab’s first step for corner lifting is a wash with soap and water, not a wipe. Do that when grip drops, then keep your fingers off the plate.
- Wrong plate type in the slicer. The bed temperature, and on Bambu Lab printers the first-layer offset, follow the plate you selected rather than the one on the printer.
- Full fan from layer one. Cooling the first layers fights the heated bed.
- Changing five things at once. Change one setting per print so you know what fixed it.
Frequently asked questions
Why do only the corners of my print lift?
Corners are where the outer edges meet, and the outer edges cool faster than the centre of the part. The shrinking plastic pulls hardest there, and a sharp corner has the least surface holding it down. Brim ears or a brim at those corners, rounded bottom corners and a draft-free printer are the usual fixes.
Does PLA warp?
Less than any other common filament, but it can. Bambu Lab notes that PLA and PETG can warp in a room below 20 °C, and large flat PLA parts still lift in a draft. Clean the plate, raise the bed by 5–10 °C and add a brim before anything else.
Do I need an enclosure to stop warping?
For PLA and PETG in a warm, still room, usually not. For ABS, ASA, PC and nylon, yes, especially on large parts: Bambu Lab says large flat parts in ABS, ASA or PC will almost always warp without one, and it aims for a chamber of 40 °C or more for ABS and ASA.
Is a brim or a raft better against warping?
Start with a brim. It adds grip around the edges with little material and cleanup, and brim ears target just the corners. A raft makes sense when a brim is not enough or the part touches the bed only at a few small points.