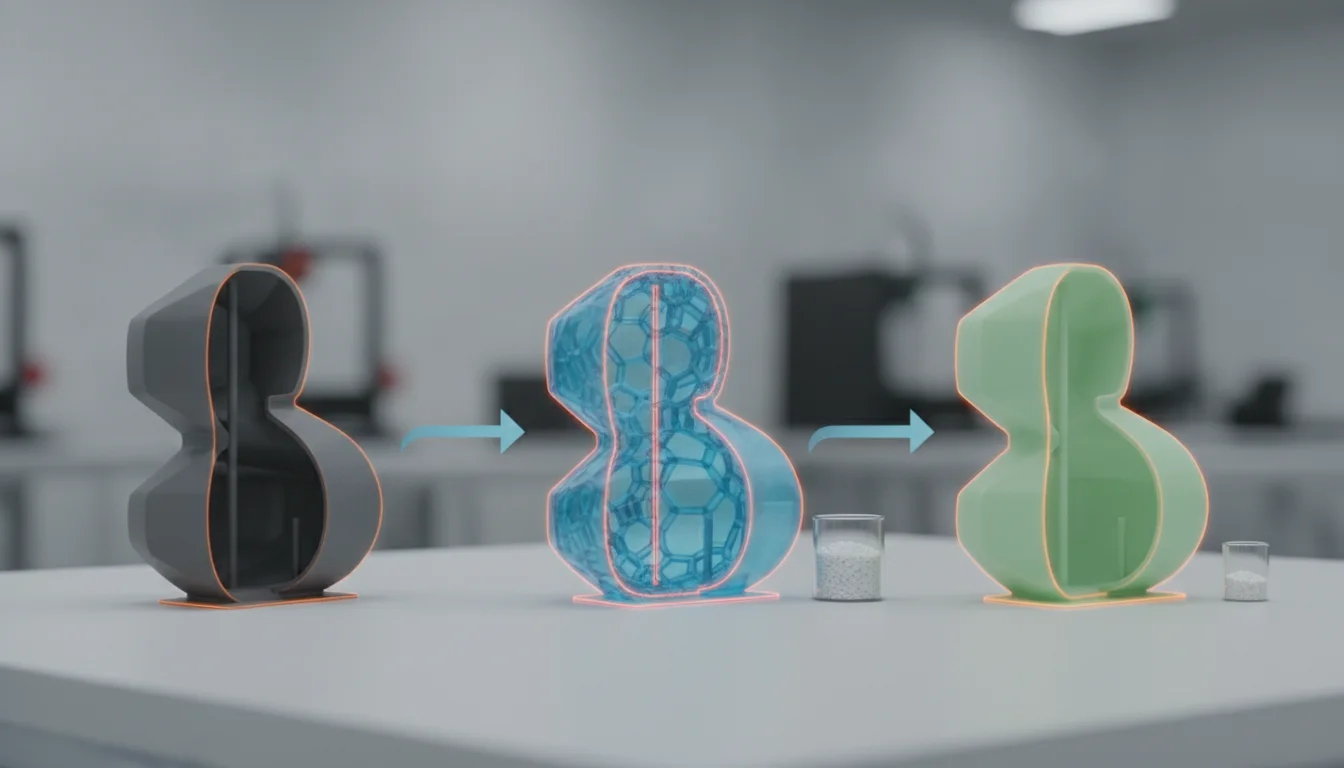
Hollowing replaces the solid inside of a model with an empty cavity enclosed by a shell of a set wall thickness. On a resin printer it saves resin, cuts weight and reduces suction forces, but every closed cavity needs at least two drain holes or it traps liquid resin and air. Formlabs gives 3.5 mm as the minimum drain hole diameter in its design specs for enclosed cavities, and Lychee’s documentation suggests 3–5 mm as a starting point for small to medium prints.
This guide covers when hollowing is worth it, how wall thickness and drain holes work in resin slicers (PreForm and Lychee are documented here), how to avoid suction cups, and the one-paragraph FDM equivalent. Numbers come from Formlabs and Lychee documentation and one resin-printing guide, linked at the end. Where a value is a starting point rather than a published figure, we say so.
The consumer toolchanger 3D printer: the SnapSwap 4-toolhead system swaps heads in 5 seconds for true multi-color and multi-material printing, with smart calibration and auto filament loading.
- 4 toolheads · 5 s swap
- Up to 500 mm/s · 20,000 mm/s²
- 270 mm cube build volume
- Multi-color & multi-material

Hollowing a resin model in 60 seconds
- Hollow only large, non-structural models; small ones save little.
- Orient the model on the plate first, because drain hole position depends on orientation.
- Hollow with a wall of about 2 mm as a starting point (the Formlabs tutorial uses 2 mm; adjust for model size and resin).
- Add at least two drain holes, each at least 3.5 mm across (Formlabs minimum), hidden in a seam or shadowed area.
- Run the slicer’s suction cup or cup check and add holes where it flags a trapped void.
- Keep supports out of the holes, then slice and print.
- After printing, wash the cavity through the holes and cure fully before plugging them.
When hollowing is worth it
Formlabs points out that resin printers default to fully dense parts, and describes hollowing as useful for non-structural prints such as art, scale models, early concepts and large models; hollow parts also need fewer supports. The saving can be large. In Formlabs’s own example (a 2 mm wall at 0.1 mm layers on a Form 4 with White Resin V5) a solid model used 228.90 mL and the hollow version 51.88 mL, a 177.02 mL or 77% decrease. The company notes that actual savings depend on the model and settings.
Hollowing is a poor fit when the part has to be strong. A thin shell makes a large model fragile, and Formlabs suggests filling the cavity with epoxy or plaster afterwards if you want a heavier or stiffer part. For parts under load, keep them solid or use thicker walls. The wall thickness guide covers how thick is thick enough.
Drain holes: size, number and position
A hollow resin part is a closed container. When the plate lifts the part, resin and air must be able to move in and out of the cavity, and afterwards the leftover resin has to drain. Holes do both jobs.
| Source | Size | Number and position |
|---|---|---|
| Formlabs design specs (Form 2 page) | At least 3.5 mm for enclosed cavities | PreForm tutorial: one hole as close to the build platform as possible, plus at least one more, and more wherever cupping occurs |
| Lychee Suction Cup Detector docs | 3–5 mm is a good starting point for small to medium prints; larger and more holes work better | Place holes where the detector flags a trapped void |
| J3D-Tech guide in Lychee’s docs | Over 2 mm, “but the model will dictate” | Two or more; one near the top, others low; hidden in seams or shadowed areas; no supports through the hole |
The sources differ on the minimum: 3.5 mm from Formlabs, a little over 2 mm from the third-party guide. Resin viscosity and cavity shape vary, so start with the larger size and shrink the holes only after you have seen your own resin drain. The Formlabs figure sits on a Form 2 specification page whose values were measured with Clear Resin at 100 microns, so read it as a Formlabs starting point, not a universal rule.
Lychee’s hole tool lets you set holes from 0.5 mm to 100 mm in diameter in cylinder or cube form. Its black holes drill through to the cavity when you convert the model, and red holes are skipped because the geometry intersecting the hole is too complex.
Wall thickness for hollow resin models
Walls must be thick enough to survive washing and handling, and thin enough to save resin. Published starting points:
- Formlabs’s tutorial uses a 2 mm offset (wall thickness) at 0.1 mm layers.
- The J3D-Tech guide found “1.8mm thickness and 2.0 quality to be the best for most prints” in Lychee, which is one author’s preference rather than a rule.
- Lychee’s Hollowing 3D tool accepts 0.5–10.0 mm in 0.1 mm steps and says smaller objects limit how thick the wall can be.
The J3D guide notes that larger objects need internal supports. The wall must also survive cleaning: Formlabs warns that thin walls can weaken during IPA washing, so do not soak delicate hollow parts for long. For how wall minimums are defined, see wall thickness.
How to hollow in PreForm and Lychee
PreForm (Formlabs):
- Select Hollow in the left toolbar, set the wall thickness and the inner surface detail level, then click Hollow Selected.
- Select Hole, set the radius, padding and depth, hover over the part to preview the position, click to place and press Apply.
- In Print Validation, turn on Cups so PreForm flags suction cups.
Lychee Slicer:
- Select the object, then go to Prepare > Hollow > Hollowing 3D.
- Set Thickness and Quality (cavity resolution, 1 to 4), then click Add/Update.
- Review the effect with the Layer Preview Slider. Lychee describes 3D hollowing as a simulation that is finalised when you slice or export.
- Add drain holes and run the Suction Cup Detector.
As of 2026 Lychee’s docs say the Holes tool is available to Pro or Premium users only, so check your plan. Other slicers such as Chitubox also have a hollow function, but their menus and hole options were not verified here; look at their current documentation.
Suction cups and trapped resin
A suction cup, or “cupping”, is a void that resin and air cannot escape during the print. Formlabs says cupping occurs with hollow parts, and Lychee’s detector highlights these areas in yellow and says they can make parts break off, tear off their supports, or leave resin that later bursts the print. The detector also finds cups created by the model’s geometry, not only by hollowing. Blockers fix cavities created by hollowing, but cannot fix a cup shaped by the object itself; holes can fix both.
| Symptom | Likely cause | Fix |
|---|---|---|
| Layers split or the part tears off supports mid-print | Suction cup or sealed cavity | Add or enlarge drain holes, reorient, run the cup check |
| Wet or sticky resin inside after cleaning | Holes too small or blocked | Enlarge holes, keep supports out of them, wash through them |
| Shell cracks or bursts after curing | Resin trapped inside (Lychee warns trapped resin can burst the print) | Add holes before printing; do not seal the part until the cavity is clean and cured |
| Holes spoil the surface | Holes placed on a visible face | Move them to seams or hidden faces, then plug after cleaning |
Cleaning and curing hollow parts follows the usual routine: see washing and curing resin prints. Resin and IPA you flush out of a cavity is waste, so see disposing of resin and used IPA and keep gloves and eye protection on (resin PPE checklist).
FDM: infill does the hollowing
An FDM slicer already makes a part hollow: it prints the walls and fills the inside with a sparse infill pattern, so you control how hollow the part is with infill density rather than with a hollowing tool. No drain holes are needed because there is no liquid. PrusaSlicer’s help says model strength depends mostly on perimeter count, not infill, so for a lighter FDM part reduce infill before you thin the walls. A part with no infill needs top solid layers that can bridge the empty space; Prusa’s example is 3 top layers at 0.3 mm layer height versus 9 at 0.1 mm for the same top thickness. Infill choices are in infill pattern and density.

Common hollowing mistakes
- Hollowing without any drain hole, or with a single hole that cannot let air in.
- Placing the holes before choosing the orientation, then finding them on the top of the print.
- Supports running through the holes.
- Hollowing a small figure that used little resin anyway, then paying for it in post-processing.
- Setting walls so thin that the part flexes during washing.
- Expecting a hollow shell to hold load.
Frequently asked questions
How big should drain holes be on a hollow resin print?
Formlabs gives 3.5 mm as the minimum for enclosed cavities in its design specs, and Lychee’s docs suggest 3–5 mm for small to medium prints. A third-party resin guide goes down to just over 2 mm for small models. Start with the larger size and reduce only if your resin drains well.
How many drain holes do I need?
At least two per cavity. Formlabs’s PreForm tutorial places one hole as close to the build platform as possible and adds at least one more, plus extras where cupping occurs. The J3D-Tech guide also advises two or more, with one near the top of the model so it can drain and vent.
Does hollowing make a resin print weaker?
Yes, a thin shell is more fragile than a solid part, and Formlabs says so directly. Use hollowing for display models and large non-structural pieces, and keep functional parts solid or give them thick walls.
Do FDM prints need hollowing and drain holes?
No. FDM slicers already leave the inside sparse through infill settings, and nothing has to drain. Lowering infill density is the equivalent of hollowing.