Infill is the internal structure a slicer prints inside a model’s walls: it supports the top layers and adds stiffness without making the part solid. For most prints the answer is simple. Prusa’s documentation says most models print fine with 10–15% infill and you will rarely need more than 30%. Pick gyroid or cubic when a part takes load from several directions, rectilinear or grid when speed matters, and lightning or support cubic for display pieces. If a part needs to be stronger, add walls (perimeters) before you add infill.
This guide covers density starting points by use, what each common pattern is good and bad at, and the cases where adaptive, lightning or locally varied infill is worth the effort. Pattern descriptions come from the Prusa Knowledge Base, the Bambu Lab Wiki and the OrcaSlicer wiki, linked at the end. Where a density is a starting point rather than a published figure, we say so.
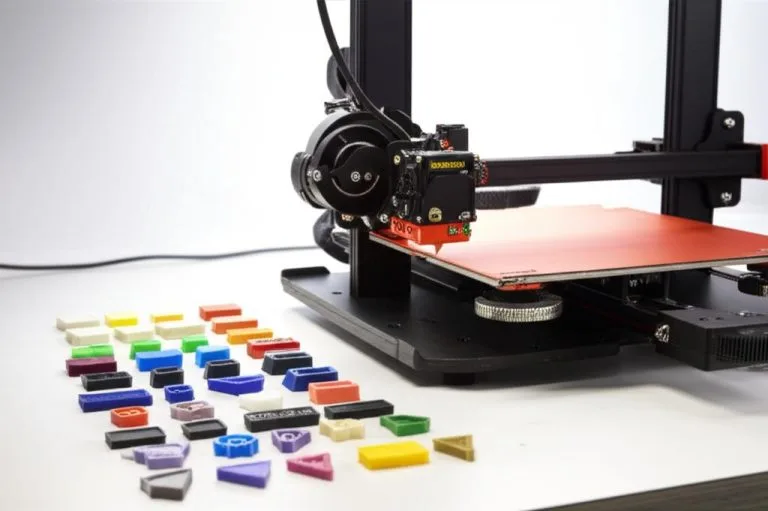
The consumer toolchanger 3D printer: the SnapSwap 4-toolhead system swaps heads in 5 seconds for true multi-color and multi-material printing, with smart calibration and auto filament loading.
- 4 toolheads · 5 s swap
- Up to 500 mm/s · 20,000 mm/s²
- 270 mm cube build volume
- Multi-color & multi-material

Infill choice in 60 seconds
- Decide what the part does: looks only, everyday use, or carries load.
- Start at 10–15% density for most prints. Go towards 30% only for parts that are squeezed or loaded.
- Pick the pattern: gyroid or cubic for load from any direction, rectilinear or grid for fast general prints, lightning or support cubic for models that only need their top surface held up.
- Need more strength? Add a perimeter or two before raising the infill percentage.
- Need strength only in one spot, such as around a screw hole? Use a modifier to raise density there instead of across the whole part.
How much infill density you need
Infill density is the share of the internal volume filled with plastic: 0% is hollow, 100% is solid. Prusa’s infill article gives two anchor points: most models print well at 10–15%, and you rarely need more than 30%. The rows below turn that into starting points by use. Only the Prusa figures are published values; the rest are starting points to adjust for your part.
| Part | Starting density | Pattern | Basis |
|---|---|---|---|
| Figurines, display models, vases with a closed top | Lowest your slicer allows that still holds the top surface; try 10% | Lightning or support cubic | Starting point; both patterns exist only to support top layers |
| Most everyday prints: boxes, organisers, covers | 10–15% | Gyroid, grid or rectilinear | Prusa Knowledge Base |
| Parts that are gripped, clamped or stood on | Start around 20–30%, plus extra perimeters | Gyroid or cubic | Starting point; Prusa says you rarely need more than 30% |
| Large parts where filament use matters | Same as above | Adaptive cubic | Prusa: about a quarter less material than rectilinear |
| Flexible parts in TPU | Start low and raise it if the part is too soft | Concentric or gyroid | Starting point; Prusa lists concentric for flexible models |
| Solid parts | 100% | Slicer switches to rectilinear | PrusaSlicer does this automatically |
Two things change the answer more than the percentage itself. The first is how the part is loaded, which decides the pattern (next section). The second is the shell: walls and top and bottom layers usually carry more of the load than the infill does.
Infill patterns compared
PrusaSlicer, Bambu Studio and OrcaSlicer share most pattern names, and Cura has close equivalents. The same density gives different strength, print time and material use depending on the pattern.
| Pattern | Good for | Watch out for |
|---|---|---|
| Rectilinear | One of the fastest patterns; lines alternate 90° per layer. The only pattern Prusa recommends for 100%. | OrcaSlicer rates its vertical (Z) strength low, because each layer only crosses the one below. |
| Grid | Simple and fast; two line directions in every layer. | Lines cross within the layer and material piles up at the crossings. Bambu Lab warns of nozzle scraping at high speed. |
| Triangles | Good shear resistance and fairly even strength across horizontal directions (Bambu Lab). | Top layers bridge long gaps, so they may need extra top layers. |
| Cubic | A 3D pattern with fairly even strength along X, Y and Z (Bambu Lab). | Slightly more complex paths than 2D patterns. |
| Gyroid | Prusa calls it one of the best infills: similar strength in every direction, no crossings within a layer, prints fairly quickly. | Longer slicing and larger G-code files; Bambu Lab notes strong vibration at high density and high speed. |
| Honeycomb | Mechanically strong, no crossings in the layer. | Prusa and Bambu Lab both put its material use at about 25% more than other patterns, and Prusa says it can take up to twice as long. |
| Adaptive cubic | Dense near the walls, sparse in the centre; good for large parts. | Saves little on small or thin parts, where most of the volume is near a wall anyway. |
| Support cubic, lightning | Lowest material and time: they only hold up the top surfaces. | No meaningful strength. Bambu Lab applies lightning’s density only directly under the top surface. |
| Concentric | Follows the outline; flexible and transparent prints. | Weak against sideways load (Bambu Lab) and slower to print (Prusa). |
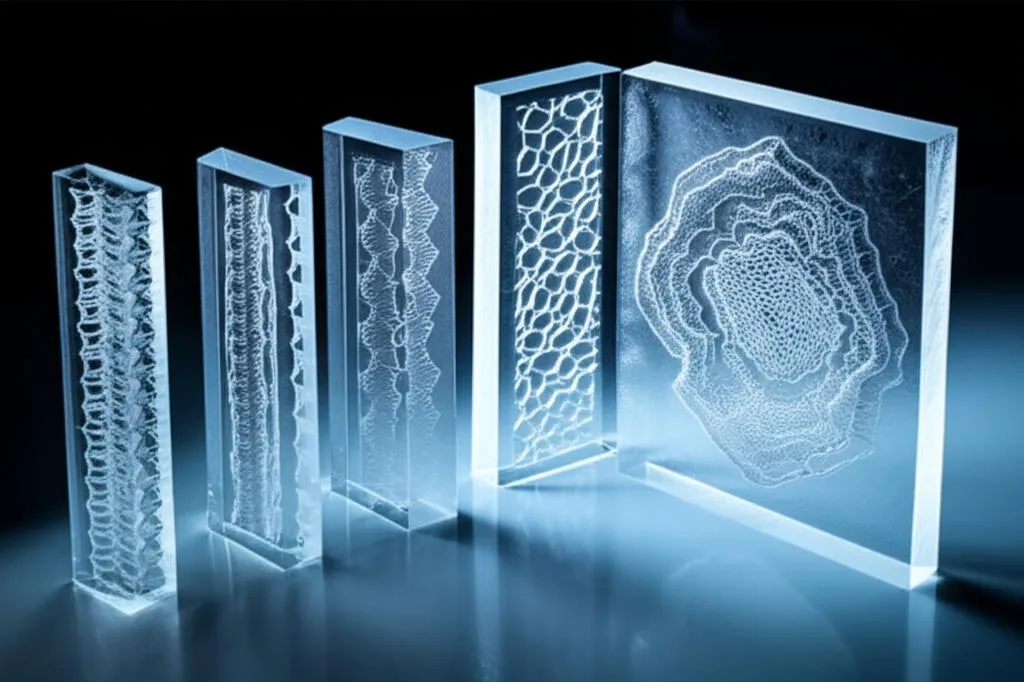
If you are choosing between the two classic lightweight structures, the honeycomb vs cubic comparison goes into that choice in detail. For parts loaded from several directions, the separate guide to gyroid infill covers why it is the common default.
Walls before infill: where strength comes from
Prusa’s documentation puts it plainly: the strength of a model is mostly defined by the number of perimeters, not the infill. Bending and twisting loads are carried mostly by the outer skin, so an extra wall adds material exactly where the stress is. Infill mainly does two jobs: it holds up the top layers, which would otherwise have to bridge empty space, and it resists crushing.
- More walls first. Original Prusa profiles use at least two perimeters. For a functional part, add one or two before touching the infill percentage.
- Enough top layers. Low infill leaves long gaps under the top surface. If the top shows sagging or holes, add top layers or use a pattern that gets denser near the top rather than raising the whole part’s density.
- Orientation. Infill cannot fix a part that breaks between layers. If it splits along layer lines, see print orientation and the guide to layer splitting.
When advanced infill options make sense
Standard patterns at a uniform density cover most prints. The options below are worth the extra setup in specific cases:
- Large parts: adaptive cubic. It keeps density near the walls and thins out the core. Prusa estimates about a quarter less material than rectilinear while still supporting the top layers.
- One weak spot: a modifier. PrusaSlicer’s modifier meshes and height range modifiers change infill density and perimeter count only where they overlap the model. Put a cylinder around a screw boss or a box around a mounting tab instead of raising density everywhere. Bambu Studio, OrcaSlicer and Cura have similar tools.
- Display pieces: lightning or support cubic. Prusa describes support cubic’s material and time use as by far the lowest, and says lightning saves even more material. Neither adds strength, so do not use them for anything that takes load.
- Flexible and clear parts: concentric. Prusa suggests it for flexible models such as RC tyres and for transparent prints, where the rings look cleaner through the wall.
- Parts filled afterwards: gyroid and Hilbert curve leave connected cavities, which Prusa mentions for filling a print with liquid or resin.
Engineering lattices generated in dedicated design software are a different tool: they are modelled geometry, not a slicer setting, and are beyond what most hobby parts need.
Printing at 100% infill
Solid infill is rarely the best way to get strength, but it is sometimes needed, for example for small parts that are mostly wall anyway. PrusaSlicer switches the pattern to rectilinear at 100%, and Prusa warns that solid infill can hurt the look of the print. In Bambu Studio only some patterns support 100% density: concentric, rectilinear, aligned rectilinear, Hilbert curve, Archimedean chords and octagram spiral. Expect a big increase in print time and filament, and check that the part is not over-extruded, since any flow error has nowhere to go in a solid part.
Common infill mistakes
- Raising infill to fix a weak part. If the part cracks at the walls or between layers, more infill barely helps. Add perimeters or change the orientation.
- Lightning infill on a functional part. It exists only to hold up the top surface.
- Grid at high speed. The crossings build up and the nozzle can catch on them. Gyroid or rectilinear avoid crossings within a layer.
- Too few top layers over sparse infill. The top surface sags or shows holes between infill lines. Add top layers before adding density.
- Treating layer height as separate. Layer height changes wall and layer bonding as well; the guide to layer height for functional parts covers that side.
Frequently asked questions
What is the best infill percentage for strength?
There is no single number. Prusa notes that most models print fine at 10–15% and you rarely need more than 30%. For strength, adding perimeters helps more than raising infill, because the walls carry most of the load. Start around 20–30% with extra walls for loaded parts and adjust from there.
Is gyroid infill stronger than grid?
Gyroid gives similar strength in every direction and has no crossing lines within a layer, which is why Prusa calls it one of the best infills. Grid is simple and fast but builds up material at the crossings, which can cause the nozzle to catch at high speed. For parts loaded from several directions, gyroid or cubic is the safer choice.
Does 100% infill make a part strongest?
It makes it solid, but not necessarily the best use of time and filament. The walls already carry most of the load, and a part can still break between layers regardless of infill. More perimeters and a better orientation usually give more strength per gram.
What infill should I use for a figurine or display model?
A low density with lightning or support cubic. Both patterns only build structure where the top surfaces need support, so they save the most time and material. They add no real strength, which a display piece does not need.