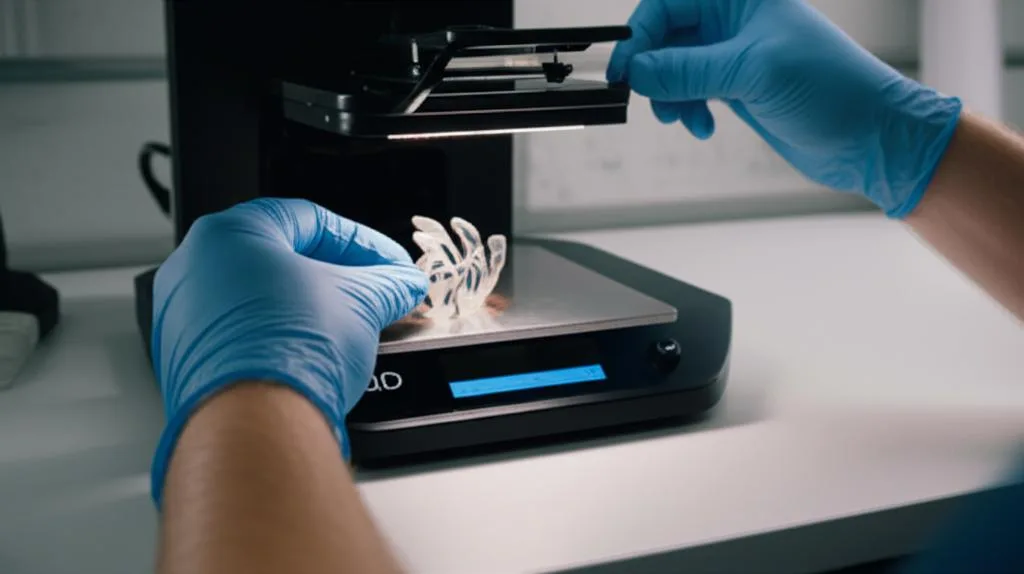
A first resin print is a small, pre-supported test model printed with the resin maker’s profile for your printer, after you have set up the room, checked the vat and its film, and leveled the build plate. The short version: put the printer on a stable surface in a room that stays above roughly 20 °C and out of direct light, make sure the vat film is intact, level the plate, load the maker’s exposure profile instead of guessing, shake the resin, and stay close for the first layers.
This guide covers that whole chain, from the box to the first washed model, and ends with a table of the mistakes that ruin most first attempts. The numbers come from Anycubic, Elegoo, Siraya Tech and Formlabs documentation, linked at the end. Exposure values differ a lot between printers and resins, so we show them as examples of the spread, not as settings to copy.
The consumer toolchanger 3D printer: the SnapSwap 4-toolhead system swaps heads in 5 seconds for true multi-color and multi-material printing, with smart calibration and auto filament loading.
- 4 toolheads · 5 s swap
- Up to 500 mm/s · 20,000 mm/s²
- 270 mm cube build volume
- Multi-color & multi-material

First resin print in 8 steps
- Set up the printer on a stable surface, away from windows, in a room that is not cold.
- Wear gloves and safety glasses from the moment you open a resin bottle, and arrange ventilation.
- Check the vat: clean release film, no deep scratches, no holes.
- Level the plate and set Z zero, or run the automatic routine if your printer has one.
- Load the resin maker’s profile for your printer and slice a small pre-supported model.
- Shake the bottle, pour resin into the vat, close the lid.
- Start the print and watch the bottom layers.
- Wash and cure the model following the resin’s data sheet.
Where to put the printer and what the room needs
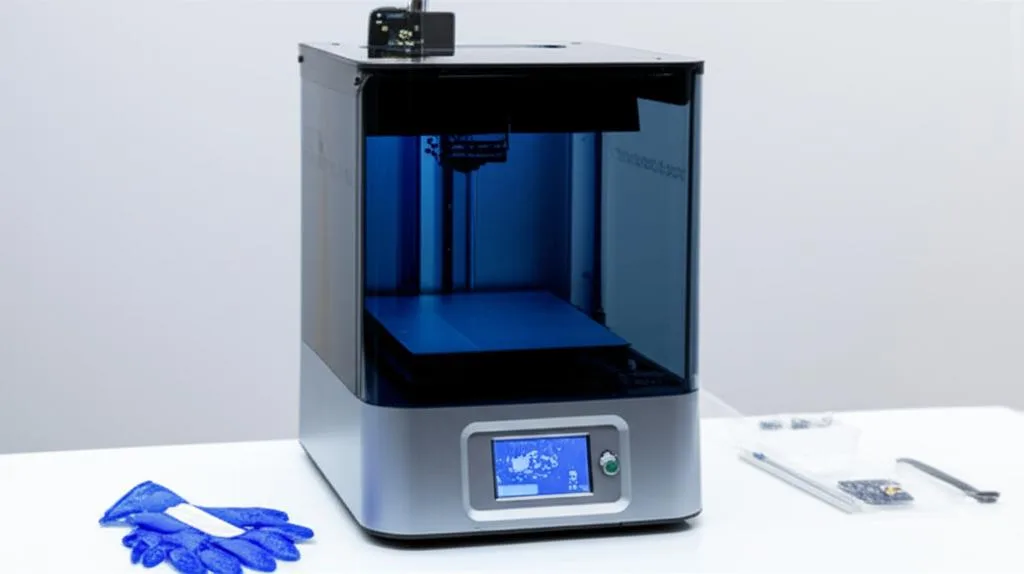
Pick a sturdy table where the printer will not be knocked and where you can reach the vat and plate from the front. Keep it away from windows: resin is cured by light, and Siraya Tech tells users to keep resin away from direct light and extreme temperatures. Leave the printer’s cover on whenever the vat holds resin.
Temperature matters more than most beginners expect. Resin gets thicker when it is cold, and makers set different limits:
| Maker | What it says | What it means for you |
|---|---|---|
| Anycubic | Optimal operating temperature for its resin is around 24 °C; below 10 °C the resin will not cure properly | Aim for a comfortable room, not a cold garage |
| Siraya Tech (Fast resin) | Best results above 20 °C; it has printed as low as 15 °C with significantly more bottom exposure | Below 20 °C expect to lengthen the bottom exposure |
| Elegoo | In a cold room, add about 10 s to the recommended bottom exposure | A quick fix for adhesion in a cool room |
| Formlabs (storage) | For best performance and shelf life, store resin at 10–25 °C, away from direct sunlight | Keep bottles in a cool, dark cupboard, not on a sunny shelf |
Fumes and skin contact are the other half of the setup. Read the resin PPE checklist before you open the first bottle, and plan airflow with the resin printer ventilation guide.
Unboxing and vat check
Follow your manual for removing transport screws, tape and protective films. Then inspect the vat, because the transparent film at its bottom is the part beginners damage first. Anycubic lists three signs that a film needs replacing: a too cloudy surface, deep scratches or indentations, and punctures or holes. Light scratches alone are normal; Anycubic notes that all used films have them.
If you cannot see a hole, Anycubic suggests pouring a small amount of isopropyl alcohol into the empty vat: leakage means the film is broken. Cured resin found on the LCD after you remove the vat points to the same cause. Clean the vat and film after any failed print and before switching resin, so stray cured bits cannot puncture the film.
Leveling the plate and setting Z zero
Leveling makes the build plate parallel to the screen and tells the printer where the first layer starts. On most printers this is the paper method: loosen the plate screws, put a sheet of paper on the screen, lower the plate onto it, tighten the screws and save that position as Z zero. Anycubic’s guide for the Photon Mono X2 says to do it at first use and as part of routine maintenance, and warns that you must retighten the plate screws or the leveling will not hold.
Some printers skip the paper. Elegoo describes the Saturn 4 Ultra as leveling the plate automatically each time you press a button, using a mechanical sensor, and alarming if leveling fails. Check your printer’s page or manual for which type you own. The full procedure, the paper test and the adhesion diagnosis are in the build plate leveling guide.
Settings for the first print: use the maker’s profile
Exposure, bottom layers and bottom exposure depend on the resin, the printer’s light source and even the build plate surface. The published examples below show how far they spread, which is why you start from a profile for your printer and resin:
| Source | Bottom layers | Bottom exposure | Normal exposure |
|---|---|---|---|
| Anycubic resin on Anycubic printers | About 6 | About 40 s on a drawing platform, about 25 s on a laser-engraved platform | Generally 2–3 s |
| Elegoo resins, original Mars (Elegoo’s example) | 5 | 60–70 s for most colors; 70–75 s for Translucent; 90 s for Maroon and Black | 8–10 s for most colors; 12–15 s for Translucent; 15 s for Maroon and Black |
| Siraya Tech Fast | See printer profile | See printer profile | Color variants need longer exposure: about +20% for Navy Grey, +25% for Mecha White |
Elegoo’s own table says these values are for the original Mars and that other printers should follow the official resin sheet, so do not carry them to a newer machine. Siraya Tech publishes downloadable profiles for Elegoo, Anycubic, Phrozen and others. Load the profile first, then refine it with a resin exposure test. Layer height is its own decision; see resin layer height.
For the first model, pick something small and already supported, such as the test file on the printer’s USB drive or a pre-supported model from a trusted designer. If you add supports yourself, Siraya Tech suggests the Chitubox Medium preset for small prints and Heavy for large or heavy ones.
Pouring the resin and watching the first layers
Shake the bottle thoroughly before pouring; Siraya Tech says to shake it vigorously and to mix again if the resin has sat in the vat, and Formlabs advises shaking the cartridge and stirring the resin in the tank. Pigment settles, and unmixed resin cures unevenly. Pour slowly into the vat, keeping to the level marks if your vat has them, wipe any drips, and close the cover.
Start the print and stay nearby for the bottom layers. If the plate rises with nothing on it, or you see only a thin cured film stuck to the vat bottom, stop, and use the diagnosis table in the adhesion guide.
After the print: washing and curing
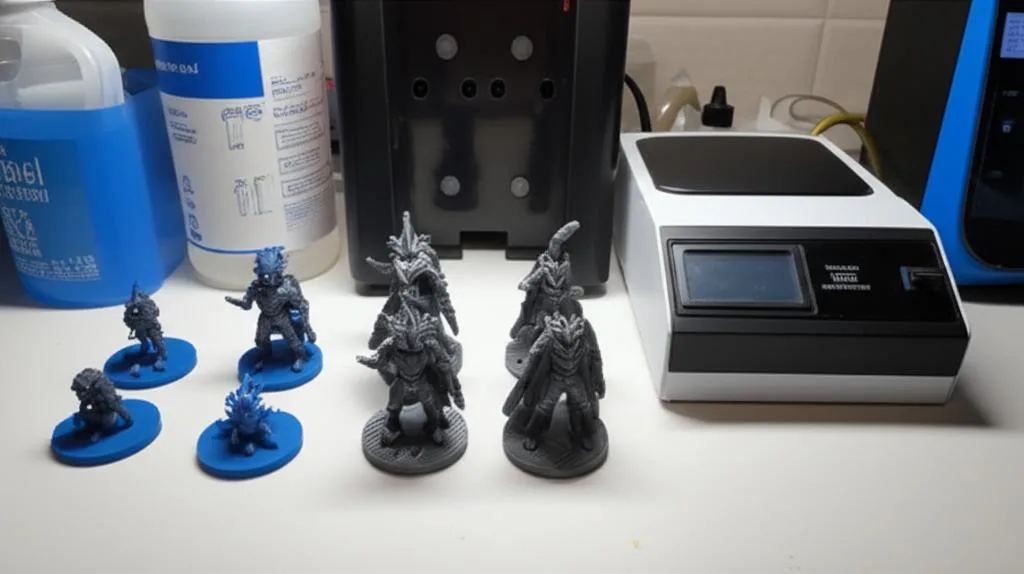
Wash and cure times come from the resin, not from the printer. Siraya Tech’s Fast resin guide, for example, calls for ethanol or IPA with a soft brush for 4 minutes and 395–405 nm UV for 1–2 minutes, while its Magna Durable data sheet gives about 10–15 minutes of post-curing. Read the data sheet of your resin and follow it; the washing and curing guide explains the steps, and the resin and IPA disposal guide covers the waste.
Beginner mistakes and what they cause
| Mistake | What you see | Fix |
|---|---|---|
| Plate screws not retightened after leveling | Z zero drifts, the first layers fail | Retighten, then repeat the leveling (Anycubic) |
| Printing in a cold room | Print falls off the plate or stays on the film | Warm the room, add about 10 s bottom exposure (Elegoo) |
| Copying another printer’s exposure | Overcured blobs or missing detail | Use the profile for your printer and resin |
| Resin not mixed | Soft or uneven layers | Shake the bottle, stir the vat (Siraya Tech, Formlabs) |
| Damaged or cloudy film ignored | Leaks, cured chips, failed layers | Inspect, leak-test with IPA, replace (Anycubic) |
| Big or heavy first model | Print drops, hard to troubleshoot | Start small and pre-supported |
| Skipping gloves and ventilation | Skin contact, strong fumes | Set up PPE and airflow before opening the bottle |
| Under-cured model | Sticky surface, weak part | Wash and cure to the data sheet |
Once one model has printed cleanly, the next step is the exposure test, then the layer height choice. If you are still deciding between resin and filament for miniatures, the FDM vs resin comparison lays out the trade-offs.
Frequently asked questions
Do I need to level a resin printer before the first print?
On most manual printers, yes. Anycubic’s guide says leveling is needed on first use. Some printers, such as the Elegoo Saturn 4 Ultra, level automatically with a sensor, but check your manual for the exact first-run steps.
What room temperature do I need for resin printing?
Makers give different figures. Anycubic puts the optimum at around 24 °C and says resin will not cure properly below 10 °C. Siraya Tech’s Fast resin works best above 20 °C. If your room is cooler, expect to lengthen the bottom exposure.
What should my first resin print be?
A small, pre-supported model, ideally the test file that came with your printer or a simple figure. Small prints use little resin and make it easy to see whether the bottom layers stick.
Why did my first print stay on the vat film instead of the plate?
The usual causes are a plate that is not at Z zero, loose plate screws, too little bottom exposure or a cold room. Re-level, retighten the screws, then raise the bottom exposure in small steps.
Sources
- Anycubic: Resin printer common parameters description
- Anycubic: When and why to replace FEP film and how to level the Photon Mono X2
- Elegoo: Model sticking to the FEP rather than the build platform and Saturn 4 Ultra product page
- Siraya Tech: Fast resin user guide and Magna Durable Grey TDS
- Formlabs Support: Resin care and storage