Layer height is the thickness of each slice the printer lays down, and it is the main setting that trades print time against vertical detail. For a standard 0.4 mm nozzle, 0.20 mm is the everyday default, 0.08–0.12 mm is for display models with curved surfaces, and 0.24–0.28 mm is for quick drafts and large functional parts. Bambu Lab gives 20–70% of the nozzle diameter as the reasonable range (0.08–0.28 mm for 0.4 mm); Prusa sets the ceiling at 80% (about 0.32 mm).
Layer height only changes detail in the Z direction. It will not sharpen text or edges that lie flat on the bed, and below 0.10 mm Prusa describes the gain as relatively minor for much longer print times. For strong parts, wall count, orientation and temperature matter more than the layer height itself. This guide covers the limits for each nozzle, the time cost, what to pick for functional parts and for detailed models, and whether “magic number” layer heights are worth using. Figures come from the Prusa, Bambu Lab and Klipper documentation linked at the end.
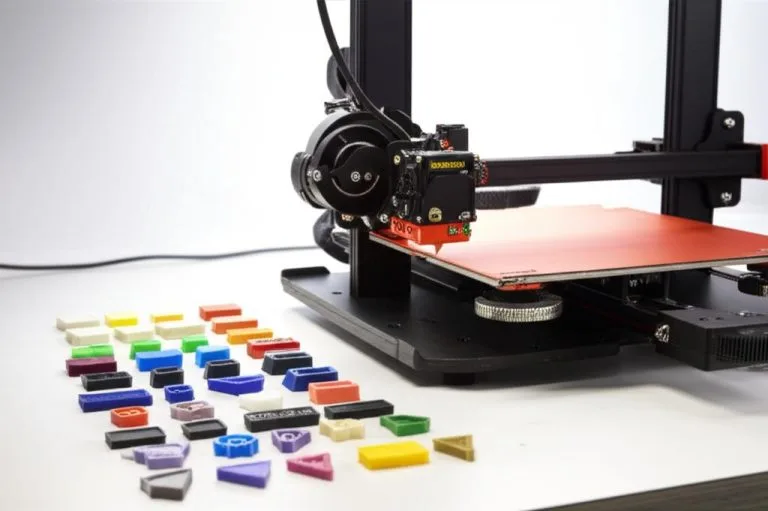
The consumer toolchanger 3D printer: the SnapSwap 4-toolhead system swaps heads in 5 seconds for true multi-color and multi-material printing, with smart calibration and auto filament loading.
- 4 toolheads · 5 s swap
- Up to 500 mm/s · 20,000 mm/s²
- 270 mm cube build volume
- Multi-color & multi-material

Which layer height to choose
- Not sure: 0.20 mm with a 0.4 mm nozzle, the standard preset in Bambu Studio and the same value Prusa uses for its first layer.
- Figures, busts, curved or sloped surfaces: 0.08–0.12 mm, and accept much longer prints (2.2× in Bambu Lab’s 0.08 mm example below).
- Brackets, jigs, enclosures, prototypes: 0.20–0.28 mm; spend the saved time on extra walls instead.
- Big parts where speed matters most: a 0.6 mm nozzle, which allows thicker layers within the same percentage limits.
- A model that needs both: use variable layer height instead of one compromise value.
Layer height limits by nozzle diameter
The nozzle has to press each line onto the one below. If the layer is too thick relative to the nozzle, the line is barely squashed and bonds poorly; if it is too thin, the extruder has to feed so little plastic that extrusion becomes inconsistent. Manufacturers put the limits in slightly different places. Bambu Lab’s wiki gives 20–70% of the nozzle diameter, and Bambu Studio also shows the layer height limit for the installed nozzle under the printer’s extruder settings. Prusa’s knowledge base says layer height should stay below 80% of the nozzle diameter and can never exceed it; PrusaSlicer refuses such a value. The widely quoted rule of thumb of 25–75% sits between the two.
| Nozzle | Bambu Lab range (20–70%) | Prusa ceiling (80%) | Sensible everyday value |
|---|---|---|---|
| 0.2 mm | 0.04–0.14 mm | 0.16 mm | 0.08–0.10 mm |
| 0.4 mm | 0.08–0.28 mm | 0.32 mm | 0.20 mm |
| 0.6 mm | 0.12–0.42 mm | 0.48 mm | 0.30 mm |
| 0.8 mm | 0.16–0.56 mm | 0.64 mm | 0.40 mm |
The two range columns are calculated from each manufacturer’s percentage rule. The last column is our starting point at about half the nozzle diameter, not a published figure; the 0.4 mm value matches Bambu Studio’s 0.20 mm standard preset. Stay nearer the middle of the range than the edges until you know how your printer and filament behave.
How layer height affects print time and speed
A model of fixed height needs more layers when each one is thinner, so time goes up, but not in exact proportion: travel, first layer and top and bottom surfaces do not scale the same way. Bambu Lab’s wiki shows one small model sliced three ways:
| Layer height | Print time (Bambu Lab example) | Compared with 0.20 mm |
|---|---|---|
| 0.08 mm | 1 h 19 min | about 2.2× longer |
| 0.20 mm | 36 min 14 s | baseline |
| 0.28 mm | 28 min 27 s | about 20% shorter |
Going thinner costs far more time than going thicker saves. The reason the thick end saves less than you might expect is flow: a thicker layer puts more plastic into every millimeter of line, so the hotend has to melt more per second. Bambu Lab notes that thicker layers need slower print speeds so the hotend can fully melt the filament, and its presets use different speeds for each layer height. As a rough check, the plastic needed per second is layer height × line width × speed: 0.28 mm × 0.45 mm × 100 mm/s is 12.6 mm³/s. If that is above what your hotend can melt, the slicer’s volumetric speed limit will slow the print down. For more on balancing speed and finish, see print speed vs quality.
Layer height for functional parts
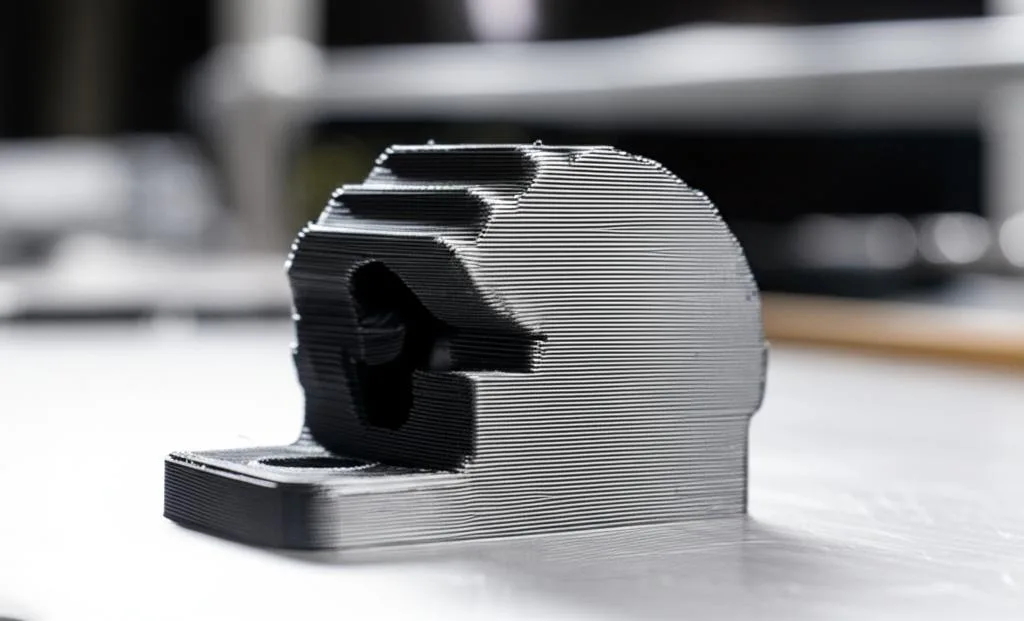
For brackets, jigs, holders and prototypes, visible layer lines rarely matter, so 0.20–0.28 mm on a 0.4 mm nozzle is the usual choice. Whether thicker layers make a part stronger is often claimed and rarely settled. Thicker layers mean fewer layer boundaries and more heat in each line; thinner layers mean more boundaries. Neither Prusa nor Bambu Lab make a strength claim for a particular layer height, so do not pick one for strength alone.
What does reliably change strength is how the part is built. Layer boundaries are the weakest direction of an FDM part, so the loads should run along the layers, not across them; our guide to print orientation for strength covers that. Extra perimeters and a nozzle temperature that fuses the layers well usually do more than any change of layer height. If parts are already splitting along the lines, see weak layer adhesion.
One practical point for fit: Bambu Lab’s wiki explains that when the model height is not a multiple of the layer height, the slicer rounds the top layer up or down, so a 2 mm tall cube at 0.24 mm layers and a 0.2 mm first layer slices to 1.88 mm. Bambu Studio 1.9 and later can fix this with “precise Z height”, which adjusts the last five layers. For parts that must match a height, pick a layer height that divides evenly into it or use that feature.
Layer height for detailed models
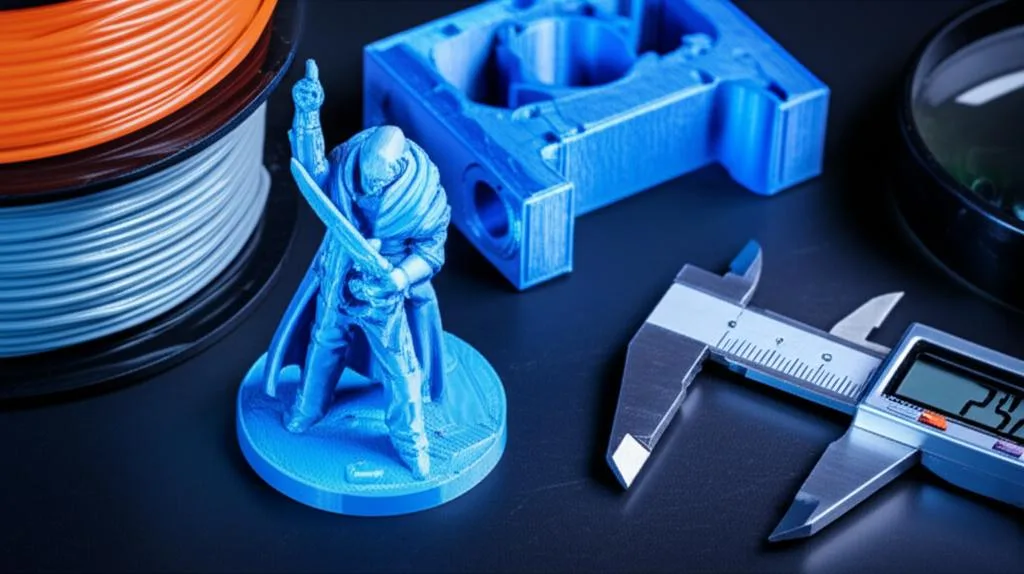
Thin layers pay off where the surface slopes or curves: domes, faces, organic shapes and shallow angles, where each layer steps outward and the steps show as a staircase. On vertical walls and flat tops the effect is small, because a vertical wall has no steps to hide. Prusa’s knowledge base makes the key point: layer height sets vertical resolution only, and embossed text lying parallel to the bed looks the same at any layer height.
- 0.12 mm is a good first step down from 0.20 mm for display pieces on a 0.4 mm nozzle.
- 0.08 mm is the lower end of Bambu Lab’s range for a 0.4 mm nozzle. Prusa notes that going below 0.10 mm brings relatively minor improvements for much longer times.
- Fine detail in X and Y (thin text, small features on the top face) needs a smaller nozzle, such as 0.2 mm, not a thinner layer.
Tabletop miniatures sit at the limit of what FDM does well. If layer lines on a 30 mm figure are the problem, a resin printer is the usual answer; see FDM vs resin for miniatures. Resin works with much thinner layers and has its own rules, covered in resin layer height.
Magic numbers: do full-step layer heights matter?
“Magic numbers” are layer heights that equal a whole number of full steps of the Z motor, so the motor never has to stop between steps. The arithmetic is simple and checks out against Klipper’s documentation: most steppers are 1.8° motors with 200 full steps per rotation, and the common T8 lead screw moves 8 mm per turn (2 mm pitch, 4 threads). One full step is 8 / 200 = 0.04 mm, so 0.08, 0.12, 0.16, 0.20, 0.24 and 0.28 mm are all whole-step heights on that hardware. A screw with a different lead, a geared or belt-driven Z axis gives different numbers; calculate them from your own printer’s Z lead.
The claimed benefit is more even layers, because a motor holds full-step positions most precisely. What we could not find is a manufacturer recommending it. Prusa’s layer height documentation does not mention it, and Bambu Studio’s own precise Z height feature deliberately gives the last five layers odd heights. With modern microstepping drivers, treat magic numbers as a harmless tie-breaker: if you are choosing between 0.15 and 0.16 mm on a T8 lead screw printer, pick 0.16 mm. Do not expect it to fix banding that has a mechanical cause.
First layer height and variable layer height
The first layer is set separately and is usually thicker than the rest so it tolerates small bed irregularities. Prusa’s print profiles always use 0.20 mm for the first layer. Bambu Studio’s presets use 50% of the nozzle diameter, which is also 0.20 mm on a 0.4 mm nozzle. Keep that value even when printing the rest of the model at 0.08 mm.
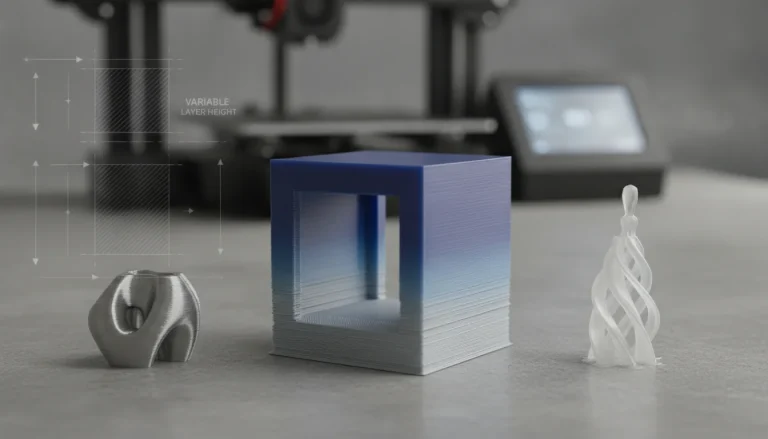
When one part of a model needs fine layers and the rest does not, both slicers can vary the layer height along the height of the part; see our guide to variable layer height.
Common layer height mistakes
- Going thin to fix a flat detail. Small text on the top face will not improve at 0.08 mm. Use a smaller nozzle or make the feature bigger.
- Keeping the 0.4 mm profile after a nozzle swap. Layer limits, line widths and speeds all follow the nozzle. Select the matching nozzle profile before changing layer height.
- Raising layer height without watching speed. A thick layer at a fast speed can ask more plastic per second than the hotend can melt, which shows up as under-extrusion.
- Choosing layer height for strength. Orientation, walls and temperature decide strength first.
- Printing everything at the finest setting. Past 0.10 mm the returns drop quickly while the time keeps climbing.
Frequently asked questions
What is the best layer height for a 0.4 mm nozzle?
0.20 mm is the standard all-round setting and Bambu Studio’s standard preset. Bambu Lab gives 0.08–0.28 mm as the reasonable range for a 0.4 mm nozzle, and Prusa puts the maximum at about 0.32 mm. Go thinner for curved display surfaces and thicker for fast functional parts.
Does a lower layer height make prints stronger?
Not reliably. Neither Prusa nor Bambu Lab ties strength to a specific layer height. Print orientation, the number of walls and a temperature that fuses the layers well have a bigger and more predictable effect.
Does 0.1 mm take twice as long as 0.2 mm?
Roughly twice as many layers are needed, but the time does not scale exactly. In Bambu Lab’s example, 0.08 mm took about 2.2 times as long as 0.20 mm. Slice the model at both heights; the slicer’s estimate is the best answer for a specific part.
Can the layer height be bigger than the nozzle?
No. Prusa’s documentation says it cannot be higher than the nozzle diameter and should stay below 80% of it, and PrusaSlicer will not accept a larger value. For thicker layers, fit a larger nozzle.