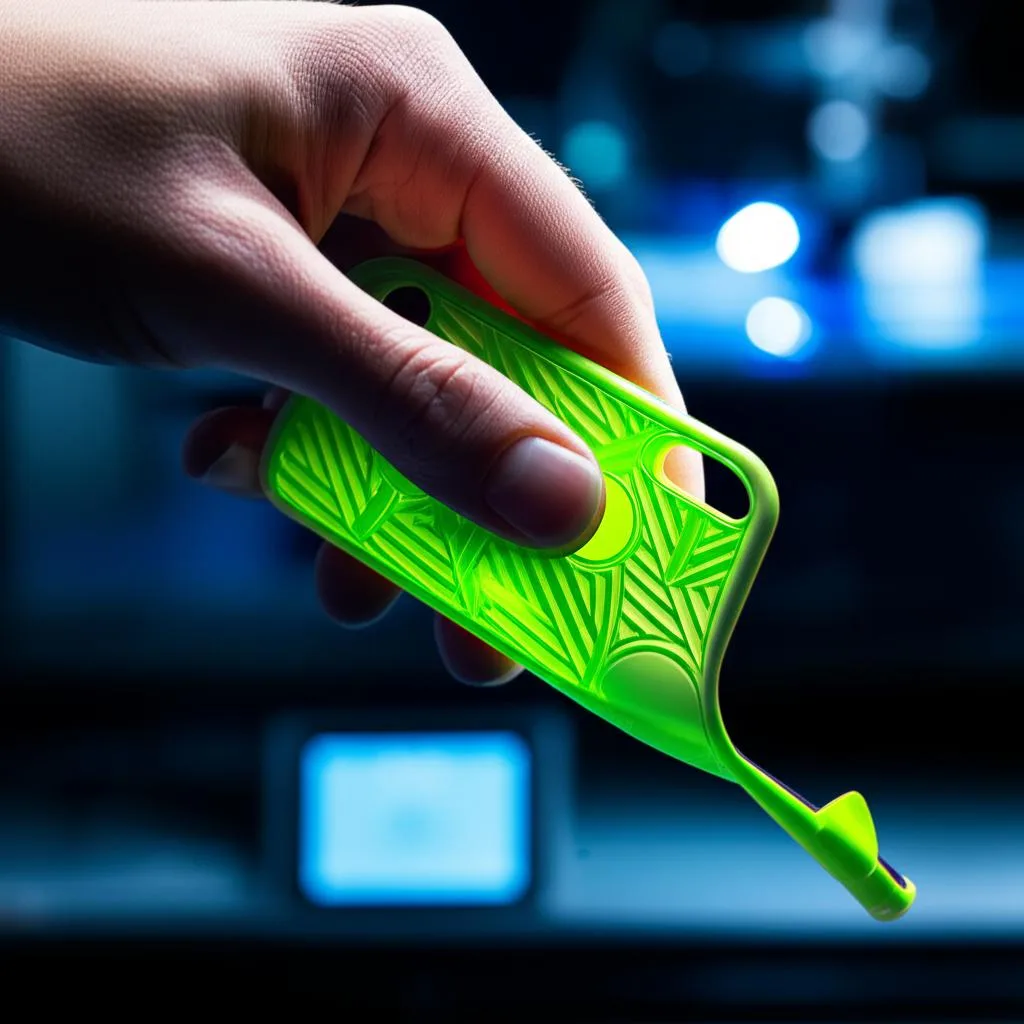
A 3D printed TPU phone case is a flexible sleeve printed from thermoplastic polyurethane, a rubber-like filament that stretches over the phone and springs back to grip it. For a first case, pick a 95A TPU, design a raised lip that keeps the screen at least 1 mm off a flat surface, and print slowly: Polymaker lists 30–50 mm/s and 210–230 °C for its PolyFlex TPU95, while Prusa’s general guidance for flexible filaments is around 20 mm/s. Then do a test fit and adjust the model, not just the settings.
This guide covers choosing the Shore hardness, the dimensions that matter (lip, port openings, camera cut-out, back thickness), print settings from manufacturer data sheets, and a fit check adapted from Apple’s accessory guidelines for case makers. Apple’s figures are written for commercial iPhone cases; they are useful targets for any phone, but a home-printed case is not tested to those standards and we do not claim it is.
The consumer toolchanger 3D printer: the SnapSwap 4-toolhead system swaps heads in 5 seconds for true multi-color and multi-material printing, with smart calibration and auto filament loading.
- 4 toolheads · 5 s swap
- Up to 500 mm/s · 20,000 mm/s²
- 270 mm cube build volume
- Multi-color & multi-material

TPU phone case in seven steps
- Get the phone’s dimensions from the maker’s drawings, or measure it with calipers.
- Model the case with a lip around the screen and openings for ports, buttons, speakers and cameras.
- Choose a TPU of 85A or harder; 95A is the easiest to print.
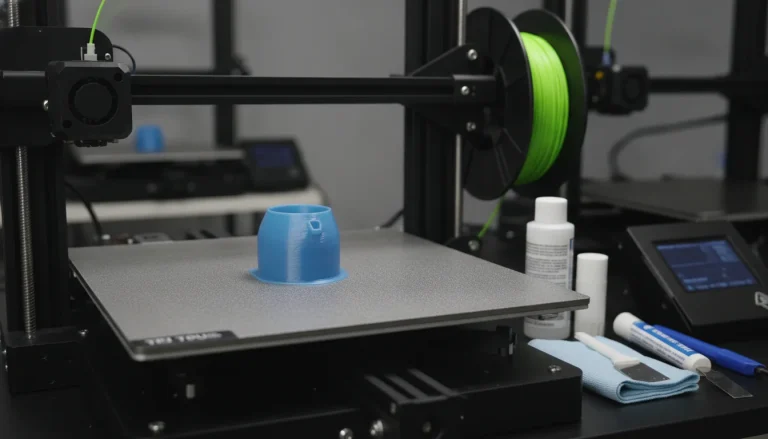
- Dry the filament and clean the nozzle before loading it.
- Slice with the filament’s data-sheet temperature, slow speeds and little or no retraction.
- Print with the back of the case on the bed.
- Test the fit, buttons, ports and lip height, then adjust the model and reprint.
Which TPU: Shore hardness for a phone case
TPU hardness is given on the Shore A scale: the higher the number, the harder and less flexible the filament. Softer grades absorb more and stretch more easily over the phone, but they are harder to feed. Bambu Lab recommends 85A or harder for stable printing, because softer TPU bends in the extruder and causes buckling and tangling. Prusa also notes that softer filaments are more difficult to print.
| Hardness | Feel in a case | Printability | Nozzle notes (Bambu Lab) |
|---|---|---|---|
| 95A | Firm, holds its shape, still stretches over the corners | Easiest TPU to print; a good first choice | 0.4, 0.6 or 0.8 mm; not 0.2 mm |
| 90A | Softer and grippier | Needs slower, more careful feeding | 0.4, 0.6 or 0.8 mm; not 0.2 mm |
| 85A | Soft, rubbery | Difficult; prone to buckling in the extruder | 0.6 or 0.8 mm; Bambu Lab says 85A cannot be printed with a 0.4 mm nozzle on its printers |
| Below 85A | Very soft | Not supported on Bambu Lab printers | — |
Avoid fiber-filled or metallic filaments for the case. Apple’s guidelines tell accessory makers to avoid plastics with carbon or glass content and metallic coatings, because they absorb radio signals and can weaken cellular, Wi-Fi, Bluetooth and NFC reception.
Get accurate phone dimensions
A case that is off by a millimeter either will not go on or will slide off. Apple publishes dimensional drawings for each iPhone together with its Accessory Design Guidelines, including the areas around cameras, antennas and sensors that a case should keep clear. It also warns case makers not to assume any camera parameters carry over between models. For other phones, look for the manufacturer’s accessory or case-maker drawings, or measure length, width, thickness, corner radius and every opening with digital calipers. Measure the phone without a screen protector if you do not use one, and with it if you do.
Design rules: lip, openings and thickness
The values below are from Apple’s Accessory Design Guidelines (September 2026 edition). Where Apple gives no figure, the table says what is a starting point.
| Feature | Target | Note |
|---|---|---|
| Screen and camera lip | Exposed glass must not come within 0.85 mm of a flat surface in any orientation; ideally 1.00 mm | Check at every corner, not only face down |
| USB-C opening | At least 12.35 × 6.50 mm; 12.45 × 6.60 mm with full-radius corners is recommended | Apple asks for extra margin for case material shifting, which matters for stretchy TPU |
| Lightning opening (older iPhones) | At least 12.05 × 6.30 mm; 13.65 × 6.85 mm recommended | Full-radius corners |
| Headphone jack | At least 6.0 mm diameter, at most 14.0 mm deep; 6.5 mm and 10.0 mm recommended | Only if the phone has one |
| Speaker and microphone openings (cases up to 2.25 mm thick) | Offset at least 2.0 mm from the port edge, edge at most 1.5 mm thick, entry angle at most 45° | Seal against the phone between speaker and mic ports to avoid echo |
| Camera opening | Must not block the lens field of view or the flash | Chamfer the edge to direct stray light away; Apple recommends semi-gloss black around camera and flash |
| Screen edges | Leave a 120° opening along the edges of the touch area; do not trap water at a 30° tilt | A tall, vertical lip can interfere with edge swipes |
| Bottom edge | No more than 1.8 mm from the phone’s bottom to the outside of the case, for docks | Only if you use a dock |
| Back and sides | No Apple figure for TPU. Start around 1.5–2 mm and adjust after a test fit | Our starting point, not a published value |
| Buttons | All buttons accessible and not hard to press | Use cut-outs, or thin raised pads over each button, and test them |
Wireless charging. Apple limits cases with its MagSafe magnet array to a uniform thickness of 2.1 mm or less (2.0 mm recommended), and rules out card pockets on the back of MagSafe and Qi cases because the cards can be damaged and charging suffers. A printed case has no magnet array, so magnetic accessories will hold less well. If you rely on wireless charging, keep the back thin and flat and check it charges before you commit to the design.
Printability of the lip. The lip curls inward over the screen, which is an overhang when the case prints back-down. Give its underside a chamfer rather than a flat ledge so it prints without supports; the same rules apply as in designing for support-free printing. If you do need supports, Bambu Lab recommends PLA as the support material for TPU on multi-material printers, because TPU supports are hard to remove cleanly.
TPU print settings from the data sheets
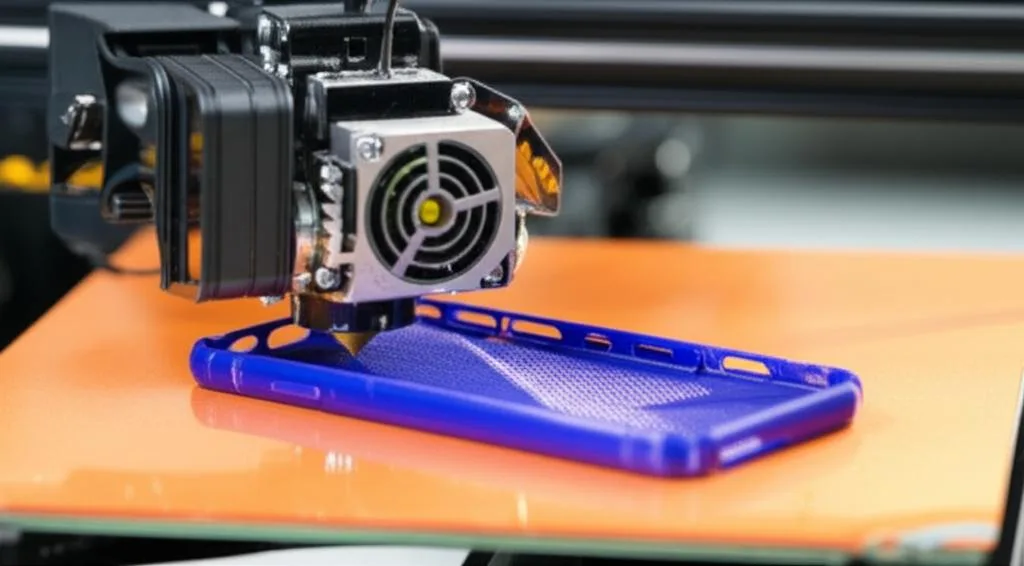
Use your own filament’s technical data sheet first. The two references below show how much the published ranges vary between a specific product and general guidance for the whole material class.
| Setting | Polymaker PolyFlex TPU95 (TDS) | Prusa, flexible filaments in general |
|---|---|---|
| Nozzle | 210–230 °C | 230–245 °C, depending on hardness and brand |
| Bed | 25–60 °C | 60–75 °C, higher for larger parts |
| Speed | 30–50 mm/s | Typically 20 mm/s, 30–40 mm/s at most |
| Retraction | 3–6 mm at 40–60 mm/s | Reduce it; turning it off is fine |
| Part cooling | On | Off |
| Build surface | PC or textured PEI, glue when needed | Textured sheet; on smooth PEI use glue stick or Kapton tape as a separator |
| Drying | 70 °C for 8 h | Keep the filament dry |
Polymaker’s values assume a 0.4 mm nozzle. Its retraction range is a data-sheet figure; on a Bowden printer long retractions tend to cause jams with flexible filament, so start low and add only if stringing demands it. To find the right temperature for your printer, run a temperature tower with the TPU.
- Dry it. Bambu Lab calls TPU highly hygroscopic: wet TPU strings, bubbles and bonds poorly. Store it sealed with desiccant, below 20% RH according to Bambu Lab, and dry it again after long storage.
- Clean nozzle. Bambu Lab recommends a new nozzle or a cold pull before TPU, and several cold pulls if the nozzle has printed carbon or glass fiber.
- Stringing: Bambu Lab suggests dropping the nozzle about 5 °C and lowering the maximum volumetric speed by 0.4 mm³/s, or adding 0.2 mm of retraction if oozing is severe.
- Bambu Lab printers: turn off flow dynamics calibration before TPU prints, and feed TPU from an external spool or dry box, not through a standard AMS (only the AMS HT, used as a sealed box with its rear TPU outlet, supports it).
- Removing the case: TPU sticks hard. Bambu Lab’s advice is to lift one corner gently and spray isopropyl alcohol into the gap rather than pulling.
Direct-drive extruders handle TPU more easily because the filament has no long tube to buckle in. If yours is a Bowden printer, the TPU jam guide covers the extruder, speed and retraction fixes.
Test fit checklist
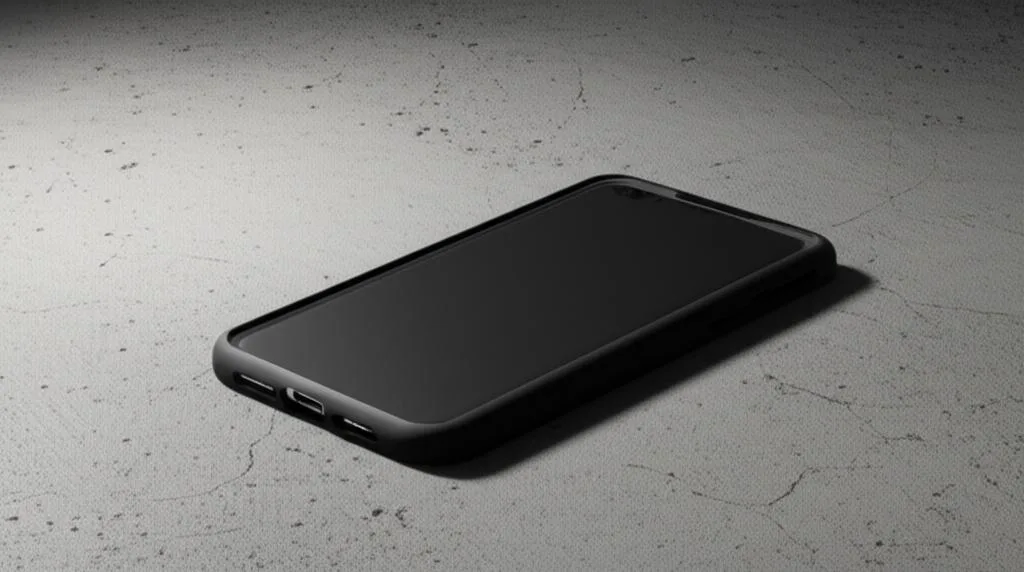
Apple’s verification procedure for cases, simplified for a home print:
- Put the phone in the case. It should sit fully inside and not feel loose.
- Press every button. None should be hard to reach or take much effort.
- Check that no speaker or microphone port is covered.
- Plug in the chargers, cables and headphones you actually use.
- Lay the phone face down and roll it towards each open side. Apple uses a 0.85 mm feeler gauge: it must still fit between the glass and the table at the smallest gap.
- Take a photo with the flash on and look for haze or dark corners from the camera opening.
| Problem | Likely cause | Fix |
|---|---|---|
| Case will not stretch over the phone | Too tight, or TPU too hard for the wall thickness | Add clearance or thin the side walls; try a softer grade |
| Phone slides out | Too much clearance or lip too small | Reduce clearance, deepen the lip over the screen |
| Glass touches the table on one edge | Lip too low on that side | Raise the lip until the 0.85–1.00 mm gap holds everywhere |
| Button pads hard to press | Pads too thick or pressing on the button at rest | Thin the pad, add a small gap, or switch to a cut-out |
| Strings across openings | Wet filament, nozzle too hot | Dry the TPU, lower the temperature 5 °C |
| Gaps or thin walls, clicking extruder | Printing too fast, filament buckling | Slow down, see the TPU jam guide |
Common mistakes and next steps
- Copying settings from a PLA profile. Speed and retraction are the settings that ruin TPU prints; start from the data sheet.
- Tight USB-C openings. Stretch and small print errors close the gap; Apple’s minimum is 12.35 × 6.50 mm for a reason.
- A card pocket on the back. Apple rules it out for wireless charging cases.
- Printing on smooth PEI without a separator. Prusa recommends glue stick or Kapton tape so the case comes off in one piece.
- Wanting a rigid back. A rigid frame with a soft TPU bumper is possible on a multi-material printer; see printing TPU with PLA or PETG for bonding and interlocks.
Frequently asked questions
What Shore hardness is best for a 3D printed phone case?
95A is the easiest to print and still flexible enough to stretch over the phone’s corners. 90A and 85A are softer and grippier but harder to feed; Bambu Lab recommends at least 85A for stable printing and needs a 0.6 mm or larger nozzle for 85A.
How thick should a TPU phone case be?
There is no published TPU figure, so start around 1.5–2 mm for the back and sides and adjust after a test fit. What matters more is the lip: Apple requires that exposed glass stays at least 0.85 mm, ideally 1.00 mm, above a flat surface in any orientation.
Can I print a TPU phone case on a Bowden printer?
Yes, with 95A TPU and patience. Print slowly, around the 20 mm/s Prusa suggests for flexible filaments, and keep retraction short or off, so the filament does not buckle in the tube. If it keeps jamming, the extruder is the limit rather than the settings.
Will wireless charging work through a printed case?
It can, if the back is thin and has no pocket or metal, but test it with your own phone and charger. Apple limits MagSafe cases to 2.1 mm at the back, and those cases include a magnet array that a printed TPU case lacks, so magnetic mounts will hold less well.