Flexible filaments, such as Thermoplastic Polyurethane (TPU), have revolutionized 3D printing by enabling the creation of parts with remarkable elasticity and durability. From phone cases to gaskets and drone parts, the applications are vast and continuously expanding. However, working with these materials often presents a unique set of challenges, with bed adhesion standing out as one of the most common and frustrating hurdles for many users. Unlike rigid plastics, flexible filaments possess inherent properties that can make them reluctant to stick to a print bed, leading to warping, detachment, and ultimately, failed prints. Understanding these properties and the various strategies available to combat them is crucial for achieving consistent success.
This guide delves into the intricacies of flexible filament adhesion, offering an objective analysis of different print bed solutions and parameter adjustments. Our aim is to equip you with the knowledge to make informed decisions tailored to your specific setup and printing needs, rather than prescribing a one-size-fits-all approach. We will explore the characteristics of TPU that contribute to adhesion issues, examine a range of print bed surfaces and their associated cost structures, and discuss essential printer settings and maintenance practices. By presenting the facts and potential implications, we empower you to navigate the world of flexible filament printing with greater confidence.
Understanding the unique properties of flexible filaments
The consumer toolchanger 3D printer: the SnapSwap 4-toolhead system swaps heads in 5 seconds for true multi-color and multi-material printing, with smart calibration and auto filament loading.
- 4 toolheads · 5 s swap
- Up to 500 mm/s · 20,000 mm/s²
- 270 mm cube build volume
- Multi-color & multi-material

The very characteristics that make flexible filaments so desirable are also what contribute to their adhesion challenges. TPU, for instance, is known for its high elasticity, abrasion resistance, and good chemical resistance. However, these properties translate into specific behaviors during the 3D printing process:
- Elasticity and deformation: When extruded, flexible filaments can stretch and deform more readily than rigid materials. This elasticity means that any slight stress during the cooling process, such as differential cooling across the print, can cause the material to pull away from the bed. The internal stresses within the printed part can exert significant force, leading to corners lifting or the entire print detaching.
- Low surface energy: Many flexible filaments, including certain TPUs, exhibit relatively low surface energy. This property makes it inherently difficult for the material to bond effectively with many common print bed surfaces. Adhesion relies on the attractive forces between the molten plastic and the bed; a low surface energy can diminish these forces, making the material less likely to ‘wet’ the surface properly.
- Temperature sensitivity: While flexible filaments require specific bed temperatures to adhere, they are also sensitive to rapid temperature changes. If the print bed cools too quickly, or if there’s a significant temperature gradient across the print, the material can contract unevenly, exacerbating warping and detachment issues. Maintaining a stable, consistent bed temperature is paramount.
- Print speed and flow characteristics: The inherent flexibility also impacts how the filament flows through the nozzle and lays down on the print bed. Printing too fast can lead to insufficient time for the material to bond, while improper flow rates can result in poor first layer compression, which is vital for adhesion.
Common culprits behind TPU bed adhesion problems
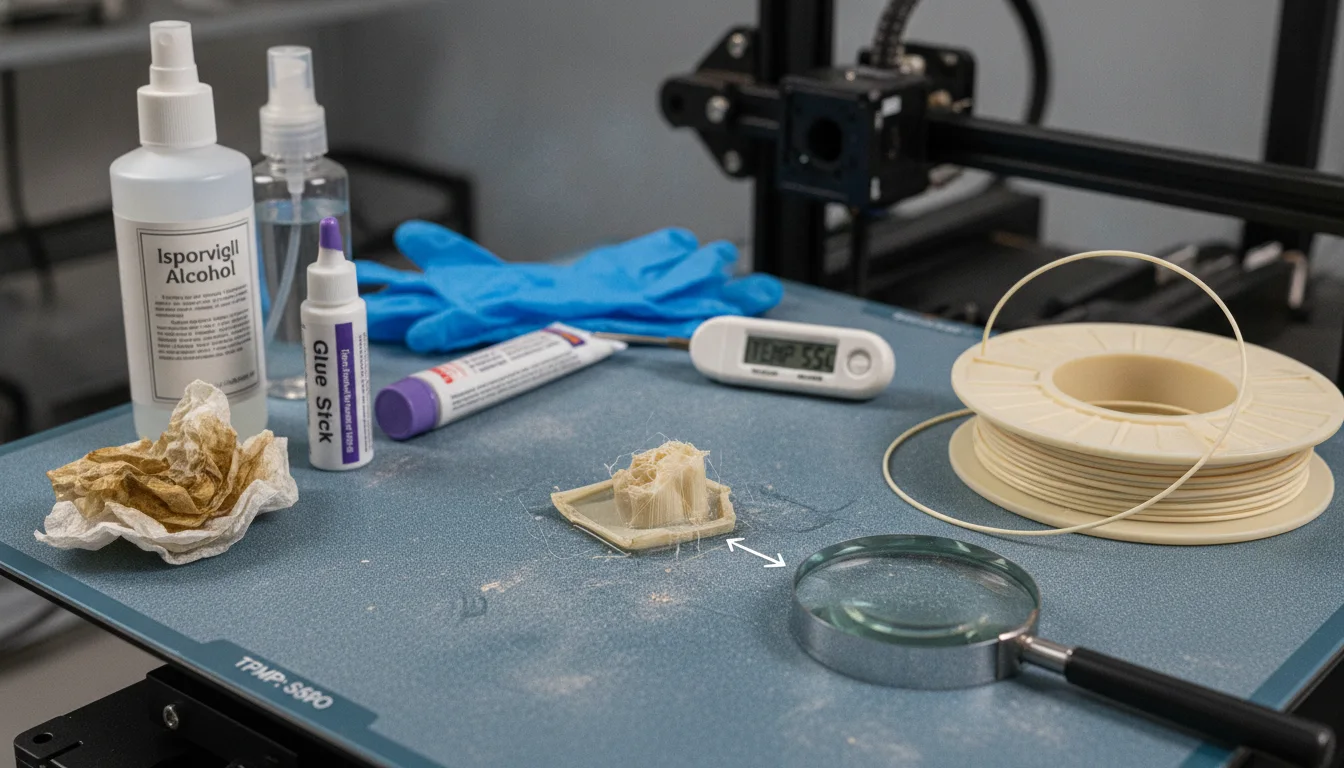
Before diving into solutions, it’s essential to identify the root causes of flexible filament sticking issues. Often, a combination of factors contributes to the problem. Addressing these systematically can save time and filament.
Incorrect bed temperature settings
The print bed temperature plays a critical role in establishing the initial bond. If the bed is too cold, the filament won’t soften sufficiently to adhere. If it’s too hot, the material might remain too soft, leading to ‘elephant’s foot’ or making removal difficult, sometimes even causing it to fuse excessively with certain surfaces. Optimal temperatures for TPU typically range from 40°C to 60°C, but this can vary significantly between different TPU formulations and printer setups. Experimentation within this range, often starting at the lower end and gradually increasing, is frequently necessary.
Improper bed leveling and Z-offset calibration
A perfectly level print bed is non-negotiable for successful first layer adhesion, especially with flexible filaments. An uneven bed means that some areas of the print will be too far from the nozzle, preventing proper squish, while others might be too close, causing dragging or extrusion issues. Similarly, the Z-offset, which determines the exact distance between the nozzle and the print surface after homing, is crucial. For TPU, a slightly lower Z-offset (meaning the nozzle is a tiny bit closer to the bed) than for rigid filaments can often improve adhesion by increasing the ‘squish’ of the first layer, ensuring maximum contact area. However, too much squish can lead to filament buildup around the nozzle or poor layer lines.
Contaminated print surface
Even the slightest amount of grease, oil, dust, or fingerprint residue on the print bed can act as a release agent, severely compromising adhesion. Over time, build plates can accumulate these contaminants from handling, previous prints, or airborne particles. A clean surface is fundamental, regardless of the print bed material or adhesion aid being used. Regular cleaning with appropriate solvents is a simple yet often overlooked step.
Suboptimal first layer settings
The first layer is arguably the most important for overall print success, particularly with flexible filaments. Parameters such as first layer print speed, layer height, line width, and extrusion multiplier (flow) significantly impact adhesion. Printing the first layer too quickly can prevent the material from properly bonding. A slightly thicker first layer height (e.g., 0.25mm or 0.3mm) combined with a wider extrusion width can increase the contact area and improve mechanical bonding. Adjusting the flow rate for the first layer can also ensure adequate material deposition without over-extruding.
Excessive cooling
While part cooling is essential for bridging and overhangs on subsequent layers, it can be detrimental to first layer adhesion, especially with flexible filaments. Rapid cooling of the first layer can cause the material to contract and warp before it has fully bonded to the print bed. For TPU, it is generally recommended to disable the part cooling fan entirely for the first few layers (typically 3-5 layers) and then gradually increase it, if necessary, for subsequent layers. Some users even print TPU with the fan completely off for the entire duration, depending on the part geometry and desired finish.
Print bed surface solutions for TPU: An objective comparison

The choice of print bed surface is perhaps the most impactful decision when addressing flexible filament adhesion. Different surfaces offer varying degrees of natural adhesion, durability, and ease of use, each with its own cost implications. Below, we objectively compare common options, focusing on their features and the financial considerations involved.
Glass beds with adhesion aids
Glass beds, such as borosilicate glass or tempered glass, are prized for their exceptional flatness and smooth finish, which can lead to very smooth bottom surfaces on prints. They are also relatively durable and resistant to warping at typical printing temperatures. However, glass itself offers minimal inherent adhesion for many flexible filaments, necessitating the use of adhesion aids.
- Features: Excellent flatness, smooth print surface, good thermal conductivity, durable, easy to clean.
- Adhesion aids:
- PVA gluestick: A common and inexpensive solution. It creates a thin, tacky layer that helps the filament stick. Application is straightforward, but it requires reapplication periodically and cleaning can leave residue.
- Hairspray (e.g., Aquanet): Similar to gluestick, it provides a thin adhesive layer. It’s convenient for larger surfaces but can lead to overspray on printer components and requires regular cleaning.
- Specialized liquid adhesives (e.g., Magigoo Flex, Layerneer): These are formulated specifically for flexible filaments. They often offer excellent adhesion when hot and release easily when cool. They are typically applied as a thin layer.
- Cost implications: The initial cost of a glass bed is generally low to moderate. However, the use of adhesion aids introduces recurring expenses. Gluesticks and hairspray are very low-cost consumables, while specialized liquid adhesives represent a higher per-application cost, though they can last for many prints. The overall long-term cost depends on usage frequency and the specific adhesive chosen.
PEI (Polyetherimide) sheets
PEI sheets are a popular choice across the 3D printing community due to their excellent all-round performance with a wide range of filaments. They are available in smooth or textured varieties, often laminated onto spring steel sheets for magnetic attachment. PEI offers a good balance of adhesion when hot and easy release when cool.
- Features: Good inherent adhesion for many materials including TPU, durable, available in smooth or textured finishes, often self-releasing when cool, excellent thermal stability. Magnetic versions offer easy print removal.
- Adhesion aids: For TPU, smooth PEI often requires minimal or no additional adhesion aids, especially if properly cleaned and conditioned. Textured PEI can provide a mechanical bond, which is often beneficial for flexibles.
- Cost implications: The initial investment for a high-quality PEI sheet, especially a magnetic spring steel variant, is typically higher than a basic glass bed. However, the recurring costs are very low, often limited to isopropyl alcohol for cleaning. If maintained properly, a PEI sheet can last for hundreds of prints, making its long-term cost-effectiveness quite favorable compared to solutions requiring continuous consumables. Replacement sheets are available, but usually not needed frequently.
Garolite / FR4 (Phenolic Paper Laminate)
Garolite, specifically the FR4 grade, is a lesser-known but highly effective surface for printing flexible filaments. It’s a composite material made from woven fiberglass cloth with an epoxy resin binder. It’s often supplied as thin sheets that can be clipped or magnetically attached to a heated bed.
- Features: Exceptional adhesion for flexible filaments, high temperature resistance, provides a strong mechanical bond, durable, relatively lightweight.
- Adhesion aids: Often requires no additional adhesion aids for TPU. A light scuffing with fine-grit sandpaper (e.g., 400-600 grit) when new can help establish an even better bond, creating micro-scratches for the filament to grip.
- Cost implications: The initial cost of a Garolite sheet is typically moderate, falling somewhere between a basic glass bed and a premium PEI spring steel system. Like PEI, its recurring costs are very low, primarily involving occasional cleaning. Its specialized nature means it might not be as readily available as glass or PEI, potentially affecting sourcing and price. Its excellent performance with flexibles can justify the investment for users who frequently print with these materials.
Magnetic flexible build plates (with various surfaces)
These systems consist of a magnetic base that adheres to the heated bed and a removable, flexible spring steel sheet with a build surface (e.g., PEI, textured PEI, or other proprietary coatings). The primary advantage is the ease of print removal by simply bending the flexible sheet.
- Features: Extremely convenient for print removal, various surface options (smooth PEI, textured PEI, powder-coated PEI, carbon fiber look), good durability for the steel sheet, easy to swap surfaces.
- Adhesion aids: Depends entirely on the surface material applied to the spring steel sheet. For PEI surfaces, the adhesion characteristics and requirements are similar to standalone PEI sheets.
- Cost implications: Magnetic flexible build plate systems generally represent a higher initial investment compared to standalone glass or even some PEI sheets due to the inclusion of the magnetic base and the flexible steel sheet. However, the convenience factor is significant. Recurring costs depend on the surface material; PEI variants will have low recurring costs, while those requiring sprays or glues will have higher ongoing expenses. The ability to easily swap out damaged or specialized surfaces can also be a long-term cost consideration, as replacement sheets are typically available.
Optimizing printer settings for TPU success
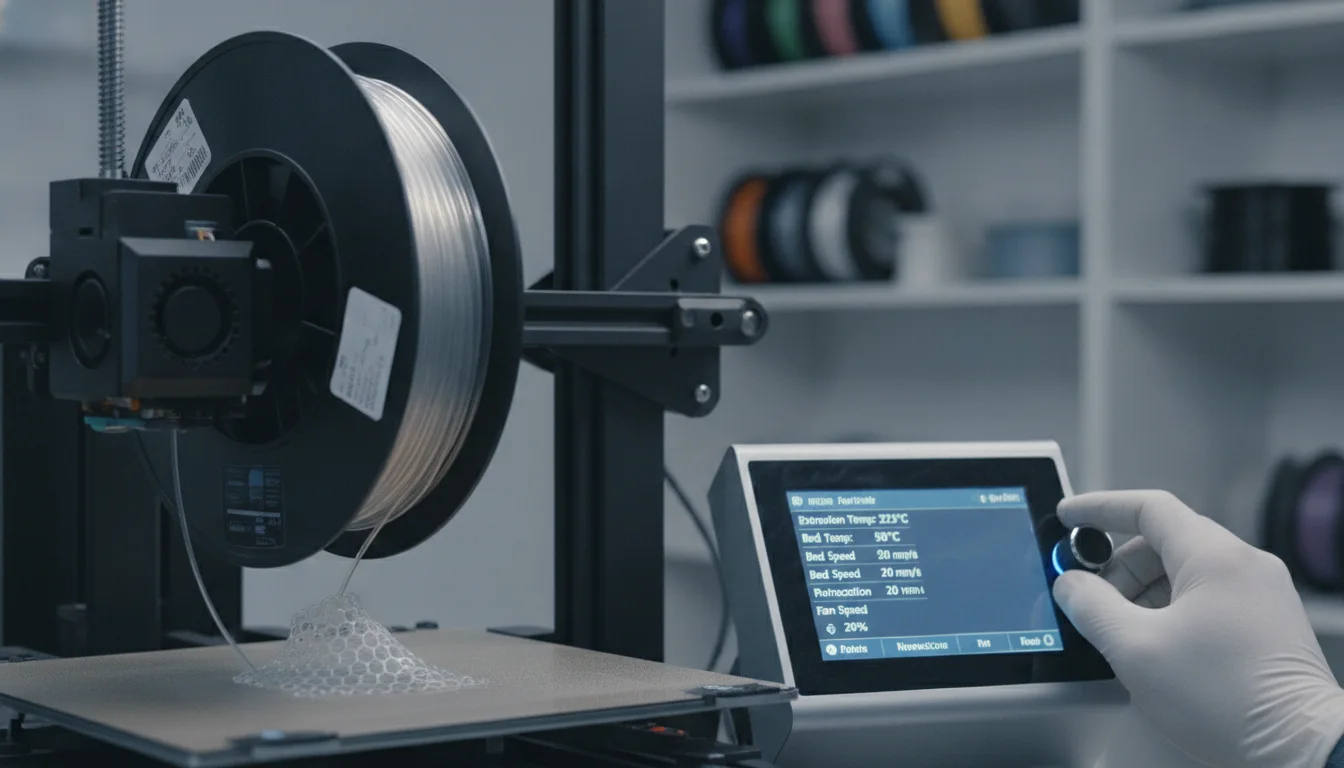
Beyond the print bed surface, fine-tuning your slicer settings is paramount for overcoming TPU bed adhesion problems. These adjustments work in conjunction with your chosen build surface to create the ideal environment for the first layer.
Bed temperature
As mentioned, the optimal bed temperature for TPU typically falls between 40°C and 60°C. However, it’s not just about the absolute temperature, but also its consistency. A heated bed ensures that the first layer remains pliable enough to adhere and reduces thermal stresses that lead to warping. It’s often beneficial to let the bed reach and stabilize at the target temperature for several minutes before starting the print, ensuring uniform heat distribution.
Nozzle temperature
TPU generally prints at higher temperatures than PLA, typically between 210°C and 230°C, though some formulations can go higher. A higher nozzle temperature ensures the filament is sufficiently molten to flow smoothly and bond effectively with the previous layer and the print bed. If the nozzle temperature is too low, the filament might be too viscous, leading to poor adhesion and extrusion issues. However, excessively high temperatures can cause stringing and blobbing, common issues with flexible filaments.
First layer specific settings
- Print speed: Reduce the first layer speed significantly. A speed of 10-20 mm/s is often a good starting point for TPU. This allows the molten plastic sufficient time to settle, spread, and bond to the build surface.
- Layer height: Consider a slightly thicker first layer (e.g., 0.25mm or 0.3mm) to increase the volume of material and thus the contact area with the bed.
- Line width / Extrusion width: Increasing the first layer line width (e.g., 120-150% of nozzle diameter) can further enhance the contact area and improve the mechanical bond.
- Flow rate / Extrusion multiplier: A slight increase in the first layer flow rate (e.g., 105-110%) can help ensure adequate material is deposited, resulting in a good ‘squish’ without over-extrusion.
Cooling fan settings
For the initial layers of TPU, it is almost always recommended to disable the part cooling fan entirely. This prevents rapid cooling and premature contraction of the filament, which can lead to warping and detachment. After the first 3-5 layers, if cooling is necessary for specific print features like overhangs, gradually increase the fan speed. For many TPU prints, especially those without steep overhangs, the fan can remain off for the entire print.
Retraction settings
While not directly related to bed adhesion, proper retraction settings are critical for overall TPU print quality and can indirectly affect the first layer if stringing leads to nozzle contamination. TPU is notorious for stringing, and finding the right balance of retraction distance and speed is challenging. Often, lower retraction distances and speeds than for rigid filaments are preferred, or even disabling retraction entirely for simpler prints, to avoid clogs and grinding.
Enclosure
For printers without an enclosure, ambient temperature fluctuations can significantly impact bed adhesion. An enclosure helps maintain a stable, warm environment around the print, reducing thermal stresses and preventing drafts that can cause uneven cooling and warping. While not a direct bed adhesion solution, it creates a more consistent printing environment, which is highly beneficial for flexible filaments.
Pre-print preparation and ongoing maintenance
The consumer toolchanger 3D printer: the SnapSwap 4-toolhead system swaps heads in 5 seconds for true multi-color and multi-material printing, with smart calibration and auto filament loading.
Consistent success with flexible filaments, and indeed all 3D printing, relies heavily on diligent pre-print preparation and regular maintenance. These steps, though seemingly minor, can prevent numerous adhesion failures.
Thorough bed cleaning
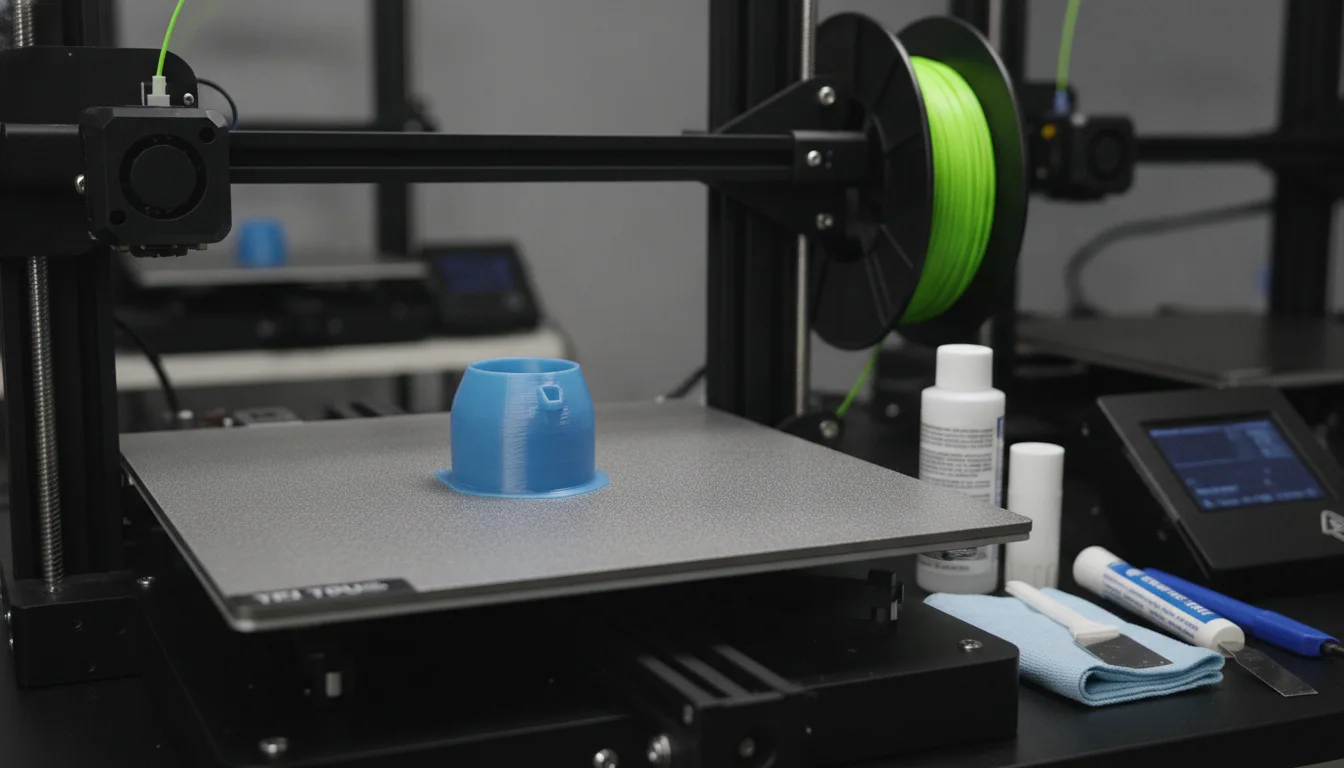
Before every print, or at least every few prints, ensure your print bed is immaculately clean. The cleaning agent depends on the bed surface:
- Glass: Isopropyl alcohol (IPA) is generally effective. For stubborn residues (e.g., from gluestick), warm water and dish soap, followed by a thorough rinse and dry, may be necessary.
- PEI: IPA is the go-to. For occasional deep cleaning or to refresh adhesion, a light scrub with fine-grit sandpaper (e.g., 1000-grit) followed by IPA can rejuvenate the surface.
- Garolite / FR4: IPA is usually sufficient. Acetone can also be used occasionally, but always test on a small, inconspicuous area first, as it can react differently with various composites.
Regular bed leveling and Z-offset calibration
Even if your printer has automatic bed leveling, it’s wise to perform a manual check or recalibrate periodically. Small shifts can occur over time due to printer movement, vibrations, or component wear. The Z-offset should be fine-tuned for TPU, often requiring a slightly more aggressive ‘squish’ than for PLA or PETG. Performing a first layer test print, such as a large single-layer square, can help visually confirm optimal leveling and Z-offset.
Filament storage and moisture control
Flexible filaments, particularly TPU, are hygroscopic, meaning they readily absorb moisture from the air. Moist filament can lead to inconsistent extrusion, bubbling, stringing, and significantly compromise layer adhesion and overall print quality, including first layer adhesion. Storing TPU in a dry box with desiccant, or dehydrating it in a filament dryer before use, is a highly recommended practice to maintain optimal print performance.
Conclusion
Addressing TPU bed adhesion problems is a multifaceted endeavor that requires a holistic approach, combining careful selection of print bed surfaces, precise adjustment of printer settings, and diligent pre-print preparation. There is no single magic bullet; rather, success often lies in understanding the interplay of these various factors and systematically troubleshooting your setup.
We’ve explored how the inherent elasticity and surface energy of flexible filaments contribute to their unique adhesion challenges. We’ve also objectively compared different print bed solutions—from the cost-effective yet additive-dependent glass to the higher initial investment but low-maintenance PEI and the specialized Garolite—highlighting their features and cost implications without advocating for one over the other. Furthermore, we’ve delved into critical printer settings like bed and nozzle temperatures, first layer parameters, and cooling strategies, alongside the importance of a clean build surface and proper filament storage.
Ultimately, the ‘best’ solution for you will depend on your specific printer model, the exact TPU formulation you’re using, your budget constraints, and your willingness to experiment. By leveraging the insights provided in this guide, you are better equipped to experiment with confidence, identify the most suitable combination of strategies for your workflow, and consistently achieve successful, high-quality 3D prints with flexible filaments.
Frequently asked questions
Can I use the same bed temperature for all types of TPU?
No. While most TPUs print with a bed temperature between 40°C and 60°C, different formulations from different manufacturers can require slightly different temperatures. It is best to start at the lower end of this range, then increase in 5°C increments if adhesion fails, as the article recommends experimenting within this window for each specific filament you use.
Does printing TPU in an enclosure help with bed adhesion, or is it unnecessary?
An enclosure is beneficial but not strictly required. The article explains that enclosures maintain a stable, warm environment around the print, reducing thermal stresses and preventing drafts that cause uneven cooling and warping. While not a direct adhesion solution, it creates a more consistent environment that supports the other adhesion strategies discussed, making it particularly helpful for flexible filaments.
How often should I clean my print bed when printing flexible filaments?
The article recommends cleaning before every print, or at least every few prints. Even small amounts of grease, oil, dust, or fingerprint residue can act as a release agent and cause adhesion failure. Use isopropyl alcohol for most surfaces, and warm water with dish soap for glass beds with stubborn gluestick residue.