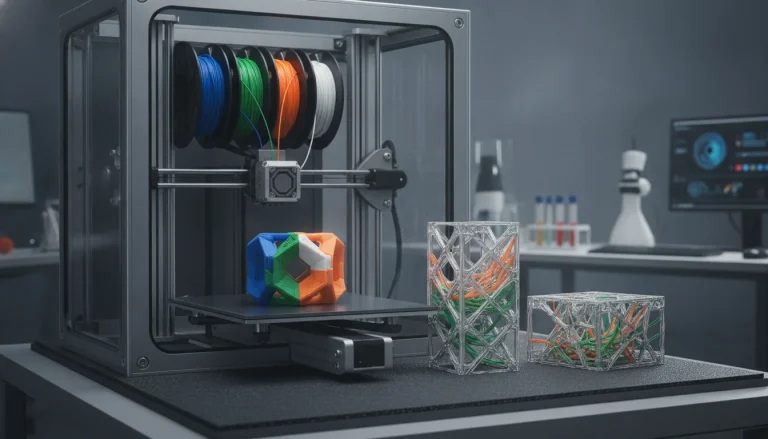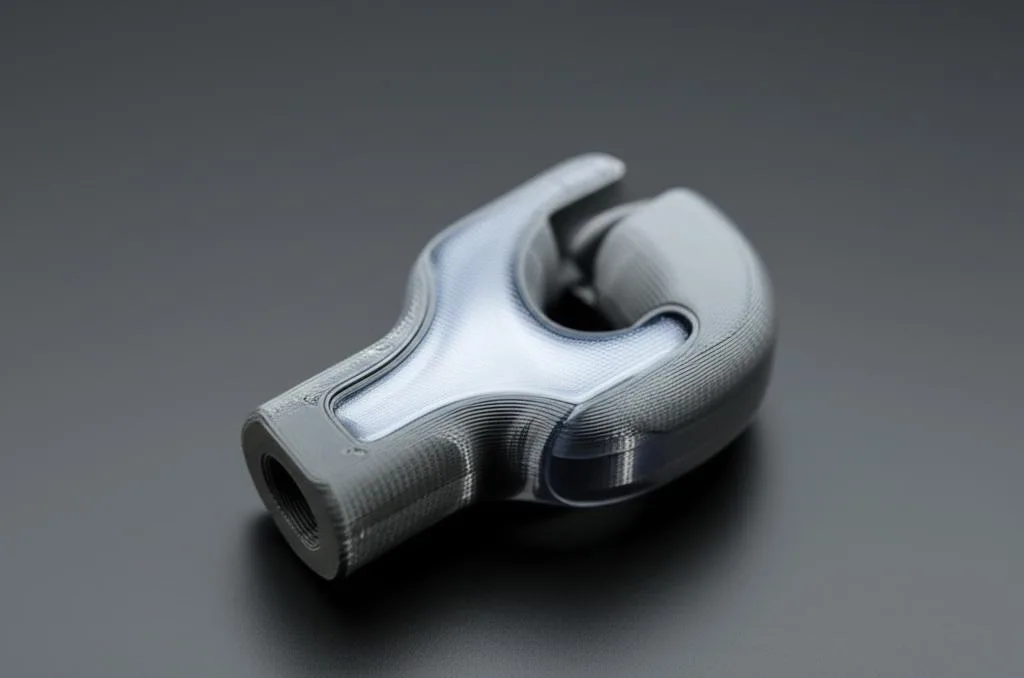
Rigid and flexible filaments can be printed as one part, but chemistry alone rarely holds them together. Bambu Lab’s documentation says TPU and standard PLA “don’t bond well” and tends to separate at the seam. It says TPU and PETG bond more easily. UltiMaker, on the other hand, calls its CPE copolyester and TPU incompatible. So for any part that flexes, pulls or twists, give the joint a mechanical interlock. Turn on your slicer’s beam interlocking or interlocking structure, or design dovetails and captured features into the model.
Use a printer that can switch materials cleanly and feed flexible filament. Tool-changers and dual-nozzle machines handle this best, while most automatic filament changers can’t feed standard TPU. Keep the TPU dry and give it extra purge. This guide covers which pairs bond, how to design the interface, and the slicer settings Prusa, Bambu Lab and UltiMaker publish, plus a troubleshooting table.
The consumer toolchanger 3D printer: the SnapSwap 4-toolhead system swaps heads in 5 seconds for true multi-color and multi-material printing, with smart calibration and auto filament loading.
- 4 toolheads · 5 s swap
- Up to 500 mm/s · 20,000 mm/s²
- 270 mm cube build volume
- Multi-color & multi-material

Rigid plus flexible in one print: quick decisions
- Pick the pair. PETG with TPU bonds better than PLA with TPU, according to Bambu Lab. Treat any pair as unproven until a test piece survives flexing.
- Check the hardware. On Bambu Lab printers TPU must be at least 85A, and the standard AMS units can’t feed regular TPU.
- Model the parts as separate bodies in one object and assign a material to each.
- Enable interlocking in the slicer, or design a mechanical interlock yourself.
- Dry the TPU and increase purge volume.
- Print a small test coupon of the joint, then flex and pull it before printing the real part.
Which rigid and flexible filaments bond together
Manufacturer guidance is scattered and sometimes contradictory, so the table shows what each source actually says.
| Material pair | What the sources say | What to do |
|---|---|---|
| PLA + TPU | Bambu Lab: don’t bond well, often separate at corners. Bambu also recommends PLA as an easy-to-remove support for TPU prints. A 2025 lap-shear study found PLA-TPU adhesion hard to make strong and consistent. | Always use interlocking. Don’t rely on surface contact. |
| PETG + TPU | Bambu Lab: bond easily. Its H2D guide uses PETG-CF with TPU 95A HF plus beam interlocking. UltiMaker: its CPE (a copolyester) and TPU are incompatible without interlocking. | Best starting pair. Still interlock any joint that carries load. |
| PLA + PETG | Bambu Lab: don’t bond well to each other, which is why they work as mutual support interfaces. Prusa also uses them as supports for each other. | Not a structural joint without interlocking. |
| PP + PLA | UltiMaker researchers: PP has a very weak chemical bond to typical rigid filaments such as PLA. | Interlocking only. |
| ABS or ASA + TPU | We found no manufacturer guidance. | Treat as unknown. Interlock and test a coupon. |
Brand and grade matter. Bambu Lab’s PLA/PETG mutual support guide applies only to its PLA Basic and PETG HF/Basic, and specifically excludes third-party filament. Expect results with your own spools to differ.
Hardware: can your printer feed TPU next to a rigid filament?
- Tool-changers and dual-nozzle printers keep each material in its own hotend. The Prusa XL and UltiMaker S-series are examples. Bambu Lab’s H2D takes rigid filament in the left hotend and TPU in the right.
- Bambu Lab AMS: only the AMS HT supports TPU, and even then only as a sealed drying box feeding through its dedicated TPU outlet, not through the automatic switching. Bambu’s own “TPU for AMS” grade is the exception and feeds through all AMS units.
- Hardness limit: Bambu Lab printers don’t support TPU below 85A, and 85A can’t be printed through a 0.4 mm nozzle.
- Loading: Prusa notes that TPU can be hard to push through the XL’s side filament sensor, and suggests feeding it straight into the PTFE tube.
- Single-extruder printers can still combine materials with a pause and manual swap, but only in whole layers. That suits a TPU pad on top of a rigid base, not a TPU grip wrapped around a core. If TPU jams on your extruder, fix that first with our TPU jam guide.
For an overview of MMU, IDEX and splicer systems, see multi-color printing technologies compared.
Designing the interface: interlocks beat surface contact
You have two ways to lock the materials together mechanically.
Slicer-generated interlocking. UltiMaker Cura (since 5.3), Bambu Studio, OrcaSlicer and PrusaSlicer can generate a lattice of alternating beams where two materials meet. PrusaSlicer’s version is based on OrcaSlicer’s. UltiMaker says the overlapping pattern locks the materials together so the joint is “only limited by the strength of the weakest of the two materials” rather than their compatibility. Its demo clip joined rigid CPE prongs to a TPU hinge, a pair it says would otherwise fall apart. The research behind the feature (Kuipers et al., 2022) found the lattice performs comparably to dovetail interlocks.
Designed-in geometry. Dovetails, undercuts, through-holes the TPU flows into, or a rigid rib captured inside a TPU sleeve. The Kuipers paper notes a weakness of dovetails: a flexible material can deform and slip out of them. Design the joint so the TPU is trapped, not just clinging to a surface.
- Keep both materials in one object. Bambu Lab notes that beam interlocking only works between parts of a single object, not between separate objects on the plate.
- Leave room for the beams. Thin walls and fine details don’t leave space for the interlocking structure. Bambu suggests adjusting beam layers and depth there.
- Avoid peel loads. This is a general design principle, not a published test result: a TPU section that is pressed onto, wrapped around or trapped by the rigid part puts less stress on the bond edge than a flap that levers away from it.
- Plan the stacking order. Prusa warns that rigid filament printed on top of TPU can push the soft layers around. Where you can, print TPU onto rigid material, which is also how the 2025 PLA-TPU study built its samples.
Slicer settings for rigid and TPU multi-material prints
| Setting | Published value or advice | Source |
|---|---|---|
| Use beam interlocking | Enable it. It is off by default in PrusaSlicer. | Prusa KB, Bambu Lab Wiki |
| Interlocking beam width | Default 0.8 mm. At 0.2 mm the bond was too weak and a TPU membrane detached in Bambu’s example. | Bambu Lab Wiki |
| Interlocking direction | Default 22.5° | Bambu Lab Wiki |
| Interlocking beam layers | Default 2. Fewer layers make a stronger bond but are more prone to defects. | Bambu Lab Wiki, Prusa KB |
| Interlocking depth | Default 2 cells. Too few cells give poor adhesion. | Bambu Lab Wiki, Prusa KB |
| Minimal purge on wipe tower | 35 mm³ per extruder when combining PLA with another material. Up to 70 mm³ if TPU strings or oozes. | Prusa KB (XL) |
| Ooze prevention / idle temperature | Enable it so idle nozzles cool down and don’t drip onto the part | Prusa KB |
| Wipe tower extruder | Pick one extruder for the tower so mixed materials don’t make it break | Prusa KB |
| Bed temperature by extruder | Choose which material sets the bed temperature. PrusaSlicer warns when the temperatures differ a lot. | Prusa KB |
| TPU 95A nozzle / bed | 220–240 °C / 55–75 °C for Prusament TPU 95A. Use your filament’s own range. | Prusa material guide |
| TPU max volumetric speed | 3.6 mm³/s for Bambu TPU 95A HF in the H2D soft-and-hard multi-material guide | Bambu Lab Wiki |
| Bed with a TPU first layer | On the H2D, if TPU forms the whole first layer or carries the main load, keep the TPU bed temperature and set the rigid filament’s bed temperature no higher than 70 °C | Bambu Lab Wiki |
Layer height at the interface. In a 2025 lap-shear study of PLA-TPU on a dual-extrusion UltiMaker 3, thinner layers (0.125 mm versus 0.25 mm) reduced porosity and made adhesion more consistent. Raising the nozzle temperature for the layers either side of the interface also improved consistency. Peak adhesive strength did not differ significantly between the settings. Treat these as tuning directions, not a fix that makes PLA and TPU bond strongly. A height-range modifier lets you print just the interface zone with thinner layers.
Drying. Both Prusa and Bambu Lab link TPU’s moisture uptake to stringing and oozing. Prusa’s TPU 95A guide dries at 60 °C for at least 4 hours when needed. Bambu Lab’s H2D guide dries TPU 95A HF for 18 hours at 75 °C in the AMS HT. Follow the drying values for your own filament.
Step by step: a first rigid-flexible test part
- Model a simple coupon: a PETG bar with a TPU pad or hinge section, exported as two bodies of one part.
- Import it as a single multi-part object and assign PETG and TPU to the two bodies.
- Enable beam interlocking with the default values.
- Set the minimal purge, enable ooze prevention, and choose which material sets the bed temperature.
- Dry the TPU and print it from a dry box or sealed feeder.
- After printing, flex the joint by hand many times, then pull it apart. Note whether it failed at the interface or tore through the TPU.
- If it failed at the interface, increase interlocking depth, adjust beam layers, or thin the layers at the interface. Reprint and compare.
A tear through the TPU itself is the result you want: the joint is now stronger than the weakest material, the limit UltiMaker describes. For the rigid side, start from our PETG print settings.
Troubleshooting mixed rigid and flexible prints
| Symptom | Likely cause | Fix |
|---|---|---|
| TPU peels off the rigid part by hand | Chemically weak pair (for example PLA + TPU), no interlock | Enable beam interlocking, switch to PETG, redesign the joint so the TPU is captured |
| Rigid layers printed on TPU look smeared or shifted | The nozzle drags soft TPU layers (Prusa) | Print TPU on top of rigid where possible. Prusa also suggests increasing minimal purge |
| TPU strings and blobs across the rigid surfaces | Moisture in TPU, oozing from the idle nozzle | Dry the TPU, raise purge up to 70 mm³ (Prusa), enable ooze prevention |
| Gaps or thin walls right after a material change | Nozzle not re-pressurized after the tool change | Increase minimal purge on the wipe tower |
| Wipe tower breaks or topples | Different materials don’t stick to each other in the tower | Set a dedicated wipe tower extruder and a stabilization cone (Prusa) |
| First layer won’t stick for one material | Bed temperature taken from the wrong material | Set bed temperature by extruder |
| Interface fails at thin features | No room for the interlocking beams | Thicken walls near the joint, or adjust beam layers and depth |
| TPU under-extrudes or jams | Too soft for the extruder, feeding drag, residue in the nozzle | Check the hardness limit, shorten the feed path, cold pull the nozzle (Bambu Lab) |
Common mistakes and next steps
- Trusting a joint that looks fused. A seam can look perfect and still peel with a fingernail. Test it by flexing and pulling.
- Using PLA and PETG as a structural pair. Their poor bond is exactly why they are used as support interfaces for each other.
- Splitting the model into separate objects. Beam interlocking won’t bridge them.
- Skipping calibration on a dual-nozzle printer. A nozzle offset error puts the TPU in the wrong place, and no interlock can fix that. See our dual extrusion calibration guide.
- Printing soft TPU through a changer not rated for it. Check the feeding limits before you design around a material.
Frequently asked questions
Does TPU stick to PLA?
Not reliably. Bambu Lab says TPU and standard PLA don’t bond well and tend to separate, and it even recommends PLA as an easy-to-remove support for TPU prints. For a lasting joint, enable beam interlocking or design a mechanical interlock, or use PETG as the rigid material.
Does TPU bond to PETG?
Better than to PLA. Bambu Lab describes TPU and PETG as bonding easily, and its H2D guide pairs PETG-CF with TPU 95A HF. UltiMaker, however, calls its CPE copolyester and TPU incompatible without interlocking. Test your specific filaments and interlock any joint under load.
Can I print TPU with a Bambu Lab AMS?
Standard TPU, no. Among the AMS units, only the AMS HT supports TPU, and only as a sealed box feeding through its dedicated TPU outlet, not through automatic switching. Bambu Lab’s own TPU for AMS grade is the exception and feeds through all AMS models.
What is beam interlocking in a slicer?
It is a setting that builds a lattice of alternating beams across the boundary between two materials, so they are held together mechanically instead of by adhesion. It exists in UltiMaker Cura (as “Generate Interlocking Structure”), Bambu Studio, OrcaSlicer and PrusaSlicer, and it only works within a single object.