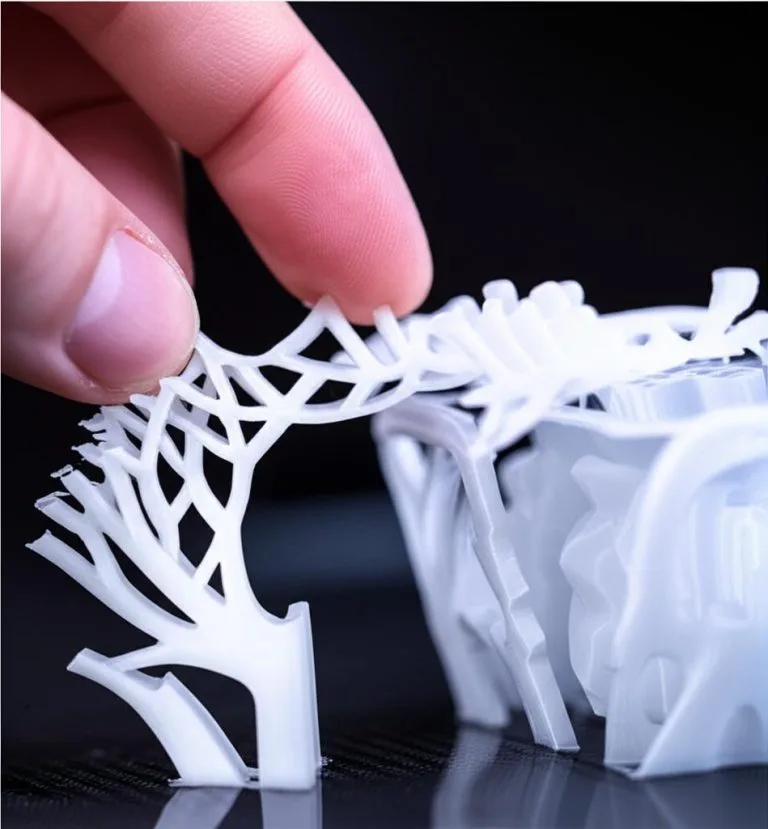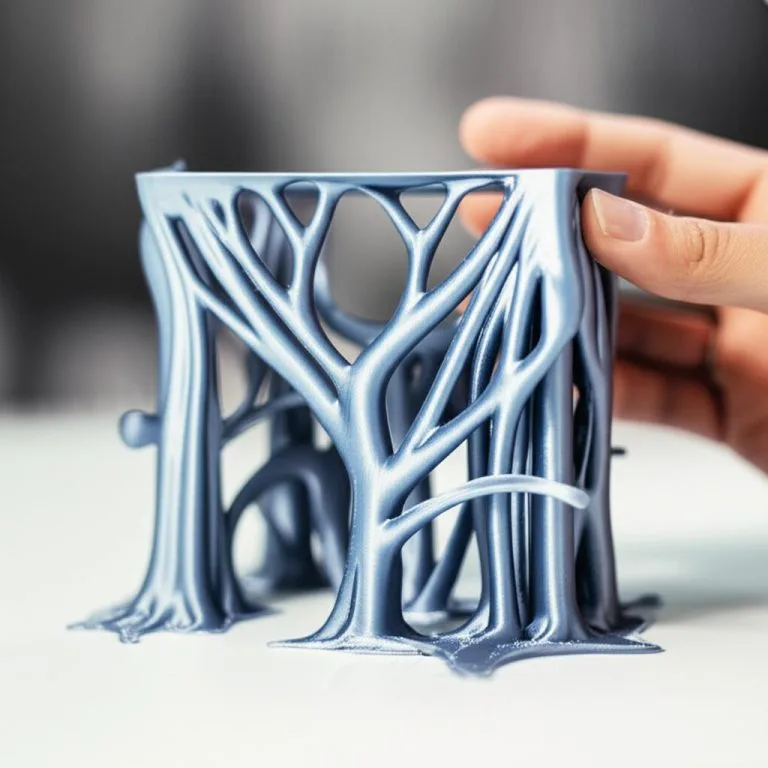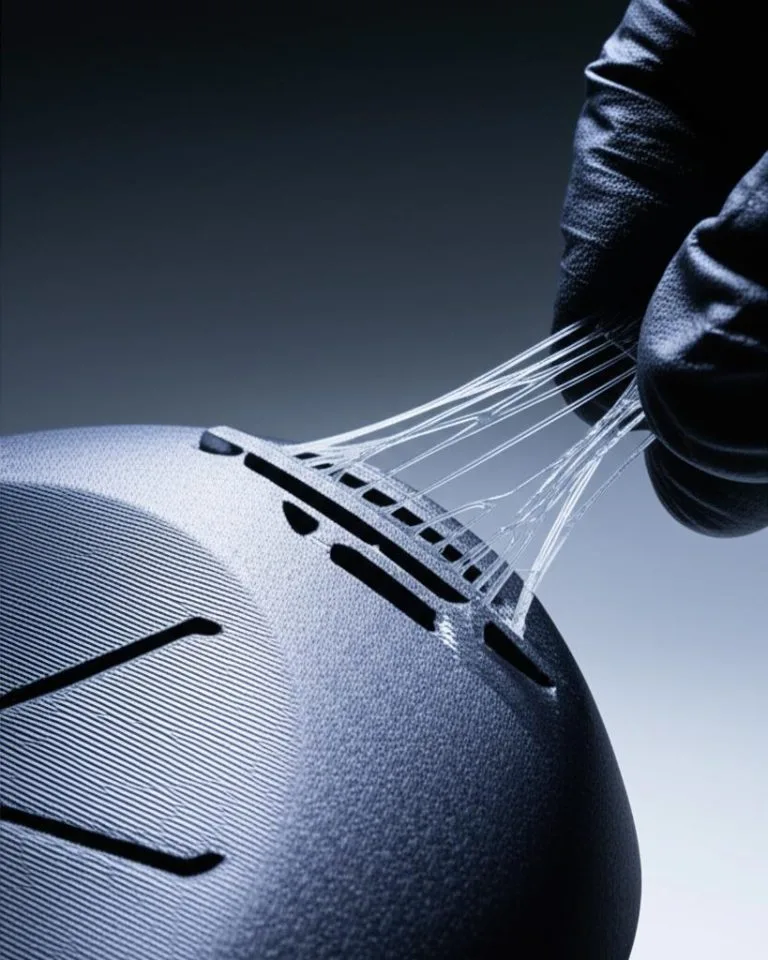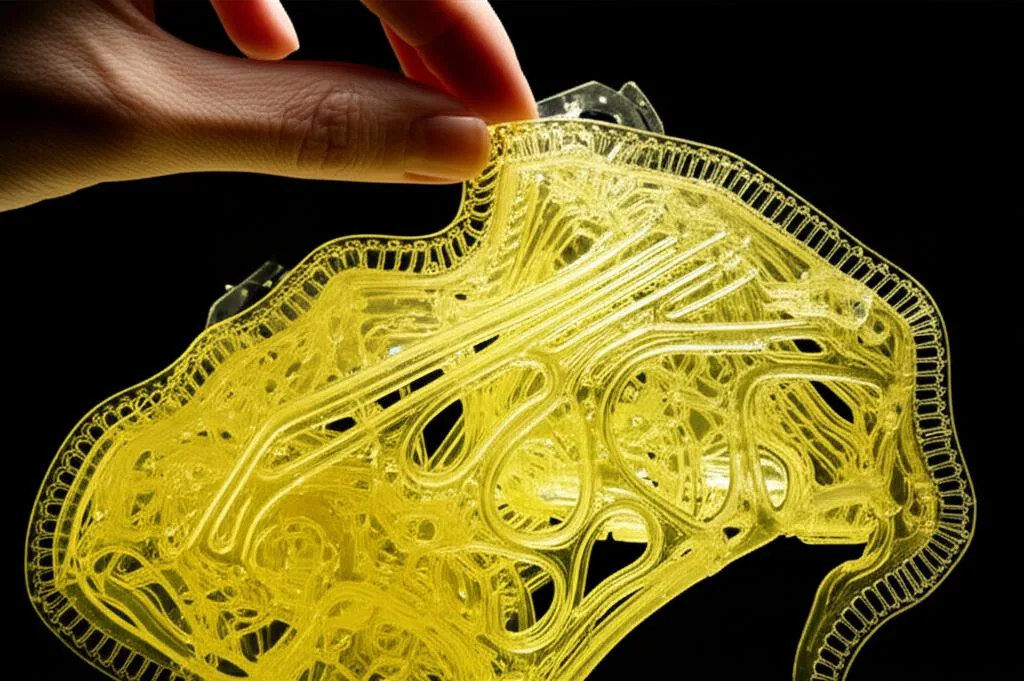
Manual support placement means telling the slicer yourself where supports must go (support enforcers) and where they must not (support blockers), either by painting on the model’s faces or by dropping a modifier shape onto it, instead of leaving every decision to the overhang threshold. Use it when automatic supports fill a hole you cannot clean out, scar a visible face, or miss a small overhang that still needs holding up.
The key decision is the support mode. To support only what you paint, set PrusaSlicer to “For support enforcers only”, or OrcaSlicer and Bambu Studio to Normal (manual) or Tree (manual). To keep automatic supports and remove some of them, leave generation on (Everywhere, or build plate only) and paint blockers. Cura has no paint tool; it uses a Support Blocker volume (shortcut E) and per-model mesh types. Details below come from the Prusa Knowledge Base, the Bambu Lab and OrcaSlicer wikis and Cura’s source code, linked at the end.
The consumer toolchanger 3D printer: the SnapSwap 4-toolhead system swaps heads in 5 seconds for true multi-color and multi-material printing, with smart calibration and auto filament loading.
- 4 toolheads · 5 s swap
- Up to 500 mm/s · 20,000 mm/s²
- 270 mm cube build volume
- Multi-color & multi-material

Which manual support mode to use
- Only a few areas need support: enforcers only. Paint those areas; nothing else gets support.
- Automatic supports are mostly right, but a few are in the way: automatic on, plus blockers on the bad spots.
- Automatic supports miss one overhang: automatic on, plus an enforcer on the missed area. Both PrusaSlicer and Bambu Studio generate auto and painted supports together.
- Supports growing out of the model’s surface: “On build plate only”, then enforcers wherever a support really has to stand on the model.
- A complex model with both problems: PrusaSlicer’s documentation suggests Everywhere or build plate only, with blockers and enforcers at the same time.
Manual support tools by slicer
| PrusaSlicer | Bambu Studio | OrcaSlicer | Cura | |
|---|---|---|---|---|
| Paint tool | Paint-on supports, left toolbar (Advanced and Expert modes) | Support painting, top toolbar | Support painting (prepare view) | None built in |
| Enforcer / blocker volumes | Right-click: add support enforcer or blocker (box, cylinder, sphere, slab, or a loaded STL) | Right-click: Add Support Blocker (e.g. a cube) | Paint enforcers and blockers | Support Blocker tool (E) places a 10 mm cube; any mesh can be set to “Print as support” or “Don’t support overlaps” |
| Support only what you mark | Supports: For support enforcers only (Auto generated supports off) | Type: Normal (manual) or Tree (manual) | Type: Normal (manual) or Tree (manual) | A “Print as support” mesh |
| Mouse controls | Left enforce, right block, Shift+left erase, Alt+wheel brush size | Same as PrusaSlicer | See the tool’s on-screen help | Move, scale, rotate the blocker like a model |
| Helpers | Smart fill, highlight overhang by angle, clipping plane, automatic painting | Circle, sphere, fill, gap fill; vertical-surface painting (1.10.0+) | Support critical regions only, ignore small overhangs | Drop Down Support Mesh (on by default) |
Painted enforcers and blockers are saved in the 3MF project file in PrusaSlicer, so you can reopen and edit them later or share a model with its supports already planned.
Painting supports in PrusaSlicer
- Switch to Advanced or Expert mode. The paint-on supports tool is hidden in Simple mode.
- Set the support mode first. By default supports are set to None in the right panel, so nothing you paint will print. Choose “For support enforcers only” for enforcers, or Everywhere / “From build plate only” if you are blocking automatic supports.
- Open the tool with the object selected. Other objects are hidden and the selected one turns light grey for contrast.
- Show the overhangs. Move the “highlight overhang by angle” slider to see every face flatter than the threshold, and tick “On overhangs only” so brush strokes cannot spill onto walls.
- Paint. Left button enforces, right button blocks, Shift + left erases, Alt + mouse wheel changes the brush size. The spherical brush (default) paints everything inside the sphere, even faces you cannot see; the circular brush paints only visible faces; Smart fill floods neighbouring faces up to the Smart fill angle.
- Reach hidden faces with the clipping plane. “Reset direction” aligns it to the current view; look from the top first if you want it to move up and down.
- Slice and check the preview layer by layer before printing.
Automatic painting. The same tool can paint enforcers for you. Prusa describes the algorithm as checking the print extrusion by extrusion, taking into account centre of mass, the weight of the supported part, bed movement, possible extruder collisions, bed adhesion, material and bridging. One result: bridges get regularly spaced pillars instead of support along their whole length. It also runs during slicing to warn you when a print needs supports; the warning can be turned off in preferences.
Enforcer and blocker volumes. Instead of painting, right-click the object and add a support enforcer or blocker as a box, cylinder, sphere or slab, or load an STL in Expert mode. Supports are generated where an enforcer intersects the model. PrusaSlicer’s own tooltip for “Auto generated supports” says that with it unchecked, supports are generated inside enforcer volumes only. Shapes are easier to place precisely on flat faces; painting is better on curved, detailed surfaces.
Support painting in Bambu Studio and OrcaSlicer
Bambu Studio’s support painting sits in the top toolbar and uses the same mouse controls as PrusaSlicer. Painted areas show in green. With an automatic type such as Normal (auto), faces within the threshold angle are highlighted in a different colour, and Bambu Studio generates the automatic supports and your painted ones together. With Normal (manual) or Tree (manual), it generates supports only on enforcers. OrcaSlicer’s documentation describes its manual types the same way: only support enforcers are generated.
- Brushes: Circle paints the visible surface; Sphere paints all faces inside the sphere; Fill spreads over connected faces until it hits an edge sharper than the threshold; Gap fill fills the small unpainted gaps other brushes leave behind.
- Blocking: either paint with the right mouse button, or right-click the model, choose “Add Support Blocker” and position the shape. Bambu Lab recommends the shape method for quickly blocking large areas such as flat bottoms or big protruding sections.
- Vertical surfaces: since Bambu Studio 1.10.0 you can paint supports on vertical faces. Bambu Lab suggests this for tall, thin parts, to reduce the risk of the model collapsing during printing.
- Automatic filters worth knowing: OrcaSlicer’s “Support critical regions only” limits automatic support to sharp tails, cantilevers and similar; “Ignore small overhangs” (on by default in OrcaSlicer) skips small overhangs that may not need support. If a small overhang you care about gets no support, an enforcer overrides the guess.
Support blockers and support meshes in Cura
Cura does not paint supports. It works with volumes:
- Support Blocker: select the model, pick the Support Blocker tool (shortcut E) and click the model where supports should not be. Cura places a 10 mm cube at that point; move, scale and rotate it like any model. Internally it is an “anti-overhang mesh”: the setting description says it marks where no part of the model should be detected as an overhang. It only removes supports Cura would otherwise generate, so Generate Support has to be on.
- Print as support: load or create any shape, open Per Model Settings and set its mesh type to “Print as support”. Cura’s description: this mesh specifies support areas. With Drop Down Support Mesh on (the default), Cura adds support below the mesh as well, so it reaches the plate. This is Cura’s nearest equivalent of an enforcer.
- Don’t support overlaps / Modify settings for overlaps: the same Per Model Settings panel offers these two mesh types. The first is the same anti-overhang mesh as the blocker, in any shape you like; the second applies the settings you choose only where the mesh overlaps the model.
- Support Placement: Cura’s equivalent of “build plate only” is Touching Buildplate; the default is Everywhere.
When supports fail: symptom and fix
| What goes wrong | Fix |
|---|---|
| Fill a bolt hole, thread or narrow channel you cannot clean out | Blocker on the ceiling of the hole, so it has to bridge; check the preview for sagging |
| Scar a visible, cosmetic face | Block that face and reorient the part so the scars land on a hidden face |
| Grow from the top of the model and mark it | “On build plate only” plus enforcers where a support must stand on the model |
| Miss a small overhang, sharp tail or cantilever | Paint an enforcer; in OrcaSlicer or Bambu Studio check “Ignore small overhangs” |
| Support a whole bridge that could span on its own | Block under the bridge, or use “Don’t support bridges”; PrusaSlicer’s automatic painting uses spaced pillars |
| Tall, thin part wobbles or snaps off | In Bambu Studio 1.10.0+, paint supports on its vertical faces |
| A tiny painted spot seems to be ignored | Paint a slightly larger area; PrusaSlicer’s generator works on an internal grid, so very small regions are not fully obeyed |
| Painted enforcers produce no support | Supports are still set to None, or the type is not a manual/enforcer mode |
| Spaghetti under an overhang: the slicer generated no support there | Enforce that overhang; OrcaSlicer and Bambu Studio treat sharp tails and cantilevers as critical overhangs |
| Support towers topple or snap partway through the print | Grid style instead of Snug in PrusaSlicer; keep its sheath on; add a support wall in Cura or OrcaSlicer (see below) |
| Supports peel off the bed | Widen the first support layer or add a support brim (see below); check general bed adhesion |
| Supports resting on the model wobble | Lower Cura’s Support Stair Step Height, or add bottom interface layers |
| Thin pillar under a tiny overhang breaks | Keep Cura’s Use Towers on, or paint a larger area so the slicer builds a wider block |
| Gap or sag between the support and the model | An interface problem, not a placement one: see the support interface settings linked below |
Settings that keep supports standing
- Style and walls. PrusaSlicer’s tooltip says grid-style supports are more stable, while Snug saves material and reduces scarring. Its “sheath” (a single perimeter around the base support; on by default, visible in Expert mode) makes supports more reliable but harder to remove. Cura’s Support Wall Line Count and OrcaSlicer’s Support wall loops add walls; Cura’s description says a wall makes support print more reliably, at the cost of time and material.
- Bed contact. PrusaSlicer’s First layer expansion (default 3 mm) and OrcaSlicer’s (default 2 mm) widen the first raft or support layer to improve adhesion. Cura’s Enable Inner Support Base, on by default, adds a base inside the first layers of support for the same reason. OrcaSlicer calculates a brim for tree supports automatically.
- Small and thin areas. Cura’s Use Towers (on by default) prints 3 mm towers under tiny overhangs, narrowing into a roof at the top. Its Support Stair Step Height (0.3 mm) shapes supports standing on the model: low values make them harder to remove, too high values can make them unstable.
- Parts with a tiny footprint. PrusaSlicer’s “Enforce support for the first n layers” (Expert mode) generates support for the bottom layers regardless of the overhang threshold, which its tooltip recommends for objects with a very thin or poor footprint on the plate. A raft is the other option.
Manual placement decides where supports go; how cleanly they come off is decided by the gap and interface under them. If painted supports stick or scar, tune the support interface settings rather than removing more supports. For organic shapes, paint with Tree (manual) and see tree support settings for the branch values.
Common mistakes with manual supports
- Painting before choosing the mode. With supports set to None, or an automatic type when you meant manual, the result is either nothing or far more than you painted.
- Skipping orientation. Rotating the part often removes more supports than any amount of painting. Try that first.
- Blocking everything that looks awkward. A blocked overhang still has to print. Check the preview for layers that start in mid-air; a model that bridges well is designed for it, as in designing printable bridges.
- Using the spherical brush near thin walls. It paints through to faces on the far side. Switch to the circular brush for detail work.
- Enforcing supports you cannot reach. Plan how each support comes out before slicing; the support removal guide covers tools and soluble options for places pliers cannot get to.
Frequently asked questions
How do I add supports only where I want them?
Paint or place support enforcers, then switch the slicer to its enforcer-only mode: “For support enforcers only” in PrusaSlicer, Normal (manual) or Tree (manual) in Bambu Studio and OrcaSlicer. In Cura, set a helper shape to “Print as support” in Per Model Settings. Everything you did not mark gets no support.
Why are my painted supports not generating?
Most often supports are still disabled: PrusaSlicer’s default is None. Check that the mode matches what you painted, and that the painted area is not tiny, since PrusaSlicer’s support generator works on an internal grid. In Cura, a Support Blocker has no effect unless Generate Support is on.
What is the difference between a support blocker and “on build plate only”?
“On build plate only” removes every support that would start on the model, everywhere at once. A blocker removes support only in the area you mark and leaves the rest of the automatic supports alone. They combine well: build plate only, plus enforcers for the few supports that must stand on the model.
Why do my supports fall over or come loose during the print?
Tall, isolated supports have a small footprint. Use grid-style supports rather than Snug, add a wall or sheath, and widen the first support layer or add a support brim. If the part itself has a tiny footprint, PrusaSlicer can enforce support for the first layers, or use a raft.
Sources
- Prusa Knowledge Base: Paint-on supports
- Prusa Knowledge Base: Support material (enforcers, blockers, support modes)
- Prusa Knowledge Base: Modifier-meshes: Custom supports and other magic
- Bambu Lab Wiki: Support painting tool
- OrcaSlicer Wiki: Support settings, with defaults from OrcaSlicer PrintConfig.cpp
- UltiMaker Cura source: Support Blocker plugin and fdmprinter.def.json setting definitions
- PrusaSlicer 2.9.2: PrintConfig.cpp (setting defaults and tooltips)