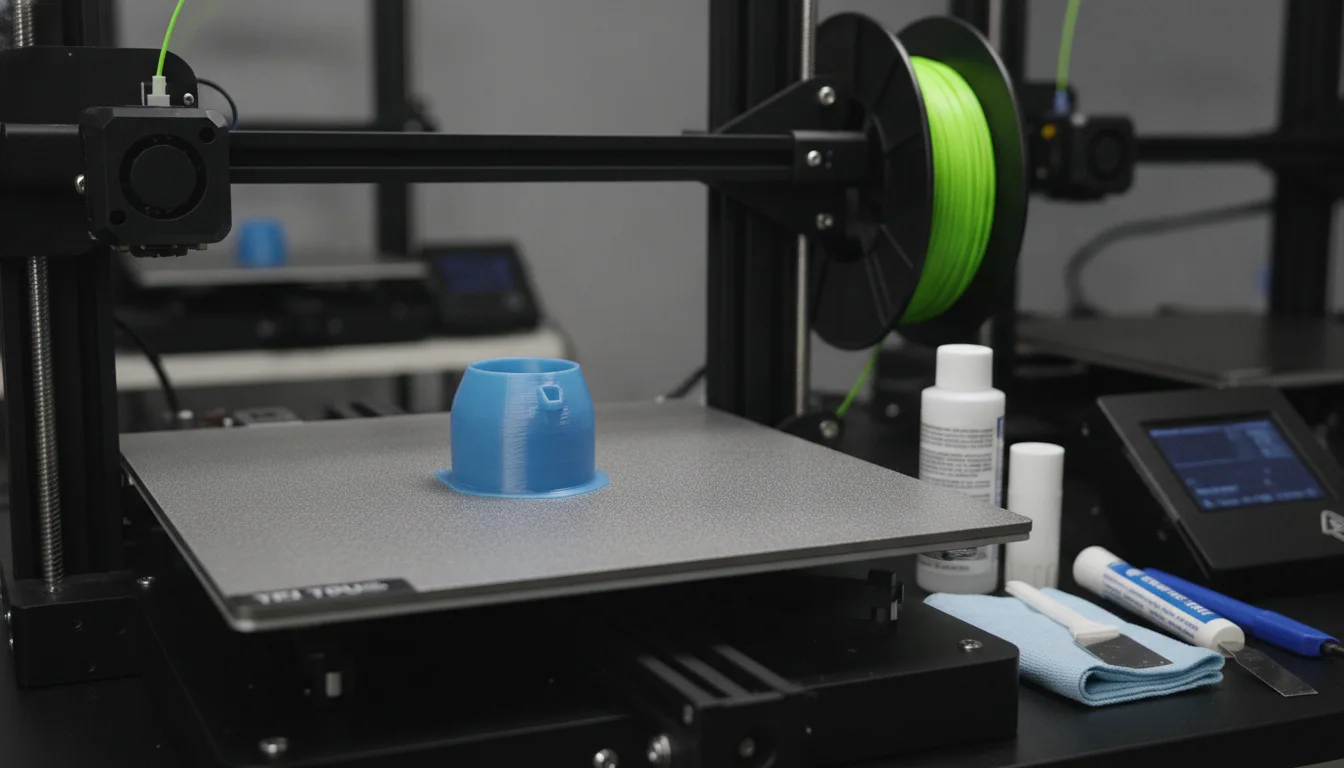
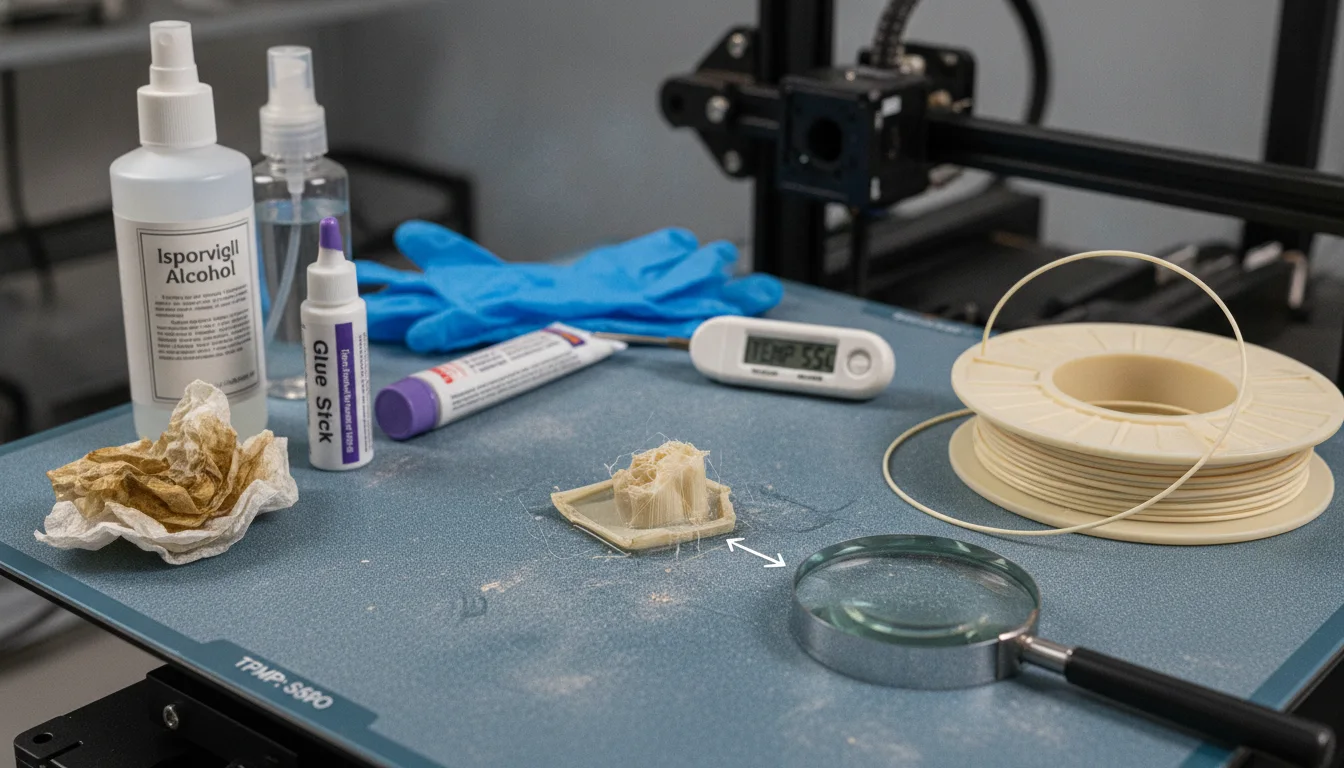
Bed adhesion with flexible filament means getting the first layer of TPU to grip the build plate firmly enough to survive the print, but not so firmly that the part cannot be removed without damaging it or the plate. Prusa and Bambu Lab both warn that TPU sticks strongly, so the usual fix is a clean, textured sheet or a thin glue-stick layer as a separator, a first layer printed slowly, and a bed temperature taken from your filament’s data sheet, which ranges from room temperature to 75 °C depending on the maker.
This guide covers both failures: a print that lifts or never bonds, and a print that fuses to the plate. It uses documentation from Prusa, Bambu Lab, Polymaker, NinjaTek and Recreus. General bed-adhesion causes for any filament are in prints not sticking to the bed; this one is specific to flexibles.
The consumer toolchanger 3D printer: the SnapSwap 4-toolhead system swaps heads in 5 seconds for true multi-color and multi-material printing, with smart calibration and auto filament loading.
- 4 toolheads · 5 s swap
- Up to 500 mm/s · 20,000 mm/s²
- 270 mm cube build volume
- Multi-color & multi-material

TPU bed adhesion in six steps
- Wash the plate with isopropyl alcohol so no grease or old glue is left.
- Choose the surface: a textured sheet needs no separator; on smooth or satin PEI add a glue-stick or Kapton layer (Prusa).
- Set the bed temperature inside the range printed for your spool, not a PLA value.
- Print the first layer slowly with the part-cooling fan off, and set the Z-offset so the line is pressed gently into the sheet.
- Dry the filament if the first layer is blobby or inconsistent.
- When the print is done, lift one corner and work isopropyl alcohol under it instead of prying.
Too little: why TPU lifts or will not bond
Recreus’s troubleshooting guide for Filaflex gives the shortest version of the checklist for poor adhesion: dry the filament, use an adhesive, adjust the first layer. In practice the cause usually falls into one of these rows:
| What you see | Likely cause | Fix |
|---|---|---|
| Lines peel off the plate as soon as you touch them | Grease, fingerprints or old glue on the sheet | Clean with isopropyl alcohol; see cleaning a build plate |
| Thin, rounded lines that are not pressed into the plate | Nozzle too high | Re-do the Z-offset with a first-layer test; see first-layer calibration |
| First layer drags, lines pull away or corners lift | First layer too fast | Slow it down. Recreus’s 0.4 mm profile prints the first layer at 30% of infill speed, 13.7 mm/s in its table |
| Weak or patchy first layer even with a clean plate | Fan blowing on the first layer | Recreus sets the first-layer fan to 0%, and Prusa recommends keeping cooling off for flexibles |
| Blobs, bubbles or hissing from the nozzle | Wet filament | Dry the spool; Bambu Lab says moist TPU gives bubbles, stringing and weak layer adhesion |
| Sticks to one sheet, not another | Surface and temperature mismatch | Use the sheet and temperature the maker lists (next section) |
| Tall or thin parts break free partway up | Small footprint | Add a brim or mouse ears; see brim vs raft |
Bed temperature and surface by maker
Published recommendations disagree a lot, and part of the reason is that they assume different build sheets. Treat them as ranges to start in, with your own sheet in mind, not as one right answer.
| Source | Bed temperature | Surface advice |
|---|---|---|
| Prusa, flexible filaments in general | 60–75 °C, higher for larger objects | Powder-coated textured sheet needs no separation layer; on smooth or satin sheets use glue stick or Kapton tape |
| Polymaker PolyFlex TPU95 (TDS) | 25–60 °C (50 °C for test specimens) | PC, or textured PEI; glue when needed |
| NinjaTek NinjaFlex and Cheetah | Room temperature to 50 °C | Glue and/or blue painter’s tape if not using a heated bed |
| NinjaTek Chinchilla (75A) | Room temperature to 40 °C | Same advice as above |
| Bambu Lab TPU 95A HF (TDS) | 30–35 °C | Cool, Engineering, High Temperature or textured PEI plate, with glue |
| Recreus Filaflex 82A | No heat for small parts; 45–50 °C for large parts | States excellent adhesion without heated bed or adhesives; use an adhesive if adhesion is poor |
| eSUN eTPU-95A (TDS) | 45–60 °C | Not specified on the data sheet |
Bambu Lab’s TPU guide adds that every plate except the Cool Plate SuperTack is compatible with TPU filaments. If you use a sheet that is not on a maker’s list, start at the low end of the range and raise the bed in 5 °C steps.
Too much: when TPU bonds to the plate for good
The opposite failure is real and expensive. Prusa says flexible filaments stick strongly and that very soft ones can bond too strongly to the bed, so a glue-stick separator is recommended to prevent damage to a PEI sheet. Bambu Lab says TPU generally adheres strongly, which makes models with large bottom surfaces hard to remove, and warns that excessive force can damage the model or the plate.
- Textured sheet: Prusa’s powder-coated textured sheet needs no separation layer, and the print can be removed without damaging the surface.
- Smooth or satin PEI: put on a thin, even layer of glue stick or a strip of Kapton tape first.
- Large flat bottoms: these are the hardest to remove, and they include flat parts such as TPU gaskets. Keep the Z-offset from squashing the first layer too hard (over-squish is our reasoning, not a published rule).
- Bed temperature: a hotter bed softens the first layer. We would not go above the maker’s range to rescue adhesion; first fix the cause in the table above.
To remove a stuck TPU print, follow Bambu Lab’s procedure:
- Do not pull or pry with force.
- Gently lift one corner of the part to open a small gap.
- Spray isopropyl alcohol into the gap.
- Slowly peel the part away, working the alcohol in as the gap grows.
Wash off glue residue before the next print; build plate cleaning covers the cleaners for each sheet type.
First-layer settings for flexible filaments
- Speed. NinjaTek gives 10–20 mm/s for top and bottom layers of NinjaFlex and 25–45 mm/s for Cheetah. Recreus prints the first layer at 30% of its infill speed. In every case, slower than a PLA first layer.
- Line width. Recreus notes that TPU stretches when extruded, so lines come out thinner than the nozzle. Its 0.4 mm nozzle profile uses 0.35 mm line width at 0.2 mm layers. Check by looking at the lines on the plate, not by trusting the slicer preview.
- Z-offset and levelling. The first layer should be pressed lightly into the sheet. Use the first-layer calibration method, and make sure the bed is level first.
- Fan. Keep it off for the first layer. Prusa and Recreus keep it off throughout; NinjaTek runs it from layer 2.
- Corner lift. If corners still lift, add a brim before you raise the bed temperature; see brim vs raft for widths.
Common mistakes and next steps
- Using the PLA bed temperature and first-layer speed unchanged.
- Putting glue stick on a textured sheet that does not need it, then cleaning for an hour.
- Prying a stuck print off with force. Bambu Lab warns this can damage the model or the plate.
- Blaming the plate when the cause is wet filament or feeding resistance. Bambu Lab lists speed, feeding resistance and moisture as the usual causes of under-extrusion with TPU, which also leaves a poor first layer.
- Choosing a very soft grade before the first layer is under control. TPU vs TPE explains how hardness affects printing.
Frequently asked questions
Do I need glue stick for TPU?
Sometimes. Polymaker and NinjaTek suggest glue when needed, Bambu Lab’s data sheet lists glue as the surface preparation, and Prusa recommends it as a separator on smooth or satin PEI. On a textured sheet Prusa says no separator is needed, and Recreus states that Filaflex 82A needs no adhesive.
Does TPU need a heated bed?
Not always. NinjaTek lists room temperature up to 50 °C and Recreus says small parts need no heating, while Prusa recommends 60–75 °C. Start with the range for your spool and sheet, and raise the bed in 5 °C steps only if the first layer lifts.
Why does TPU stick so hard to the bed?
Prusa and Bambu Lab both say flexible filaments adhere strongly to the sheet, especially smooth PEI and large bottom surfaces. The separator layer or textured sheet exists for this reason.
How do I get a stuck TPU print off the plate?
Lift one corner gently, spray isopropyl alcohol into the gap and peel slowly, as Bambu Lab describes. Forcing it can tear the part or damage the plate.