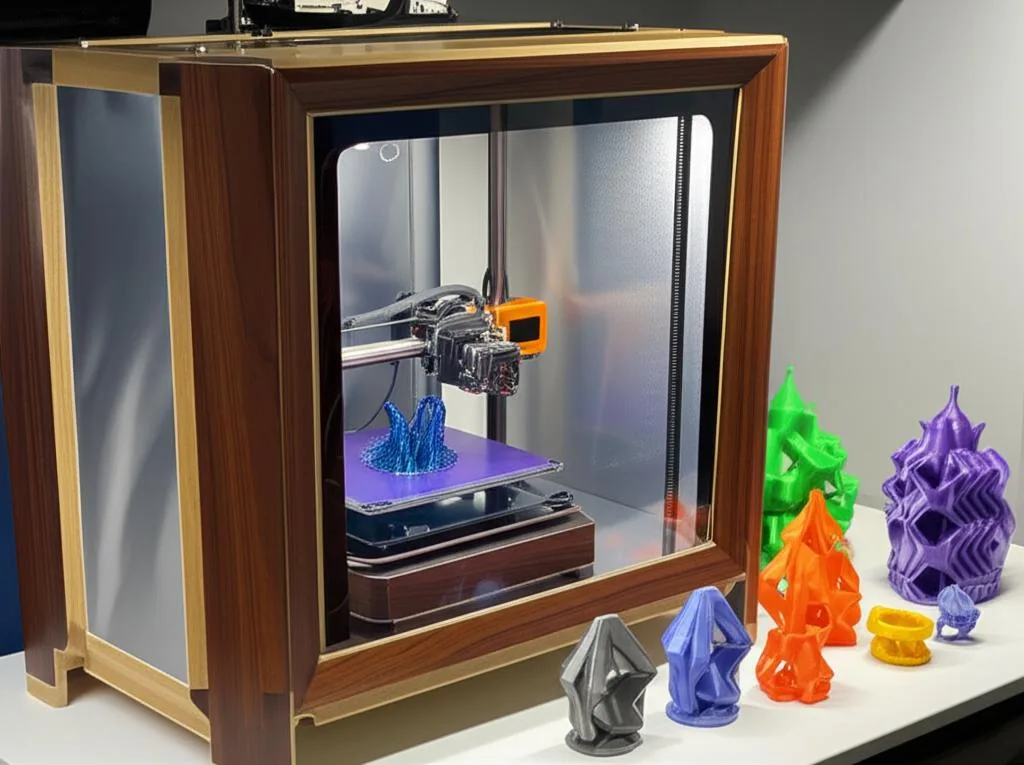
A DIY 3D printer enclosure only needs to do one thing well: keep warm, still air around the print for materials that warp, such as ABS, ASA, nylon and PC. It does not need a heater. Prusa’s own write-up says the printer’s heat is enough and that even 35 °C inside makes a big difference for ABS. For PLA and PETG the goal is the opposite. Bambu Lab recommends keeping the enclosure at least 10 °C below the filament’s glass transition temperature, and in practice that means opening the door or lid.
The build decisions that matter most are the wall material (acrylic is cheap but burns readily; polycarbonate is tougher and handles more heat), keeping the power supply outside, and planning for fire: thermal protection enabled, a smoke detector and no loose flammables inside. Material figures below come from manufacturer data sheets, and the printing advice comes from Prusa and Bambu Lab. All sources are linked at the end.
The consumer toolchanger 3D printer: the SnapSwap 4-toolhead system swaps heads in 5 seconds for true multi-color and multi-material printing, with smart calibration and auto filament loading.
- 4 toolheads · 5 s swap
- Up to 500 mm/s · 20,000 mm/s²
- 270 mm cube build volume
- Multi-color & multi-material

Do you need an enclosure? Quick decision list
- You print ABS, ASA, PC, nylon (PA), PP or composites based on them: yes. Prusa lists these as the materials that may need one.
- You mostly print PLA and PETG: not for print quality. It can still help with dust, noise, and keeping pets and children away from hot parts, as long as you vent it.
- You print ABS only now and then: Prusa suggests a textile photo booth (80 × 80 cm for its i3 printers) as a cheap option.
- You want to cut fumes: an enclosure helps only if you add extraction or filtration. On its own it just holds the fumes until you open it.
Enclosure temperature for PLA, PETG and ABS
Warm air helps materials that shrink a lot as they cool. The same warmth causes clogs with low-temperature filaments, because the filament softens in the extruder before it reaches the melt zone. Bambu Lab calls this heat creep and says PLA is the most common victim.
| Material | Enclosure target | What to do | Source |
|---|---|---|---|
| PLA | At least 10 °C below the glass transition; Bambu Lab gives about 45 °C as PLA’s softening temperature | Open the door or lift the lid, especially with the bed above 50 °C. Bambu Lab recommends a 10–30 °C room for PLA. | Bambu Lab |
| PETG | At least 10 °C below the glass transition; softening temperature about 70 °C | Usually fine closed in a cool room. Vent if clogs appear on long prints. | Bambu Lab |
| ABS, ASA | Warm and stable; Prusa says even 35 °C makes a big difference | Close everything, preheat with the bed, avoid drafts. A heater is not required. | Prusa; Bambu Lab |
| PC, PA and their CF/GF blends | As warm as the printer tolerates; Bambu Lab’s X1E defaults to a 60 °C heated chamber | A passive DIY box will not reach that, so expect more warping on large parts. | Bambu Lab |
Put a cheap thermometer inside at about print height and watch it through a few long prints before you decide on vents. Your room temperature changes the result more than any rule of thumb. For ABS-specific settings (nozzle, bed, fan), see how to print ABS without warping.
Wall and frame materials compared

Clear panels let you watch the print. The two usual choices behave very differently when hot or on fire. The figures below are for general-purpose extruded sheets from one manufacturer, Plaskolite (OPTIX acrylic and TUFFAK GP polycarbonate), so you are comparing like with like. Other brands will be similar but not identical.
| Material | Heat limits | Fire behaviour | Toughness and working |
|---|---|---|---|
| Acrylic (PMMA, “Plexiglas”) | Continuous service 77–88 °C; deflection temperature 95 °C at 1.8 MPa | UL 94 HB; burning rate 2.54 cm/min (ASTM D635). The safety data sheet calls it a combustible thermoplastic that “burns vigorously with intense heat”. | Notched Izod 1.5 kJ/m², so it cracks if drilled or clamped carelessly |
| Polycarbonate | Deflection temperature 132 °C at 1.86 MPa | UL 94 HB below 10 mm thickness; burn extent under 2.54 cm in the ASTM D635 test; flame-retardant grades are sold separately | Notched Izod over 65 kJ/m², very hard to crack |
| PETG sheet | No figures in Prusa’s docs | No figures in Prusa’s docs | Prusa uses PETG side panels on its own enclosure and calls them more resistant and lower-maintenance than Plexi |
| Wood, MDF, IKEA LACK tables | Fine at enclosure temperatures | Combustible | Opaque, quiet, easy to work. LACK tables are the base of Prusa’s budget design. |
| Metal (sheet steel, aluminium extrusion) | Not a limit | Non-combustible | Prusa’s enclosure uses a metal frame with metal top and bottom panels |
| Textile photo tent | Porous; Prusa measured about 38 °C after 10 minutes in a 26 °C room | Fabric; keep it clear of the hotend | Cheapest option; Prusa says the PSU can stay inside because heat escapes |
What this means in practice: acrylic is fine for walls and doors away from the hotend if you accept that it will not help in a fire. Polycarbonate costs more but holds up better to heat and knocks. Whatever you choose, make the surface above the printer (the lid) and the base under it the most fire-resistant parts. Prusa’s own enclosure uses metal for exactly these two panels.
Where to put the power supply and electronics
- Power supply outside. Prusa warns that keeping a PSU above 40–50 °C can significantly shorten its life. In its LACK design the PSU sits in a clip-on holder outside the box, and a printed brace replaces it on the frame.
- Display outside if you can. Prusa’s design allows the LCD outside, so you can control the printer without opening the door and letting heat out.
- Controller board: if it has to stay inside, make sure its cooling fan draws the coolest air available, and watch for skipped steps or driver errors on long, hot prints.
- Lights and fans on their own supply unless you are confident with wiring. Prusa suggests a separate power supply for a 12 V LED strip on the MK3, which runs at 24 V. Always match the strip voltage to the supply.
- Cable pass-through: use one grommet or slot, and leave enough slack for the bed and print head to travel fully.
- Printer plastic parts: Bambu Lab puts PLA’s softening point at about 45 °C, so PLA brackets, fan shrouds or cable covers near the hotend can sag in a chamber warmed for ABS. Reprint them in ASA, ABS or PC.
Ventilation and fume control
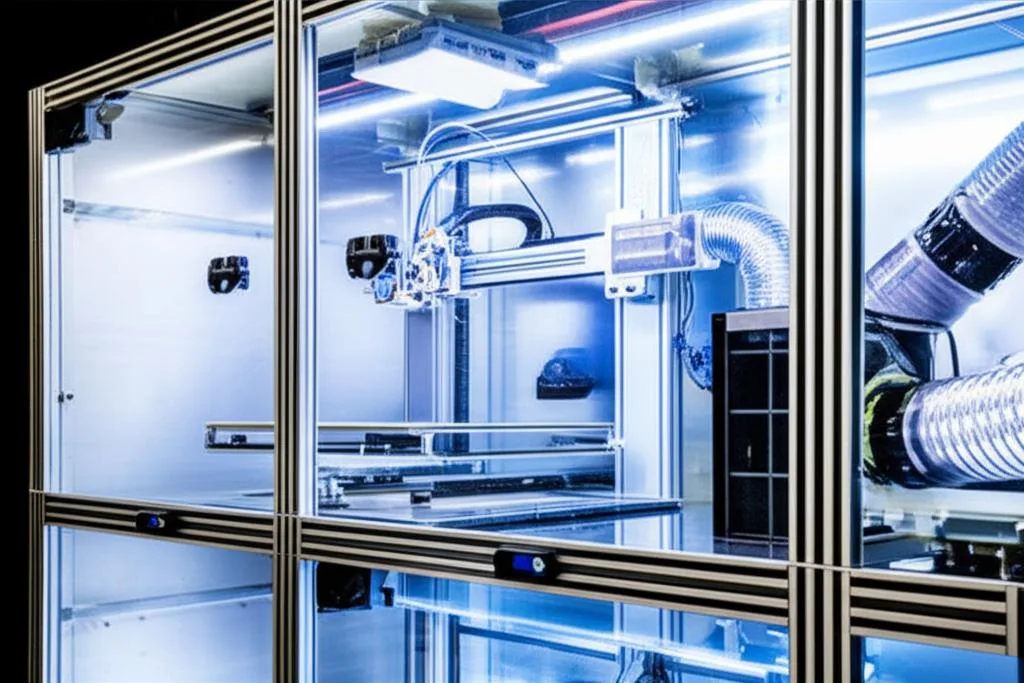
Venting and warmth pull in opposite directions, so design for both states: closed for ABS, open for PLA.
- A lid or door you can open. This is the simplest PLA fix, and Bambu Lab tells owners of its enclosed printers to do exactly this.
- An exhaust fan high on the back or top, venting outdoors through a duct. Pulling air out keeps the box at slightly lower pressure than the room, so leaks flow inwards instead of out. This is the only setup that actually removes fumes from the room. Put a speed controller on the fan so you can run it slowly for ABS.
- A recirculating filter if you cannot vent outdoors. Activated carbon targets odours and VOCs, while a HEPA stage targets ultrafine particles. Prusa sells a HEPA add-on for its enclosure for materials that produce particles. A filter needs replacing, and a box that is not airtight still leaks some unfiltered air.
- A small inlet low on the opposite side so the exhaust has somewhere to draw air from.
Airflow numbers and filter types are covered in detail in choosing a fume extraction system and ventilation and filtration for ABS fumes.
Fire safety for a DIY enclosure
An enclosure does not by itself make a printer more likely to catch fire, and it keeps loose material and pets away from the machine. But a box built from combustible panels makes any fire that does start worse. Cover these points:
- Firmware thermal protection on. Marlin’s thermal runaway protection shuts the heaters down if a thermistor comes loose. Its configuration documentation warns that without it, a loose thermistor can lead to a hotend that keeps heating “and possibly even fire”. Check that your firmware has it enabled, especially on older or modified machines.
- A smoke detector. Prusa mounts a standard one in the rear of its LACK enclosure and says it did not go off during many hours of ABS printing, so false alarms from normal fumes are not a reason to skip it.
- Automatic suppression for unattended printing. Prusa offers a tube-style fire suppression system for its Original Prusa Enclosure that triggers on heat and works without power.
- Non-combustible surfaces around the hot parts. Use metal or cement board under the printer and above the hotend’s path. Do not store spools, paper towels or foam inside.
- Tidy mains wiring. Keep mains connections and the PSU outside, with strain relief on every cable that moves.
For the full list, see our 3D printer fire prevention checklist.
DIY box, enclosure kit or enclosed printer
Every passive option below is heated only by the bed, so the realistic difference between them is build effort, fire resistance and extras such as filtration, not a much higher chamber temperature. That changes only when a heater is added.
| Option | Heating | What you get | Best for |
|---|---|---|---|
| Textile photo tent | Passive, porous | Minimal build, stays cool enough for the PSU inside | Occasional ABS or ASA |
| DIY box (LACK tables, plywood, aluminium extrusion) | Passive | Any size, your choice of panels, fans and filters; fire resistance depends entirely on the materials you pick | Regular ABS and ASA, odd-sized printers |
| Cardboard or foam board | Passive | Quick to cut but combustible and easily softened | A short trial only, never unattended or near the hotend |
| Printer-specific kit, e.g. the Original Prusa Enclosure | Passive; Prusa states heating comes only from the heatbed | Metal frame with metal top and bottom, PETG side panels, a temperature sensor included; HEPA filter (99.9% efficiency, per Prusa), fire suppression, LED lighting and a lock as add-ons | Supported printers, when you want a tested design |
| Printer with an actively heated chamber, e.g. Bambu Lab X1E | Active; the X1E defaults to 60 °C | Chamber temperature set in the slicer, no build work | Regular PC, PA and their fibre blends |
Adding a chamber heater for PC and nylon
For ABS, the heat from the bed is enough. Polycarbonate and nylon warp more, so some builders fit a heater to a DIY box. Treat it as a third heater on the printer, not an accessory:
- Closed-loop control with its own sensor. A heater on a plug-in timer or a plain switch will keep heating if something goes wrong. On Klipper, a chamber heater can be set up as a
heater_genericwith a temperature sensor, and the Klipper configuration reference says heater verification is automatically enabled for every configured heater. On other firmware, use a thermostat with an independent thermal cutoff. - Keep the heat away from what cannot take it. The PSU still belongs outside (Prusa’s 40–50 °C warning applies even more), and PLA or PETG parts on the printer will sag, as covered above.
- Insulate before you add watts. Sealing gaps and lining opaque walls cuts heat loss, so a passive box gets warmer before you need a heater at all. Keep insulation away from the hotend and the heater itself.
- Know the limit. Acrylic’s continuous service range in Plaskolite’s data starts at 77 °C, so a heated acrylic box has little margin. Polycarbonate or metal panels are the safer choice for a heated build.
Nozzle, bed and chamber advice for PC is in polycarbonate print settings.
Build steps for a basic LACK-style enclosure
- Measure the printer at full travel, including the bed at its furthest Y position, the spool path and the cables. Add room for your hands at the sides.
- Pick the frame: two stacked LACK tables for a Prusa-sized i3 (Prusa’s design uses three 440 × 440 mm panels, 3 mm thick), or wood or aluminium extrusion for bigger machines.
- Move the PSU outside and route cables through one pass-through.
- Fit the panels and a door held with magnets, so it is easy to open for PLA.
- Add the exhaust or filter, a thermometer, and a smoke detector at the back.
- Test with the door closed: run a long PLA print and watch for clogs, then a long ABS print and check the chamber temperature and the PSU temperature.
Common enclosure mistakes
| Problem | Cause | Fix |
|---|---|---|
| PLA prints start fine, then under-extrude or jam | Heat creep from a closed, warm chamber | Open the door or lid, lower the bed temperature, check the hotend fan (clearing a clogged nozzle) |
| PSU mounted inside a closed box | Prusa: above 40–50 °C its lifespan drops significantly | Move the PSU outside |
| ABS still warps in the enclosure | Drafts through big gaps, or the room is too cold | Seal the gaps, preheat with the bed, add a brim |
| Fan shrouds or printed brackets sag | PLA or PETG printer parts in a warm chamber | Reprint them in ASA, ABS or PC |
| Strong smell in the room after opening | No extraction, only containment | Add an exhaust to outdoors, or wait before opening |
| Cardboard or foam board walls scorched or sagging | Combustible, low-temperature material near hot parts | Rebuild with metal, polycarbonate or cement board, at least for the lid and base |
| Chamber heater overshoots or keeps running | No temperature sensor or cutoff in the loop | Control it from firmware with heater verification, or a thermostat with a thermal cutoff |
| Acrylic cracks around screw holes | Brittle sheet, holes too close to the edge | Drill slowly with a plastic-cutting bit, or switch to polycarbonate |
Frequently asked questions
What temperature should a 3D printer enclosure be for ABS?
Warm and stable matters more than a specific number. Prusa says even 35 °C inside makes a big difference for ABS, and a passive enclosure heated only by the bed can get there. Enclosed printers with active chamber heating, such as Bambu Lab’s X1E, go up to 60 °C for warping-prone parts.
Should I print PLA with the enclosure closed?
Usually not. A warm chamber softens PLA in the extruder and causes heat-creep clogs. Bambu Lab recommends keeping the enclosure at least 10 °C below the filament’s glass transition temperature and printing PLA with the door open or the lid off. A closed door is fine only in a cool room with a low bed temperature.
Is acrylic or polycarbonate better for an enclosure?
Polycarbonate handles more heat (a 132 °C deflection temperature versus 95 °C in Plaskolite’s data) and is far more impact-resistant, but it costs more. Acrylic is cheaper and clearer but combustible, and its safety data sheet says it burns vigorously. If you use acrylic, keep the top and bottom of the enclosure metal or another non-combustible material.
Can I use an IKEA LACK table enclosure?
Yes. Prusa publishes a LACK-based design for its i3 printers with acrylic panels, the PSU mounted outside and a smoke detector at the back. The tables are wood-based and combustible, so keep thermal runaway protection enabled and do not leave long prints completely unattended without detection.
Sources
- Prusa blog: How to build a simple, cheap enclosure for your 3D printer
- Prusa Knowledge Base: Enclosure guidepost and Original Prusa Enclosure
- Bambu Lab Wiki: What is heat creep? and chamber temperature setting
- Klipper documentation: Configuration reference (heater_generic, verify_heater)
- Plaskolite: OPTIX general-purpose acrylic sheet data sheet
- Plaskolite: TUFFAK GP polycarbonate sheet data sheet