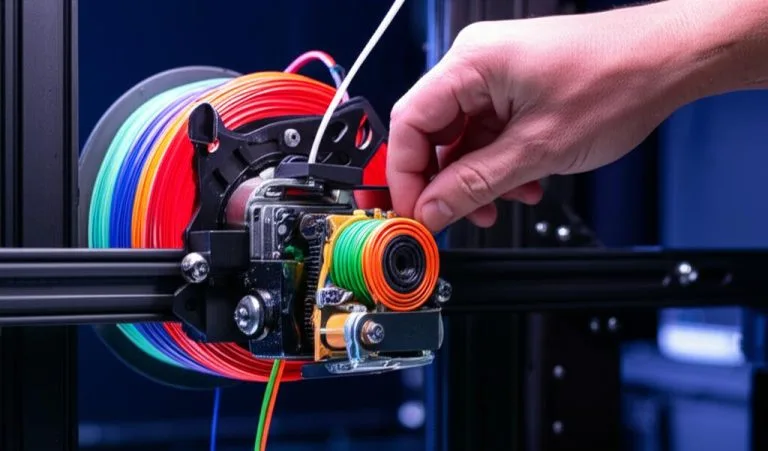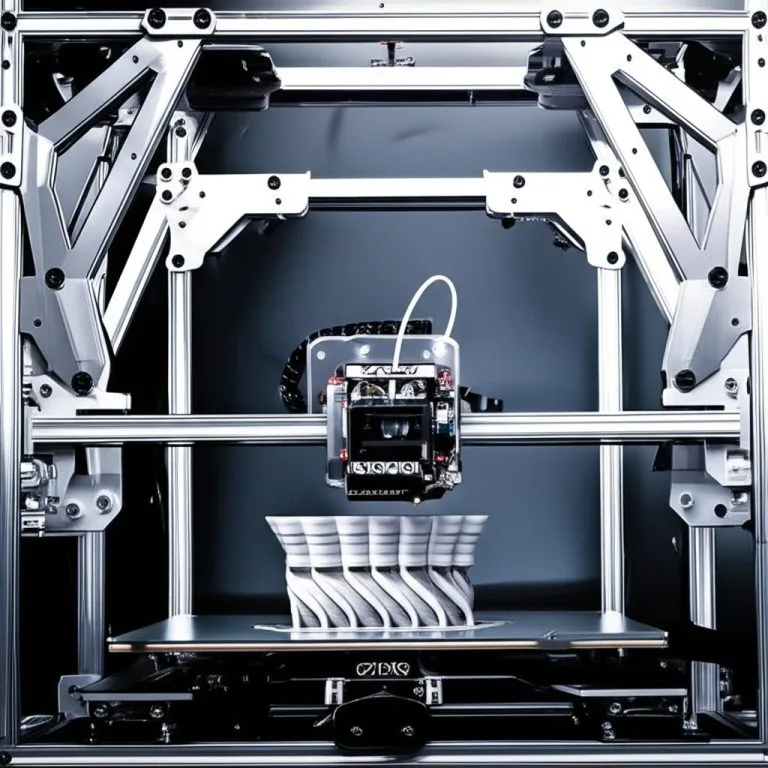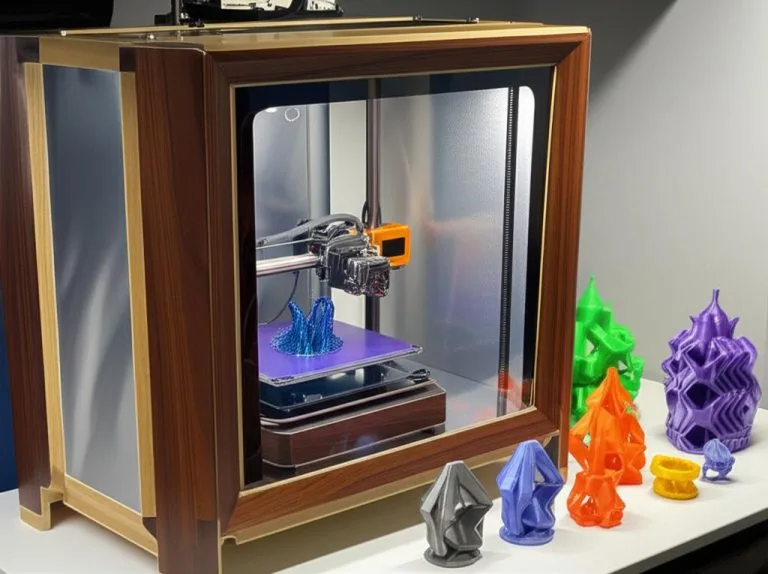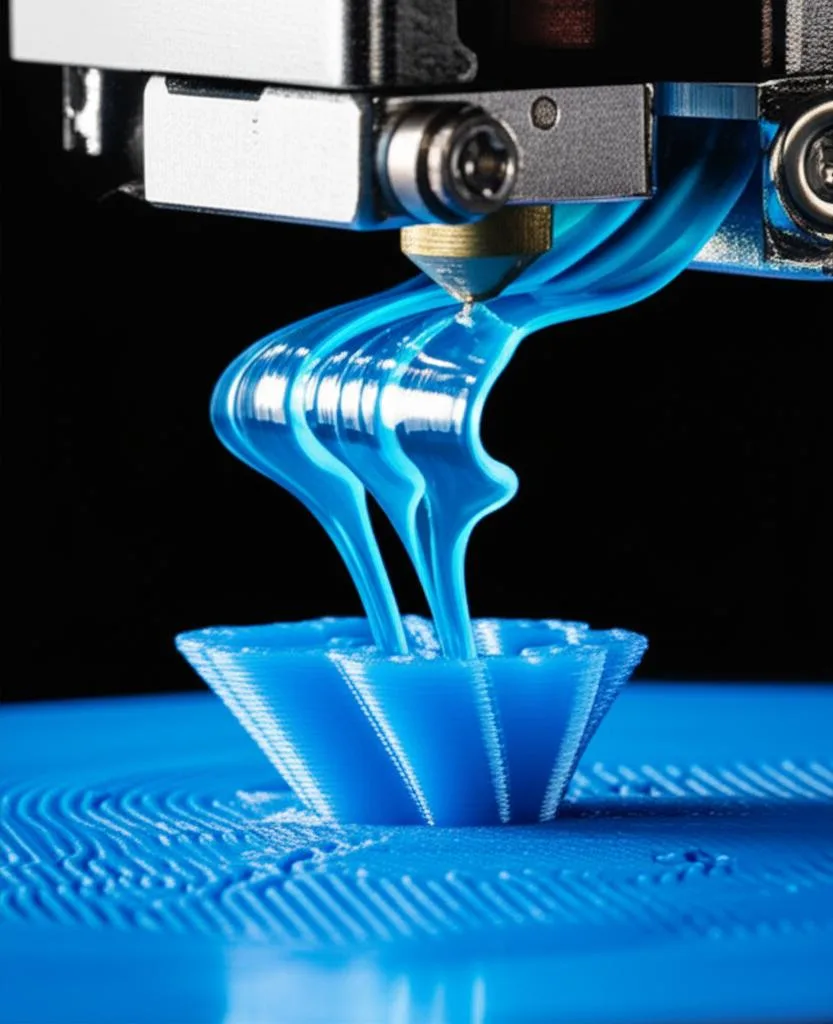
A direct drive extruder mounts the extruder motor and drive gears on the moving toolhead, right above the hotend, so the filament travels only a short, constrained path into the melt zone. A Bowden setup keeps the extruder on the frame and pushes filament through a long PTFE tube. Converting from Bowden to direct drive is worth it mainly if you print soft flexible filaments such as TPU regularly, or you want shorter, more predictable retraction: Prusa caps retraction on its direct drive printers at 2 mm, while its Bowden MINI profile defaults to 3.2 mm.
The price is extra mass on the toolhead. More moving weight lowers the printer’s resonance frequency, so after the swap you should expect to retune input shaping or acceleration, as well as E-steps, motor current, retraction and pressure advance. If you print only PLA and PETG and your Bowden printer already gives clean results, the conversion rarely pays off. This guide covers the decision, the conversion options, the installation steps and every setting you need to change afterwards, with values taken from Prusa, Klipper and Bondtech documentation linked at the end.
The consumer toolchanger 3D printer: the SnapSwap 4-toolhead system swaps heads in 5 seconds for true multi-color and multi-material printing, with smart calibration and auto filament loading.
- 4 toolheads · 5 s swap
- Up to 500 mm/s · 20,000 mm/s²
- 270 mm cube build volume
- Multi-color & multi-material

Should you convert? A quick decision list
- Convert if you want to print TPU or other soft flexibles often and the Bowden tube keeps buckling or jamming them.
- Convert if you are replacing a worn stock extruder anyway and a direct drive kit exists for your printer.
- Probably don’t if you print rigid filaments only and your stringing is already under control with tuned retraction.
- Probably don’t if your priority is maximum travel speed on a light, well-tuned Bowden machine: extra toolhead mass works against it.
- Check first that the carriage, hotend and wiring can take a motor on the toolhead, and that you are prepared to recalibrate afterwards.
Bowden vs direct drive: what actually changes
The main difference is the length and springiness of the filament path. In a Bowden system the filament has to travel through the tube before it reaches the nozzle, and the slack and compression along that tube delay every push and pull. That is why Bowden printers need longer retractions and more pressure advance. With direct drive the gears grip the filament just above the hotend, so the extruder’s movements reach the nozzle almost immediately.
| Aspect | Bowden | Direct drive |
|---|---|---|
| Extruder location | On the frame, filament pushed through a PTFE tube | On the toolhead, directly above the hotend |
| Retraction length (Prusa defaults) | Original Prusa MINI/MINI+ presets: 3.2 mm | MK2.5/S and MK3/S/+: maximum 2 mm |
| Pressure advance (Klipper) | Toward the high end of the typical 0.050–1.000 range; tuning tower factor .020 | Toward the low end; tuning tower factor .005 |
| Soft flexible filaments | Prone to buckling and compressing in the tube | Short, constrained path handles them far more reliably |
| Toolhead mass | Light | Heavier: motor and extruder ride on the carriage |
| Ringing and acceleration | Higher resonance frequency is easier to reach | Lower resonance frequency; input shaping must be re-measured |
| Wiring | Extruder motor cable stays on the frame | Motor cable moves with the toolhead and needs strain relief |
The pressure advance figures come from Klipper’s tuning guide, which says typical values fall between 0.050 and 1.000, with the high end usually only on Bowden extruders. Treat both rows as starting points for your own calibration, not target values.
When direct drive helps, and when it does not
Flexible filaments are the strongest case. A soft filament behaves like a spring inside a long tube: the extruder pushes, the filament compresses and wanders sideways instead of moving forward, and eventually it folds up next to the drive gears. A direct drive extruder leaves very little room for that. The conversion does not make TPU trivial, though. Prusa notes that flexible materials can need longer retractions because they stretch as they are pulled back, and that they often need a lot of tuning. Slow speeds, a constrained filament path and low retraction still matter; our guide to preventing TPU jams covers those settings.
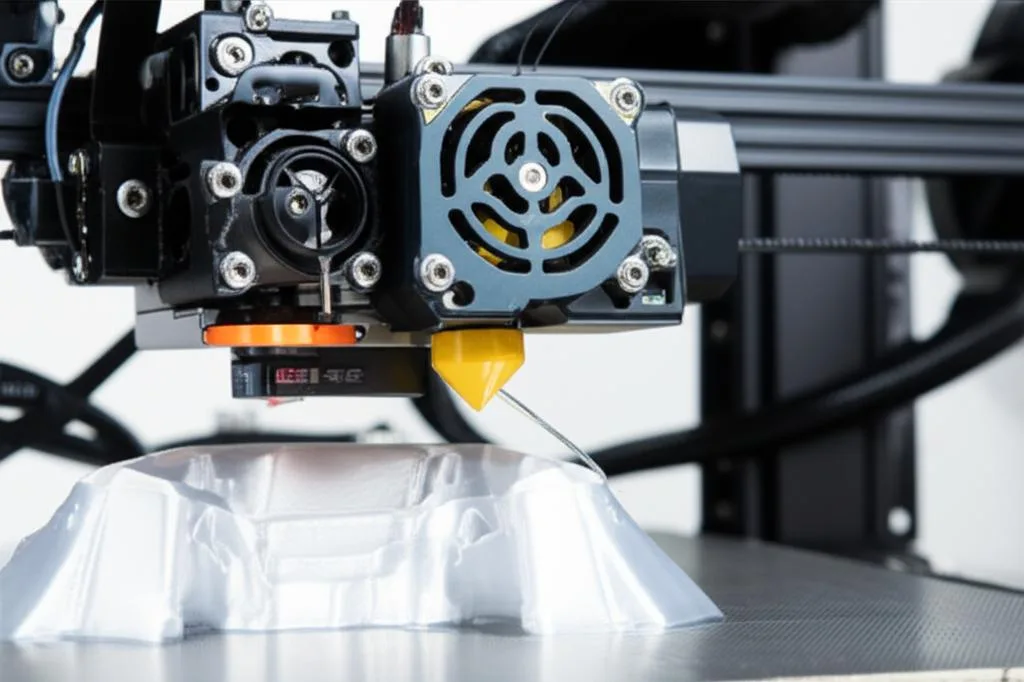
Stringing on rigid filaments can improve because retraction acts faster and needs less length, but a Bowden printer with tuned retraction and pressure advance can already print clean PLA and PETG. If stringing is your only complaint, tune retraction settings first; it costs nothing.
Speed and ringing go the other way. Klipper’s resonance documentation lists a new, heavier stepper motor for a direct extruder as one of the changes that shift ringing frequencies, and it suggests that a frequency below roughly 20–25 Hz is a sign to stiffen the printer or reduce moving mass before tuning further. On a bed-slinger with a single Z screw the heavier head also puts more load on the X gantry, so check that it stays level after the swap.
Conversion options: kit, printed mount or hybrid
- Dedicated kit for your printer. Extruder, motor and a bracket made for your carriage, sometimes with a hotend. The most expensive route, but compatibility has been worked out for you and the manufacturer usually publishes the steps/mm or rotation_distance value.
- Printed mount for your existing extruder and motor. The cheapest route: print an open-source bracket that moves the stock extruder onto the carriage. Stock motors are usually full-size and heavy, and printed brackets near the hotend need a heat-resistant material and a design that matches your exact hotend.
- Hybrid. Buy a compact, lightweight extruder with a pancake motor and print or buy the adapter plate for your carriage and hotend. This is the common middle ground.
Read the extruder maker’s specification before you order, because details decide whether it fits. As one example, Bondtech’s LGX Lite V2 is sold with a Nema14 round 20 mm pancake motor, takes 1.75 mm filament only, is rated for at most 0.7 A RMS motor current, and does not allow a mount plate between the motor and the extruder body; hotend-specific aluminum mount plates are sold separately.
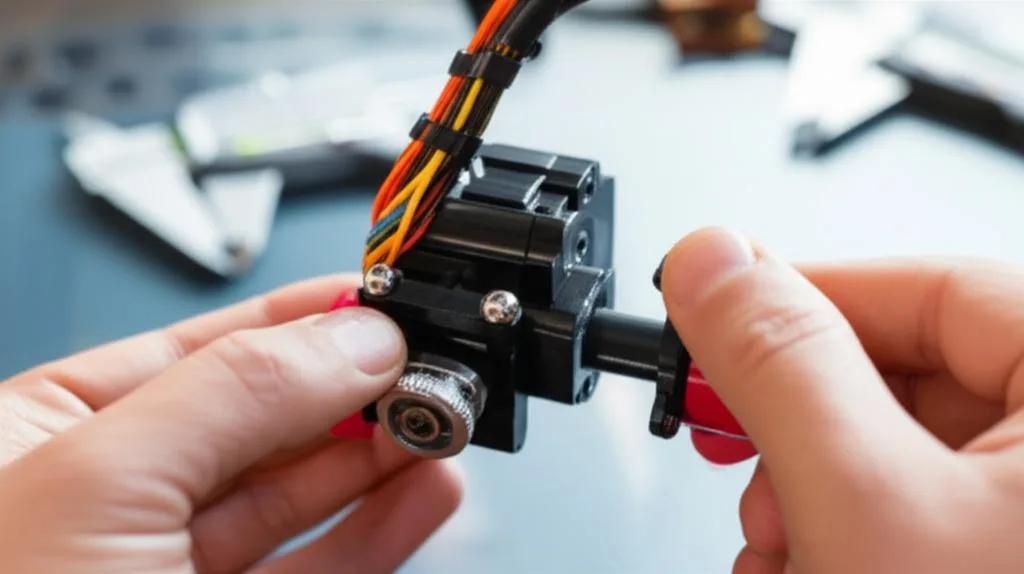
How to convert Bowden to direct drive, step by step
- Record your current settings. Note E-steps (Marlin
M503) orrotation_distance(Klipper), retraction, pressure advance and extruder motor current, so you can roll back. - Switch off and unplug the printer. Unload the filament and let the hotend cool.
- Remove the Bowden path. Take off the frame-mounted extruder, the tube and its push-fit couplers. Keep only the short PTFE section inside the hotend if your hotend design uses one.
- Fit the mount and extruder to the carriage following the kit instructions. The filament path from the drive gears into the hotend must be straight and continuous, with no gap where a soft filament could escape.
- Route the motor cable. Extend it if needed, run it with the hotend harness, leave enough slack for the full travel and add strain relief so connectors are not flexed at every move.
- Set the motor current for the new motor:
run_currentin amps RMS in Klipper’s TMC driver section, orM906 E…in milliamps on Marlin with Trinamic drivers. Stay within the motor maker’s rating. - Enter the extruder’s published steps value, then check the direction with a short heated extrusion. If it pulls filament backwards, invert the extruder direction in firmware.
- Calibrate E-steps or rotation_distance, then retraction, pressure advance and input shaping, in that order (details below).
Settings to change after the conversion
| Setting | Why it changes | What to do |
|---|---|---|
| E-steps / rotation_distance | New drive gear and gear ratio | Start from the extruder maker’s value; in Klipper also set gear_ratio for a geared extruder; then run the extrusion test |
| Extruder motor current | The new motor has its own current rating, often lower for pancake motors | Set to the new motor’s rating (for example, at most 0.7 A RMS for the LGX Lite V2 motor) |
| Retraction length | Much shorter filament path | Start low: Prusa uses a maximum of 2 mm on its direct drive printers; Klipper suggests about 0.75 mm once pressure advance is tuned |
| Pressure advance / Linear Advance | Less compliance between gear and nozzle | Re-tune; expect a lower value than on Bowden |
| Input shaping, acceleration | Heavier toolhead lowers resonance frequency | Re-measure input shaping; lower acceleration if ringing returns |
| Slicer profiles | Printer profile still says Bowden | Update retraction in every filament profile, or switch to a direct drive printer profile |
For the extrusion test itself, follow our E-steps calibration guide; in Klipper, the gear_ratio line matters because some extruders are not what the label says (Klipper’s documentation notes that BMG gears sold as 3:1 are actually 50:17). Pressure advance is covered in pressure advance calibration, and new ringing after the swap in our guide to ringing and ghosting.
Common direct drive conversion mistakes
- Keeping Bowden retraction. Several millimeters of retraction on a direct drive can pull molten plastic up into the cooler part of the hotend and cause jams. Reset retraction before the first print.
- Leaving the old motor current. A small pancake motor driven at a full-size motor’s current runs hot; too little current makes it skip. Use the rating.
- Skipping the E-steps test. The old value belongs to the old gear. Even with a published value, measure once.
- A gap in the filament path. Any space between the gears and the hotend inlet is where TPU escapes and wraps. Check it with a piece of filament before assembly.
- Tight cable routing. A motor cable pulled taut at one end of travel breaks conductors over time.
- Blaming the extruder for grinding. If the new extruder clicks or chews filament, check tension, temperature and the nozzle first; our guide to extruder grinding and clicking walks through it.
Frequently asked questions
Is a direct drive extruder worth it for PLA only?
Usually not. A tuned Bowden printer prints clean PLA, and the conversion adds toolhead mass that you then have to compensate for with input shaping or lower acceleration. The upgrade makes sense when you want soft flexibles or when the stock extruder needs replacing anyway.
What retraction should I use after converting to direct drive?
Start low and tune from there. Prusa uses a maximum of 2 mm on its direct drive printers, and Klipper’s pressure advance guide suggests a modest retraction of about 0.75 mm once pressure advance is tuned. Bowden-length retractions are too long for direct drive.
Do I need a pancake stepper motor?
It is not required, but it keeps the added mass down. Many compact direct drive extruders are designed around a Nema14 or short Nema17 pancake motor; a full-size motor works but makes ringing more likely. Whatever you use, set the driver current to that motor’s rating.
Do I have to change firmware settings after the conversion?
Yes. At minimum, set the new extruder’s steps per millimeter or rotation_distance (plus gear_ratio in Klipper), the motor current and possibly the extruder direction. After that, re-tune retraction and pressure advance, and re-measure input shaping because the heavier toolhead changes the printer’s resonance.