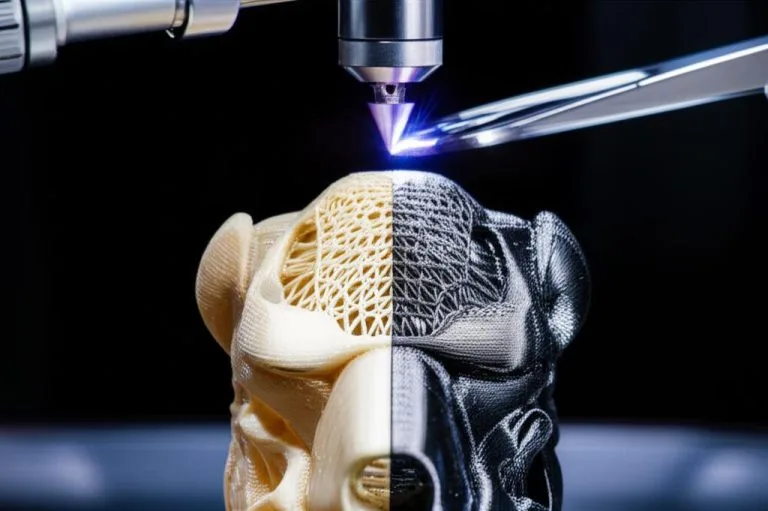
You’ve just completed your first 3D print, and while the creation itself is exciting, you might notice that it looks a bit… raw. Layer lines, rough surfaces, and a monochromatic finish are common straight off the printer. This is where the magic of Post-processing and painting comes in! Transforming your raw 3D printed models into professional-looking pieces is an incredibly rewarding part of the hobby. This guide will walk you through essential techniques for painting 3D prints and achieving a stunning finish, even if you’re a complete beginner.
Prepping Your Print: The Foundation of Success
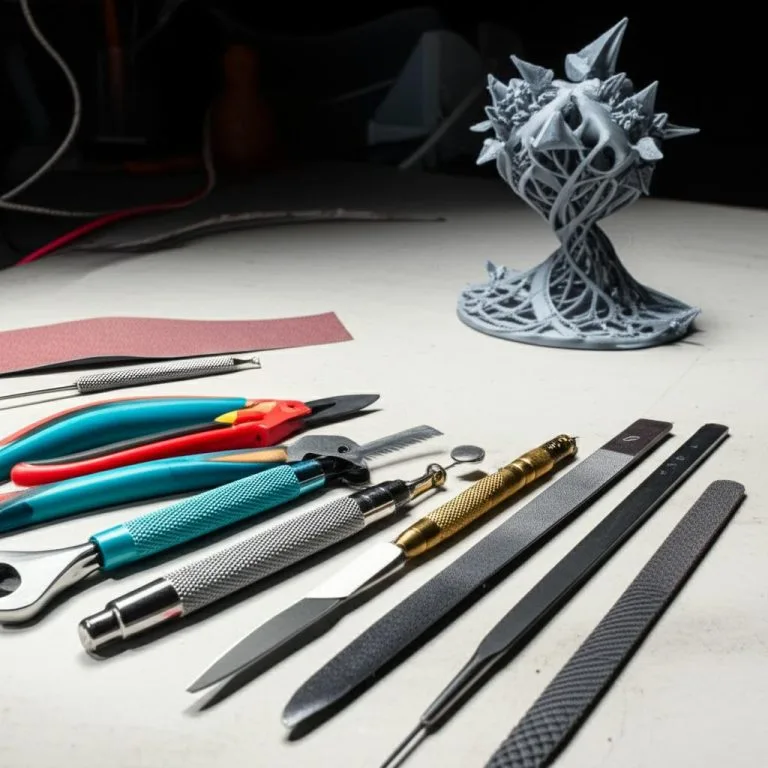
Before any paint touches your model, proper preparation is key. This initial stage, often part of Post-processing, significantly impacts the final result. Start by carefully removing any supports. For FDM prints, addressing layer lines with sanding is crucial, moving from coarse to finer grits (e.g., 200-1000+). Wet sanding can reduce dust. For resin prints, proper cleaning and curing precede sanding. Always clean your model thoroughly after sanding to remove dust or debris; a soft brush and isopropyl alcohol are effective.
Priming: Your Secret Weapon
Priming is a vital step many beginners skip. A good primer creates an even, uniform surface for paint adhesion, helps reveal imperfections, and evens out the raw print’s color. Use a spray primer designed for plastics or models. Apply several thin coats to avoid obscuring details, allowing each to dry completely. Lightly sand between coats with very fine grit (e.g., 1500-2000) if needed.
The Art of Painting Your 3D Prints
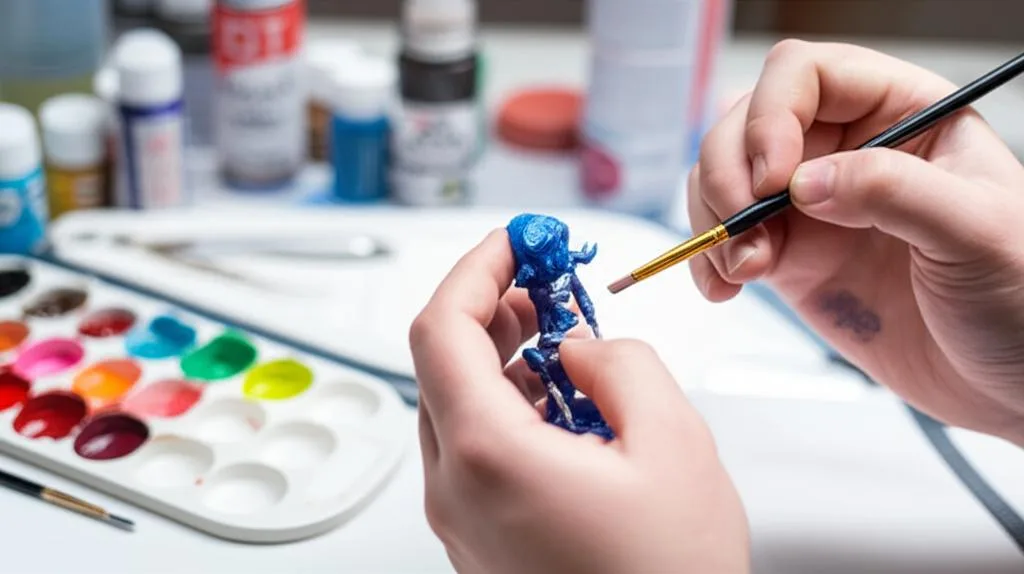
When it comes to painting prints, acrylic paints are highly recommended for beginners due to their water-based nature, quick drying time, and ease of cleanup. Apply paint with brushes or an airbrush in thin, even coats. Multiple thin layers always look better and reveal more detail than one thick one, preventing brush strokes and building vibrant colors. Experiment with different brush sizes. For intricate work, patience is key. Explore techniques like dry brushing for highlights or washes for shading, which can truly bring your 3D printing projects to life.
Finishing Touches: Protecting Your Masterpiece
Once your paint job is complete and fully dry, the final step is to apply a protective clear coat. This safeguards your paint from wear and tear and can alter the model’s final sheen (matte, satin, or gloss). Apply clear coats in thin, even layers, just like priming and painting. Spray varnishes are convenient. Ensure your model is completely dust-free before applying the clear coat to avoid trapping particles. Proper ventilation is also crucial during this stage.
The journey of 3D printing, painting, prints gets more rewarding with practice. Don’t be afraid to experiment. Each model you finish will teach you something new, helping you refine your skills and achieve stunning results. Enjoy the process of bringing your digital creations to life with a splash of color!
Frequently asked questions
Do I need to sand a resin print the same way as an FDM print?
Not in the same order. With FDM prints you sand right away to smooth layer lines, working from a coarse grit up through finer ones (roughly 200 to 1000+). With resin prints, you clean and fully cure the model first, and only then move on to sanding, since sanding uncured resin won’t give you a stable surface to work with.
Why bother priming before painting if I’m just going to paint over it anyway?
Primer isn’t just an extra layer of color, it’s what makes the paint stick evenly and last. A plastic-model spray primer creates a uniform surface for paint adhesion, evens out the raw print’s color so your topcoat isn’t fighting through it, and actually reveals sanding flaws or imperfections you’d otherwise only spot after painting. Apply it in several thin coats rather than one heavy one, and let each coat dry fully so you don’t obscure fine details.
Do I really need a clear coat if the paint job already looks finished?
Yes, skipping it leaves your paint exposed to wear and handling damage with nothing protecting it. A clear coat also lets you control the final look by choosing matte, satin, or gloss sheen, regardless of the finish your paint dried with. Just make sure the model is completely dust-free before spraying, since any trapped particles will be sealed in permanently, and apply it in thin, even layers like you did with the primer and paint.