Input shaping is a motion-control technique that changes the acceleration commands sent to the motors so the printer’s frame is not left ringing after every corner. Klipper measures that ringing with an ADXL345 accelerometer, then picks a shaper type and frequency for each axis. The short version: fix any loose mechanics, mount the sensor rigidly, run SHAPER_CALIBRATE for X and Y, save the result with SAVE_CONFIG, and then set max_accel at or below the value the calibration suggests.
The ADXL345 is optional. Klipper can also derive the frequencies from a printed ringing tower, Marlin only supports manual tuning, and some factory-calibrated printers do it for you. Each route is covered below. Every command and config key comes from the Klipper and Marlin documentation linked at the end; values shown as examples are examples, not recommendations for your printer.
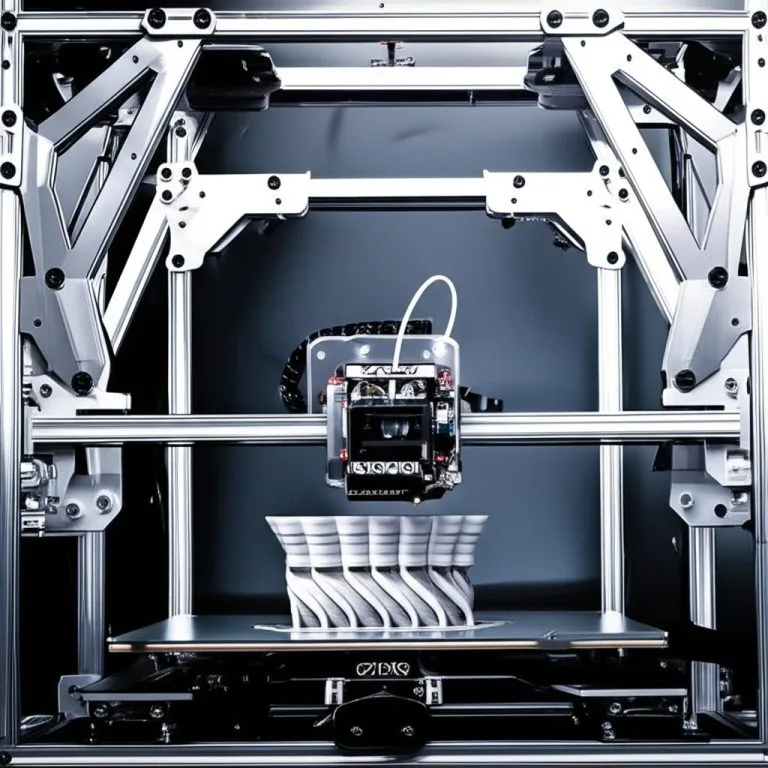
The consumer toolchanger 3D printer: the SnapSwap 4-toolhead system swaps heads in 5 seconds for true multi-color and multi-material printing, with smart calibration and auto filament loading.
- 4 toolheads · 5 s swap
- Up to 500 mm/s · 20,000 mm/s²
- 270 mm cube build volume
- Multi-color & multi-material

Input shaping with an ADXL345 in six steps
- Tighten the frame, belts and toolhead first. Input shaping cannot fix looseness.
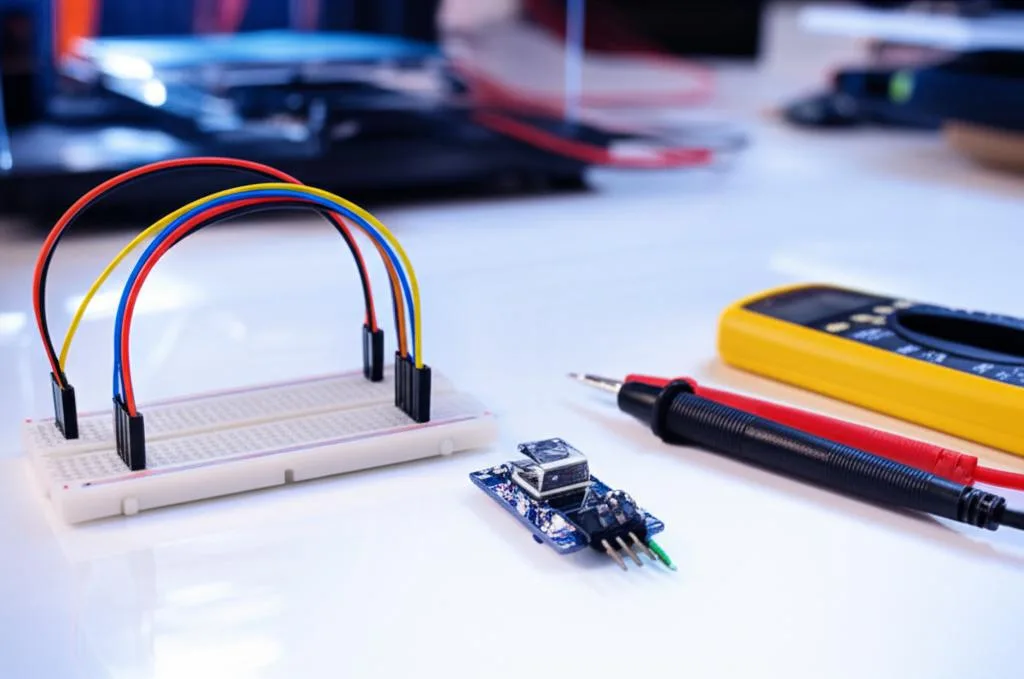
- With the printer and the Pi powered off, mount the ADXL345 rigidly on the toolhead and wire it to the Pi’s SPI pins at 3.3 V.
- Add
[mcu rpi],[adxl345]and[resonance_tester]to printer.cfg and restart. - Check the sensor with
ACCELEROMETER_QUERYandMEASURE_AXES_NOISE. - Run
SHAPER_CALIBRATE(X with the sensor on the toolhead, Y on the bed if your bed moves in Y), thenSAVE_CONFIG. - Set a conservative
max_accel, print a ringing tower to confirm, and re-tune pressure advance.
What input shaping fixes, and what it does not
Klipper’s documentation describes input shaping as an open-loop technique that reduces ringing, the ripples that echo sharp corners and text on a wall. It can also reduce general shaking and may improve stealthChop reliability on Trinamic drivers. The same page tells you to look at mechanical causes first: a weak frame, loose or springy belts, misaligned parts or a heavy moving mass.
So if ringing is severe, work through ringing and ghosting causes, frame bracing and belt tension before measuring anything. A resonance measured on a loose machine is a moving target, and the shaper tuned to it will not hold.
What you need
- A Klipper printer with a Raspberry Pi host. If you are still on Marlin, see Marlin to Klipper migration first.
- An ADXL345 breakout board. Klipper’s wiring uses SPI; the page says I2C has too little throughput for this job. Some boards are hard-wired for I2C by tying SDO to ground, so confirm yours supports SPI.
- Dupont jumper wires and a rigid mount for the sensor. Klipper says it must be rigidly attached to the moving part, and suggests mounting on the extruder rather than the carriage.
- Python libraries on the Pi for the calculations (numpy and matplotlib).
Wiring the ADXL345 to a Raspberry Pi
Switch the printer and the Pi off before touching any wire. Klipper warns to double-check the wiring before powering up, to avoid damaging the Pi or the accelerometer, and to connect the ADXL345 to 3.3 V only. Klipper’s pin table for the Pi is:
| ADXL345 pin | Raspberry Pi pin | Pi pin name |
|---|---|---|
| 3V3 (or VCC) | 01 | 3.3 V DC power |
| GND | 06 | Ground |
| CS | 24 | GPIO08 (SPI0_CE0_N) |
| SDO | 21 | GPIO09 (SPI0_MISO) |
| SDA | 19 | GPIO10 (SPI0_MOSI) |
| SCL | 23 | GPIO11 (SPI0_SCLK) |
Make sure the board and its mounting screws do not touch metal parts of the printer. Klipper warns that a ground loop could damage electronics. Enable SPI on the Pi with sudo raspi-config (Interfacing options). Wiring the sensor to a Raspberry Pi Pico or to a printer-board SPI header are alternatives described in the same documentation.
Configure Klipper for the accelerometer
Klipper’s page uses the Pi as a second “linux” microcontroller; set that up by following its Raspberry Pi microcontroller document, then add:
[mcu rpi]
serial: /tmp/klipper_host_mcu

[adxl345]
cs_pin: rpi:None

[resonance_tester]
accel_chip: adxl345
probe_points:
    100, 100, 20  # an example: a point near the middle of the bed
Pick a probe point your nozzle can reach safely with clearance above the bed; Klipper’s Z-axis notes say about 20 mm above the surface is enough with default parameters. Then install the numerical libraries on the Pi: sudo apt update followed by sudo apt install python3-numpy python3-matplotlib libatlas-base-dev libopenblas-dev, and install numpy into Klipper’s own environment with the pip line given in the Measuring Resonances page (it pins a version, and building can take 10 to 20 minutes on a small board). Run RESTART.
Check the sensor before the shake test
- Run
ACCELEROMETER_QUERY. One returned axis should read roughly free-fall acceleration (about 9.8 m/s², plus chip noise). - If you get
Invalid adxl345 id (got xx vs e5), retry once, because it can be an SPI initialisation hiccup. If it persists, check power, wiring and solder joints. - Run
MEASURE_AXES_NOISEwith the toolhead fans off. Klipper treats a baseline of roughly 1 to 100 as normal; values of 1000 or more point to sensor, power or fan-vibration problems. - If the sensor is not aligned with the printer axes, remap them with
axes_mapin[adxl345]. Klipper allows swapped axes as long as the map matches.
Run the calibration
Home the printer, put the sensor on the toolhead and run SHAPER_CALIBRATE. Klipper tests X and Y in turn, prints the suggested shaper and frequency for each axis in the console, and writes the frequency responses to /tmp/calibration_data_*.csv. Watch the first run: the printer shakes hard, and M112 aborts in an emergency. If vibrations are too strong, lower accel_per_hz in [resonance_tester]; the default is 75 and Klipper’s example uses 50. The test runs with input shaping disabled.
- Bed-slinger (bed moves in Y): measure X with the sensor on the toolhead, then move it to the bed and run
SHAPER_CALIBRATE AXIS=Y. Klipper says to runSAVE_CONFIGafter each axis. - Single-axis re-run:
SHAPER_CALIBRATE AXIS=XorAXIS=Y. - Save:
SAVE_CONFIGwrites[input_shaper]into printer.cfg and restarts Klipper. It does not changemax_accel.
Do not run the calibration before every print. Klipper warns against that, and advises checking that all parts are still secure afterwards. Recalibrate after changes that alter mass or stiffness, such as a new toolhead or belt retensioning.
Prefer the graph route? TEST_RESONANCES AXIS=X and AXIS=Y write /tmp/resonances_x_*.csv and /tmp/resonances_y_*.csv, and Klipper’s scripts/calibrate_shaper.py turns each CSV into a chart (-o) and a printed shaper list.
Reading the results
On the charts, Klipper says the peaks in the power spectral density correspond to the printer’s resonance frequencies. The script lists every shaper with its frequency, remaining vibration, smoothing and a theoretical max_accel, then recommends one, for example mzv @ 34.6 Hz in Klipper’s own sample. Klipper’s reference table for the shapers (approximate, default parameters):
| Shaper | Duration | Frequency error tolerated (vibration cut about 20x) | Smoothing |
|---|---|---|---|
| ZV | 0.5 / freq | about ±5% | least |
| MZV | 0.75 / freq | about ±4% | low |
| ZVD | 1 / freq | about ±15% | medium |
| EI | 1 / freq | about ±20% | medium |
| 2HUMP_EI | 1.5 / freq | −40% to +45% | high |
| 3HUMP_EI | 2 / freq | −50% to +60% | highest |
- Take the recommendation first. The automatic search minimises vibration without adding smoothing, but it can pick a poor frequency.
max_smoothingin[resonance_tester](Klipper’s example: 0.25) caps the smoothing at the cost of more remaining vibration. - Several peaks push the choice toward the multi-hump shapers, which tolerate wider frequency error but smooth more.
- A primary resonance below roughly 20 to 25 Hz means the printer should be stiffened or its moving mass reduced; shaping alone will smooth heavily there.
- Erratic graphs usually trace back to toolhead fans, loose mounting, loose belts or a binding axis. Klipper says to fix those first.
Set max_accel and verify with a ringing tower
The max_accel values in the script output are theoretical limits, not print recommendations, and SHAPER_CALIBRATE does not apply them. Set max_accel in [printer] conservatively below the lower of the X and Y estimates, then verify with Klipper’s ringing tower model (docs/prints/ringing_tower.stl).
- Slicer settings from the docs: layer height 0.2 or 0.25 mm, no infill or top layers, 1 to 2 perimeters, about 80 to 100 mm/s for outer perimeters, slicer acceleration control off, model not rotated.
- Before printing:
SET_VELOCITY_LIMIT MINIMUM_CRUISE_RATIO=0andSET_PRESSURE_ADVANCE ADVANCE=0. ThenTUNING_TOWER COMMAND=SET_VELOCITY_LIMIT PARAMETER=ACCEL START=1500 STEP_DELTA=500 STEP_HEIGHT=5, which raises acceleration every 5 mm from 1500 to 7000 mm/s². - Find the height where ringing becomes unacceptable and where the 0.15 mm wall gap starts to widen (a sign of over-smoothing). Klipper uses the lower of the two limits; in its example the gap grew at 3500 mm/s², so it chose a
max_accelof 3000.
Afterwards, re-tune pressure advance, because Klipper notes it should be calibrated again after an input shaping change.
No accelerometer, Marlin, Prusa and Bambu
Klipper without a sensor
Klipper’s ringing tower can measure the frequency by hand: measure the distance D between N ringing marks and calculate frequency = V × N / D, with V the outer-perimeter speed in mm/s. The docs’ example: 100 × 6 / 12.14 gives about 49.4 Hz. Enter it as shaper_freq_x and shaper_freq_y in [input_shaper], then compare SET_INPUT_SHAPER SHAPER_TYPE=MZV with EI on a new tower. Klipper recommends MZV unless EI is noticeably better, since EI smooths more.
Marlin
Marlin’s documentation says it has no accelerometer-based tuning. M593 sets “Marlin’s integrated ZV Input Shaping” with M593 [D<zeta>] [F<hertz>] [X] [Y] [Z]; for example M593 X F18.4 sets 18.4 Hz on X and M593 F0 disables it. Save with M500. You pick the frequency from a printed ringing tower with a layer-change macro and convert the best layer height with 15 + 45 * (z / 0.2 - 2) / 297. Marlin’s separate Fixed-Time Motion planner uses M493 and offers more shaper modes, but needs the FT_MOTION feature compiled in and the mode set for both X and Y. Check what your firmware build actually includes.
Prusa and Bambu Lab
Prusa says the input shaper on the MK4/S, CORE One and MK3.9/S families is pre-calibrated at the factory, and an optional accelerometer is for recalibration after hardware changes. The path is LCD Menu, Settings, Hardware, Input Shaper, Calibration. Fitting the accelerometer needs partial disassembly, and the printer must be fully cooled first. Bambu Lab’s wiki lists vibration compensation among its automatic printer calibrations; the pages found document no user-set shaper values.
Troubleshooting
| Symptom | Likely cause | What to do |
|---|---|---|
Invalid adxl345 id | SPI start-up glitch, power or wiring | Retry; check 3.3 V, pins, solder joints |
| Noise of 1000 or more | Fans, loose mount, power problem | Fans off, remount rigidly, re-run MEASURE_AXES_NOISE |
| Jagged or inconsistent graph | Loose belts, binding axis, loose sensor | Fix the mechanics, then measure again |
| Ringing remains after saving | Wrong frequency, wrong axis mounting | Re-measure; check sensor mount and axes_map |
| Rounded corners, widening wall gap | Over-smoothing from max_accel or shaper | Lower max_accel or try MZV or ZV |
| Ringing returns weeks later | Belts or mass changed | Re-measure after retensioning or toolhead changes |
Common mistakes and next steps
- Measuring a printer with loose belts or a binding axis; check for binding axes and loose belts first.
- Applying the suggested
max_accelunchanged, or raisingsquare_corner_velocityabove Klipper’s default of 5, which adds smoothing. - Leaving the sensor wires free to snag the toolhead or touch metal.
- Expecting input shaping to cure layer shifts or noise; those are separate problems, see layer shifts and stepper driver problems.
Frequently asked questions
Do I need an ADXL345 to use input shaping?
No. Klipper can derive frequencies from a printed ringing tower, and Marlin only supports manual tuning. The accelerometer is faster and measures the actual resonance, which removes the guesswork.
Can I leave the ADXL345 attached after calibration?
Klipper applies the saved [input_shaper] values whether or not the sensor is connected. Many people remove it to avoid cable snags; if you leave it, secure the wires and keep it clear of metal parts.
How often should I rerun SHAPER_CALIBRATE?
Klipper warns against running it often, such as before each print. Rerun it after hardware changes that affect mass or stiffness, or when ringing returns and the mechanics check out.
Does input shaping make prints faster?
Not by itself. Klipper’s FAQ says input shaping does not change print time directly, but max_accel does, and shaping is what lets you raise it while keeping ringing acceptable.