The realm of jewelry design has been dramatically reshaped by the advent of 3D printing, offering unprecedented opportunities for customization, intricate detailing, and rapid prototyping. Whether you’re a seasoned jeweler looking to modernize your craft or an aspiring designer keen to explore new frontiers, understanding the various approaches to 3D printed jewelry design is paramount. This guide delves into the distinct phases of creating custom jewelry pieces using additive manufacturing, objectively comparing the cost structures and features of different solutions available at each stage, from initial concept to a wearable work of art.
Step 1: Conceptualization and digital design with CAD for jewelry
The consumer toolchanger 3D printer: the SnapSwap 4-toolhead system swaps heads in 5 seconds for true multi-color and multi-material printing, with smart calibration and auto filament loading.
- 4 toolheads · 5 s swap
- Up to 500 mm/s · 20,000 mm/s²
- 270 mm cube build volume
- Multi-color & multi-material

The journey of any custom jewelry 3D printing project begins with an idea, which then needs to be translated into a digital 3D model. This is where Computer-Aided Design (CAD) software becomes indispensable. The choice of software significantly impacts both the design process and the overall project cost.
CAD software options and their implications
- Entry-level/Hobbyist Software: Tools like Tinkercad, SketchUp, or Fusion 360 (with a personal use license) offer accessible entry points.
- Features: Tinkercad is excellent for basic geometric shapes, while SketchUp provides an intuitive interface for architectural forms. Fusion 360, even in its personal version, offers robust parametric modeling and some sculpting. These are generally easier to learn for beginners.
- Cost Structure: Tinkercad and SketchUp Free are free. Fusion 360 offers a free personal use license with limitations; its commercial subscription is significantly more expensive. This makes them highly cost-effective for learning and small-scale projects.
- Professional Jewelry CAD Software: Specialized programs such as Rhino (often with MatrixGold or Grasshopper plugins), ZBrush, or 3Design are industry standards.
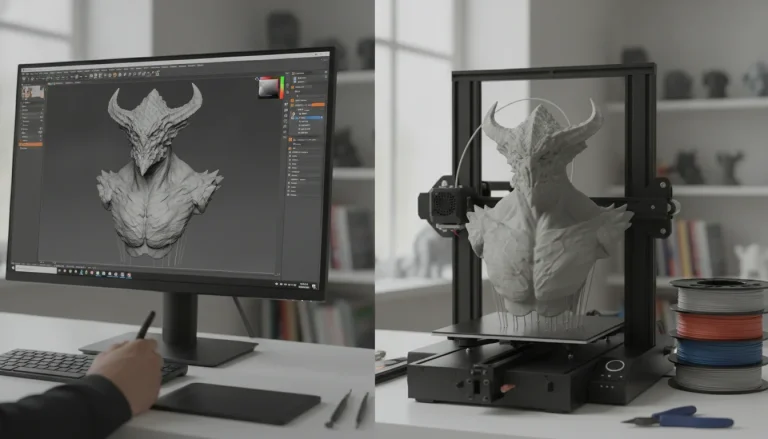
- Features: These tools provide advanced functionalities crucial for intricate jewelry. Rhino offers unparalleled surface modeling for organic shapes, while MatrixGold builds upon Rhino with specific jewelry tools like gem libraries and pavé tools. ZBrush excels in organic sculpting, ideal for highly artistic or figurative designs, effectively enabling the creation of unique wearable art 3D prints. These programs demand a steeper learning curve but offer precision and flexibility for complex geometries and manufacturing requirements.
- Cost Structure: Professional CAD software typically involves a significant upfront purchase cost for a perpetual license (e.g., Rhino) or a substantial annual subscription (e.g., MatrixGold, 3Design). While the initial investment is high, it grants access to powerful features and professional support, potentially streamlining workflows for commercial endeavors.
Analysis: The choice between entry-level and professional CAD software hinges on your project’s complexity, desired precision, and budget. For simple, experimental designs, free or low-cost options suffice. For intricate, production-ready jewelry, the investment in specialized CAD for jewelry software often pays dividends in terms of efficiency and quality.
Step 2: Prototyping and selecting your 3D printing technology
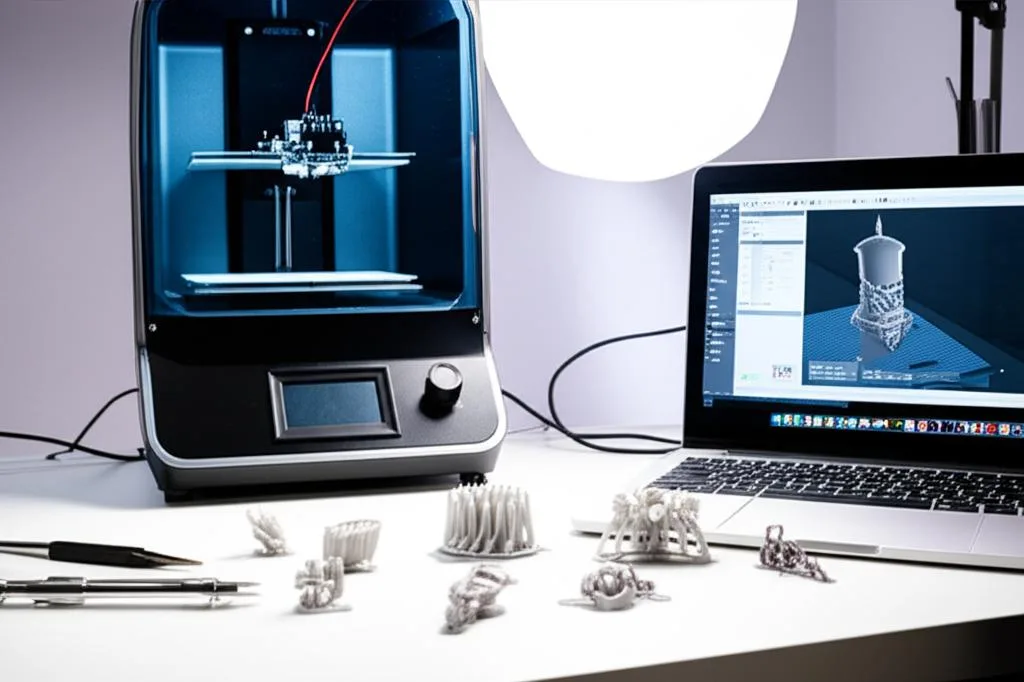
Once your digital design is complete, the next step involves bringing it into the physical world. This can be for prototyping, creating a master pattern for casting, or even direct production. Various 3D printing technologies offer different trade-offs in terms of detail, material properties, speed, and cost.
Comparing 3D printing technologies for jewelry
- Stereolithography (SLA) / Digital Light Processing (DLP): These resin-based technologies are workhorses for jewelry.
- Features: SLA/DLP printers are renowned for their exceptional resolution and smooth surface finish, capturing incredibly fine details critical for jewelry. They use photopolymer resins cured by a light source. Specialized “castable” resins are designed to burn out cleanly, making them ideal for lost wax casting 3D printing.
- Cost Structure: Entry-level desktop SLA/DLP printers can range from a few hundred to a few thousand dollars. Professional-grade machines are significantly more expensive. Resin costs vary but are generally higher per kilogram than FDM filaments. Maintenance involves resin handling, tank replacement, and UV light source longevity.
- Fused Deposition Modeling (FDM): While less common for final jewelry, FDM has its place in the design process.
- Features: FDM printers build objects layer by layer using thermoplastic filaments. They are generally faster and can print larger objects. However, their resolution is typically lower than resin printers, and visible layer lines are common, making them less suitable for intricate details or high-quality casting patterns. They are excellent for quickly creating inexpensive, non-functional prototypes to check size or overall form.
- Cost Structure: FDM printers are often the most affordable entry point into 3D printing, with many reliable models available for under a thousand dollars. Filaments (e.g., PLA, ABS) are also relatively inexpensive. Operating costs are low.
- Selective Laser Sintering (SLS) / Direct Metal Laser Sintering (DMLS) / Selective Laser Melting (SLM): These technologies enable direct metal printing.
- Features: SLS uses powdered polymers, while DMLS/SLM uses powdered metals (e.g., gold, silver, platinum) that are fused by a laser. These processes can create incredibly strong, complex geometries. DMLS/SLM allows for direct production of metal jewelry, eliminating the casting step.
- Cost Structure: The printers themselves are extremely expensive, often costing hundreds of thousands to millions of dollars. Material costs for precious metal powders are also very high. Consequently, these technologies are primarily accessed through specialized service bureaus, where you pay per part, often based on material volume and machine time.
Analysis: For high-detail patterns suitable for casting, SLA/DLP offers the best balance of quality and accessibility. FDM is ideal for quick, rough prototypes. Direct metal printing via DMLS/SLM provides the ultimate in direct production but comes with a prohibitive cost, making service bureaus the only practical option for most designers seeking 3D printed jewelry design in metal.
Step 3: Production methods – casting versus direct printing
Once a high-quality 3D print is achieved, the path diverges based on whether you want to produce the piece directly in metal or use the print as a master for traditional casting.
Indirect production: lost wax casting 3D printing
This method combines the precision of 3D printing with the time-honored tradition of lost wax casting.
- Process: A highly detailed “castable” resin pattern is 3D printed (typically using SLA/DLP). This pattern is then invested in a plaster-like material, and once cured, the mold is heated, burning out the resin pattern completely. Molten metal is then poured into the cavity, replicating the original design.
- Features: This approach allows for a wide range of traditional jewelry metals (gold, silver, platinum, brass, bronze) and finishes. It leverages existing casting infrastructure and expertise. It’s excellent for scaling production of a design once a master pattern is proven.
- Cost Structure: Costs include the 3D print (either in-house material/machine cost or service bureau fee), investment materials, metal (the most significant variable cost), and the casting service itself. For jewelers with existing casting setups, the marginal cost per piece can be relatively low. For those outsourcing, casting houses charge based on metal weight, complexity, and labor.
Direct production: metal 3D printing services
As discussed, direct metal 3D printing is typically accessed through specialized service bureaus.
- Process: Your digital model is sent to a service bureau that uses DMLS/SLM technology to print your design directly in precious metals.
- Features: This method allows for highly complex geometries that might be impossible to cast, such as internal lattice structures or interlocking parts. It also reduces lead times by eliminating the casting step. The resulting pieces are fully dense and require post-processing like polishing.
- Cost Structure: Pricing is generally based on the volume of metal used, the complexity of the part, and the specific metal chosen. Precious metals incur significant costs. While expensive per piece, it eliminates the need for in-house casting equipment and expertise, potentially simplifying the workflow for designers focused solely on the digital creation aspect of custom jewelry 3D printing.
Analysis: For most individual designers and small businesses, lost wax casting 3D printing offers a more accessible and cost-effective route to producing metal jewelry, especially for traditional designs. Direct metal 3D printing services are ideal for cutting-edge, highly complex designs where cost is less of a barrier, or for designers without casting capabilities.
Step 4: Finishing and post-processing
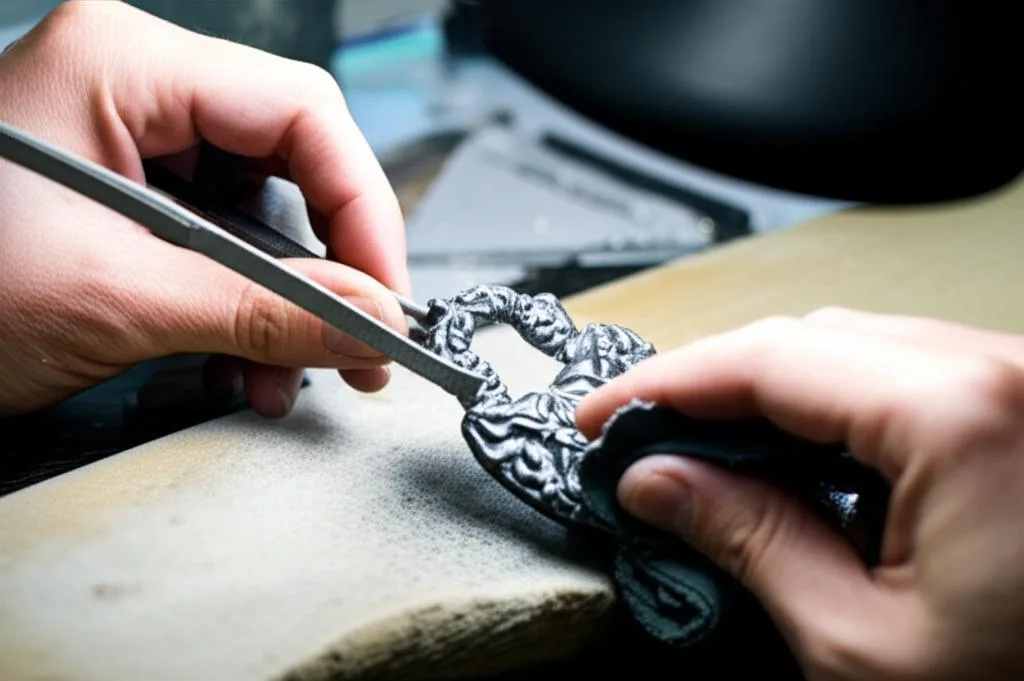
Regardless of the production method, the final piece will require post-processing to achieve a professional, wearable finish. This stage is crucial for transforming a raw print or casting into a polished jewel.
Key post-processing steps and their cost implications
- Support Removal and Curing (for resin prints): Resin prints require supports during printing. These need to be carefully removed, and the part often undergoes a final UV cure to achieve full material properties.
- Cost: Primarily labor and some basic tools (snips, sandpaper, UV curing station).
- Cleaning and Surface Finishing: Both direct metal prints and cast pieces will need cleaning, sanding, and polishing to remove layer lines, sprue marks, or surface imperfections.
- Cost: Labor-intensive. Requires various abrasives, polishing compounds, and specialized equipment like rotary tools, vibratory tumblers, or magnetic polishers. Investing in these tools can be substantial, or you can outsource to a professional finisher, adding to the per-piece cost.
- Plating and Coating: Some pieces may benefit from plating (e.g., rhodium plating for white gold, gold plating for brass) or other protective coatings.
- Cost: Material cost for plating solutions and chemicals, specialized equipment (electroplating baths), and skilled labor. Often outsourced to specialized plating services.
- Stone Setting: If the design incorporates gemstones, this is a critical step.
- Cost: Highly skilled labor is required. Tools for stone setting can be expensive. The cost of the gemstones themselves is a major factor.
Analysis: Post-processing is often underestimated in terms of time, skill, and cost. While some basic steps can be done in-house, achieving a truly professional finish, especially for intricate wearable art 3D prints, may necessitate outsourcing to specialists, significantly impacting the final per-piece cost.
Comparing overall cost structures and features for different workflows
To help you navigate the landscape of 3D printed jewelry design, let’s summarize the typical cost and feature profiles of common workflows:
- Workflow 1: Hobbyist/Entry-Level (FDM/SLA + DIY Finishing)
- Features: Low barrier to entry, full creative control, ideal for learning and experimentation, rapid prototyping.
- Cost Structure: Lowest initial investment (affordable CAD, FDM/entry-level SLA printer, basic materials). Labor for design and finishing is your own time. Per-piece material cost is low for prototypes, higher for castable resins.
- Best For: Learning, personal projects, non-metal prototypes, simple designs, understanding the basics of custom jewelry 3D printing.
- Workflow 2: Professional Studio (Pro CAD + SLA + Lost Wax Casting)
- Features: High precision, intricate detail, wide material choice (traditional metals), ability to scale production. Leverages established casting techniques.
- Cost Structure: Moderate to high initial investment (professional CAD, quality SLA printer, castable resins, casting equipment or service fees). Material costs for metal can be significant. Labor for design, printing, and extensive finishing.
- Best For: Producing high-quality metal jewelry, complex designs, short-to-medium production runs, designers with some casting experience or access to a reliable casting house for lost wax casting 3D printing.
- Workflow 3: Digital Designer (Pro CAD + Direct Metal 3D Printing Service)
- Features: Unparalleled design freedom for complex geometries, direct production in precious metals, reduced lead times, no need for in-house casting.
- Cost Structure: High initial investment in professional CAD. Very high per-piece cost from service bureaus (due to expensive metal powders and machine time). Eliminates costs associated with physical printing hardware, materials, and casting infrastructure.
- Best For: Avant-garde designs, unique wearable art 3D prints, small batches of high-value items, designers who prefer to focus solely on digital creation and outsource manufacturing.
Choosing your path in 3D printed jewelry design
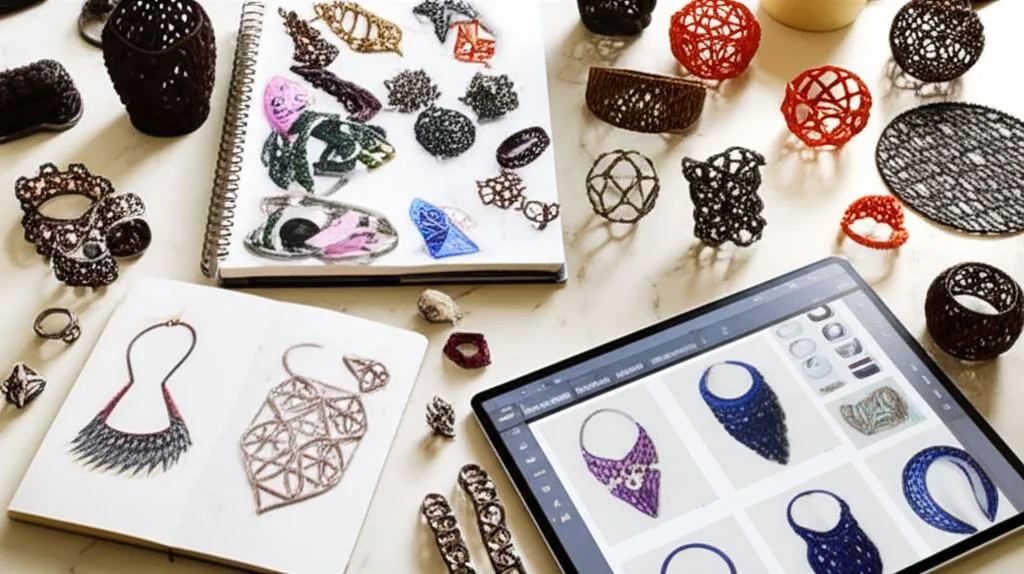
The optimal approach to 3D printed jewelry design is not a one-size-fits-all solution. Your decision will likely be influenced by several factors:
- Budget: Assess your initial investment capacity for software and hardware, as well as ongoing material and service costs.
- Skill Level and Time Commitment: Consider the learning curve for CAD software and 3D printing technologies, and the time required for post-processing.
- Design Complexity: Highly intricate or organic designs often necessitate professional CAD and high-resolution printing.
- Production Volume: For single, unique pieces, a service bureau might be efficient. For small-batch production, in-house SLA and casting might be more economical.
- Desired Materials and Finish: If traditional precious metals are paramount, casting is often the go-to. For novel materials or extreme geometries, direct metal printing might be explored.
Ultimately, navigating the world of custom jewelry 3D printing involves a careful evaluation of these variables. By understanding the distinct features and cost implications of each stage and solution, you can make an informed decision that aligns with your creative vision and practical constraints, transforming your concepts into stunning, wearable reality.
Frequently asked questions
Can I 3D print a ring directly in silver or gold at home?
Direct metal printing (DMLS/SLM) requires industrial equipment that is prohibitively expensive and impractical for home use. The most accessible home workflow is to print a castable resin pattern on a desktop SLA printer and then send that pattern to a professional casting house, which can cast it in silver, gold, or platinum for a fee based on metal weight and labor.
Is FDM printing ever useful for jewelry, or should I skip it entirely?
FDM is not suitable for final jewelry pieces due to visible layer lines and low detail, but it is useful for quick, low-cost prototypes to check fit, size, and basic ergonomics before investing in a high-resolution resin print. Using FDM for early design iterations saves castable resin and printer time, making it a practical tool for the conceptualization phase.
What is the most common mistake beginners make when starting 3D printed jewelry?
The most common mistake is underestimating post-processing time and cost. Beginners often focus on the design and print stages, only to discover that support removal, sanding, polishing, and stone setting require significant skill and labor to achieve a professional finish, which can double the total project time and expense.