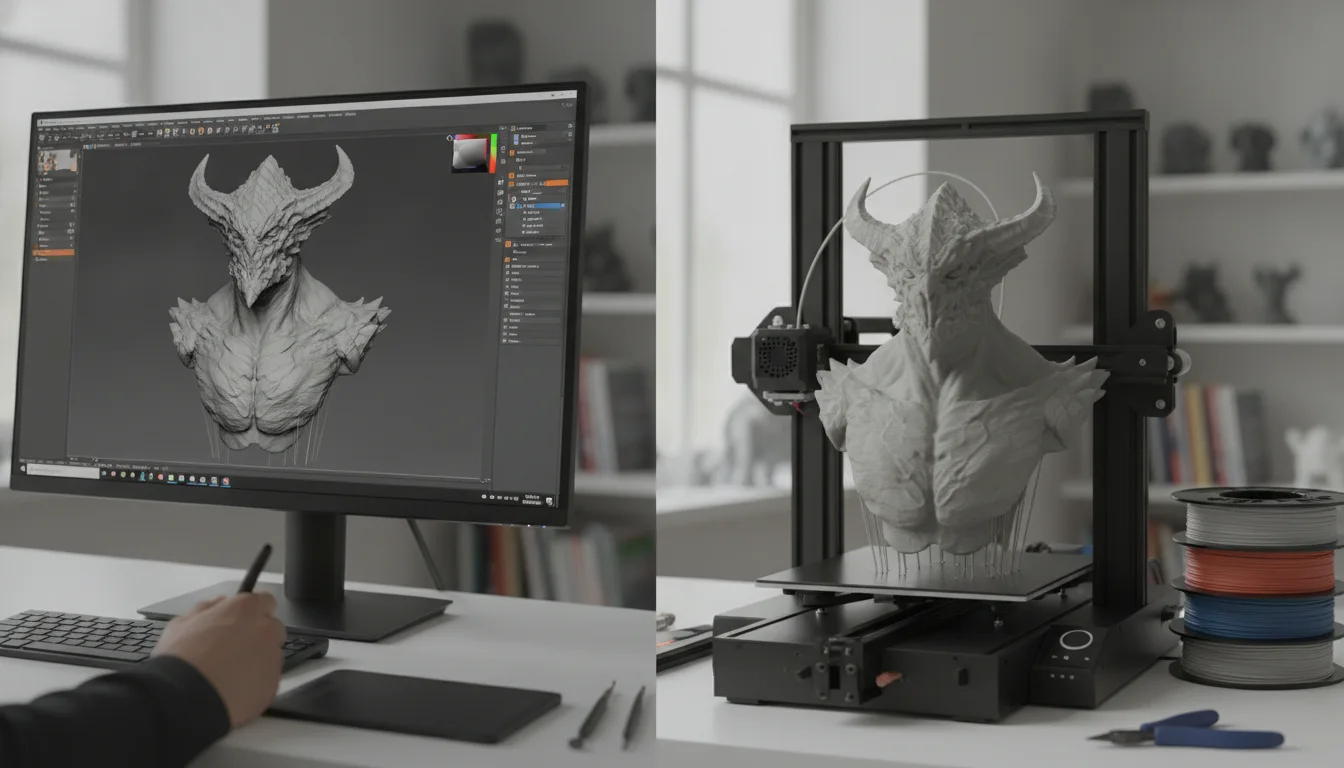
Bringing a digital sculpture to life as a physical object is a magical experience, especially for artists working in ZBrush. While high-end resin printers offer incredible detail, FDM (Fused Deposition Modeling) 3D printers are a more accessible and cost-effective option for many, making artistic additive manufacturing a reality for a wider audience. This article provides a comprehensive ZBrush 3D printing workflow, guiding sculptors through the crucial steps from digital concept to a tangible FDM print, while objectively comparing various solutions and their implications.
Sculpting in ZBrush with 3D Printing in Mind
The consumer toolchanger 3D printer: the SnapSwap 4-toolhead system swaps heads in 5 seconds for true multi-color and multi-material printing, with smart calibration and auto filament loading.
- 4 toolheads · 5 s swap
- Up to 500 mm/s · 20,000 mm/s²
- 270 mm cube build volume
- Multi-color & multi-material

The journey begins in ZBrush, where your artistic vision takes shape. However, for a successful FDM print, certain considerations during the sculpting phase can save you a lot of headaches down the line.
Topology and Detail Management
- Initial Sculpting: ZBrush’s Dynamesh is fantastic for concepting and blocking out forms without worrying about topology. It keeps your mesh watertight, which is crucial for 3D printing.
- Detail Refinement: As you add finer details, consider their scale relative to your intended print size and FDM printer capabilities. Very fine, shallow details might not resolve well on an FDM printer, especially with larger layer heights.
- Remeshing and Optimization: For complex models, ZRemesher can create a cleaner, more manageable mesh, which can be beneficial for later decimation and slicing. While not strictly necessary for simple prints, it can aid in complex projects or animations down the line.
Designing for FDM Constraints
FDM printers build objects layer by layer, which introduces specific limitations:
- Wall Thickness: Ensure all parts of your sculpture have sufficient wall thickness. A general rule of thumb is at least 2mm for structural integrity, though this can vary depending on material and print size. Thin, delicate elements are prone to breaking or failing during printing.
- Overhangs and Bridging: FDM printers struggle with steep overhangs (angles greater than 45 degrees from the vertical) and unsupported bridges. While slicers can generate supports, designing your model to minimize them can reduce print time, material usage, and post-processing effort. Consider splitting models or adjusting poses to reduce problematic areas.
- Hollowing: For larger prints, hollowing your model can significantly reduce material consumption and print time, thereby lowering costs. ZBrush’s ‘Panel Loops’ or ‘Extract’ functions can be used, or dedicated hollowing tools in slicer software. Be sure to add drain holes if hollowing to prevent uncured resin (in resin printing) or trapped air/pressure (less common in FDM but good practice for internal structures).
- Boolean Operations and Keying: If your sculpture is composed of multiple parts, ZBrush’s Boolean operations can create interlocking keys for easy assembly after printing. This is a common strategy for large character sculpture 3D prints, allowing you to print parts separately and assemble them later.
Exporting Your ZBrush Model for 3D Printing
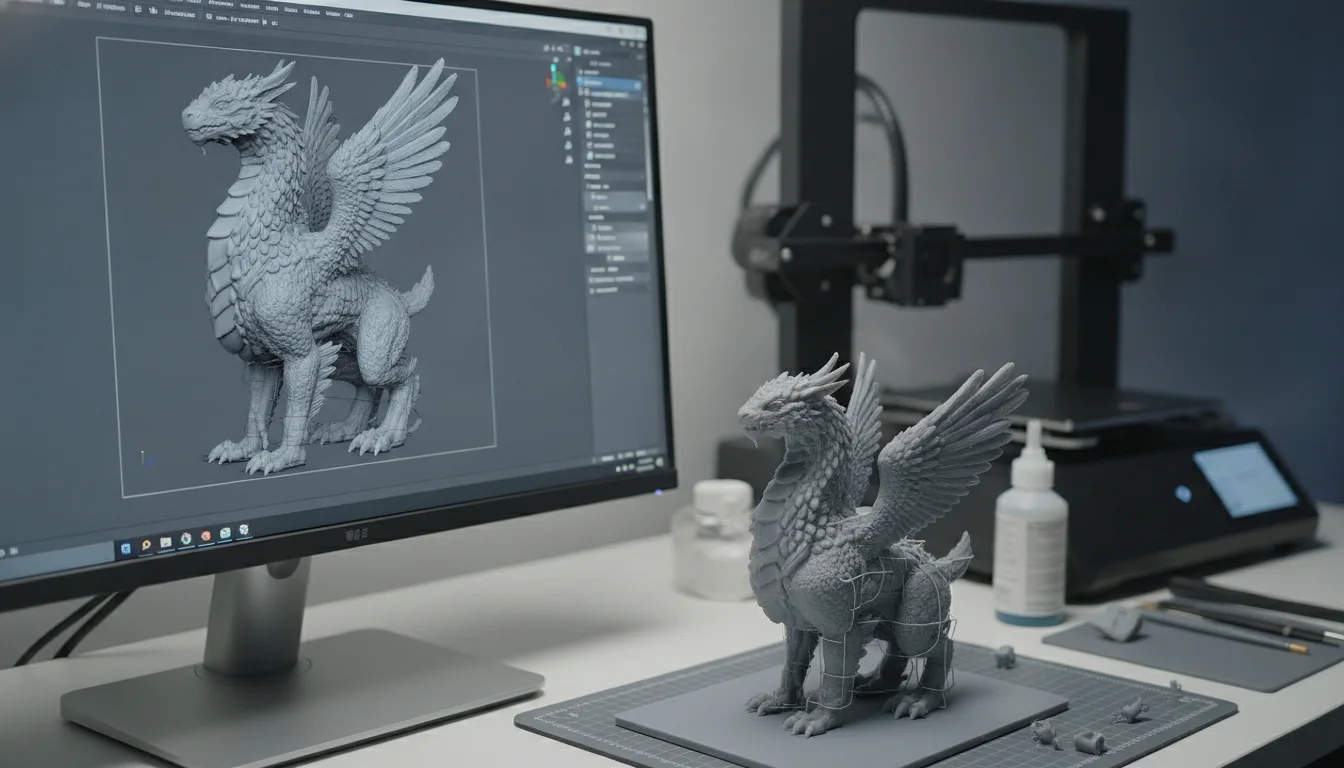
Once your digital sculpt is complete and optimized for FDM, the next step is to prepare it for export.
Decimation Master: Reducing Polycount
ZBrush models often have millions of polygons, which is far too dense for most slicers and 3D printers to handle efficiently. Decimation Master is ZBrush’s powerful tool for intelligently reducing polygon count while preserving detail.
- Pre-process Current: Before decimating, ZBrush needs to analyze your mesh.
- Decimate Current: Choose a target percentage (e.g., 5-15% of original polycount) or a target polygon count. Experimentation is key here. Too much decimation will result in a loss of fine detail, while too little will yield a massive file. Aim for a balance that maintains the artistic intent without overwhelming your slicer.
- Comparison of Decimation Strategies: While ZBrush’s Decimation Master is excellent, other tools like Meshmixer or dedicated CAD software offer similar functionalities. The primary difference lies in their algorithms for preserving sharp edges and planar surfaces versus organic details. ZBrush excels with organic forms.
Exporting Your Model
After decimation, export your model in a universally recognized 3D printing format:
- STL (.stl): The most common format for 3D printing. It represents the surface geometry of a 3D object using a collection of triangles. It’s robust and widely supported.
- OBJ (.obj): A more versatile format that can also store color and texture information (though FDM printing typically doesn’t utilize this unless painting is done later). It’s also widely supported.
Ensure your model is watertight (no holes or non-manifold geometry) before exporting. ZBrush generally handles this well, especially if starting with Dynamesh.
Preparing for Print: Slicing Software

Slicing software is the bridge between your 3D model and your FDM printer. It converts your 3D model into G-code, a set of instructions your printer understands.
Key Slicer Features and Considerations
- Importing and Scaling: Import your STL or OBJ file. Ensure the scale is correct (ZBrush exports in arbitrary units, so you’ll likely need to set dimensions in millimeters or inches).
- Orientation: Model orientation is critical. Orient your sculpt to minimize supports, reduce print time, and improve surface quality. Often, rotating a model to place flat surfaces on the build plate or hide support scars is beneficial.
- Supports:
- Automatic vs. Manual: Most slicers offer automatic support generation. However, for artistic prints, manual support placement can be invaluable. It allows you to strategically place supports only where needed, minimizing damage to visible surfaces during removal.
- Tree vs. Linear Supports: Tree supports (e.g., in Cura) are often preferred for organic forms as they use less material and are easier to remove, leaving fewer marks. Linear supports are more robust but can be harder to remove cleanly.
- Support Density and Z-Distance: Adjusting these settings impacts ease of removal and print quality. Higher density means stronger support but harder removal. A larger Z-distance makes removal easier but can result in a rougher supported surface.
- Infill: Infill determines the internal structure of your print. It impacts strength, weight, material usage, and print time.
- Patterns: Common patterns include grid, honeycomb, gyroid. Gyroid offers good strength-to-weight.
- Density: For artistic prints that aren’t load-bearing, 10-20% infill is often sufficient. Higher densities increase material cost and print time.
- Layer Height: This is a crucial setting for artistic additive manufacturing. Smaller layer heights (e.g., 0.1mm-0.16mm) produce finer details and smoother surfaces but significantly increase print time. Larger layer heights (e.g., 0.2mm-0.3mm) are faster but show more prominent layer lines.
- Material Selection: The choice of filament significantly impacts the final print.
- PLA (Polylactic Acid): Easy to print, low warping, good for detailed artistic prints. Biodegradable, but less durable and heat-resistant than other options. Generally affordable.
- PETG (Polyethylene Terephthalate Glycol): More durable and flexible than PLA, good layer adhesion, moderate difficulty to print. Slightly more expensive than PLA.
- ABS (Acrylonitrile Butadiene Styrene): Strong, heat-resistant, and can be smoothed with acetone vapor. However, it’s prone to warping and requires a heated enclosure, making it more challenging for beginners. Generally comparable in price to PETG.
- Specialty Filaments: Wood-filled, metal-filled, silk-like, and matte filaments offer unique aesthetic properties but can be more expensive and sometimes trickier to print.
Comparison of Slicing Software
Several excellent slicers are available, each with its strengths:
- Ultimaker Cura: Free, open-source, and extremely popular. Known for its user-friendly interface, extensive settings, and powerful tree supports. A great all-rounder for FDM 3D printing art.
- PrusaSlicer: Free, open-source, developed by Prusa Research. Offers excellent support generation, intuitive controls, and advanced features like paint-on supports and variable layer height. Highly regarded for its print quality.
- Simplify3D: A paid, proprietary slicer. Praised for its robust support generation, multi-part printing capabilities, and process control. While it comes with a cost, some users find its advanced features and reliability worth the investment, especially for professional workflows.
The choice often boils down to personal preference, budget (free vs. paid), and the specific features most important for your character sculpture 3D print projects.
The FDM 3D Printing Process
With your G-code ready, it’s time to bring your digital sculpture into the physical realm.
Printer Preparation
- Bed Leveling: Crucial for first-layer adhesion. An unlevel bed is a common cause of print failure.
- Nozzle and Bed Temperature: Set these according to your chosen filament. Consult filament manufacturer recommendations.
- Loading Filament: Ensure the filament is loaded correctly and extruding smoothly.
Monitoring the Print
FDM printing, especially for complex artistic pieces, requires vigilance. Keep an eye out for:
- First Layer Adhesion: The most critical stage. If the first layer doesn’t stick, the print will likely fail.
- Warping: Corners lifting off the build plate, especially with materials like ABS.
- Stringing or Blobs: Issues related to retraction settings or temperature.
- Layer Shifting: Mechanical issues causing layers to misalign.
FDM Printer Types and Their Implications
While the workflow applies generally, different FDM printer designs have their nuances:
- Bowden vs. Direct Drive Extruders: Bowden systems (motor on frame, long tube to hotend) are lighter on the print head, allowing for faster movements but can struggle with flexible filaments and precise retraction. Direct drive systems (motor directly on print head) offer better control for flexible filaments and retraction but add weight, potentially limiting speed. For fine details on artistic prints, direct drive often offers an edge due to better retraction control.
- Cartesian vs. CoreXY vs. Delta: These refer to the motion systems. Cartesian (e.g., Prusa i3) is common and reliable. CoreXY offers faster, more stable movements for larger prints. Delta printers are known for speed but have a smaller, circular build volume and can be less intuitive for beginners. For artistic pieces where precision and surface quality are paramount, well-tuned Cartesian or CoreXY printers are generally preferred.
Post-Processing and Finishing Your Artistic Print
The consumer toolchanger 3D printer: the SnapSwap 4-toolhead system swaps heads in 5 seconds for true multi-color and multi-material printing, with smart calibration and auto filament loading.
Once the print is complete, the final steps involve transforming the raw print into a finished art piece.
Support Removal
Carefully remove supports using flush cutters, pliers, or a hobby knife. Be gentle to avoid damaging the model. Warm water can sometimes help soften PLA supports for easier removal.
Surface Finishing
- Sanding: Start with coarser sandpaper (e.g., 200 grit) to remove support marks and layer lines, gradually moving to finer grits (e.g., 400-800 grit) for a smoother finish. Wet sanding can help reduce dust.
- Filling: Use wood filler, Bondo, or specialized 3D print fillers to fill gaps, deeper layer lines, or imperfections. Sand smooth after drying.
- Priming: A good primer (e.g., automotive primer) will reveal any remaining imperfections and provide a uniform surface for painting. Apply several thin coats, sanding lightly between coats if needed.
- Chemical Smoothing (for ABS): Acetone vapor smoothing can melt the outer layers of ABS prints, eliminating layer lines and creating a glossy finish. This technique requires caution and proper ventilation.
Painting and Sealing
This is where your artistic vision truly comes to life on the physical model.
- Paints: Acrylic paints are a popular choice due to their versatility, quick drying time, and wide color range. Airbrushing can provide smooth, even coats, while brush painting allows for intricate details.
- Weathering and Effects: Use washes, dry brushing, and other techniques to add depth, realism, or stylized effects.
- Sealing: Apply a clear coat (matte, satin, or gloss) to protect the paint job and provide a consistent finish.
Conclusion
The ZBrush 3D printing workflow, especially with FDM technology, offers an incredibly rewarding path for sculptors to bridge the gap between digital and physical art. By understanding the capabilities and limitations of FDM printers, optimizing your ZBrush models, and making informed choices about slicer settings and materials, you can consistently produce high-quality character sculpture 3D prints and other artistic additive manufacturing projects. It’s a journey of learning and experimentation, but one that ultimately empowers artists to bring their imaginative creations into the tangible world.
Frequently asked questions
Can I print a ZBrush model directly from the high-poly subtool without decimating it first?
No. Most slicers cannot handle the millions of polygons in a high-poly ZBrush subtool, and attempting to do so will likely crash the software or produce unusable G-code. The article recommends using Decimation Master to reduce the polycount to 5-15% of the original, balancing detail retention with slicer compatibility.
Is it safe to leave a ZBrush sculpt hollow when printing on an FDM printer?
Yes, but you must include drain holes in the model. While trapped air or pressure is less of a concern for FDM than for resin printing, the article notes that adding drain holes is good practice for internal structures. Without them, the print can trap heat or cause pressure changes that may warp or split the shell.
Do I need to use tree supports for every artistic FDM print?
No. The article states that tree supports (available in Cura) are often preferred for organic forms because they use less material and are easier to remove, leaving fewer marks. However, for models with broad, flat overhangs or for maximum structural support, linear supports may be more appropriate. The choice depends on your model’s geometry and your tolerance for post-processing cleanup.