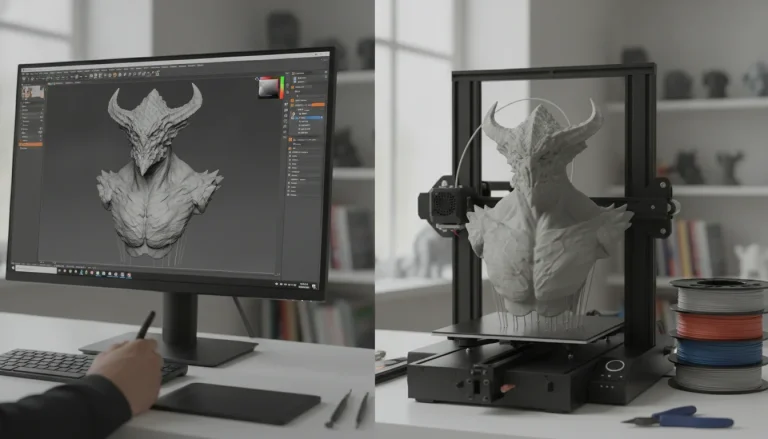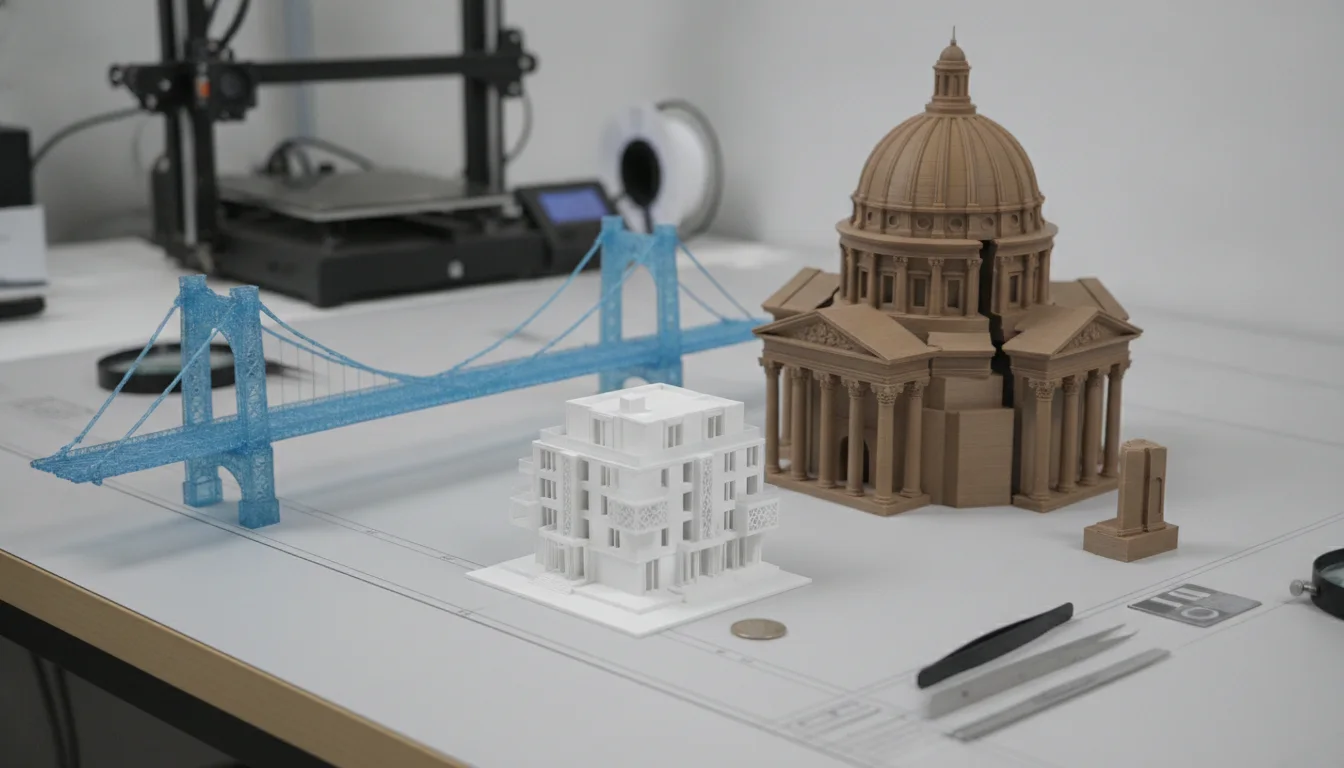
The realm of architectural design has been profoundly transformed by 3D printing, offering unprecedented flexibility and speed in prototyping and visualization. Gone are the days when creating intricate scale models was a painstaking, manual endeavor consuming weeks or even months. Today, 3D printed architectural models allow designers to rapidly iterate, test concepts, and present visions with striking realism. However, unlocking the full potential of this technology hinges on a nuanced understanding of how to optimize for both scale and detail – two critical factors that often pull in different directions.
The evolving landscape of architectural modeling
The consumer toolchanger 3D printer: the SnapSwap 4-toolhead system swaps heads in 5 seconds for true multi-color and multi-material printing, with smart calibration and auto filament loading.
- 4 toolheads · 5 s swap
- Up to 500 mm/s · 20,000 mm/s²
- 270 mm cube build volume
- Multi-color & multi-material

Traditional model-making, while possessing a unique artisanal charm, often struggles with the demands of modern architectural practice: tight deadlines, complex geometries, and the need for rapid design iterations. 3D printing addresses these challenges head-on, enabling architects to produce physical representations directly from their digital designs. This shift not only accelerates the design process but also enhances communication with clients and stakeholders, providing a tangible, three-dimensional representation that static renders or drawings simply cannot match. The ability to quickly produce accurate architectural prints has become a game-changer.
Core considerations for 3D printed architectural models: scale and detail
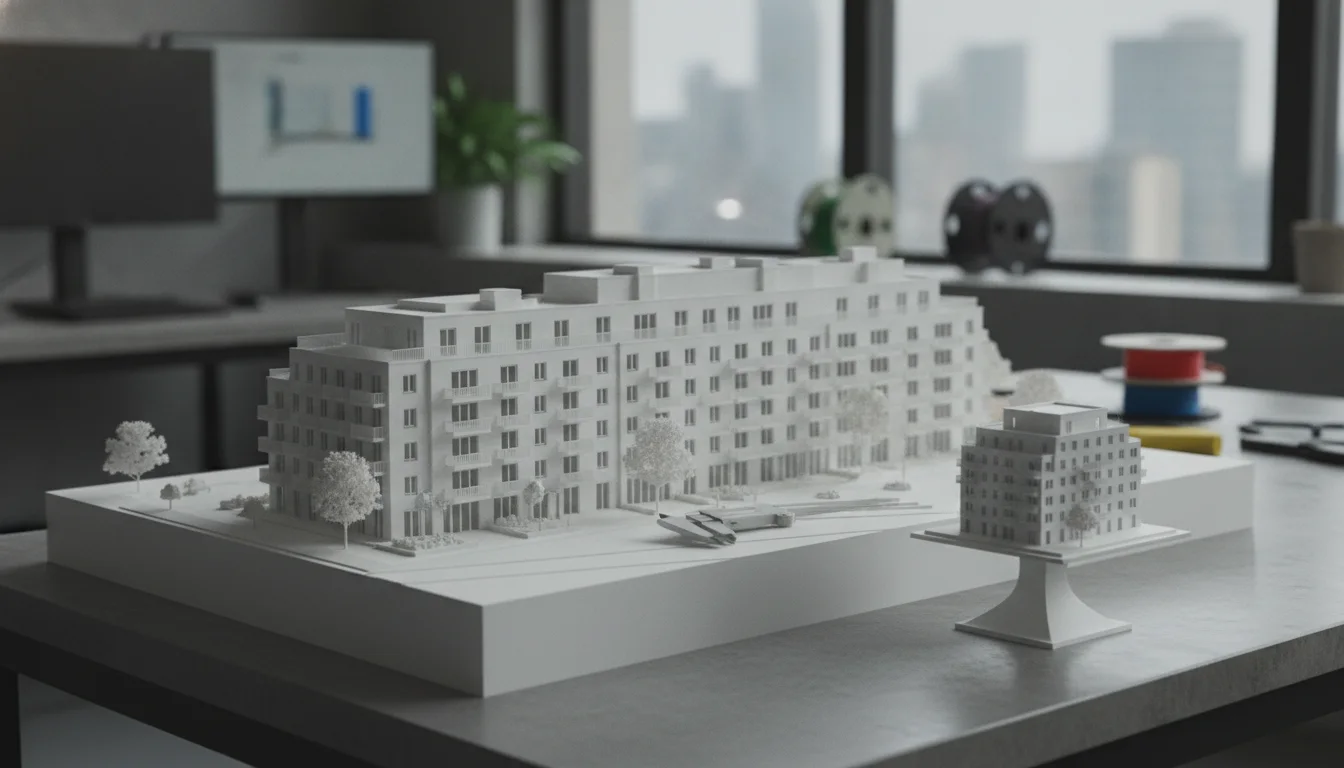
When embarking on a 3D printing project for an architectural model, two primary considerations dictate the approach: the chosen scale and the required level of detail. These factors are intrinsically linked and significantly influence material selection, printing technology, and ultimately, the fidelity of the final output.
Understanding scale in architectural models
Selecting the appropriate scale is the foundational step in any architectural model project. A larger scale (e.g., 1:50) allows for greater detail and structural integrity, making it suitable for showcasing specific building features or interior layouts. Conversely, a smaller scale (e.g., 1:500 or 1:1000) is better for site planning, urban context models, or illustrating overall massing and form within a broader environment. The chosen scale directly impacts the minimum printable feature size, wall thickness requirements, and the overall volume of material needed. Achieving a coherent scale model 3D printing outcome requires careful planning from the outset.
Achieving intricate detail and accuracy
The quest for intricate detail is often where the rubber meets the road in 3D printing architectural models. Architects frequently need to represent fine elements such as window frames, railings, facade textures, or even interior furnishings. The ability to reproduce these small features accurately depends heavily on the resolution capabilities of the 3D printer and the properties of the chosen material. Compromises are sometimes necessary, as features that are perfectly visible in a digital model might become too fragile or simply unprintable at a reduced scale. Balancing detail with structural integrity is key to producing robust and accurate architectural prints.
Comparing 3D printing technologies for architectural applications

The diverse landscape of 3D printing technologies offers various avenues for creating architectural models, each with distinct advantages concerning detail, material properties, and operational characteristics. Understanding these differences is crucial for selecting the right tool for the job, allowing for informed decisions regarding potential costs and output quality.
Fused Deposition Modeling (FDM)
FDM technology, often seen as the most accessible entry point into 3D printing, works by extruding thermoplastic filaments layer by layer. It is well-suited for larger, less intricate architectural models where overall form and massing are the primary focus. FDM machines typically offer a lower initial investment and a wide range of relatively inexpensive materials like PLA and ABS, which are durable and easy to work with. However, FDM models often exhibit visible layer lines and may struggle with very fine details or thin walls, requiring more post-processing to achieve a smooth finish.
Stereolithography (SLA) and Digital Light Processing (DLP)
SLA and DLP printers utilize liquid resins cured by a laser or projector, respectively, to build models with exceptional resolution and smooth surface finishes. These technologies excel at reproducing intricate details, making them ideal for detailed architectural prototypes, complex facade elements, or delicate structural components. The resulting models boast crisp edges and a high degree of accuracy. While the initial printer cost can be higher than FDM, and resins are generally more expensive and require careful handling and post-curing, the superior aesthetic quality and precision often justify the investment for high-fidelity presentations.
Selective Laser Sintering (SLS)
SLS technology employs a laser to fuse powdered material, typically nylon, layer by layer. A significant advantage of SLS is its ability to print complex geometries without the need for support structures, as the unfused powder acts as its own support. This makes it excellent for intricate, interlocking parts and models with challenging overhangs. SLS models are known for their strength and functional properties, though their surface finish is typically granular. While SLS printers and materials represent a higher investment, and outsourcing to service bureaus is common, the robust nature and design freedom make it a compelling choice for functional prototypes or models requiring significant durability.
Material Jetting (e.g., PolyJet)
Material Jetting technologies, such as PolyJet, operate similarly to 2D inkjet printers, depositing tiny droplets of liquid photopolymer that are immediately cured by UV light. This method offers unparalleled detail, smooth surfaces, and, critically, the ability to print in multiple colors and even multiple materials simultaneously. Architects can create full-color, realistic building design 3D printing models that accurately represent textures and material palettes without the need for extensive post-painting. This premium technology comes with a significantly higher cost for both machines and materials, positioning it as a top-tier solution for highly detailed, visually rich presentation models.
Best practices for design and file preparation
Regardless of the chosen 3D printing technology, meticulous attention to design and file preparation is paramount for successful architectural models.
Software and file formats
- CAD Software: Utilize robust CAD software (e.g., Revit, Rhino, SketchUp Pro) that allows for precise modeling and clean geometry.
- Export Formats: Export models in formats like STL or OBJ. Ensure the mesh resolution is appropriate for the desired detail level – too low and details are lost, too high and file sizes become unwieldy.
- Units: Always verify that the units in your CAD software match those of your slicing software to prevent scale discrepancies.
Optimizing geometry for printability
- Wall Thickness: Pay close attention to minimum wall thickness requirements for your chosen printer and material. Features that are too thin will be fragile or simply won’t print.
- Overhangs and Bridging: Design with printability in mind, minimizing excessive overhangs that may require support structures, which can impact surface finish and increase post-processing.
- Clearances: For assemblies or moving parts, ensure adequate clearances between components to prevent fusion during printing.
- Detail Simplification: At smaller scales, it’s often necessary to simplify or exaggerate fine details to ensure they are representable and visible in the final 3D printed architectural models.
Post-processing and finishing techniques
The consumer toolchanger 3D printer: the SnapSwap 4-toolhead system swaps heads in 5 seconds for true multi-color and multi-material printing, with smart calibration and auto filament loading.
The journey from a raw 3D print to a polished architectural model often involves significant post-processing. This can include removing support structures, sanding to eliminate layer lines (especially with FDM), curing (for SLA/DLP), and painting or airbrushing to add color and texture. While some technologies like Material Jetting reduce the need for external coloring, most models benefit from skilled finishing to achieve a professional, presentation-ready look. The time and effort invested in post-processing are integral to the overall cost and quality of the final model.
In conclusion, the decision-making process for 3D printed architectural models is a multifaceted one, requiring a careful balancing act between desired scale, intricate detail, and the inherent characteristics of different 3D printing technologies. Each method presents a unique set of features and considerations regarding material costs, machine capabilities, and the effort required for post-processing. By understanding these nuances and adhering to best practices in design and preparation, architects and designers can harness the full power of 3D printing to create stunning, accurate, and highly effective representations of their visions.
Frequently asked questions
How do I decide between FDM and SLA for my architectural model without wasting money?
If your model is large (e.g., 1:100 or bigger) and focuses on overall massing and form rather than tiny details like window mullions, FDM is the cost-effective choice due to lower material and printer costs. If you need crisp edges, smooth surfaces, and fine features such as railing or facade textures, SLA or DLP delivers that resolution, though you will pay more for resin and post-curing. For a small, highly detailed presentation piece, invest in SLA; for a quick, large site context model, FDM is sufficient.
What is the safest way to handle and post-cure resin prints for architectural models at home?
Always wear nitrile gloves and work in a well-ventilated area or use a fume extractor when handling uncured SLA/DLP resin. After printing, wash the model in isopropyl alcohol (IPA) using a sealed container, then cure it under a UV lamp or in direct sunlight for the time specified by your resin manufacturer. Never pour uncured resin down the drain; filter and dispose of IPA waste at a hazardous waste facility.
My small-scale model (1:500) keeps breaking during post-processing. What am I doing wrong?
At very small scales like 1:500, features such as window frames or thin walls become fragile or unprintable if they fall below the printer’s minimum wall thickness. You likely need to exaggerate or simplify these details in your CAD software before exporting, or choose a higher-resolution technology like SLA or SLS that can handle finer features. Also, ensure your wall thickness in the digital model is at least 1-2mm for FDM or 0.5mm for resin to maintain structural integrity during sanding and handling.