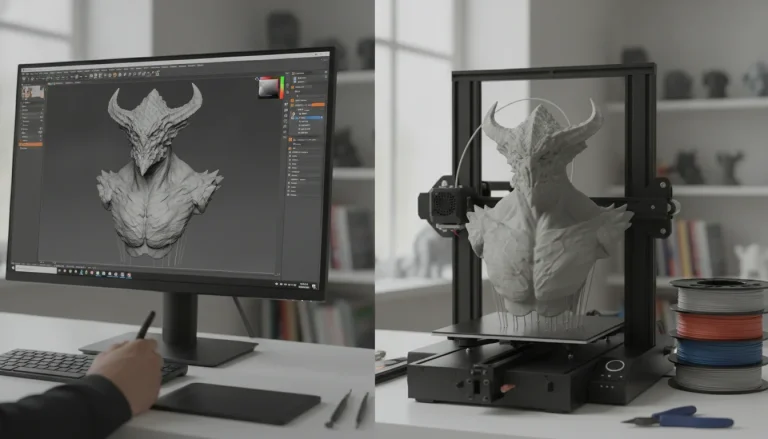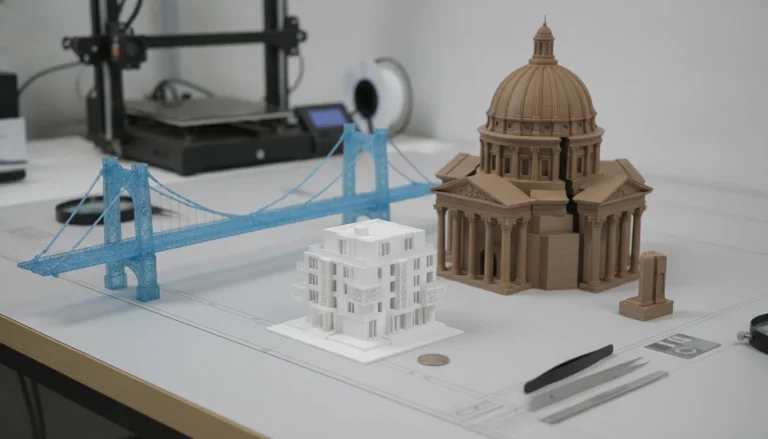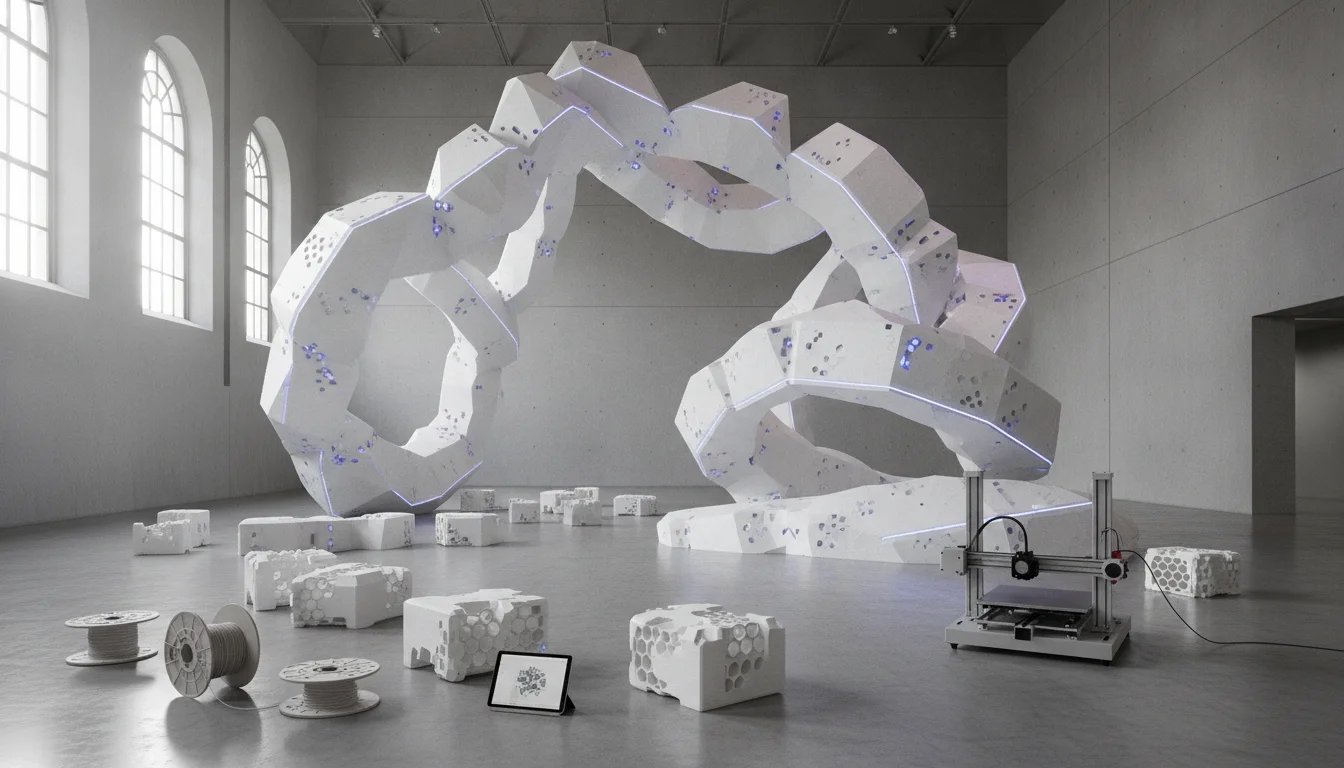
The realm of art and design has been irrevocably transformed by the advent of 3D printing, empowering creators to realize complex geometries and unprecedented forms. However, when the artistic vision scales up to encompass monumental installations, the practicalities of build volume, material costs, and logistical challenges quickly come into sharp focus. This is precisely where modular design strategies emerge as an indispensable toolkit for artists and designers aiming to create truly large 3D printed art. By breaking down a colossal vision into manageable, interconnected components, modularity not only circumvents the physical limitations of most 3D printers but also introduces significant advantages in terms of cost-efficiency, assembly, transportation, and even future maintenance.
The imperative of modularity in large-scale 3D printing
The consumer toolchanger 3D printer: the SnapSwap 4-toolhead system swaps heads in 5 seconds for true multi-color and multi-material printing, with smart calibration and auto filament loading.
- 4 toolheads · 5 s swap
- Up to 500 mm/s · 20,000 mm/s²
- 270 mm cube build volume
- Multi-color & multi-material

For artists venturing into the domain of large-scale art installations, the concept of modularity isn’t merely a design choice; it’s often a fundamental necessity. Traditional 3D printers, even industrial-grade machines, possess finite build volumes that are quickly dwarfed by the ambitions of public art or architectural-scale pieces. Modular design addresses this head-on, allowing a single, expansive artwork to be fabricated as a collection of smaller, more manageable units.
Beyond simply overcoming size constraints, modularity offers a cascade of practical benefits:
- Circumventing build volume limitations: The most obvious advantage is the ability to print components that fit within standard or even desktop 3D printer build envelopes, democratizing access to large-scale fabrication.
- Optimizing material usage and cost: Printing smaller modules often reduces the risk associated with large, single-part failures, which can be incredibly costly in terms of wasted material and print time. It also allows for strategic material selection for different parts of the sculpture.
- Simplifying transportation and logistics: Assembling a large artwork on-site from smaller, lighter components is far more feasible and cost-effective than shipping one massive, unwieldy piece. This is especially critical for public art 3D printing projects that might span continents.
- Facilitating assembly and installation: Modular units are easier to handle, position, and connect, streamlining the on-site installation process. This can significantly reduce labor costs and required specialized equipment.
- Enabling iterative design and scalability: Artists can prototype individual modules, test connections, and even scale an artwork by adding or subtracting modules, providing immense flexibility in the creative process.
- Ease of repair and maintenance: Should a section of the artwork be damaged, only the affected module needs to be reprinted and replaced, rather than undertaking a costly repair or re-fabrication of the entire piece. This is a crucial consideration for large scale art installations exposed to the elements or public interaction.
Understanding these foundational benefits sets the stage for exploring the various strategies and technologies that make large 3D printed art a tangible reality.
Core modular design strategies for 3D printed art
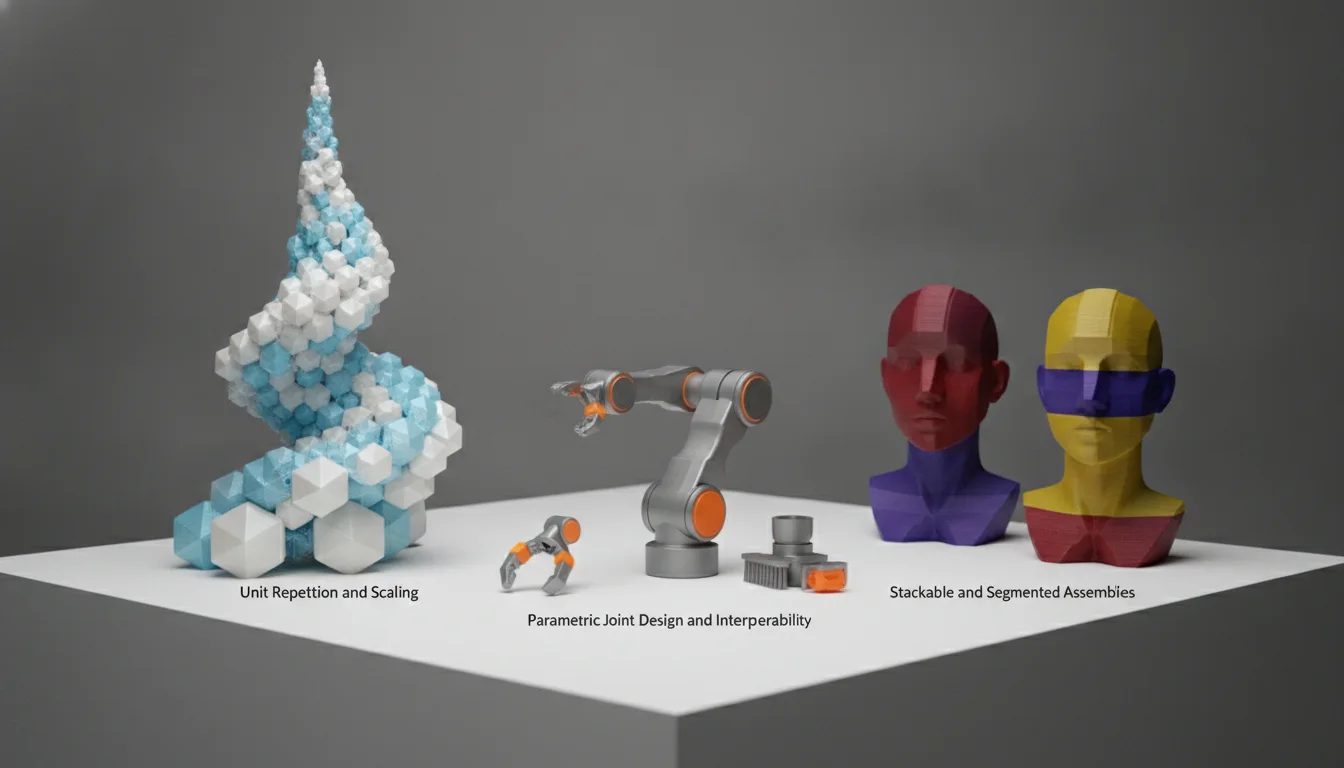
The success of a large-scale modular 3D printed artwork hinges significantly on the chosen method for joining its constituent parts. Each strategy presents a unique balance of strength, aesthetics, assembly complexity, and cost. Artists must carefully weigh these factors against their artistic vision and the practical demands of the installation.
Interlocking systems
Interlocking designs are perhaps the most elegant and structurally integrated modular strategies. They involve creating features on each module that slot or slide into corresponding features on adjacent modules, much like puzzle pieces or dovetail joints. These systems often rely on the precise geometry of the 3D print itself to achieve a secure connection.
- Features: Puzzle-piece joints, dovetails, tongue-and-groove, snap-fit mechanisms.
- Advantages: Can create visually seamless connections, often requiring no external fasteners. They can distribute stress effectively across the joint, enhancing structural integrity. Assembly can be intuitive and tool-less for certain designs.
- Disadvantages: Highly dependent on printing precision and material properties. Minor inaccuracies can lead to poor fit or stress concentrations. Design complexity can be high, requiring advanced CAD skills. Difficult to modify or disassemble once fully engaged, especially if adhesives are also used.
- Cost implications: Higher initial design and prototyping costs due to precision requirements. Potentially lower assembly costs if tool-less. Risk of wasted prints if tolerances are off.
Fastener-based systems
Utilizing external hardware like bolts, screws, rivets, or magnets provides a robust and often reversible method for joining modules. This approach introduces visible elements, which can either be hidden or incorporated aesthetically into the design.
- Features: Through-holes for bolts/screws, embedded nuts, magnetic connections, clips.
- Advantages: Offers strong and reliable connections, often allowing for easy disassembly and reassembly, which is beneficial for maintenance or relocation. Provides flexibility in material choices, as fasteners can bridge different materials.
- Disadvantages: Introduces additional components and cost (the fasteners themselves). Fasteners may be visible, potentially impacting the aesthetic unless cleverly integrated. Requires specific tools for assembly. Risk of loosening over time, especially in high-vibration or outdoor environments.
- Cost implications: Additional cost for hardware. Labor for drilling (if not integrated) and fastening. Easier assembly for large components, potentially saving labor time on site.
Adhesive bonding
Adhesives, ranging from superglues and epoxies to solvent welding agents, offer a way to create strong, often seamless bonds between 3D printed parts. This method is particularly effective for achieving a monolithic appearance.
- Features: Chemical welding (e.g., acetone for ABS), two-part epoxies, structural adhesives, cyanoacrylates.
- Advantages: Can create very strong and visually seamless joints, making the artwork appear as a single, continuous piece. Wide compatibility with various 3D printing materials.
- Disadvantages: Generally permanent, making disassembly or repair challenging without damaging the parts. Requires careful application, proper surface preparation, and specific curing times. Environmental factors (temperature, humidity) can affect bond strength.
- Cost implications: Cost of adhesives can vary. Labor for precise application and clamping during curing can add to project time and cost. Reduces hardware costs.
Hybrid approaches
Often, the most effective strategy for designing for big 3D prints involves a hybrid approach, combining elements from multiple joining methods. For instance, an artwork might use interlocking features for initial alignment and structural support, reinforced by internal fasteners for long-term stability, and finished with a minimal amount of adhesive for a smooth exterior.
- Features: Combining interlocking with hidden bolts, or snap-fits reinforced with adhesive.
- Advantages: Leverages the strengths of multiple methods, achieving optimal balance between aesthetics, structural integrity, and ease of assembly. Offers greater design flexibility.
- Disadvantages: Increased design complexity and potential for higher material/labor costs due to the need for multiple joining materials/processes.
- Cost implications: Can optimize overall cost by selecting the most efficient joining method for each specific joint or stress point, but requires careful planning.
Choosing the right modular strategy is a critical early decision in any large 3D printed art project. It impacts everything from the CAD design phase to the final installation and long-term durability of the artwork.
Selecting the right 3D printing technology for large-scale modular art

The choice of 3D printing technology profoundly influences the characteristics of the individual modules, including their size, strength, surface finish, and ultimately, the overall cost and feasibility of the large scale art installations. Each technology presents a unique set of trade-offs.
Fused Deposition Modeling (FDM/FFF)
FDM, or Fused Filament Fabrication, is arguably the most accessible and widely used 3D printing technology. It builds objects layer by layer by extruding heated thermoplastic filament.
- Pros: Highly cost-effective for both machines and materials. Wide array of thermoplastic filaments available (PLA, PETG, ABS, Nylon, composites). Can produce relatively large parts with larger nozzle sizes, reducing print time. Relatively easy to learn and operate.
- Cons: Visible layer lines often require significant post-processing for a smooth finish. Parts are anisotropic (weaker along layer lines). Slower for very high-resolution prints. Support structures are often required and can be challenging to remove.
- Cost implications: Lowest entry barrier in terms of machine cost. Material costs are generally low. However, post-processing labor can be substantial for aesthetic pieces, impacting overall project cost.
Stereolithography (SLA) / Digital Light Processing (DLP)
SLA and DLP technologies use a light source (laser for SLA, projector for DLP) to cure liquid photopolymer resin layer by layer, producing highly detailed and smooth parts.
- Pros: Exceptional surface finish and fine detail, ideal for intricate geometries and aesthetic components. Parts are generally isotropic. Wide range of specialized resins (tough, flexible, castable, clear, high-temp, UV-resistant).
- Cons: Typically smaller build volumes compared to FDM, meaning more modules for large projects. Resins are generally more expensive than FDM filaments. Parts can be brittle depending on the resin. Requires post-curing and careful handling of uncured resin.
- Cost implications: Higher material costs per unit volume. Machine costs are moderate to high. Post-processing involves washing and curing, which adds time but typically less manual labor for surface finish than FDM.
Selective Laser Sintering (SLS)
SLS uses a laser to selectively sinter powdered material (typically nylon or other polymers) into a solid structure. Un-sintered powder supports the part, eliminating the need for dedicated support structures.
- Pros: Produces strong, durable, and isotropic parts with excellent mechanical properties. No support structures needed, allowing for highly complex internal geometries and nesting of parts for efficient builds. Good for functional components and robust interlocking mechanisms.
- Cons: Higher machine and material costs. Parts have a characteristic grainy, matte finish that may require additional post-processing for smoothness. Limited color options (typically white or grey, though dyeing is possible).
- Cost implications: High initial investment for in-house machines, making outsourcing a common choice. Material costs are higher than FDM. Post-processing involves de-powdering and optional dyeing/finishing.
Large Format Additive Manufacturing (LFAM) / Robotic Arm 3D Printing
These advanced technologies push the boundaries of scale, often employing robotic arms to extrude material or using very large-scale gantry systems. They are specifically designed for producing truly massive objects, potentially reducing the number of modules required.
- Pros: Ability to print objects of truly unprecedented scale, often in a single piece or very few large modules. Can use pelletized materials (more cost-effective than filament) or even concrete/clay. Faster for very large objects once set up.
- Cons: Extremely high capital investment for the machinery. Requires specialized expertise to operate and maintain. Surface finish can be coarse and variable, often requiring significant post-processing. Limited accessibility for most artists.
- Cost implications: Highest initial investment or outsourcing cost. Material costs can be lower per kg for pelletized plastics, but overall project costs remain high due to machine time and specialized labor.
Binder Jetting
Binder jetting technology uses a liquid binding agent to selectively join powdered material (plastics, metals, ceramics, sand) layer by layer. The resulting “green” part is then typically infiltrated or sintered to achieve final strength.
- Pros: Can achieve very large build volumes. Wide range of material options, including sand for casting molds or direct architectural components, and various metals. Relatively fast for large batches of parts.
- Cons: Parts require significant post-processing (de-powdering, curing, infiltration, sintering) to achieve final properties. Surface finish varies greatly depending on the material and post-processing. Can be more porous than other methods.
- Cost implications: Machine costs are high. Material costs vary widely depending on the powder. Post-processing costs, particularly for sintering metal parts, can be substantial. Good for specific applications like sand molds for casting metal art, or for producing large, sturdy, unrefined plastic components.
Each technology offers a distinct pathway for creating large 3D printed art. The optimal choice depends on the desired aesthetics, structural requirements, budget constraints, and the level of detail required for the modular components.
Material considerations for large-scale modular art
The selection of materials is paramount for large scale art installations, particularly those destined for public display. Factors such as durability, weather resistance, weight, and aesthetic properties must be carefully balanced against cost and printability. Different materials excel in different environments and applications.
PLA (Polylactic Acid)
A popular, biodegradable thermoplastic derived from renewable resources.
- Pros: Easy to print, affordable, available in a vast array of colors. Good for indoor installations or temporary outdoor pieces.
- Cons: Brittle, low heat resistance (can deform in direct sunlight), poor UV and moisture resistance, making it unsuitable for long-term outdoor public art 3D printing without significant protective coatings.
- Cost implications: Very low material cost, making it excellent for prototyping or initial large-scale tests.
PETG (Polyethylene Terephthalate Glycol)
A durable, food-safe thermoplastic that combines properties of PLA and ABS.
- Pros: Good strength and flexibility, excellent impact resistance, relatively good weather and UV resistance compared to PLA. Easier to print than ABS with less warping.
- Cons: Can be prone to stringing during printing, requires higher printing temperatures than PLA.
- Cost implications: Mid-range material cost, offering a good balance of durability and affordability for outdoor or more robust indoor large 3D printed art.
ABS (Acrylonitrile Butadiene Styrene)
A strong, impact-resistant engineering thermoplastic.
- Pros: Very strong and durable, good impact resistance, higher temperature resistance than PLA. Can be easily sanded, painted, and solvent-welded (e.g., with acetone) for seamless finishes.
- Cons: Prone to warping during printing, requires an enclosed printer to maintain stable temperatures. Emits fumes during printing, requiring good ventilation.
- Cost implications: Mid-range material cost. Post-processing with solvents can save time on sanding but requires safety precautions.
Nylon (Polyamide)
A family of strong, flexible, and chemical-resistant engineering plastics.
- Pros: Exceptional strength, flexibility, and abrasion resistance, making it ideal for functional parts, interlocking mechanisms, or components under stress. Good chemical resistance.
- Cons: Highly hygroscopic (absorbs moisture), requiring careful storage and drying before printing. Can be challenging to print, often requiring higher temperatures and specialized surfaces. Higher cost.
- Cost implications: Higher material cost. Its superior mechanical properties can justify the expense for critical structural components in designing for big 3D prints.
Composites (Carbon Fiber, Glass Fiber filled)
Thermoplastics infused with chopped carbon or glass fibers (e.g., Carbon Fiber PLA, NylonX).
- Pros: Dramatically increased strength, stiffness, and dimensional stability. Lighter weight than solid plastic for the same strength. Excellent for structural components that require high performance.
- Cons: Abrasive to standard brass nozzles (requires hardened steel nozzles). Higher cost. Can be more brittle than pure nylon.
- Cost implications: Significantly higher material cost. Requires an upgrade to printer hardware (nozzle). Offers superior performance for critical applications.
UV-Resistant Resins
Specifically formulated photopolymer resins for SLA/DLP printing with enhanced resistance to UV degradation.
- Pros: Excellent detail and surface finish, specifically designed for outdoor durability and resistance to yellowing or degradation from sunlight.
- Cons: Generally more expensive than standard resins. Can still be more brittle than thermoplastics. Requires careful post-curing to achieve full properties.
- Cost implications: Highest material cost among the common options, but essential for highly detailed outdoor art where smooth finish is paramount.
The choice of material for large 3D printed art is not merely about cost; it’s about ensuring the longevity, structural integrity, and aesthetic success of the installation in its intended environment. A thorough understanding of each material’s properties is crucial.
Designing for successful large 3D prints and installations
The consumer toolchanger 3D printer: the SnapSwap 4-toolhead system swaps heads in 5 seconds for true multi-color and multi-material printing, with smart calibration and auto filament loading.
Beyond selecting modular strategies and materials, the actual design process for large-scale 3D printed art requires a meticulous approach, integrating structural engineering, aesthetic considerations, and practical logistics. Designing for big 3D prints is a specialized skill set.
Structural integrity and load bearing
Large installations, especially public art 3D printing projects, must withstand environmental forces (wind, rain, temperature fluctuations) and potential human interaction. Structural integrity is non-negotiable.
- Finite Element Analysis (FEA): Utilizing software to simulate how the design will react to various loads and stresses. This is crucial for identifying weak points in modular connections and overall structure.
- Internal infill patterns and densities: Adjusting infill (e.g., gyroid, honeycomb) and density (e.g., 20% to 100%) within modules allows for weight optimization while maintaining strength where needed. Different parts of a module can have varying infill.
- Reinforcement strategies: Incorporating internal ribs, gussets, or channels for steel rods/pipes within the 3D print design. External bracing or a hidden internal framework (e.g., metal armature) can provide critical support for very large or cantilevered sections.
Tolerance and fit
For modular components to assemble seamlessly, precision in design and printing is paramount. Slight inaccuracies can lead to gaps, misalignment, or components that simply don’t fit.
- Understanding printer accuracy: Each 3D printer has inherent limitations in dimensional accuracy. Designing with a slight tolerance (e.g., 0.1-0.2mm gap for interlocking parts) can compensate for these variations.
- Designing for assembly gaps: Instead of aiming for a perfect zero-tolerance fit, incorporating small, intentional gaps allows for easier assembly and accommodates minor print imperfections. These gaps can later be filled or concealed.
- Post-processing for fit: Be prepared for some manual adjustment. Sanding, filing, or even light machining might be necessary to ensure perfect alignment and fit of complex modular joints.
Aesthetics and finish
The visual impact of large 3D printed art is heavily influenced by its surface quality and how modular seams are handled.
- Minimizing visible seams: Strategic placement of seams along natural design lines, using interlocking joints, or employing extensive post-processing (sanding, filling, painting) can hide the modular nature.
- Surface treatment: Post-processing is almost always required for a professional finish. This can include sanding, priming, filling with epoxy, painting, clear coating, or even vapor smoothing (for ABS).
- Incorporating texture and color during design: Sometimes, embracing the layer lines or designing an intentional texture can be part of the aesthetic. Multi-material or multi-color printing can also be used to create visual interest at the module level.
Logistics
Planning for the physical movement and installation of a large 3D printed artwork is as critical as its design and fabrication.
- Transportation of modules: Design modules to fit standard shipping containers, crates, or vehicle dimensions. Consider weight limits and fragility.
- On-site assembly plan: Develop a clear, step-by-step assembly guide. Label modules clearly. Plan for the sequence of assembly and the tools required.
- Installation methods: Consider how the final artwork will be anchored. Will it require a concrete foundation, bolted connections to a structure, or internal ballasting? Design appropriate mounting points into the modules.
Environmental considerations
For public art, especially large scale art installations, environmental durability is crucial for longevity and safety.
- UV resistance, temperature stability, water ingress: Choose materials and coatings that can withstand prolonged exposure to sunlight, extreme temperatures, and moisture. Design to prevent water pooling or ingress into internal structures.
- Material degradation over time: Understand how chosen materials will age. Some plastics can become brittle, discolored, or lose structural integrity over years of outdoor exposure. Regular maintenance and protective coatings are essential.
A holistic design approach, encompassing these technical and practical considerations, is fundamental to transforming a digital model into a robust, impactful, and enduring piece of large 3D printed art.
Cost implications and considerations for large-scale modular 3D printed art
The financial aspect of creating large 3D printed art is multifaceted, influenced by every decision from design strategy to material choice and installation. Understanding the various cost drivers allows artists and commissioners to make informed decisions and manage project budgets effectively.
Design and prototyping
The initial phase of concept development and digital modeling carries its own set of costs.
- CAD software and expertise: Professional-grade CAD software (e.g., Fusion 360, SolidWorks, Rhino) and the skilled labor to operate it are significant investments. Complex modular designs require advanced modeling capabilities.
- Test prints and iterations: Prototyping individual modules, testing joint mechanisms, and verifying scale with smaller prints are essential to prevent costly errors on full-scale production. This involves material, print time, and labor.
- Structural analysis: Engaging engineers for FEA or structural review adds to the design cost but can prevent catastrophic failures and ensure safety, especially for public art 3D printing.
Printing costs
The actual fabrication of the modules is a primary cost driver.
- Material volume: Directly proportional to the size and infill density of the modules. Material choice (PLA vs. Nylon vs. specialized resin) significantly impacts this.
- Printer time and energy consumption: Large prints consume considerable electricity and occupy the printer for extended periods. This is a direct cost, whether for in-house operation or outsourced services.
- Machine depreciation and maintenance: For those with in-house operations, the initial capital expenditure for the 3D printer and ongoing maintenance (nozzles, beds, spare parts) must be factored in.
Post-processing
Achieving a desired aesthetic and finish for large 3D printed art often involves extensive manual labor.
- Labor for sanding, filling, painting: This can be the most time-consuming and expensive part of the process, especially for FDM prints requiring smooth surfaces. Skilled labor is often necessary.
- Cost of finishing materials: Primers, paints, clear coats, epoxy fillers, and other surface treatments add to the material cost.
- Curing and specialized treatments: For resin prints, post-curing. For certain materials, specialized coatings for UV protection or weather sealing.
Hardware and adhesives
Depending on the modular strategy, additional components will be required.
- Cost of fasteners: Bolts, nuts, screws, washers, or magnets can add up, especially for large numbers of modules.
- Cost of adhesives: Structural epoxies or specialized solvent cements can be expensive, particularly in large quantities.
- Tools: Specialized tools for assembly (e.g., torque wrenches, clamps) or post-processing.
Assembly and installation
Bringing the modular components together into the final artwork on-site incurs significant logistical and labor costs.
- Labor for assembly: Skilled technicians are needed to correctly assemble the modules according to the design plan.
- Equipment rental: For very large installations, equipment like scaffolding, lifts, or cranes may be necessary, adding substantial rental fees.
- Transportation: Shipping individual modules to the installation site, considering size, weight, and fragility.
- Site preparation: Costs associated with foundations, anchoring points, or securing the artwork to existing structures.
Maintenance and repair
Long-term considerations for public art installations.
- Designing for easy replacement: Modular design can reduce repair costs by allowing only damaged sections to be replaced.
- Periodic cleaning and inspection: Regular maintenance is required to preserve the artwork’s integrity and appearance, especially for large scale art installations exposed to the elements.
Outsourcing versus in-house production
A crucial decision impacting the cost structure is whether to invest in in-house large format 3D printing capabilities or outsource fabrication to a service bureau.
- In-house: Requires significant capital expenditure for machines, software, and training. Offers greater control over the process, flexibility for iterative design, and potentially lower per-part cost for very high volumes over time. High fixed costs, lower variable costs.
- Outsourcing: Avoids large capital investment. Provides access to specialized machines and expertise. Variable costs are higher per part, but no fixed costs for equipment. Good for one-off projects or when specific technologies are needed.
By carefully analyzing each of these cost components, artists and project managers can develop realistic budgets and make strategic choices that align with both their artistic ambitions and financial constraints when creating large 3D printed art.
Conclusion
The creation of large-scale 3D printed art installations stands as a testament to the boundless possibilities offered by additive manufacturing. While the vision of monumental artworks can be daunting, modular design strategies provide the essential framework to transform these ambitious concepts into tangible realities. By dissecting complex forms into manageable components, artists and designers can effectively navigate the inherent limitations of 3D printing technology, optimize material usage, streamline logistics, and ensure the long-term viability of their creations.
The journey from concept to installation involves a careful interplay of artistic intent, technical prowess, and strategic decision-making. Whether through intricate interlocking systems, robust fastener-based assemblies, seamless adhesive bonding, or a clever hybrid approach, the choice of modular strategy profoundly impacts the artwork’s structural integrity, aesthetic appeal, and overall cost. Similarly, the selection of 3D printing technology – from accessible FDM to high-precision SLA, durable SLS, or truly gargantuan LFAM – dictates the characteristics of each module, influencing everything from surface finish to mechanical performance and budget.
Furthermore, the materials chosen must be fit for purpose, balancing printability and cost with critical factors like UV resistance, strength, and environmental durability, especially for public art 3D printing. Finally, meticulous attention to structural design, tolerance management, aesthetic finishing, and logistical planning ensures that the designing for big 3D prints culminates in a successful and enduring installation. By objectively evaluating the cost structures and features of these various solutions and approaches, artists and patrons alike can make informed choices, pushing the boundaries of what is possible and bringing awe-inspiring large 3D printed art into our shared spaces.
Frequently asked questions
How do I estimate the total cost of a modular 3D printed art project before starting?
Total cost combines design and prototyping (CAD software, test prints, engineering analysis), printing (material volume, printer time, energy), post-processing (labor for sanding, filling, painting, plus finishing materials), hardware (fasteners, adhesives, tools), and installation (on-site labor, equipment rental, transportation, site preparation). A critical early decision is whether to outsource to a service bureau (higher per-part variable cost, no equipment investment) or produce in-house (high fixed costs for machines, lower per-part cost over high volumes).
What are the most common mistakes when designing interlocking modular joints for 3D printed art?
The most frequent mistake is aiming for zero-tolerance fits, which fail because every printer has inherent dimensional inaccuracies. Instead, design with a small intentional gap (typically 0.1-0.2mm) to compensate for these variations and allow easier assembly. Another common error is neglecting the anisotropic weakness of FDM parts—interlocking features printed along layer lines can snap under stress, so joint orientation relative to print layers must be considered during CAD design.
Can large 3D printed art survive outdoors long-term, or is it only for indoor display?
Outdoor survival depends entirely on material and coating choices. PLA will degrade rapidly in sunlight and heat, making it suitable only for indoor or temporary outdoor pieces. PETG offers good UV and weather resistance, while UV-resistant SLA resins are formulated specifically for outdoor durability. For maximum longevity, apply protective clear coats, seal seams to prevent water ingress, and design for easy replacement of damaged modules—this modular repair capability is a key advantage for outdoor installations exposed to the elements.