When diving into the world of 3D printing, especially with a beginner-friendly filament like PLA, encountering hiccups is part of the learning curve. One of the most frustrating and common 3D print issues is PLA under-extrusion. This problem manifests as gaps in your prints, weak layers, missing lines, or prints that just don’t feel solid. Essentially, it means your 3D printer isn’t pushing enough filament through the nozzle to create a consistent, complete layer. While it can be a head-scratcher, understanding its root causes and knowing the right troubleshooting steps can turn frustration into flawless prints.
What is under-extrusion in 3D printing?
The consumer toolchanger 3D printer: the SnapSwap 4-toolhead system swaps heads in 5 seconds for true multi-color and multi-material printing, with smart calibration and auto filament loading.
- 4 toolheads · 5 s swap
- Up to 500 mm/s · 20,000 mm/s²
- 270 mm cube build volume
- Multi-color & multi-material

Under-extrusion occurs when the amount of plastic extruded by your printer’s hotend is less than what the slicer software expects. Imagine trying to paint a wall but your brush isn’t picking up enough paint; you’d end up with patchy, incomplete coverage. In 3D printing, this translates to models that are brittle, have visible gaps between lines, or even exhibit complete layer separation. For PLA, which typically prints smoothly, under-extrusion can be particularly vexing because it often points to a specific mechanical or setting issue rather than inherent filament difficulty.
Common causes of PLA under-extrusion

Pinpointing the exact cause of PLA under-extrusion requires a systematic approach. Here are the most frequent culprits:
Incorrect temperature settings
- Too low printing temperature: If the hotend temperature is too low for your specific PLA filament, the plastic won’t melt consistently enough to flow smoothly. This leads to increased resistance in the nozzle and reduced filament flow.
- Too high printing temperature (leading to heat creep): Paradoxically, too high a temperature can also cause issues. Excessive heat can travel up the hotend into the cold end, causing the filament to soften prematurely and swell. This phenomenon, known as heat creep, can create a partial clog and restrict filament movement.
- Solution: Consult your PLA filament manufacturer’s recommended temperature range. Print a temperature tower to find the optimal setting for your specific spool.
Clogged nozzle
- Partial or complete nozzle clogs: This is a classic cause of under-extrusion. Debris (dust, burnt filament residue), or even tiny particles from the filament itself, can accumulate inside the nozzle, restricting the flow. A partial clog might allow some filament through, but not enough, leading to inconsistent lines and gaps.
- Solution: A ‘cold pull’ (also known as an atomic pull) can often clear partial clogs. Alternatively, use a thin nozzle cleaning needle to carefully dislodge blockages. If the clog is severe or the nozzle is old, replacing it might be the quickest fix.
Incorrect E-steps or flow rate
- Uncalibrated E-steps: The E-steps (extruder steps per millimeter) tell your printer’s extruder motor how many steps it needs to take to push a certain length of filament. If this value is incorrect, the printer will either push too much or, more commonly in this context, too little filament.
- Incorrect flow rate (extrusion multiplier): The flow rate, or extrusion multiplier, is a slicer setting that adjusts the overall volume of plastic extruded. If it’s set too low, you’ll experience under-extrusion even with perfectly calibrated E-steps.
- Solution: Calibrate your E-steps by instructing the extruder to push a specific length of filament (e.g., 100mm) and measuring the actual length extruded. Adjust the E-steps value in your firmware or via G-code. Then, calibrate your flow rate by printing a single-wall cube and measuring its wall thickness, adjusting the flow rate in your slicer until the wall thickness matches your nozzle diameter.
Filament issues
- Wet filament: PLA is hygroscopic, meaning it absorbs moisture from the air. Wet filament can cause steam bubbles to form in the hotend, leading to inconsistent extrusion, popping sounds, and a visibly rough surface finish. This directly impacts filament flow.
- Tangled or restricted spool: If the filament spool is tangled or the filament path is obstructed (e.g., by a tight bend or friction), the extruder motor will struggle to pull the filament, resulting in under-extrusion or even skipped steps.
- Inconsistent filament diameter: Low-quality PLA filament might have variations in its diameter. If the diameter is thinner than expected, the printer will extrude less material than calculated.
- Solution: Dry your filament using a filament dryer, a food dehydrator, or even your printer’s heated bed. Ensure your spool unwinds freely and the filament path is clear and smooth. Invest in high-quality filament from reputable brands to minimize diameter inconsistencies.
Extruder problems
- Worn or dirty extruder gears: The gears that grip and push the filament can become worn down or clogged with plastic dust over time, losing their grip and failing to feed the filament consistently.
- Loose idler arm or tension: The idler arm applies pressure to the filament against the drive gear. If it’s too loose, the gears won’t get a good grip. If it’s too tight, it can deform the filament, making it harder to pass through the hotend.
- Cracked extruder body: Some plastic extruder components can crack under stress, leading to a loss of tension on the filament.
- Solution: Inspect your extruder gears for wear and clean them if necessary. Adjust the idler arm tension. Check for any cracks in plastic components and replace them if found.
Retraction settings
- Excessive or too fast retraction: While retraction is crucial for preventing stringing, too much retraction distance or speed can pull molten plastic too far up the hotend, causing it to cool and solidify, leading to partial nozzle clogs or grinding of the filament.
- Solution: Optimize your retraction settings. Start with conservative values (e.g., 1-2mm for direct drive, 3-6mm for Bowden) and gradually increase them while testing for stringing and under-extrusion.
Bowden tube issues (for Bowden setups)
- Gap between Bowden tube and nozzle/hotend: If there’s a gap between the end of the Bowden tube and the hotend’s heat break or nozzle, molten plastic can accumulate in this void, causing a blockage and restricting filament flow.
- Worn or damaged Bowden tube: Over time, the inside of the Bowden tube can wear, increasing friction and making it harder for the filament to pass through.
- Solution: Ensure the Bowden tube is cut perfectly square and pushed firmly against the hotend components. Replace the Bowden tube if it shows signs of wear or internal damage.
Quick fixes and troubleshooting steps

When faced with PLA under-extrusion, try these steps:
- Check the filament path: Ensure the spool spins freely, and the filament isn’t tangled or obstructed.
- Verify temperature: Confirm your printing temperature is within the manufacturer’s recommended range for your PLA.
- Calibrate E-steps and flow rate: These are fundamental for accurate extrusion.
- Clear the nozzle: Perform a cold pull or use a cleaning needle. If persistent, replace the nozzle.
- Dry your filament: Especially if your PLA has been exposed to humidity.
- Inspect the extruder: Look for worn gears, proper tension, or cracks.
- Adjust retraction settings: Experiment with retraction distance and speed.
Preventative measures for consistent prints
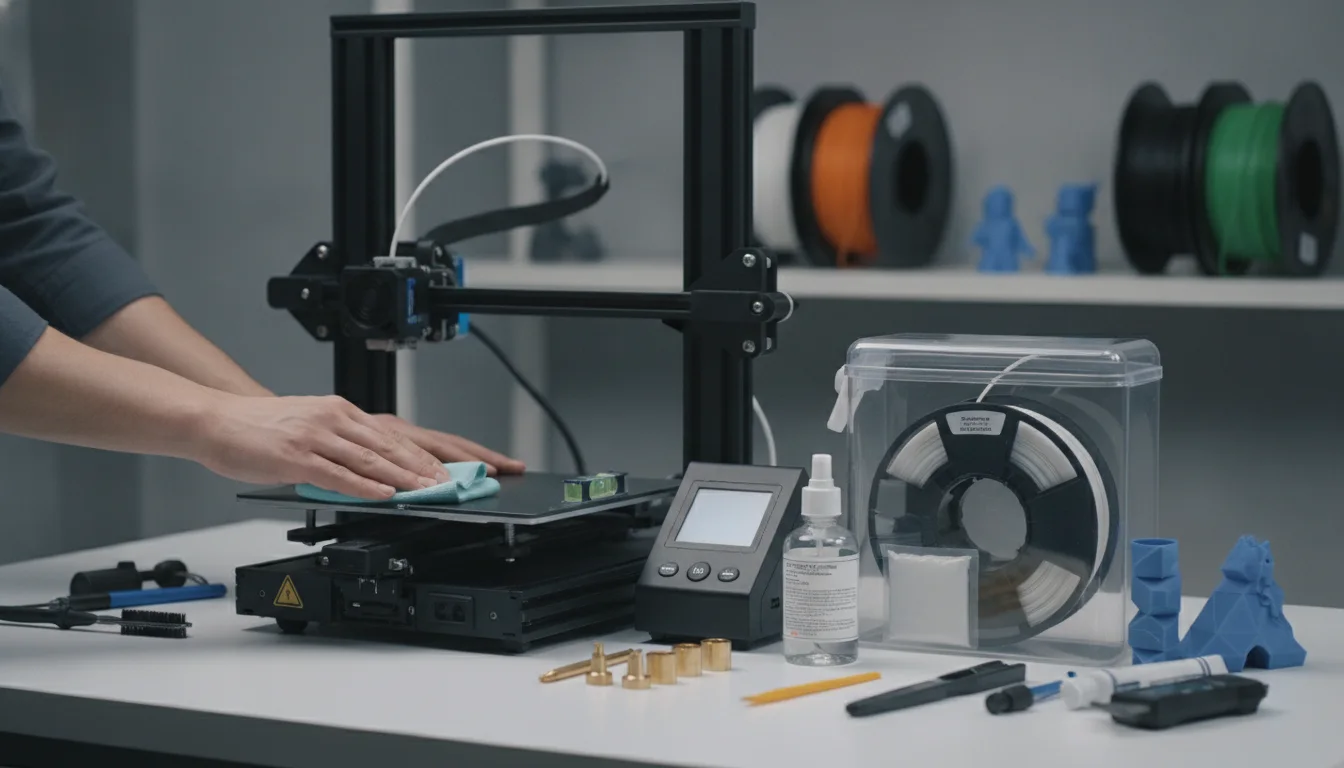
Prevention is always better than cure. To minimize future 3D print issues like under-extrusion:
- Regular maintenance: Routinely clean your nozzle, inspect your extruder gears, and check your Bowden tube (if applicable).
- Use quality filament: While more expensive, consistent filament diameter and composition can save you headaches.
- Proper filament storage: Store PLA in airtight containers with desiccant packs to keep it dry.
- Optimize slicer profiles: Keep your slicer settings (temperatures, speeds, retraction) fine-tuned for your specific printer and filament.
PLA under-extrusion might seem daunting at first, but it’s a solvable problem. By systematically investigating the common causes and applying the appropriate fixes, you’ll be well on your way to achieving consistently high-quality 3D prints. Remember, every printing issue is an opportunity to learn and refine your skills, making you a more proficient 3D printing enthusiast.
Frequently asked questions
What temperature should I actually set for my PLA if I don’t have a temperature tower?
Without a temperature tower, start at the middle of your filament manufacturer’s recommended range (typically 190-220°C for PLA). If you see under-extrusion (gaps, weak layers), raise the temperature in 5°C increments. If you hear popping or see stringing, lower it. A temperature tower is still the best method to find the exact sweet spot for your specific spool.
Will a clogged nozzle always cause complete print failure, or can it cause subtle problems?
A partial clog is more common than a complete one and can cause subtle under-extrusion like inconsistent lines, faint gaps, or a rougher surface finish without stopping the print entirely. A cold pull is usually the first fix to try for a partial clog, as it can clear debris without needing to replace the nozzle.
My extruder gears look fine, but I still get under-extrusion. What else should I check on the extruder?
Even with clean, unworn gears, check the idler arm tension. If it’s too loose, the gears won’t grip the filament properly. Also inspect the plastic extruder body for hairline cracks, which can cause a loss of tension that isn’t visible when the extruder is at rest but appears under load during printing.