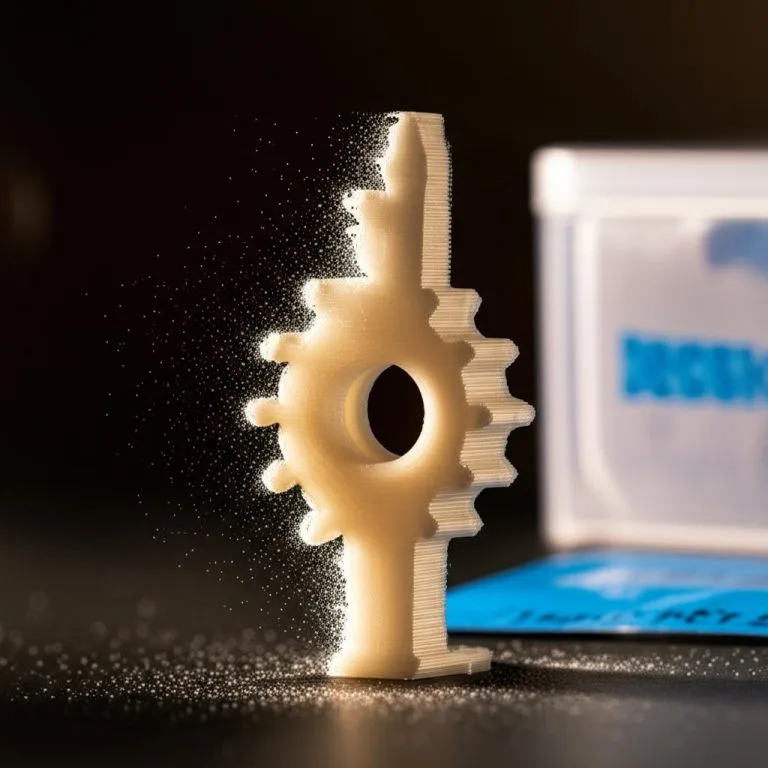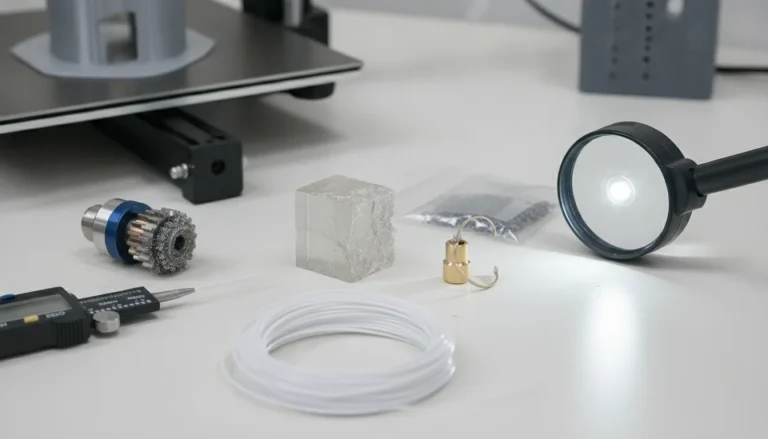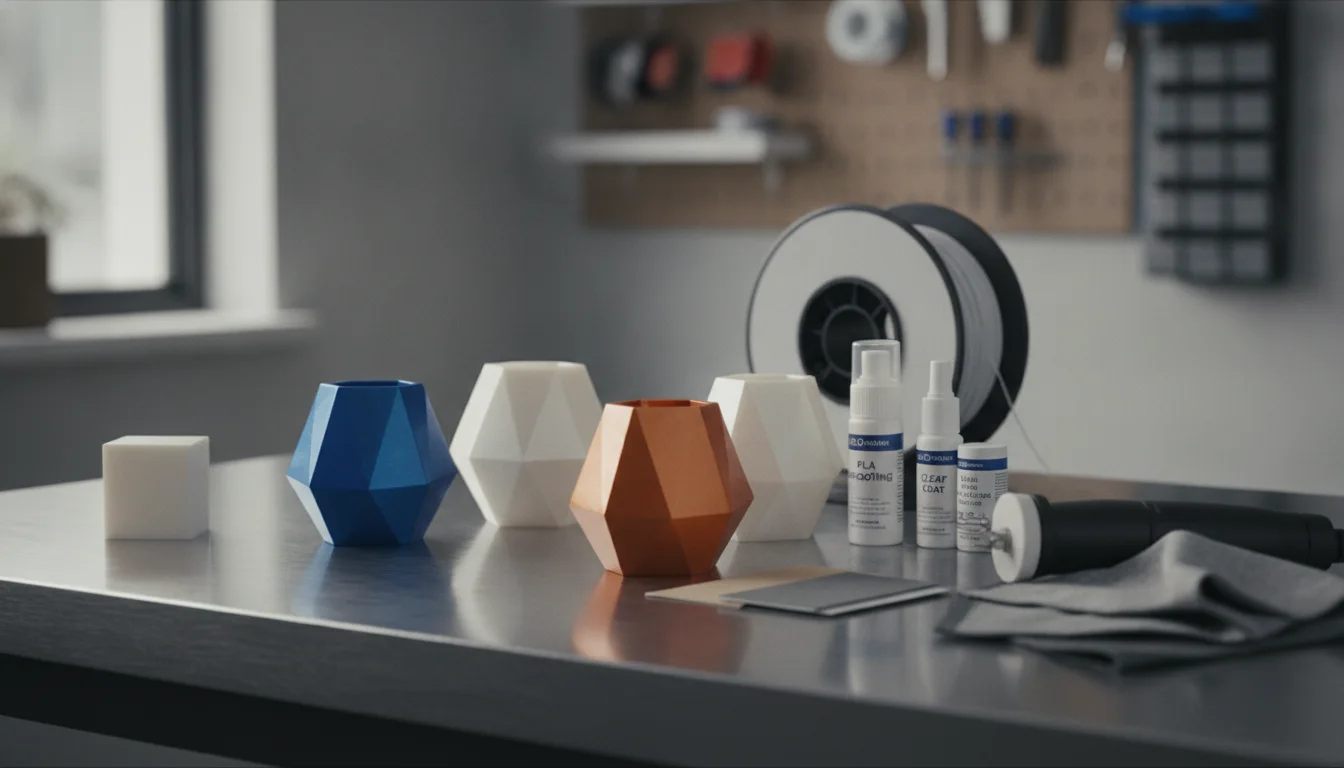
While fresh off the print bed, a 3D printed object can be a marvel of modern manufacturing. However, for many applications, especially those requiring a professional aesthetic or improved functionality, the journey doesn’t end when the last layer is laid down. PLA, or Polylactic Acid, is celebrated for its ease of use, relatively low cost, and biodegradability, making it a favorite among beginners and seasoned makers alike. Yet, its inherent layer lines and occasional imperfections can detract from the final product’s perceived quality. This comprehensive guide delves into the world of PLA post-processing, offering simple yet effective techniques to transform your prints from raw prototypes into polished masterpieces, all while providing insights into the effort, skill, and material costs involved.
Understanding the need for PLA post-processing
The consumer toolchanger 3D printer: the SnapSwap 4-toolhead system swaps heads in 5 seconds for true multi-color and multi-material printing, with smart calibration and auto filament loading.
- 4 toolheads · 5 s swap
- Up to 500 mm/s · 20,000 mm/s²
- 270 mm cube build volume
- Multi-color & multi-material

Even the most meticulously calibrated 3D printer will leave some tell-tale signs of its additive manufacturing process. Visible layer lines, support structure remnants, stringing, oozing, or slight surface blemishes are common. PLA post-processing is the art and science of addressing these imperfections, enhancing the print’s visual appeal, tactile feel, and sometimes even its functional durability. Whether you’re creating functional parts, artistic models, prototypes for clients, or cosplay props, a little post-processing can go a long way in achieving a professional finish that truly shines, making your efforts worthwhile.
Initial steps: cleaning and preparation
Before diving into more intensive finishing techniques, a few foundational steps are crucial. Skipping these can compromise the quality and longevity of your final finish:
- Support removal: Carefully remove any support structures. Tools like flush cutters, needle-nose pliers, or a sharp hobby knife are your best friends here. For stubborn supports or in intricate areas, a heat gun or even a hairdryer can sometimes soften PLA slightly, making support removal easier and cleaner, but exercise extreme caution to avoid deforming or melting the print itself. Aim for a clean break at the print surface.
- Deburring and trimming: Use a hobby knife, deburring tool, or fine-grit sandpaper to scrape away any stringing, blobs, or the notorious ‘elephant’s foot’ around the base of the print. These small imperfections, if left unchecked, will be magnified by subsequent finishing layers.
- Cleaning: Thoroughly wipe down the print with isopropyl alcohol (IPA) to remove any residue, dust from initial trimming, or finger oils. This crucial step ensures optimal adhesion for any subsequent layers of filler, primer, or paint. A clean surface is paramount for a lasting finish.
Smoothing techniques for PLA prints
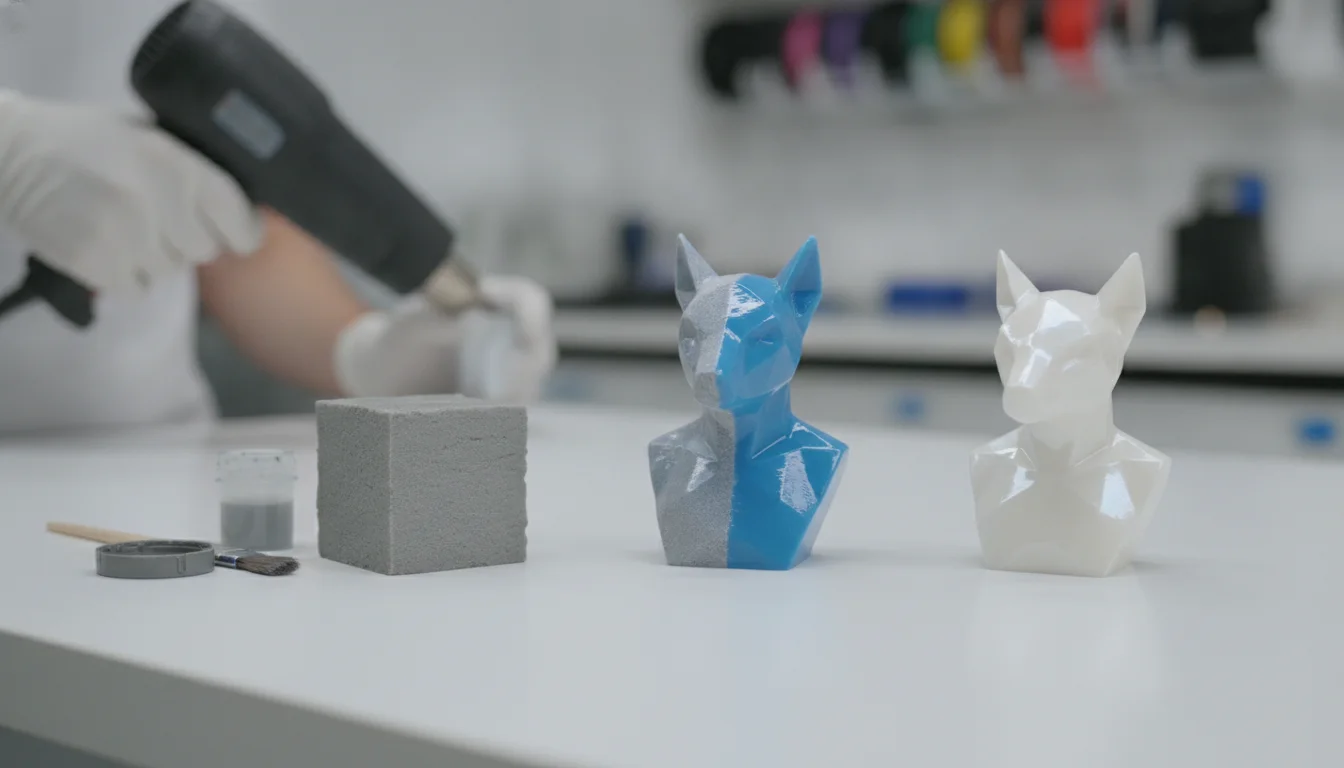
Achieving a smooth surface is often the most impactful step in finishing 3D prints. It’s where the most significant transformation takes place, turning a visibly layered object into something akin to an injection-molded part. Here are the primary methods:
Sanding PLA: a tried and true method
Sanding PLA is arguably the most common, accessible, and versatile post-processing technique. It’s labor-intensive but offers unparalleled control over the final surface texture and is a foundational skill for any serious 3D printer.
- Tools and materials:
- Assorted grit sandpaper (e.g., 120, 220, 320, 400, 600, 800, 1000, 1500, 2000 grit).
- Sanding blocks or flexible sanding pads for flat surfaces and contours.
- Small files, sanding sticks, or rotary tools with sanding bits for intricate details and tight corners.
- Water (for wet sanding) and a spray bottle.
- Safety mask (respirator) and eye protection.
- Process:
- Start coarse: Begin with a lower grit sandpaper (e.g., 120-220) to aggressively remove prominent layer lines, support scars, and larger imperfections. Sand in a consistent direction, using moderate pressure. For best results, sand in one direction until the previous grit’s scratches are gone, then switch to a perpendicular direction for the next grit.
- Progress gradually: Move to progressively finer grits. Each subsequent grit’s purpose is to remove the scratches left by the previous one. Don’t skip grits, as this will leave deeper scratches that are exceedingly difficult to remove later, costing more time and effort.
- Wet sanding: For finer finishes (typically from 400 grit upwards), wet sanding is highly recommended. Submerge the print in water or keep the sandpaper and surface constantly damp. Water acts as a lubricant, significantly reduces dust, prevents sandpaper from clogging with plastic particles, and ultimately leads to a much smoother finish.
- Rinse and inspect: Regularly rinse the print under running water to remove sanding dust and inspect your progress. A good way to check for remaining scratches is to wipe the surface dry and hold it under a strong light source.
- Consider power tools: For larger, flatter surfaces, an orbital sander or belt sander can significantly speed up the process. However, exercise extreme caution as friction can quickly generate too much heat, leading to localized melting or deformation of the PLA. Keep the tool moving constantly.
- Considerations: Sanding is time-consuming and requires patience and a steady hand. The material cost for sandpaper is relatively low, making it an economical choice. However, the time investment can be substantial, especially for complex geometries or very smooth finishes. It can also inadvertently remove fine details if not done carefully, making it less ideal for highly intricate models.
Filling and priming for a flawless base
For prints with significant layer lines, voids, or minor print defects, sanding alone might not be enough to achieve a perfectly smooth surface. Fillers and primers can create a truly flawless canvas, ready for painting.
- Body filler/putty: Automotive body filler (e.g., Bondo) or specialized plastic fillers can be used to fill larger gaps, cracks, deep layer lines, or even repair minor breakages. These are often two-part epoxy or polyester resin compounds. Apply thin layers with a spreader, allow to cure fully, then sand smooth. Repeat as necessary.
- Pros: Excellent filling capabilities, strong bond, can repair structural imperfections. Relatively inexpensive for the amount of coverage.
- Cons: Can be messy to work with, requires careful mixing (for two-part types), emits strong fumes (requiring excellent ventilation), and necessitates significant sanding afterwards. It also adds noticeable weight to the print.
- Filler primer (high-build primer): A type of primer specifically designed to fill minor imperfections and create a uniform surface. It’s typically applied in multiple thin coats from an aerosol can, with light sanding (e.g., 400-600 grit) between coats to achieve a perfectly smooth finish.
- Pros: Easy to apply (especially aerosol versions), effectively fills minor layer lines and surface texture, provides an excellent base for topcoat paints, and helps reveal remaining imperfections. Moderately priced.
- Cons: Not suitable for very deep imperfections or large gaps, adds thickness to the print, and requires good ventilation due to fumes. Multiple coats and sanding cycles add to the overall time investment.
- Considerations: These methods add material cost (filler, primer) and significant drying/curing time. They are, however, excellent for achieving a truly professional, smooth finish that rivals injection molding, especially when combined with initial sanding. The skill requirement is moderate, primarily involving careful application and patient sanding.
Chemical smoothing for PLA: a limited option
While solvents like acetone are highly effective for smoothing ABS prints, PLA is much more resistant to common chemical solvents. Chloroform and Tetrahydrofuran (THF) are known to smooth PLA, but they are highly toxic, difficult to acquire, and require specialized safety equipment, strict ventilation protocols, and professional handling. For practical purposes and hobbyist use, chemical smoothing is not a recommended or easily accessible method for PLA due to the significant health and safety risks involved. Alternative methods are far safer and more practical.
Finishing techniques: bringing your prints to life

Once your print is smooth and free of imperfections, it’s time to add color, protection, or a polished sheen, transforming it into a finished product.
Painting PLA: adding color and character
Painting PLA is a transformative step that can dramatically enhance the appearance and perceived value of your prints. Proper preparation, as outlined above, is paramount for a durable and attractive finish.
- Primer: Always start with a good primer. This provides a uniform, opaque base, helps subsequent paint layers adhere better, and can even help obscure any very faint, residual layer lines. Automotive primers (e.g., 2-in-1 filler primer) or plastic-specific primers are excellent choices. Apply in thin, even coats, allowing adequate drying time between each.
- Types of paint:
- Acrylic paints: Water-based, easy to clean up, and available in a vast array of colors and finishes (matte, satin, gloss). Excellent for brush painting fine details, airbrushing, or base coating larger areas. They dry relatively quickly and are generally non-toxic.
- Spray paints: Offer a smooth, even finish quickly, especially for larger areas. Look for paints formulated specifically for plastics or multi-surface use. Apply in multiple thin coats from a consistent distance, allowing each to dry (tack-free) before the next to prevent drips and ensure even coverage.
- Enamel paints: Oil-based, known for their durability and hard, often glossy finish. They take longer to dry and require mineral spirits or paint thinner for cleanup. Best for applications requiring a tough, chip-resistant surface.
- Techniques:
- Masking: Use painter’s tape (e.g., FrogTape, Tamiya masking tape) to protect areas you don’t want to paint, allowing for crisp lines and multi-color designs.
- Airbrushing: Provides very fine control, smooth gradients, and even coverage, ideal for detailed models, weathering, and complex color schemes. Requires an airbrush and compressor, increasing initial cost.
- Dry brushing: A technique for highlighting raised details and edges, often used for weathering effects or to give a metallic sheen.
- Clear coats: After painting, a clear coat (matte, satin, or gloss) is essential. It protects the underlying paint job from scratches, UV damage, moisture, and general wear. It also unifies the finish and can enhance the vibrancy of colors.
- Considerations: Painting adds material cost (primer, paint, clear coat, brushes/airbrush) and significant time for drying between coats. Ventilation is absolutely essential, especially with spray paints and enamels, due to fumes. Skill level ranges from beginner (simple base coats) to advanced (detailed airbrushing).
Sealing and coating for protection and shine
Beyond paint, various clear coatings can enhance and protect your PLA prints, offering different levels of durability and aesthetic finishes.
- Epoxy resin: A clear, two-part epoxy resin can be applied to create a thick, glossy, and highly durable finish. It effectively hides any remaining minor layer lines, provides excellent protection against impact and moisture, and gives a deep, lustrous look.
- Pros: Extremely smooth, durable, high-gloss finish, excellent for waterproofing and adding structural integrity. Can make a print feel significantly more substantial.
- Cons: Requires careful mixing (exact ratios are critical), can be messy to work with, takes time to cure (24+ hours), adds significant weight, and has a higher material cost per application compared to sprays. Requires good ventilation.
- Polyurethane or clear acrylic coatings: These can be brushed or sprayed on for a protective layer. They offer less thickness than epoxy but are generally easier and faster to apply. Available in various sheens (matte, satin, gloss).
- Pros: Good protection against scratches and UV, various sheens available, relatively easy to apply, faster drying times than epoxy. Lower material cost than epoxy.
- Cons: May not completely hide deep layer lines, requires multiple coats for best protection, can sometimes yellow over time (especially oil-based polyurethanes).
Polishing PLA for a natural sheen
For prints that have been meticulously sanded to a very high grit (e.g., 2000+), polishing compounds can bring out a natural shine from the PLA itself, often without the need for paint or clear coats. This is particularly effective for translucent or solid-colored PLA where you desire a smooth, almost injection-molded look that highlights the material’s inherent qualities.
- Materials: Plastic polishing compounds (e.g., Novus Plastic Polish, automotive polishing compounds), soft microfiber cloths, or a rotary tool with buffing wheels.
- Process: Apply a small amount of polishing compound to the print or buffing wheel and gently rub in circular motions. For best results, progress from coarser polishing compounds (if available) to finer ones. The goal is to gradually remove micro-scratches and bring out the material’s natural luster.
- Considerations: This method requires very thorough prior sanding; any remaining scratches will be highlighted by the polish. It’s a low-cost method if you already have the compounds, but it is labor-intensive and best suited for prints where the original PLA color and texture are desired as the final finish.
Advanced considerations and safety
Assembly and embellishment
After finishing, you might need to assemble multiple parts or add embellishments to complete your project:
- Adhesives:
- Cyanoacrylate (super glue): Fast-drying and strong for small bonds. Best for joining already finished surfaces.
- Epoxy adhesives: Stronger, gap-filling, and offer more working time, making them suitable for larger or less precise joins. They also cure very hard.
- Plastic cement: Some types designed for styrene or ABS can partially bond PLA, but test first as results vary significantly. Often creates a stronger bond by dissolving and fusing the plastic.
- Threaded inserts: Heat-set threaded inserts provide durable, reusable threads for screws, eliminating the need to tap PLA directly (which can strip easily). They offer a professional and robust fastening solution.
- Magnets: Small neodymium magnets can be embedded during printing (if designed into the model) or glued into recesses after printing for functional assemblies, closures, or aesthetic details.
Safety first: protecting yourself and your environment
Post-processing involves various materials and tools that require caution. Prioritizing safety is non-negotiable:
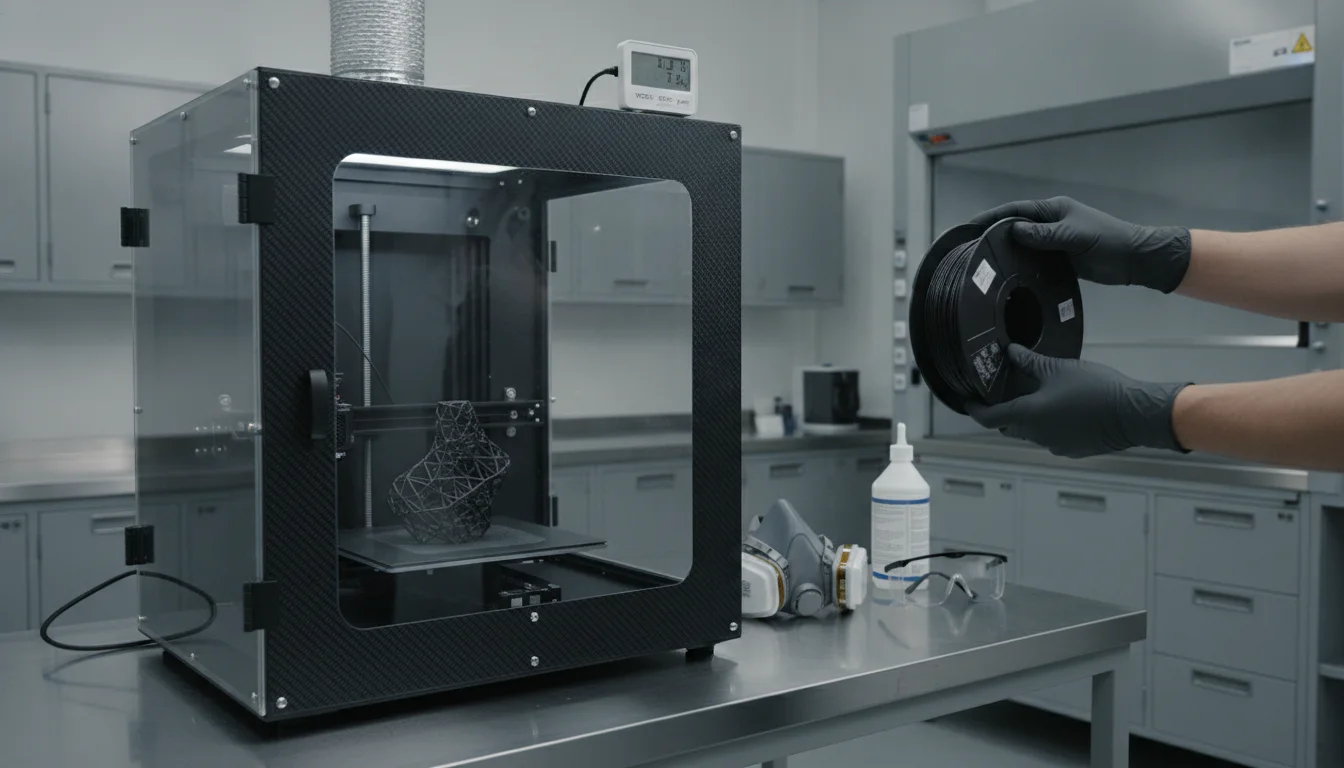
- Ventilation: Always work in a well-ventilated area, especially when sanding (to minimize dust inhalation), and when using spray paints, chemical fillers, or epoxy resins. An open window and fan are minimums; a dedicated spray booth with extraction is ideal.
- Personal Protective Equipment (PPE):
- Respiratory protection: Wear a respirator mask (rated for particulate and/or organic vapors) when sanding (to avoid inhaling fine PLA dust, which can be irritating) and when using paints, primers, fillers, or epoxies (to protect against harmful fumes and airborne particulates).
- Eye protection: Safety glasses are a must to protect against flying debris from sanding or support removal, and splashes from chemicals or paints.
- Gloves: Protect your hands from chemicals, paints, and sharp tools. Nitrile gloves are suitable for most tasks, offering good chemical resistance.
- Tool safety: Handle hobby knives, deburring tools, and rotary tools with extreme care. Always cut away from your body, keep blades sharp, and ensure proper grip.
- Material disposal: Dispose of chemical waste (paint thinners, epoxy residue) according to local regulations.
Conclusion: elevating your PLA prints
The consumer toolchanger 3D printer: the SnapSwap 4-toolhead system swaps heads in 5 seconds for true multi-color and multi-material printing, with smart calibration and auto filament loading.
The world of PLA post-processing is rich with possibilities, offering a spectrum of techniques to elevate your 3D prints from raw plastic to refined, professional-grade objects. From the meticulous work of sanding PLA to the artistic flair of painting PLA and the protective sheen of various coatings, each method brings its own set of advantages and considerations regarding material cost, time investment, and required skill level. By understanding these options, you can objectively assess which approach best suits your project’s needs, budget, and desired outcome. Whether you’re aiming for a perfectly smooth, factory-like finish or a vibrant, hand-painted aesthetic, mastering these techniques will empower you to consistently achieve professional results, making your finishing 3D prints journey both rewarding and incredibly effective. Embrace the process, and watch your creations truly shine.
Frequently asked questions
Can I use acetone to smooth PLA prints like I would with ABS?
No. Acetone is highly effective for smoothing ABS prints but has little to no effect on standard PLA. While solvents like chloroform and tetrahydrofuran (THF) can smooth PLA, they are highly toxic, difficult to acquire, and require professional-grade safety equipment and ventilation, making them impractical and unsafe for typical hobbyist use. Stick to sanding, filling, and priming for PLA finishing.
How much does post-processing a PLA print typically cost in materials?
Material costs vary widely by technique. Sanding is the most economical, requiring only assorted grit sandpaper (typically under $10 for a pack covering 120–2000 grit). Filler primer aerosol cans cost around $8–15 each, while two-part automotive body filler is roughly $15–25. Epoxy resin coatings are the most expensive, often costing $25–40 for a small kit, plus the added weight and 24+ hour cure time.
What’s the most common mistake beginners make when sanding PLA prints?
Skipping grits is the most frequent error. Jumping from a coarse 120-grit directly to 400-grit leaves deep scratches from the lower grit that are nearly impossible to remove with the finer paper, forcing you to start over. Always progress gradually through each grit (e.g., 120 → 220 → 320 → 400 → 600) and switch sanding direction by 90 degrees between grits to ensure all previous scratches are removed.