The first layer in 3D printing is often overlooked yet is the absolute foundation of a successful print. Without a solid, well-adhered, and consistent first layer, you’re setting yourself up for failure, leading to countless 3D printing perfect first layer Quality and Problems. This guide will walk you through the essential steps and common pitfalls to ensure your first layer is nothing short of perfection.
Why the First Layer Matters
A strong first layer provides the base for all subsequent layers, ensuring proper adhesion to the build plate and dimensional accuracy. Poor first layer adhesion can lead to warping, layer shifting, or even the print detaching mid-way, wasting time and material.
Key Elements for Success
1. Bed Leveling & Z-Offset
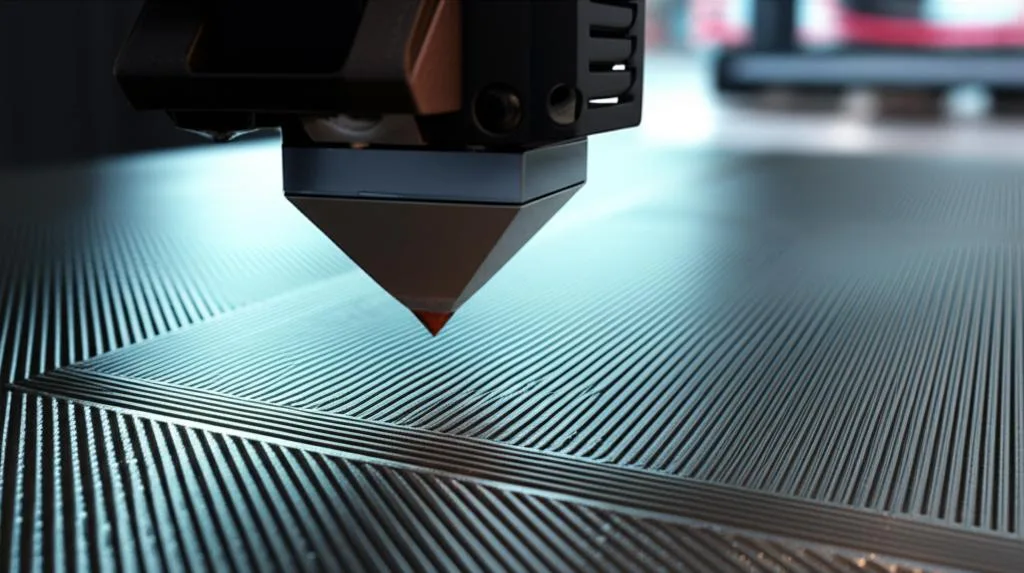
Your build plate must be perfectly level, and the nozzle at a consistent height. Even with automatic bed leveling (ABL), a manual check often helps. Fine-tune your Z-offset to achieve the ideal “squish” – plastic should bond firmly without being squished too thin or leaving gaps. A “paper thickness” gap between the nozzle and bed is a good starting point.
2. Build Plate Adhesion
Different filaments require different approaches:
- PLA: Heated glass (50-60°C) with glue stick, hairspray, or directly to PEI.
- PETG: Heated bed (70-80°C), often with glue stick on glass to prevent over-adhesion.
- ABS: Higher bed temperatures (90-110°C) and an enclosure are crucial for preventing warping.
Always ensure your build plate is clean. Fingerprints and dust are enemies of good adhesion.
3. Print Speed and Temperature
For the initial layer, a slower print speed (15-30 mm/s) is highly recommended. This allows more time for the filament to bond. Slightly higher initial layer temperatures for both the nozzle and the bed can also significantly improve adhesion and consistency.
Common First Layer Problems & Solutions
- No Adhesion/Lifting: Unlevel bed, incorrect Z-offset (too high), dirty bed, or insufficient bed temperature.
- Gaps Between Lines: Z-offset too high, under-extrusion, or too fast first layer speed.
- Squished/Rough Surface: Z-offset too low, causing the nozzle to drag.
- Warping: Insufficient bed adhesion, too rapid cooling, especially with materials like ABS.
Mastering the 3D printing perfect first layer will dramatically improve the success rate and quality of your prints. By paying close attention to bed leveling, Z-offset, adhesion, and print settings, you’ll overcome common Quality and Problems and lay down a foundation for flawless 3D models every time. Happy printing!
Frequently asked questions
Why does my first layer look fine in some spots but have gaps or dragging in others?
This is almost always an uneven build plate rather than a wrong Z-offset. Even with automatic bed leveling enabled, a manual check is still worth doing, since ABL compensates for a warped surface but doesn’t fix a bed that’s mechanically loose or unevenly tensioned. If gaps show up in one area and dragging (a rough, squished look) in another, relevel the bed by hand before touching your Z-offset.
Do I need an enclosure for every material, or just ABS?
Based on first-layer adhesion needs, an enclosure is specifically called out for ABS, which requires higher bed temperatures (90-110°C) and is prone to warping without one. PLA and PETG aren’t listed as needing an enclosure here — PLA works with a heated glass bed at 50-60°C, and PETG at 70-80°C. Warping in general is driven by insufficient bed adhesion and cooling that happens too rapidly, which is why it’s a bigger concern with hotter-printing materials like ABS.
My first layer has gaps between the lines even though the bed is level and clean — what else could cause that?
If leveling and cleanliness are already ruled out, the article points to three other causes: Z-offset still set too high, under-extrusion, or printing the first layer too fast. Since a slower first-layer speed (15-30 mm/s) gives the filament more time to bond, try dropping your speed before making further Z-offset adjustments. Check under-extrusion separately, as it’s a distinct issue from bed height and won’t be fixed by leveling alone.