Linear rails are worth it when your printer has play you can’t adjust out of the V-rollers, when you keep re-tightening eccentric nuts, or when you are building or rebuilding a frame that can give the rail a flat mounting surface. They are rarely worth it on a well-adjusted printer that already prints cleanly. Rails remove the play between wheel and extrusion and give a stiffness the manufacturer actually publishes: 70 N/µm for a HIWIN MGN12H block with very light preload. They do not fix ringing from a flexible frame, loose belts or a badly levelled bed.
The catch is that a rail is only as straight as the surface under it, and it needs cleaning and grease. This guide compares the two systems, explains preload and accuracy classes, and covers maintenance and the cases where the upgrade is wasted money. The last sections cover fitting rails to an extrusion frame: alignment, bolt order, two parallel rails and the problems that show up after a conversion. Figures come from HIWIN’s technical catalog, LDO, Voron and Klipper documentation, linked at the end.
The consumer toolchanger 3D printer: the SnapSwap 4-toolhead system swaps heads in 5 seconds for true multi-color and multi-material printing, with smart calibration and auto filament loading.
- 4 toolheads · 5 s swap
- Up to 500 mm/s · 20,000 mm/s²
- 270 mm cube build volume
- Multi-color & multi-material

Linear rail upgrade: quick decision list
- Upgrade if an axis still wobbles or clicks after adjusting the eccentric nuts, or the wheels won’t stay adjusted.
- Upgrade if you are building a new frame or a CoreXY and can design the rail mounts in from the start.
- Fix something else first if your problem is ringing, layer shifts or first-layer unevenness. Rails don’t cause these and usually won’t cure them.
- Skip it if the axes move smoothly with no play and prints are clean. You would be swapping a working system for one that needs more careful mounting.
V-rollers vs linear rails: what actually changes
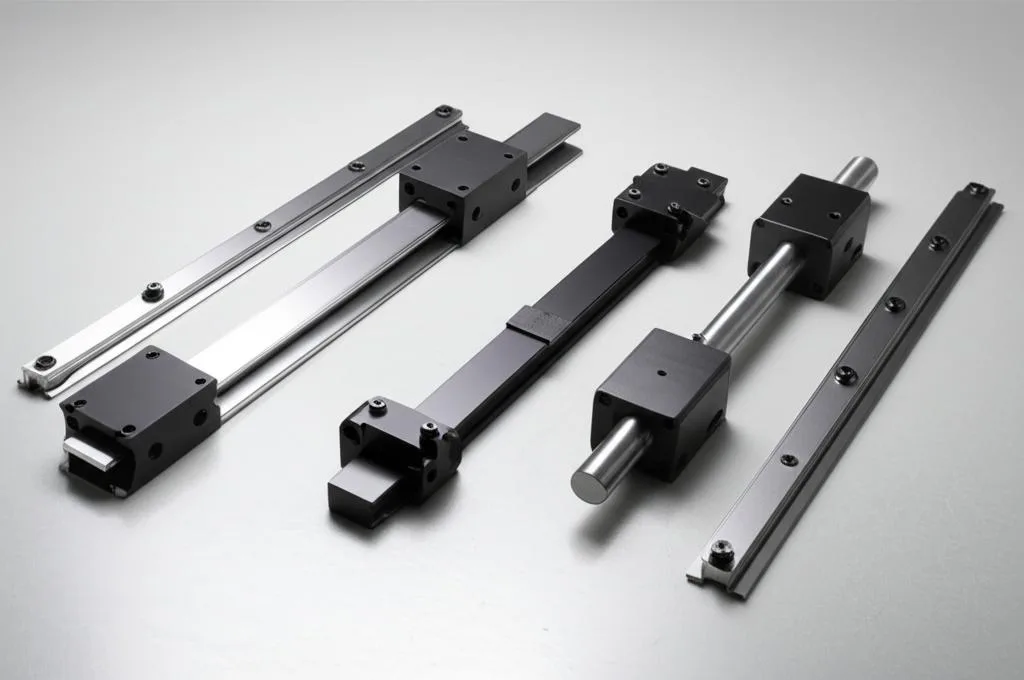
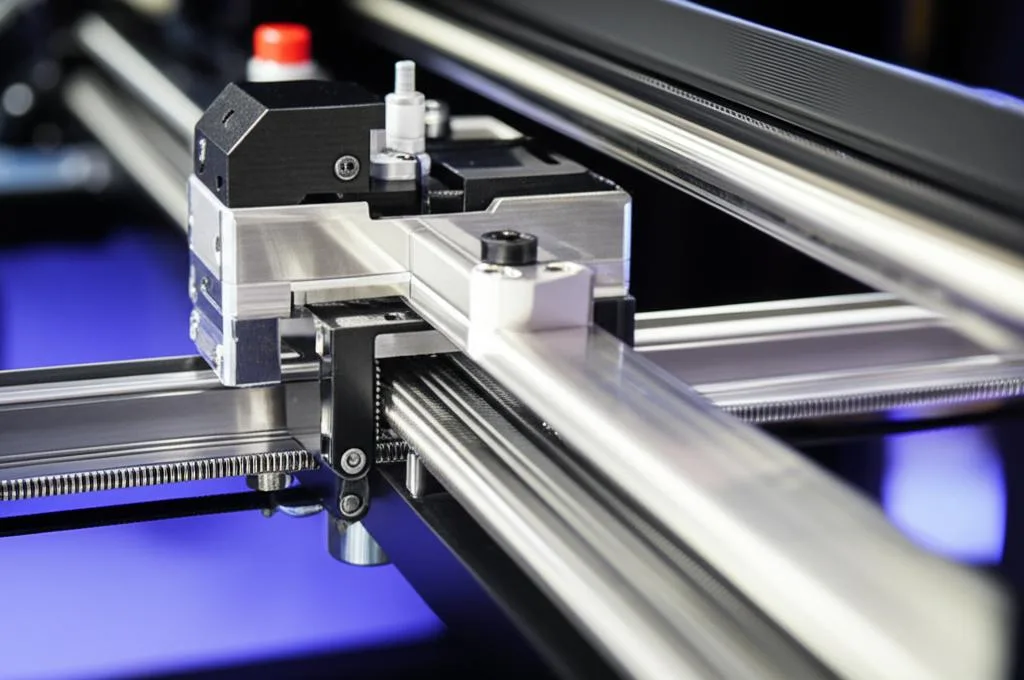
On a V-roller printer, plastic wheels run in the grooves of the aluminium extrusion. Some of the wheels sit on eccentric nuts or spacers, and turning those presses the wheels against the extrusion. On a linear rail, steel balls recirculate inside a carriage (block) that runs on a hardened steel rail. The fit between them is set at the factory.
| V-rollers on extrusion | Linear rails (MGN miniature type) | |
|---|---|---|
| What sets the play | You, by turning eccentric nuts | Preload class chosen when you buy (ZF, Z0, Z1) |
| Adjustment | Anycubic’s procedure: small turns until the axis moves smoothly with no obvious looseness | None after installation; the rail is bolted down |
| Published stiffness | Rarely published for hobby printers | HIWIN MGN12H: 70 N/µm (Z0), 175 N/µm (Z1) |
| Mounting surface | The extrusion itself is the track | Needs a flat surface: HIWIN allows 0.050 mm per 200 mm for size 12 |
| Routine maintenance | Recheck wheel adjustment, especially after transport | Clean off shipping oil, grease, re-grease periodically |
| Added mass | Wheels, bearings and a carriage plate | MGN12H block 54 g, rail 0.65 kg per metre |
What linear rails improve
No adjust-by-feel compromise. Eccentric nuts are a trade-off. Too loose and the carriage rocks; too tight and the wheels drag. Anycubic’s Kobra 2 guide notes that parts loosen in transport and has you check the Z, X and Y wheels before re-levelling. A rail with the right preload has neither problem and doesn’t drift out of adjustment.
Known, repeatable stiffness. HIWIN publishes radial stiffness for every block size and preload. Voron’s sourcing FAQ explains why printers don’t need premium rails: the carriages see no cutting forces, so a moderate preload is enough, and the most important thing is to have no slop between rail and carriage.
| HIWIN block | Block width | Block mass | Rail mass | Radial stiffness Z0 / Z1 | Mounting surface flatness (ZF/Z0) |
|---|---|---|---|---|---|
| MGN9H | 20 mm | 26 g | 0.38 kg/m | 56 / 153 N/µm | 0.035 mm per 200 mm |
| MGN12H | 27 mm | 54 g | 0.65 kg/m | 70 / 175 N/µm | 0.050 mm per 200 mm |
| MGN15H | 32 mm | 92 g | 1.06 kg/m | 89 / 202 N/µm | 0.060 mm per 200 mm |
Bigger is not automatically better. Voron’s frames are designed for MGN9H only. Its FAQ warns that MGN12 carriages are wider than 2020 extrusion and cause interference, so check the fit on your frame before choosing a size.
What linear rails don’t fix
- Ringing and ghosting. Klipper describes ringing as mechanical vibration caused by quick changes in print direction. It lists a frame that isn’t rigid enough, loose or springy belts, misaligned parts and heavy moving mass as the things to fix first. Play in the wheels can contribute, but rails on a flexible frame still ring. Start with the ringing and ghosting fixes.
- Layer shifts. These usually come from belts, pulleys or motor current, not guides. Check belt tension for layer shifts first.
- An uneven first layer. That is tramming and mesh territory; see how to level a 3D printer bed.
- A crooked mounting surface. The rail follows what it is bolted to. HIWIN’s tolerances for miniature rails are in hundredths of a millimetre per 200 mm, and for Z1 preload it recommends half those values or less. Check the extrusion or adapter with a straightedge rather than assuming it meets that, or the rail may run no straighter than the wheels did.
- Print speed on its own. Rails don’t raise speed limits by themselves. Klipper ties ringing to frame stiffness, belts and moving mass, and those set how hard you can accelerate.
Preload and accuracy class: which rail to buy
HIWIN’s model codes include both. MGN12H Z0 C, for example, is a long size-12 block with very light preload and normal accuracy. The preload class decides whether there is any play:
| HIWIN preload code | Meaning | Fit | Available accuracy |
|---|---|---|---|
| ZF | Light clearance | 4–10 µm clearance | C only |
| Z0 | Very light preload | 0–3 µm clearance | C to P |
| Z1 | Light preload | Preload of 0.02 × dynamic load rating | C to P |
Accuracy classes C (normal), H (high) and P (precision) set the height tolerance, ±0.04, ±0.02 and ±0.01 mm, and running parallelism. For a 315–400 mm rail HIWIN gives 18, 11 and 6 µm. HIWIN also notes that interchangeable blocks and rails are less precise than matched, non-interchangeable sets.
For a printer, our reading of these figures and Voron’s advice is simple. Normal accuracy is enough, and Z0 or Z1 avoids the built-in clearance of ZF. Z1 is stiffer but needs a flatter mounting surface. Generic rails often don’t state a verifiable class, so check each carriage for play and rough spots by hand when it arrives. Voron suggests sorting them: best rail on X, then Y, and the worst on Z.
Linear rail maintenance: cleaning and grease
- Remove the shipping oil. LDO soaks new rails in isopropyl alcohol of 90% or better for about 10 minutes, moving them to dislodge debris, then lets all the IPA evaporate.
- Choose a grease. LDO passes on Nero 3D’s recommendation of NLGI 0 or 1 grease. Mobilux EP1 or EP2, Super Lube 21030 and white lithium grease are the most common picks among Voron builders. Voron’s FAQ recommends Mobilux EP1/EP2 or an NLGI equivalent with a synthetic base oil above 100 mm²/s. HIWIN specifies lithium-soap grease.
- Pack the carriage without taking it off. LDO’s “flip and pack” method: turn the rail over, push grease through a rail mounting hole lined up with the carriage until it oozes out past the balls. It needs access to the back of the rail, so do it before installation.
- Wipe off the excess. Run the carriage back and forth and clean the rail. LDO warns that grease on the rail surface collects dust and hair, which ends up inside the carriage.
- Re-grease periodically. HIWIN’s general guidance is to re-lubricate every 100 km of travel. How long that takes depends on how much and how fast you print, so there is no fixed number of print hours. Oil works too, but HIWIN notes it evaporates faster than grease.
Avoid sliding carriages off the rail. HIWIN fits ball retainers on some miniature blocks specifically so the balls don’t fall out when a block is removed, and says its smallest sizes should not be removed at all. If you can’t confirm your carriages have retainers, leave them on the rail.
Fitting linear rails to an extrusion frame
Most conversion kits bolt an MGN rail onto the face of an aluminium extrusion with M3 screws and T-nuts, plus printed or machined adapters for the carriage. The steps below combine HIWIN’s installation procedure with the Voron gantry assembly guide, which fits MGN rails to extrusion the same way. Check your kit’s own instructions for part-specific details.
- Prepare the rails first. HIWIN ships its guideways coated in rust-proof oil and says to clean it off before moving or running the blocks. Clean and grease them as described above while the back of the rail is still accessible.
- Clean the mounting face. HIWIN’s rail procedure starts by removing all dirt from the mounting surface. Check the extrusion or adapter with a straightedge at the same time.
- Fit it loosely. Put the T-nuts in the extrusion, then tighten the M3 bolts only far enough that the rail can still be moved. Voron’s guide does exactly this before aligning anything.
- Centre the rail. Use a printed alignment guide that centres the rail on the extrusion. Voron specifies its centred alignment tool and warns that using the offset tool will cause installation problems.
- Tighten in sequence. HIWIN says to tighten the rail bolts one after another, from one end of the rail to the other, with a torque wrench set to the specified torque, so the rail stays straight. For the X rail on a gantry, Voron leaves the bolts loose until the gantry joints are assembled, then tightens them while checking the guides haven’t slipped.
- Check by hand. With the belt disconnected or the motors off, the carriage should run the full length with the same light resistance everywhere. A tight spot means the rail is bent or the bolts pulled it out of line.
- Re-tune the printer. A conversion changes the carriage, so re-check belt tension, re-level the bed and redo the Z-offset. If you use input shaping, run the calibration again, since the moving mass and stiffness have changed.
Two rails in parallel
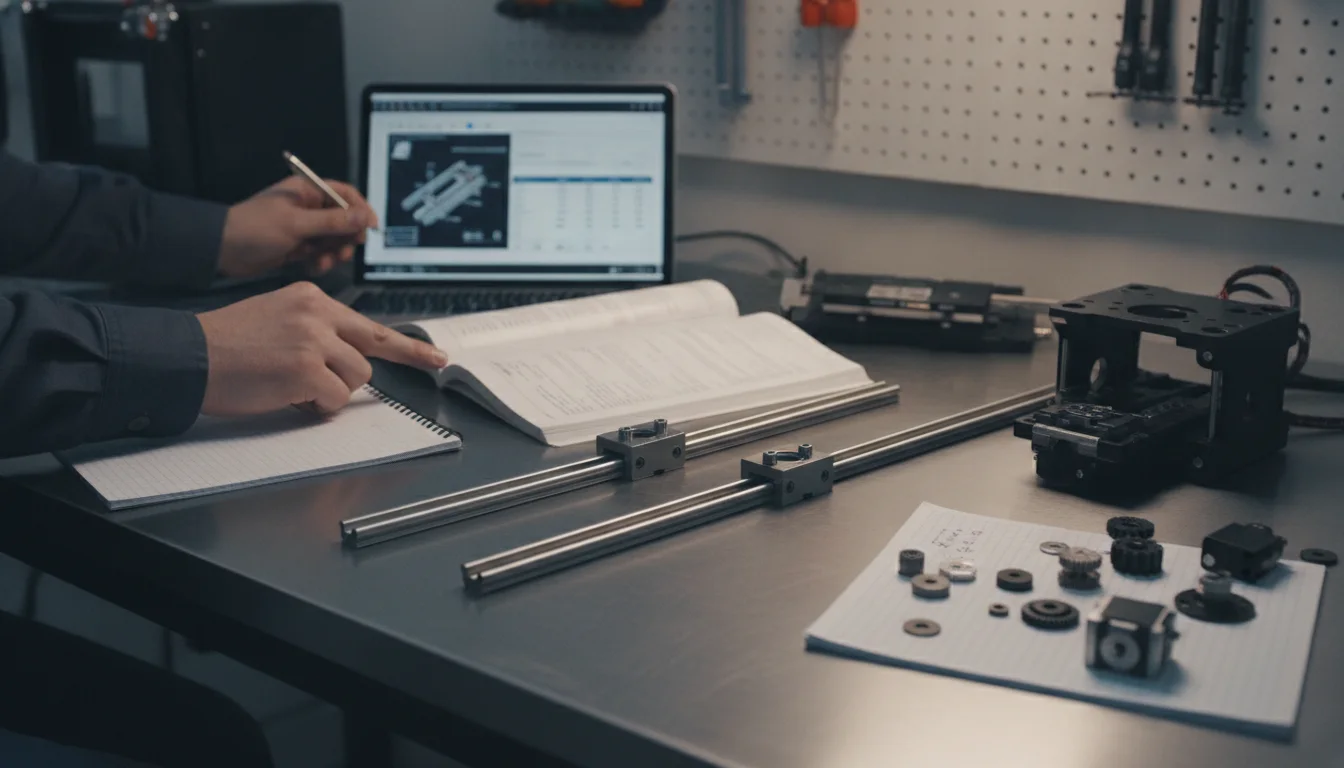
A bed carried on two Y rails, or a gantry with two rails, is harder than a single rail, because the two rails have to agree with each other and not only with their own extrusion. HIWIN’s tolerances for the MG series show how tight that is:
| HIWIN MG12, two rails | ZF / Z0 preload | Z1 preload |
|---|---|---|
| Max. parallelism between the rails | 9 µm | 5 µm |
| Max. height difference between the rails | 50 µm | 12 µm |
| Mounting surface flatness (half the single-rail ZF/Z0 value) | 0.025 mm per 200 mm or better | 0.025 mm per 200 mm or better |
Without machined reference edges, HIWIN’s “follow the master guide” method suits a printer. Tighten the first rail fully. Then fix the carriage plate to both of its blocks and to one block on the second rail, and move the plate from one end to the other while you tighten the second rail’s bolts. The first rail then positions the second. The lower preload is more forgiving here, which is one more reason not to choose Z1 for a printer with printed or unmachined mounts.
Problems after a rail conversion
| What you notice | Likely cause | Fix |
|---|---|---|
| Carriage tight at certain points along the rail | Bowed mounting surface, or bolts tightened out of sequence | Loosen, re-centre with the guide, check the surface, tighten end to end |
| Bed or gantry binds; runs freely when one rail is loosened | The two rails aren’t parallel | Refit the second rail by following the first |
| New carriage feels gritty or rough | Shipping oil and debris, no grease | Clean in IPA and pack with grease |
| Carriage rocks or clicks on the rail | ZF clearance block, or a damaged block | Use a Z0 or Z1 block; don’t slide carriages off the rail |
| First layer uneven after the conversion | The bed or gantry now sits at a different height | Re-level, rebuild the mesh and redo the Z-offset |
Common linear rail upgrade mistakes
- Installing rails straight from the box. LDO removes the shipping oil and packs the carriages with grease before installation, when the back of the rail is still reachable.
- Bolting a rail to an unchecked surface. A bowed extrusion or printed adapter bends the rail and makes the carriage bind at points along its travel.
- Overtightening the rail screws. HIWIN lists 98 N·cm (under 1 N·m) for M3 rail screws in aluminium.
- Buying the biggest size. Wider carriages may not fit the extrusion, and more mass is not an upgrade on a moving axis.
- Expecting rails to cure unrelated faults. Tune belts and input shaping and check the frame first. If the printer still has play after that, rails make sense, and the fitting steps above cover the installation.
Frequently asked questions
Are linear rails better than V-wheels on a 3D printer?
They are stiffer and don’t need wheel adjustment, and their preload is set at the factory rather than by feel. But they need a flat mounting surface and regular grease. A well-adjusted V-wheel printer with no play gains little from them.
Do linear rails make 3D prints faster?
Not by themselves. Klipper lists frame rigidity, belts, alignment and moving mass as the mechanical causes of ringing, and those limit how hard you can accelerate. Rails remove wheel play, which helps only if play was part of the problem.
How often should linear rails be lubricated?
HIWIN recommends re-lubricating its linear guides every 100 km of travel. On a hobby printer, how long that takes depends on your print volume and speeds, so check that carriages still run smoothly and re-grease when they start to feel dry or rough. Wipe excess grease off the rail surface so it doesn’t collect dust.
MGN9 or MGN12 for a 3D printer?
Choose the size your frame and parts are designed for. HIWIN’s MGN12H is stiffer than the MGN9H (70 vs 56 N/µm at Z0) but twice as heavy per block, and Voron warns that MGN12 carriages are wider than 2020 extrusion. On a Voron V1/V2, MGN9H is the only supported size.
Sources
- HIWIN Linear Guideway Technical Information (MG miniature series, installation, lubrication)
- LDO Documentation: Linear rail greasing guide
- Voron Documentation: Sourcing FAQ (linear rails, lubricant)
- Voron Design: Gantry assembly guide (rail installation)
- Klipper documentation: Resonance compensation
- Anycubic Wiki: Kobra 2 leveling calibration guide (eccentric spacer adjustment)