For many 3D printer enthusiasts, the quest for superior print quality and material versatility often leads to exploring hardware upgrades. Among the most impactful modifications is the direct drive conversion, a significant departure from the more common Bowden extrusion system. This article aims to objectively compare the characteristics and cost structures associated with transitioning from a Bowden setup to a direct drive system, providing insights to help you navigate this popular 3D printer extrusion upgrade.
Understanding Bowden versus direct drive extrusion

Before diving into the conversion, it's essential to grasp the fundamental differences between Bowden and direct drive extrusion. A Bowden setup positions the extruder motor remotely, typically on the printer's frame, pushing filament through a long PTFE tube to the hotend. This design keeps the print head light, allowing for potentially faster print speeds and reduced ringing. However, the long, flexible filament path can introduce issues with retraction precision, particularly with highly flexible materials, leading to stringing and inconsistent extrusion.
Conversely, a direct drive system mounts the extruder motor directly on the print head, right above the hotend. This significantly shortens the filament path, sometimes to just a few millimeters. The direct proximity of the motor to the hotend offers unparalleled control over filament feeding and retraction, making it a game-changer for printing tricky materials. While it adds weight to the print head, potentially impacting maximum print speeds, the benefits in extrusion quality and material compatibility are often compelling.
Why consider a direct drive conversion?

The motivations behind a Bowden to direct drive conversion are typically rooted in enhancing print performance and expanding material options.
Enhanced control over flexible filaments
- The short, constrained filament path of a direct drive system virtually eliminates the buckling and jamming issues often encountered when attempting flexible filament printing with a Bowden setup. This allows for smoother, more reliable feeding of materials like TPU and TPE.
Improved retraction performance
- With the extruder motor so close to the nozzle, retractions are faster, more precise, and require less length. This can significantly reduce stringing and oozing, leading to cleaner prints, especially on models with many small features or retractions.
Greater material compatibility
- Beyond flexible filaments, the superior control offered by direct drive can also benefit the printing of abrasive or delicate filaments, as it minimizes opportunities for the filament to grind or slip within the extruder.
Approaches to a direct drive conversion
Undertaking a direct drive upgrade can be approached in several ways, each with its own cost structure and feature set. The choice often depends on your budget, technical proficiency, and desired level of customization.
Dedicated conversion kits
- Features: These kits are designed specifically for popular printer models and typically include all necessary components: a new stepper motor, a custom-designed mounting bracket, and sometimes a new extruder assembly or even a hotend. They are often 'bolt-on' solutions, aiming for ease of installation.
- Cost Structure: Generally, dedicated kits represent a higher upfront monetary investment due to the research, development, and bundled components. However, they can save significant time and effort in sourcing individual parts and ensuring compatibility.
- Skill Level: Installation usually requires moderate technical skill, primarily involving mechanical assembly and basic wiring, often with clear instructions provided.
DIY with 3D printed mounts
- Features: This approach involves using your existing stepper motor and extruder (or sourcing new, individual components) and 3D printing a custom mounting bracket. Many open-source designs are available online for various printer models.
- Cost Structure: Potentially the most budget-friendly option if you already own a 3D printer and have suitable filament. The primary costs are for filament, any new components you choose to buy (e.g., a lighter stepper motor), and your time investment in printing, assembly, and troubleshooting.
- Skill Level: Requires a higher level of technical understanding, including familiarity with 3D printing custom parts, potential CAD modifications, and more in-depth calibration.
Hybrid solutions
- This approach combines elements of both, for instance, purchasing a high-quality, lightweight extruder assembly and then 3D printing the specific mount needed for your printer. This offers a middle ground, balancing cost, performance, and customization.
Key considerations for a successful conversion
Regardless of the chosen method, several critical factors warrant attention for a smooth transition and optimal performance post-conversion.
Weight implications
Adding the extruder motor to the print head increases its mass. This added weight can potentially introduce ghosting or ringing artifacts at higher print speeds and may necessitate recalibrating your printer's acceleration and jerk settings to maintain print quality. Some users opt for lighter 'pancake' stepper motors to mitigate this.
Firmware adjustments
A fundamental step after any extruder change is calibrating the E-steps (extruder steps per millimeter) to ensure accurate filament extrusion. Additionally, you will need to significantly reduce your retraction distance and speed settings, as the direct drive system requires much less retraction than a Bowden setup.
Cable management
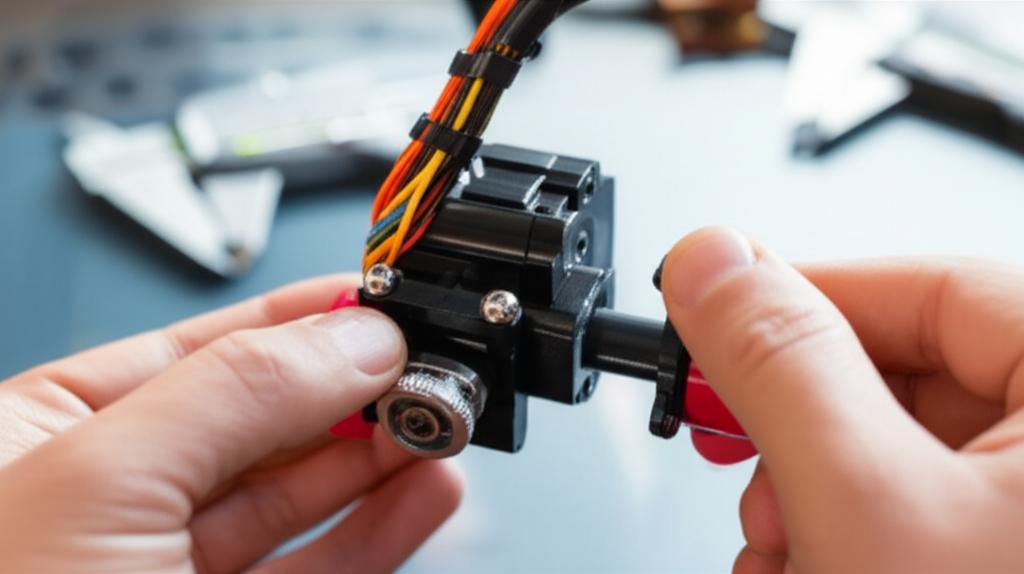
The relocation of the extruder motor means its wiring will need to be rerouted, potentially requiring cable extensions or a complete re-sleeving to ensure it moves freely without snagging or stressing connections.
Z-axis stability
The increased weight on the X-gantry might place more strain on your printer's Z-axis, especially on machines with a single Z-rod. Ensuring the Z-axis is stable and moves smoothly is crucial to prevent sagging or binding.
Hotend and extruder compatibility
Ensure that your chosen direct drive setup is mechanically and electronically compatible with your existing hotend or any new hotend you plan to integrate. Some direct drive extruders are designed for specific hotend types.
Making an informed decision
The decision to undertake a direct drive conversion is a personal one, weighing the potential benefits against the costs, effort, and technical challenges involved. While it can significantly enhance your printer's capabilities, particularly for flexible filament printing and overall extrusion control, it also requires careful consideration of the mechanical and firmware adjustments needed. By understanding the different approaches and their implications, you can make an informed choice that aligns with your 3D printing goals and technical comfort level.